Join me today for my simple kitchen spice jar organization project, I hope it inspires you to create your own version! This change has brought me such joy and mental calm.
A few weeks ago I decided it was time to tackle my scary spice cabinet! I love to cook for my family and I try really hard to cook 6 nights a week. That means lots of spices! There is also a lot of baking going on in this kitchen. I am excited to share my process of this organization DIY with you, my thoughts on these jars, and tricks I learned that make it easy.
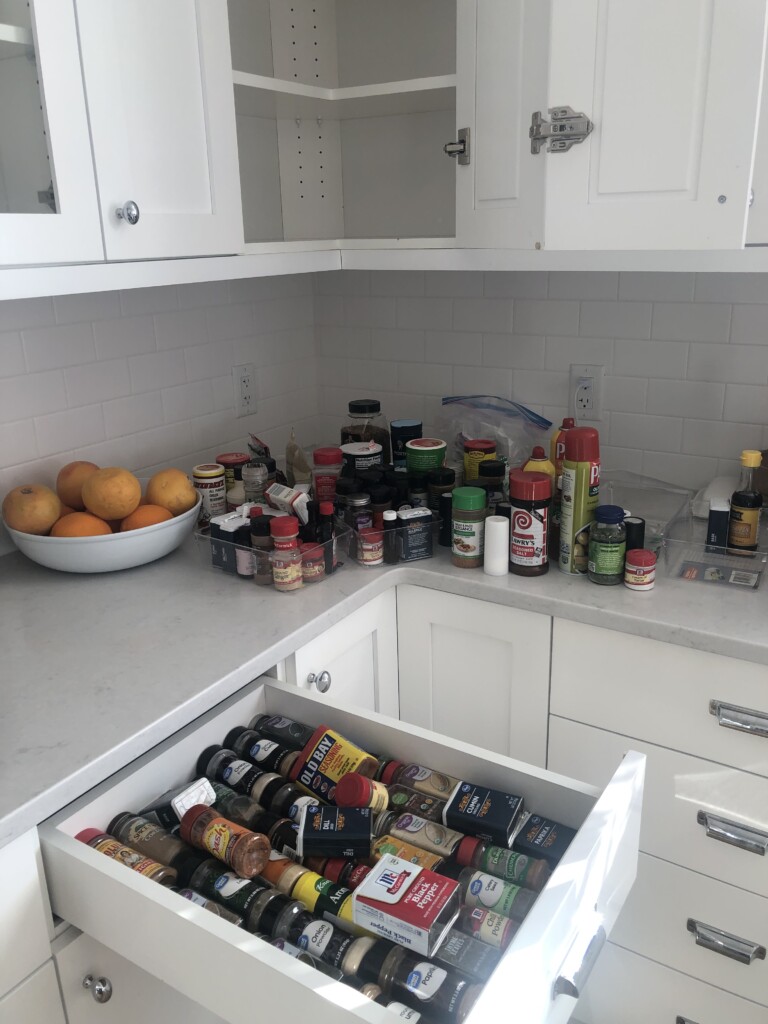
The before:
We have now been in this home for 5 years and I have collected and used so many different spices. As you can see, I did not have a functional or organized system for using them and often times would lose bottles of them to the back corner of that upper cabinet.
I love to save myself a little home project to tackle during the month of February as the winters are long and dark here. This project brought me SO much joy and I have been loving it every day since!
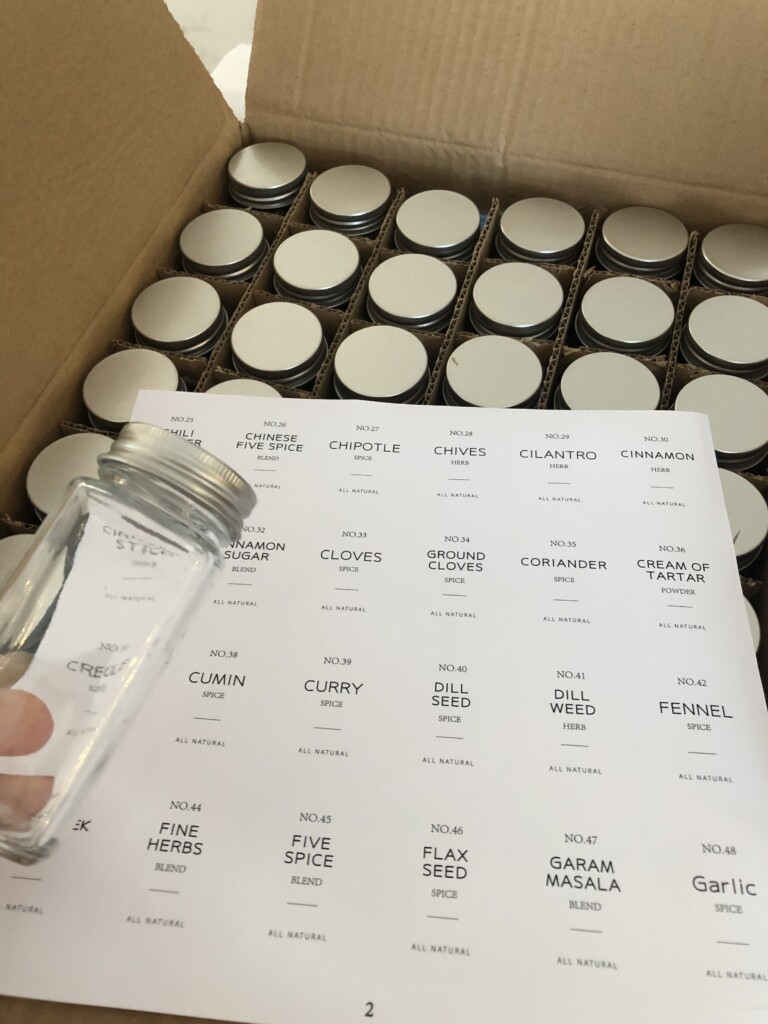
Supplies needed for Simple Kitchen Spice Jar Organization:
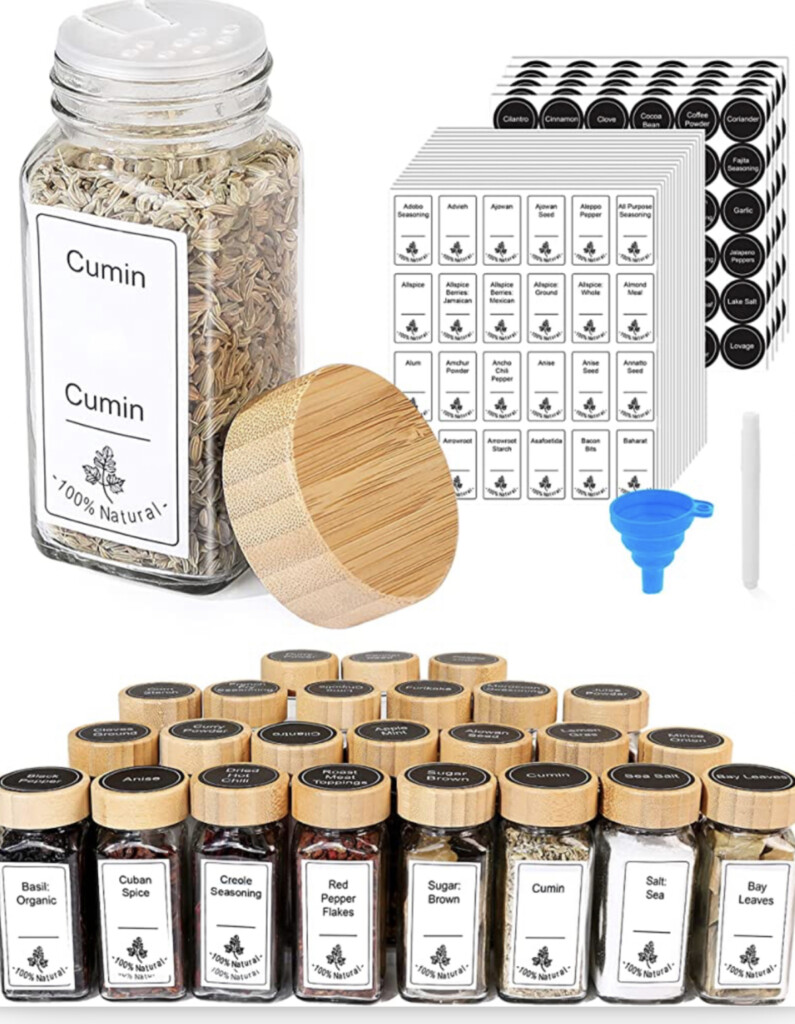
- One set of jars and labels (I will list mine as well as one more amazing set with wood lids below).
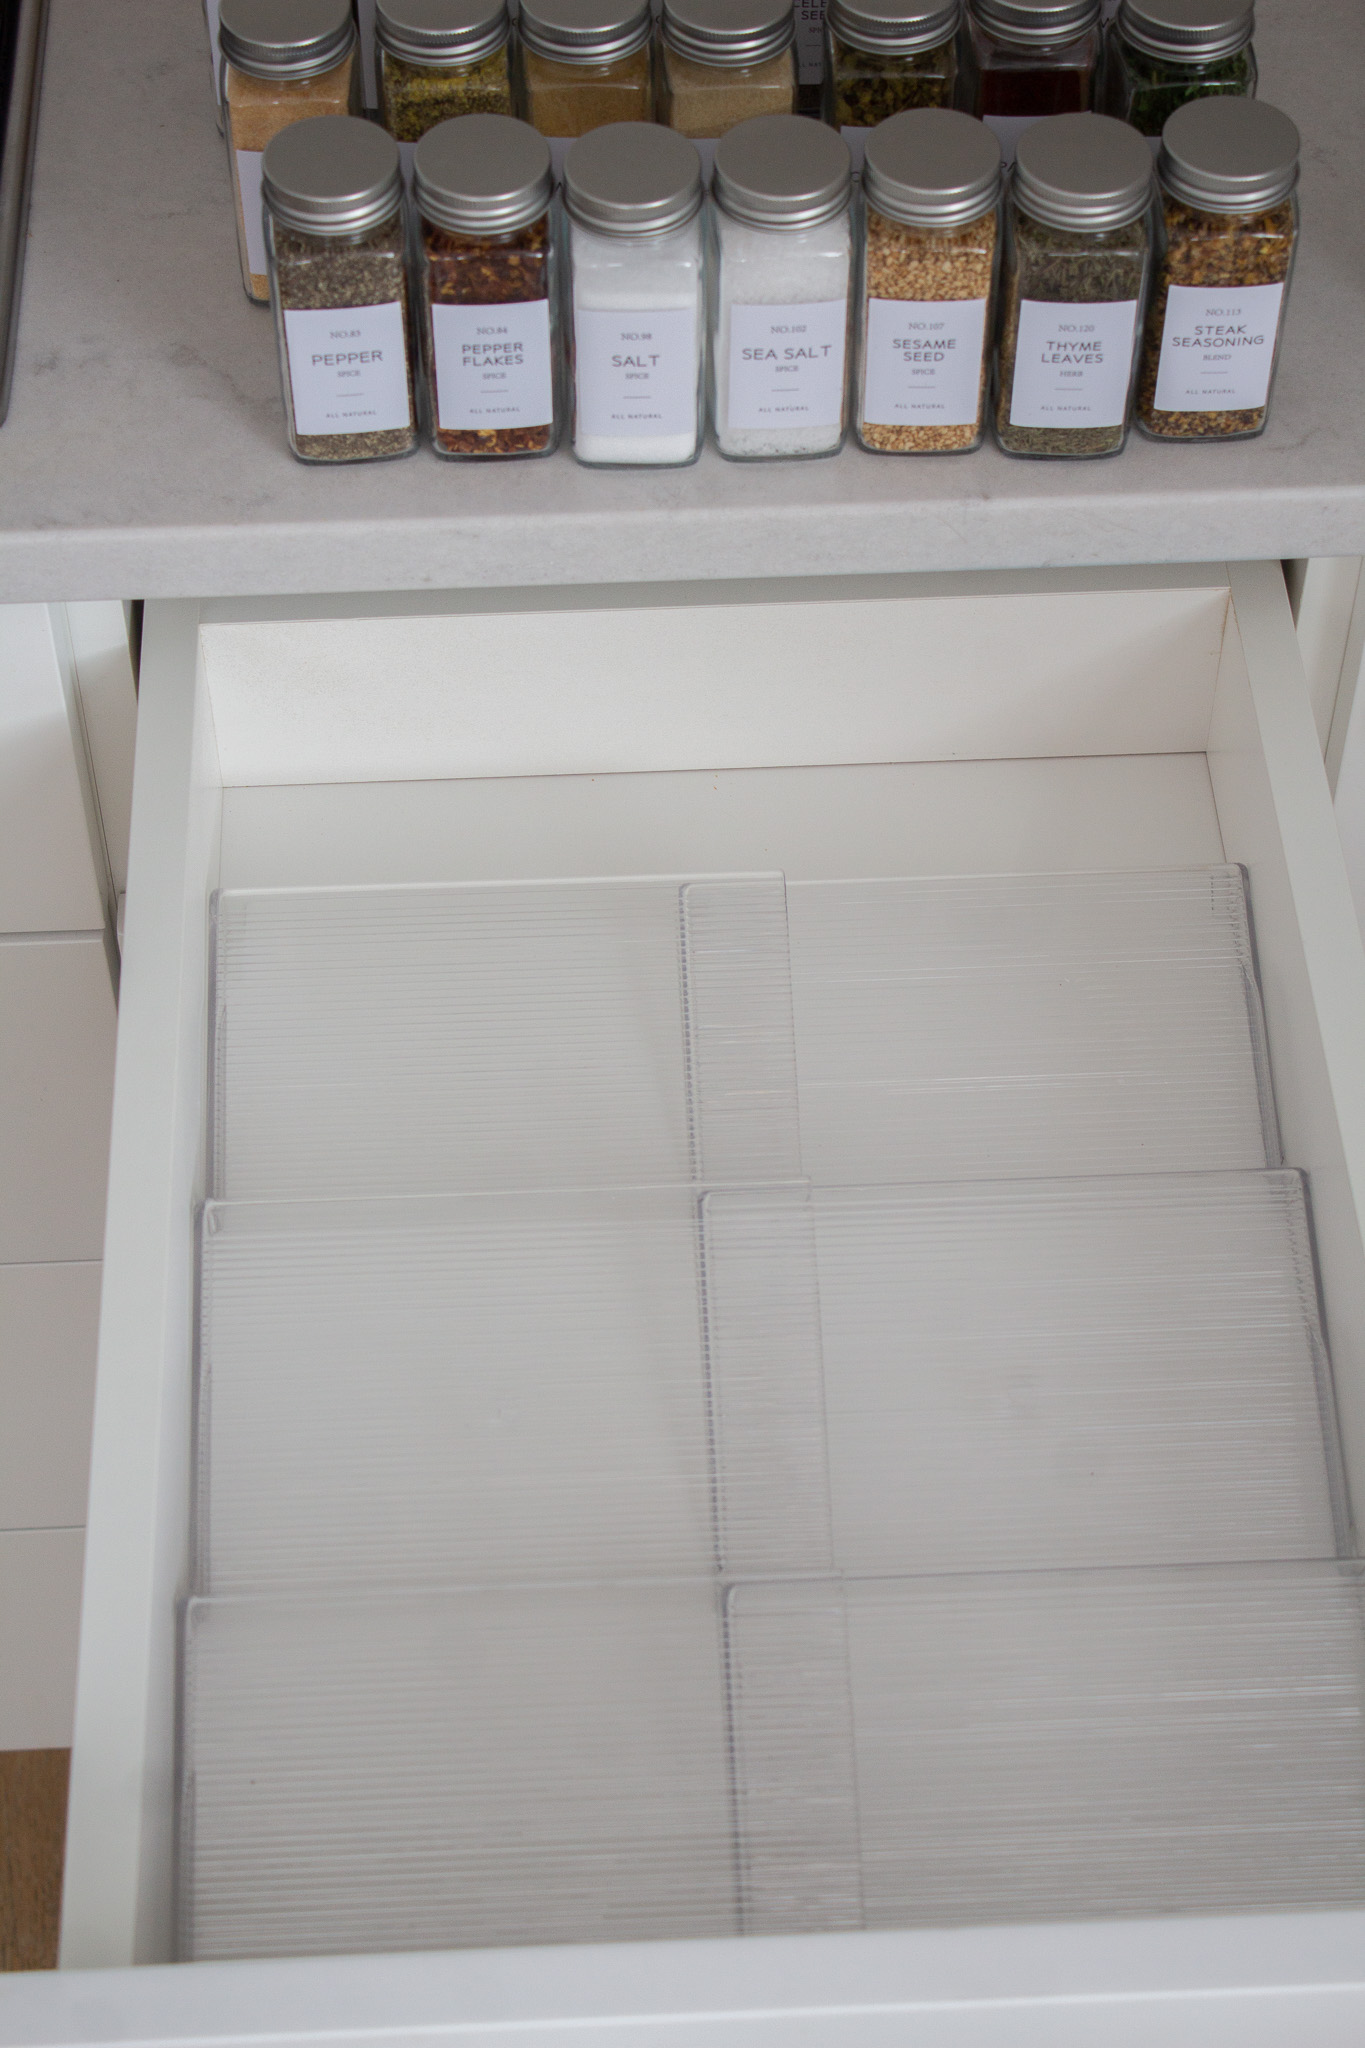
- Optional: Tiered expandable shelf to hold spices on a tilt
- Ruler
- Spices of your choice
- Damp kitchen towel
Separating Spices: Cooking vs Baking
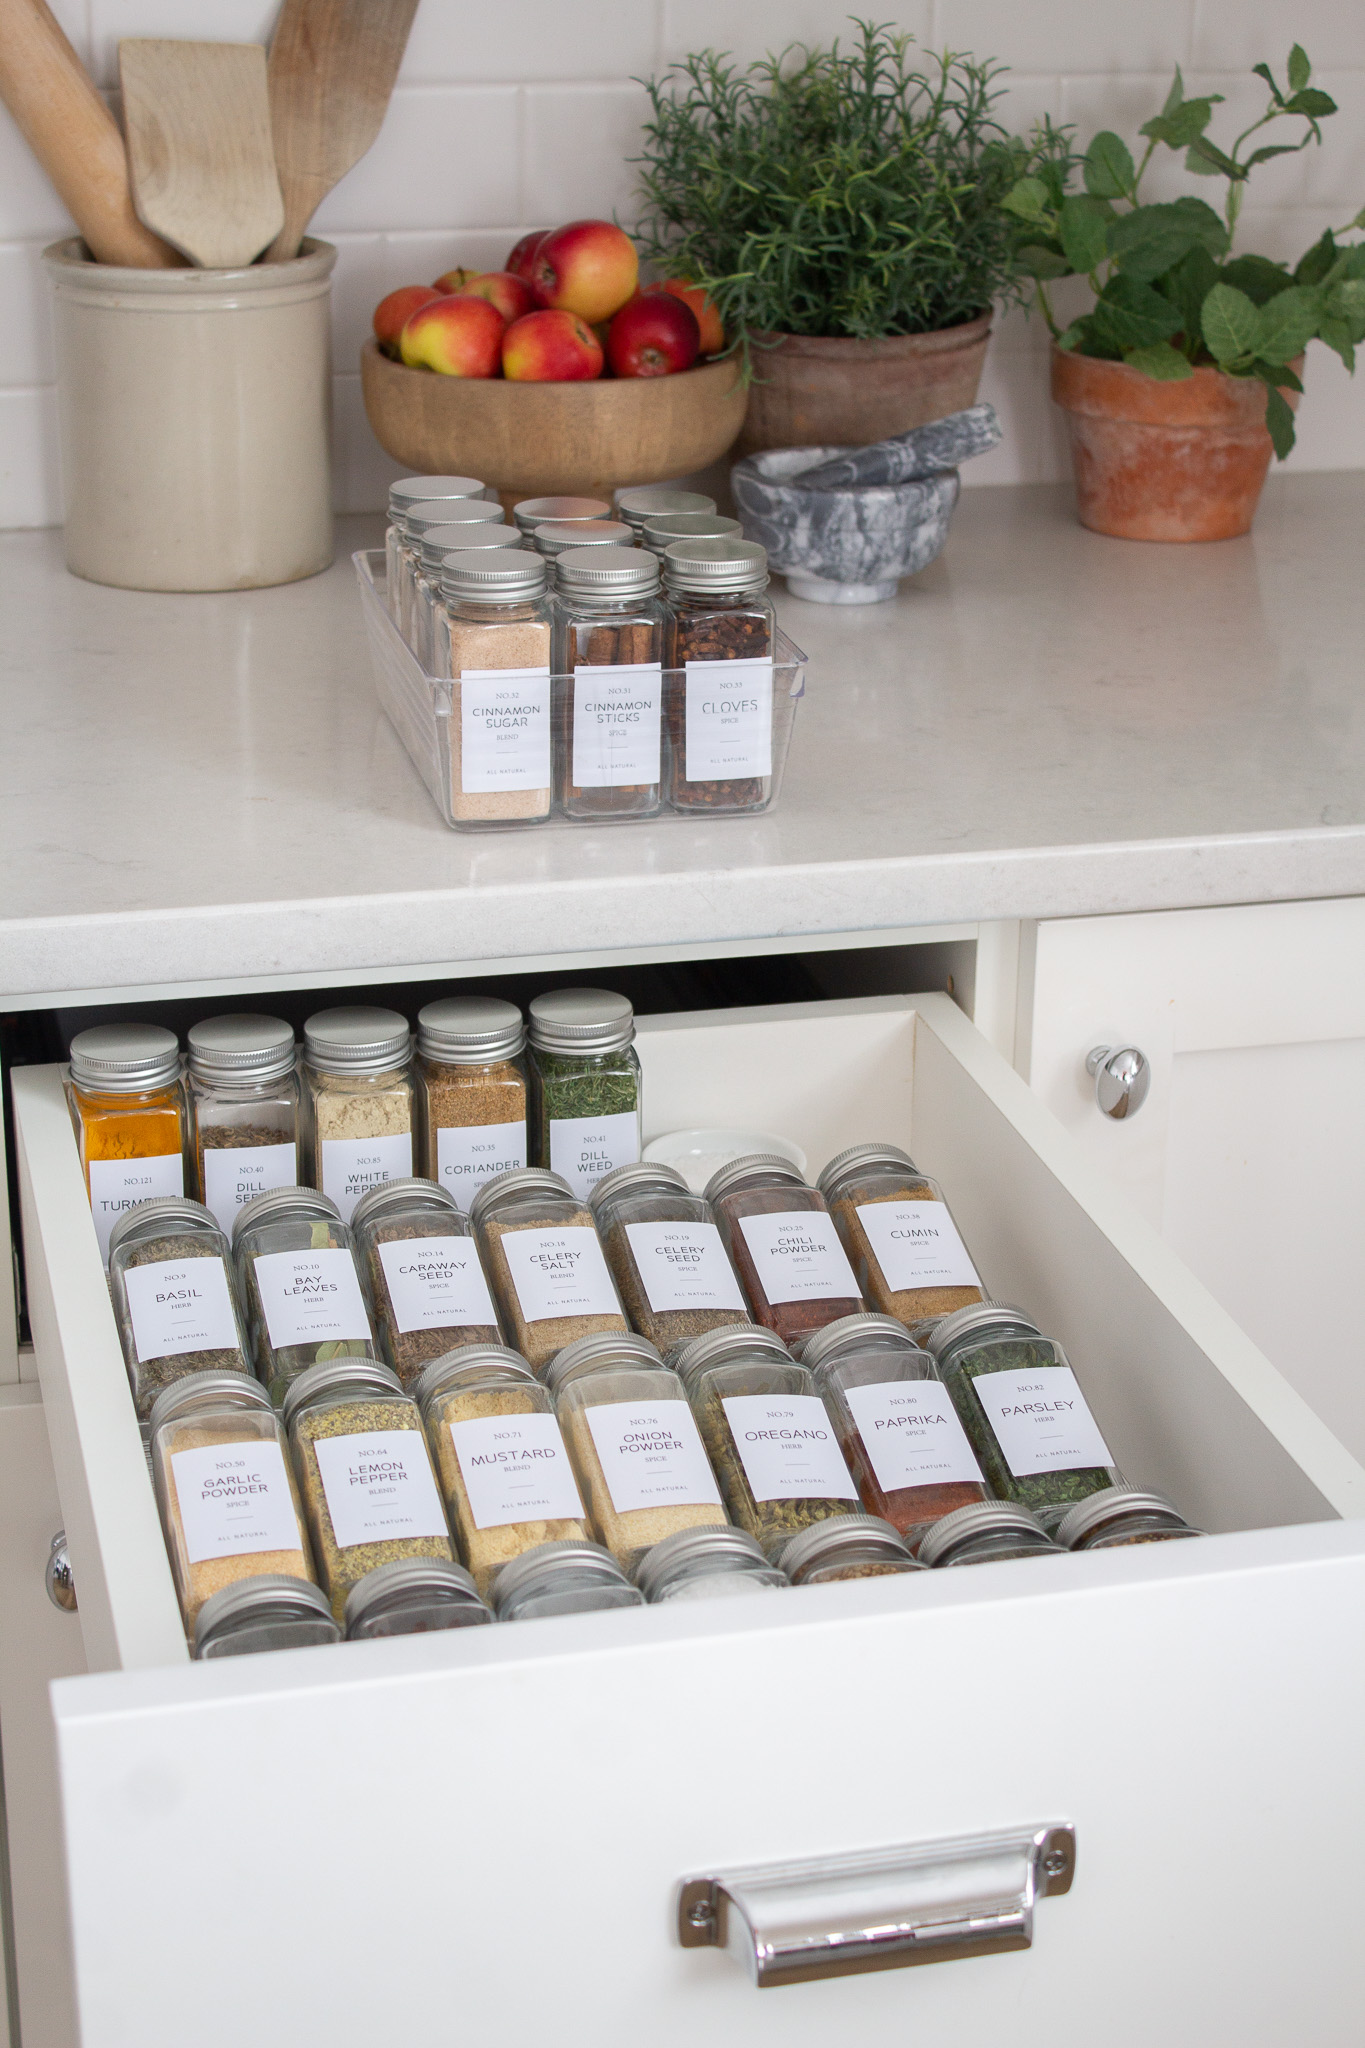
I lived with my spices organized in the drawer for 2 week and came to a conclusion. I decided it would be easier for me to gather my baking spices into their own little container. This makes it so much quicker for me to just pull my baking bin out for those recipes! This is especially helpful for gingerbread or pumpkin loaves that call for multiple spices at once!
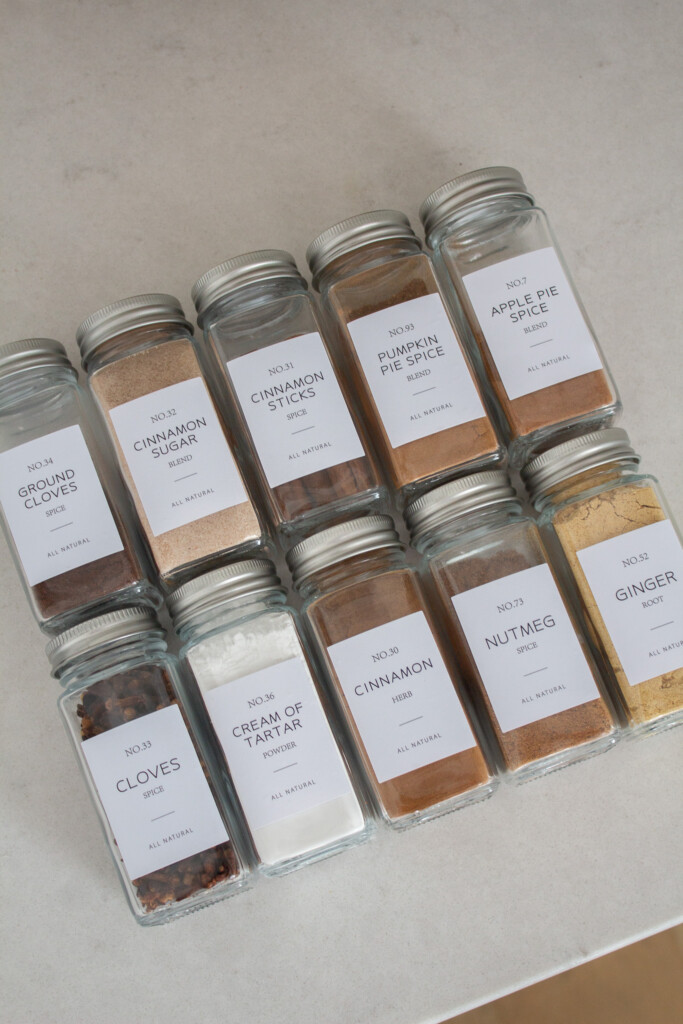
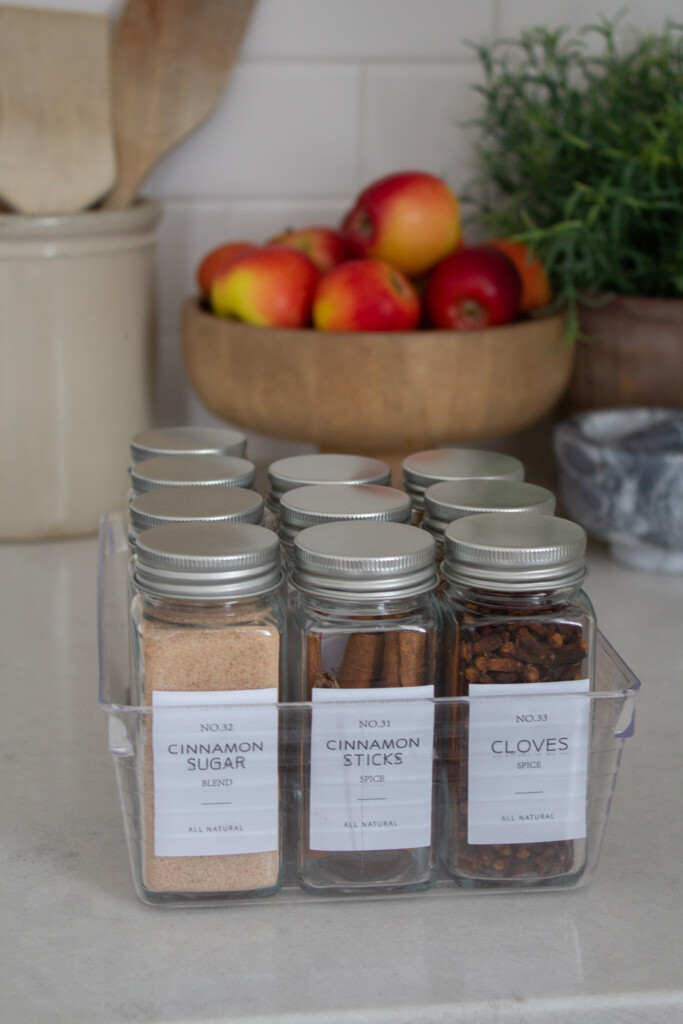
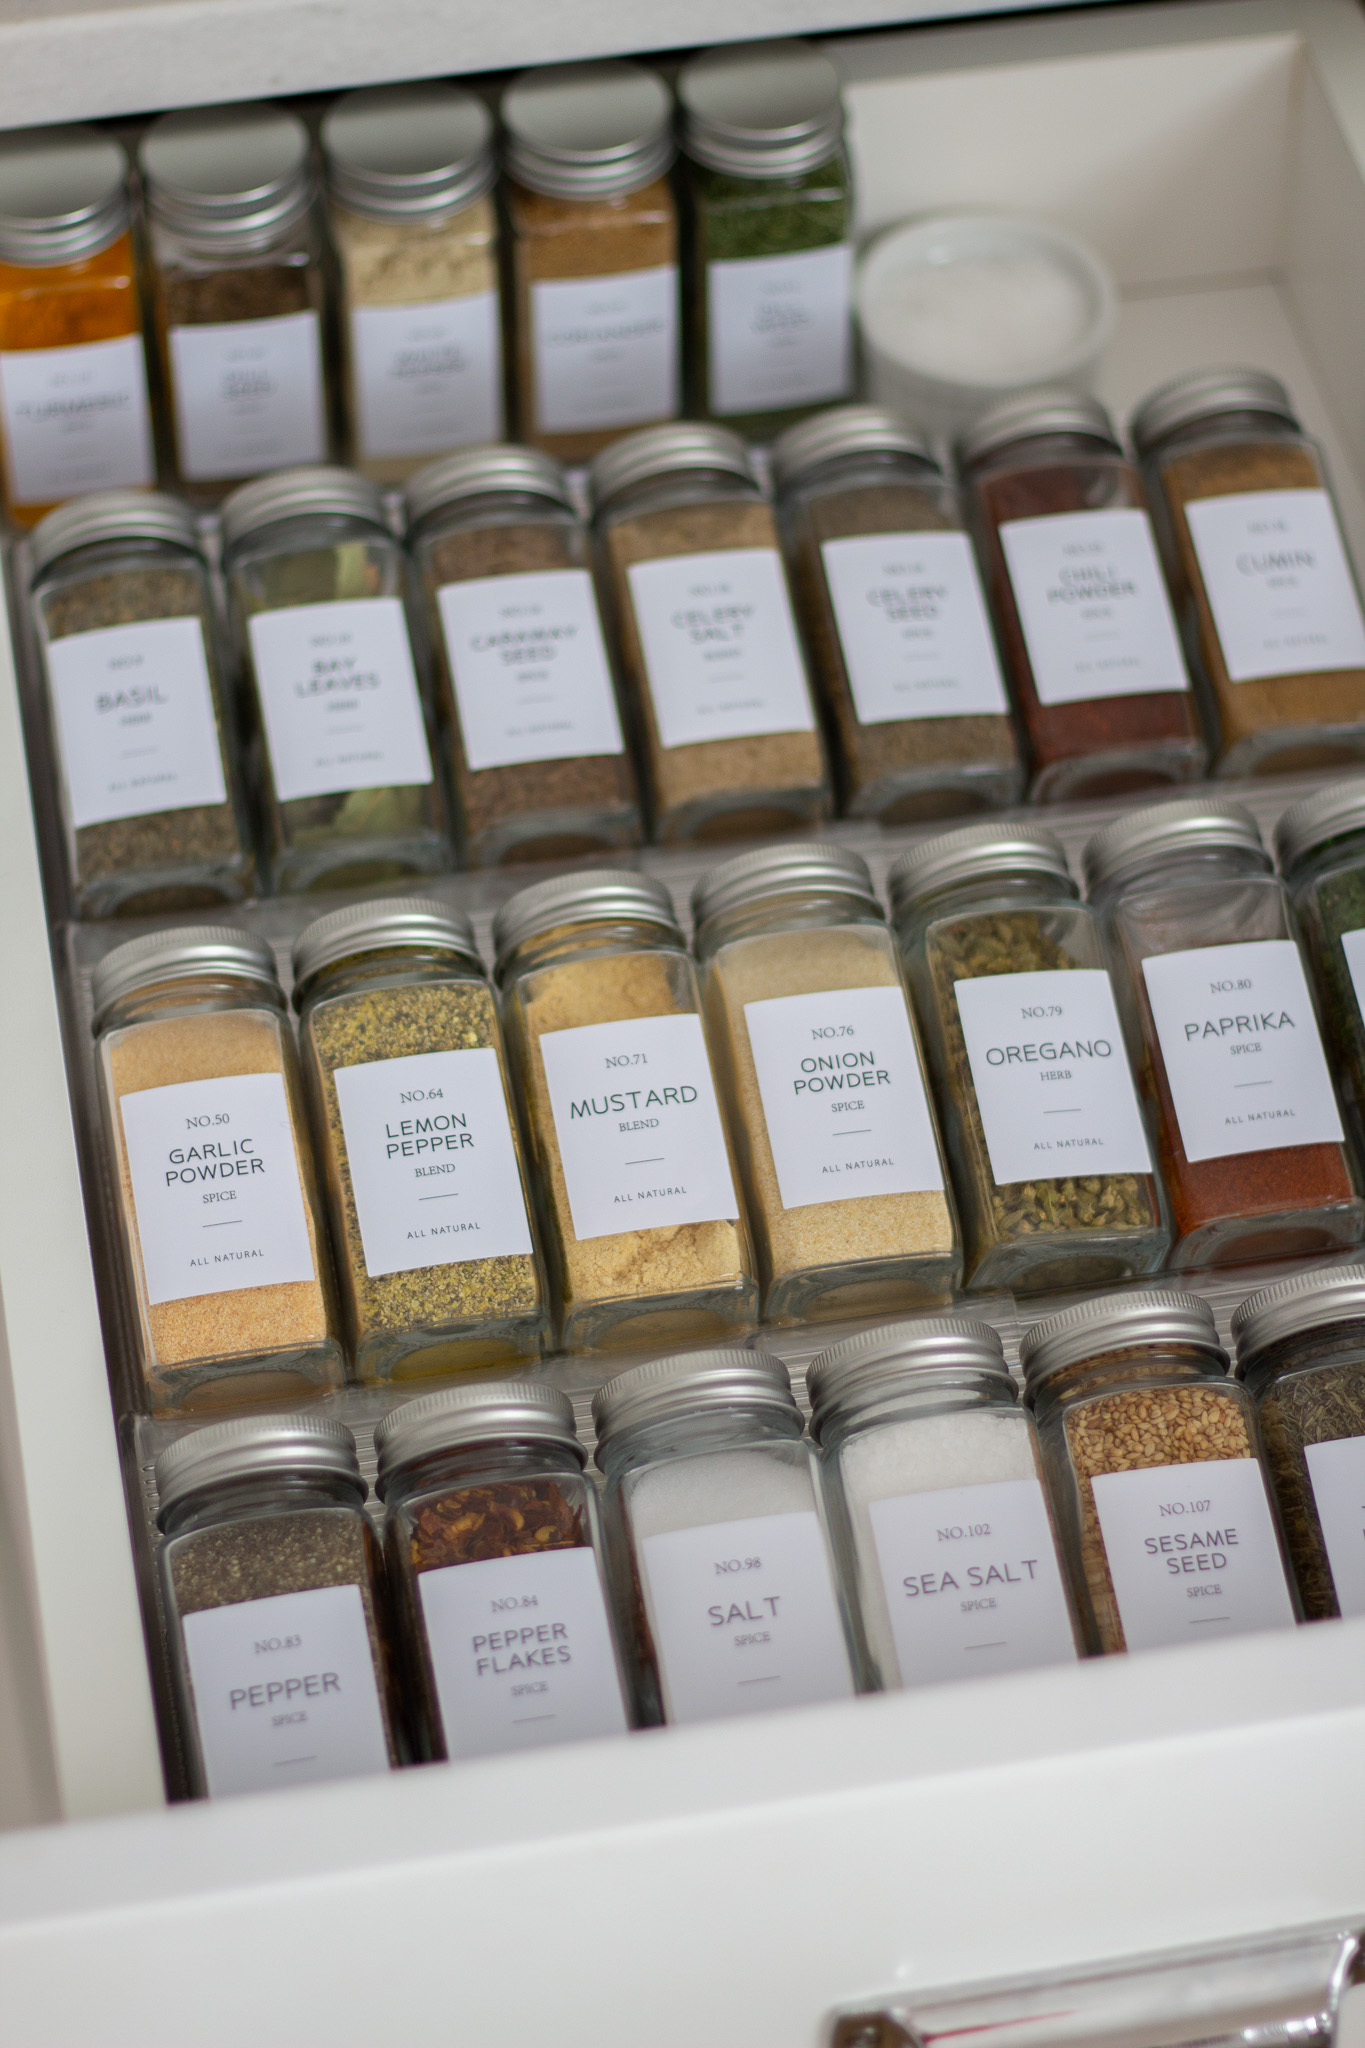
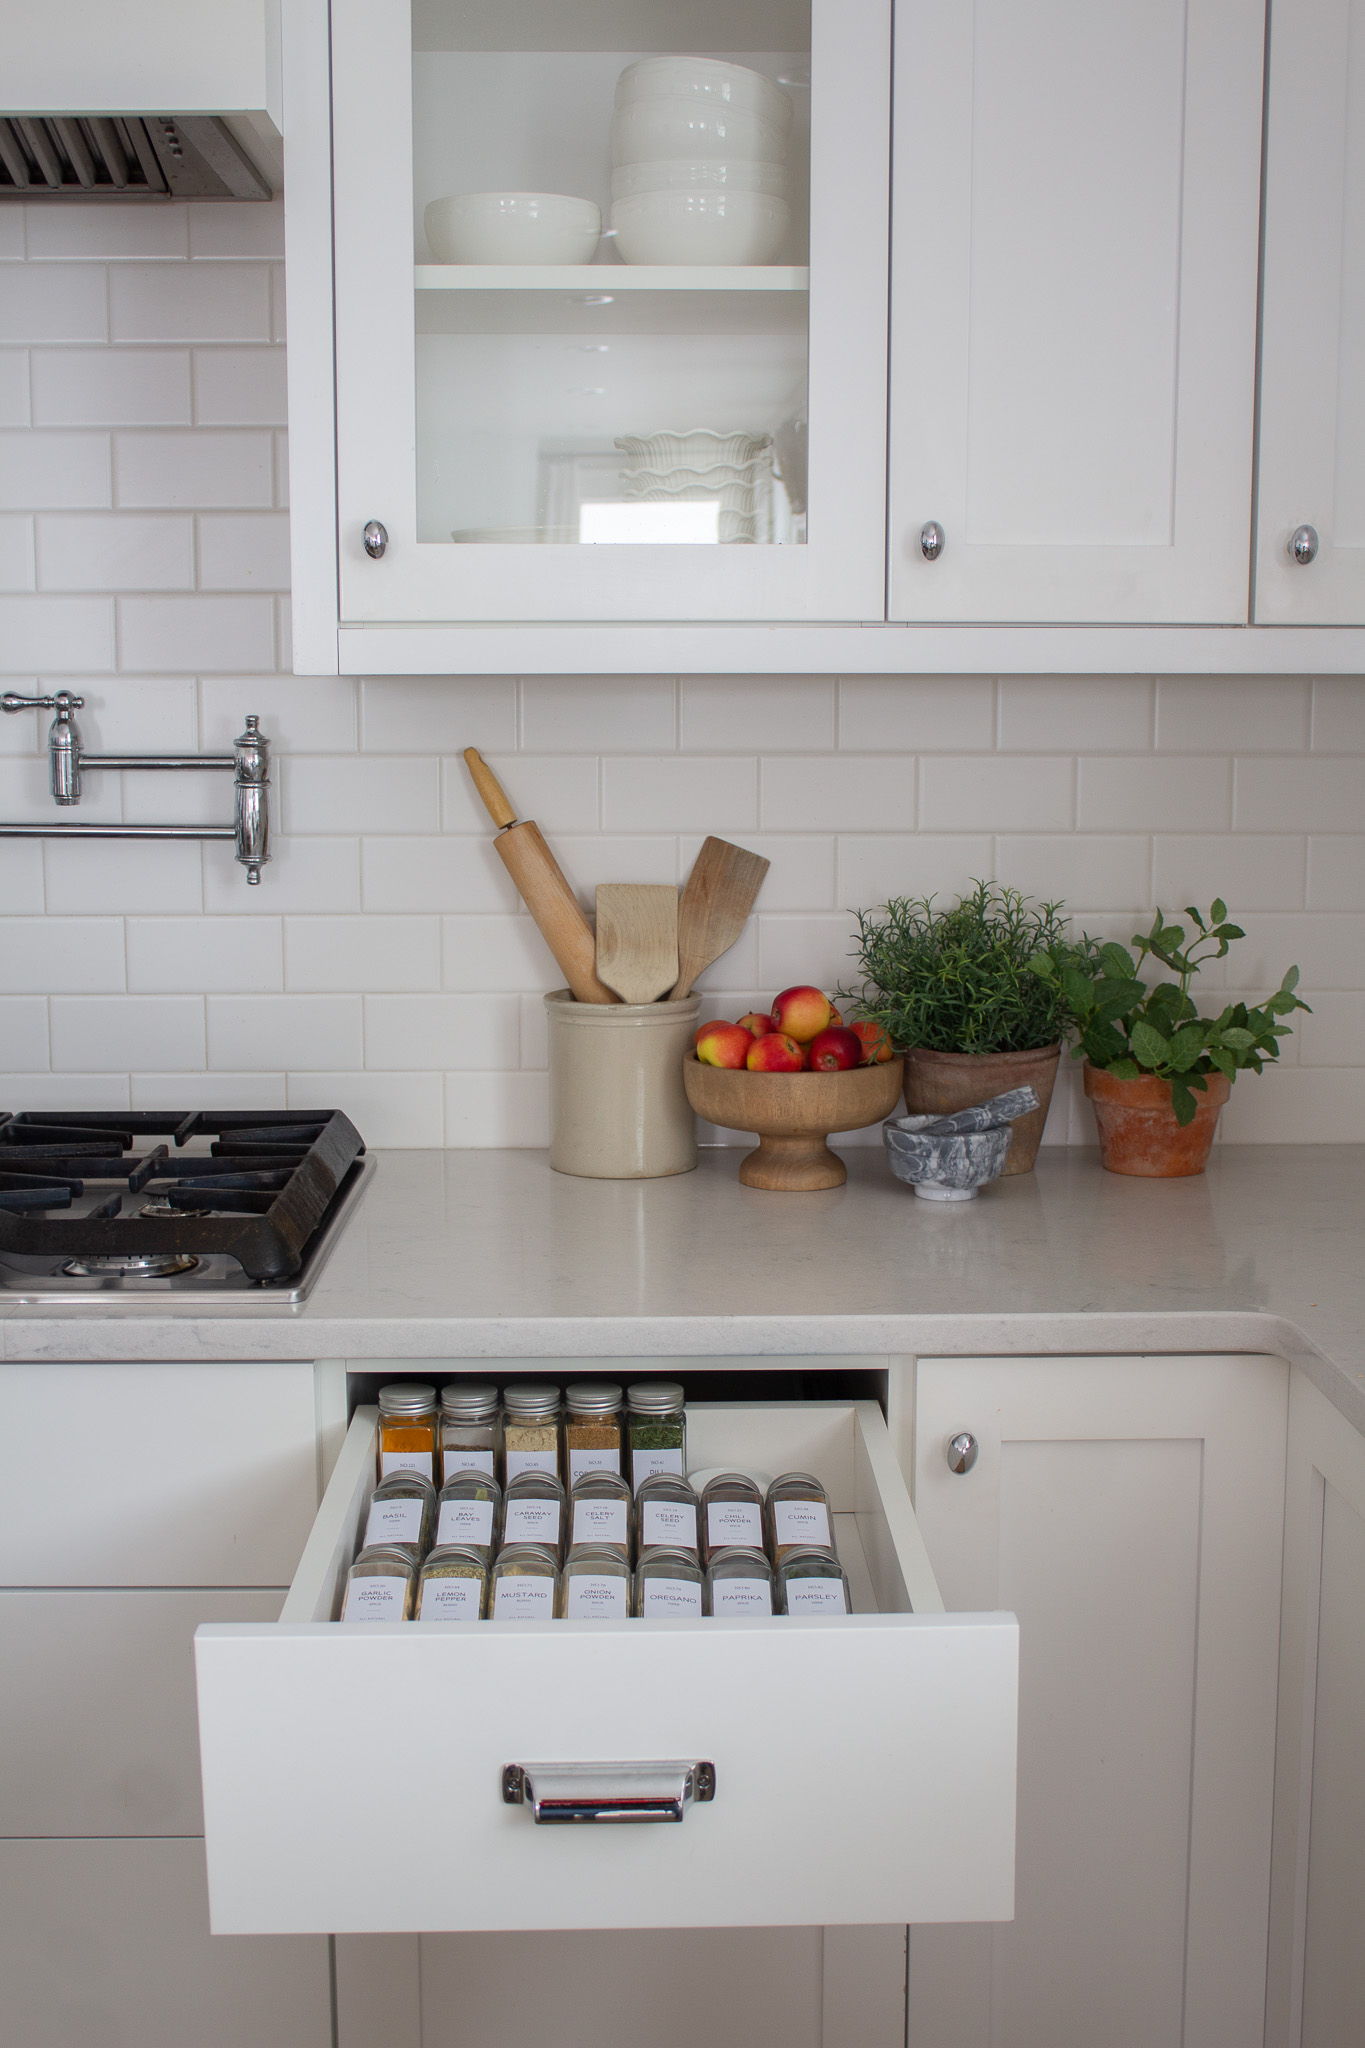
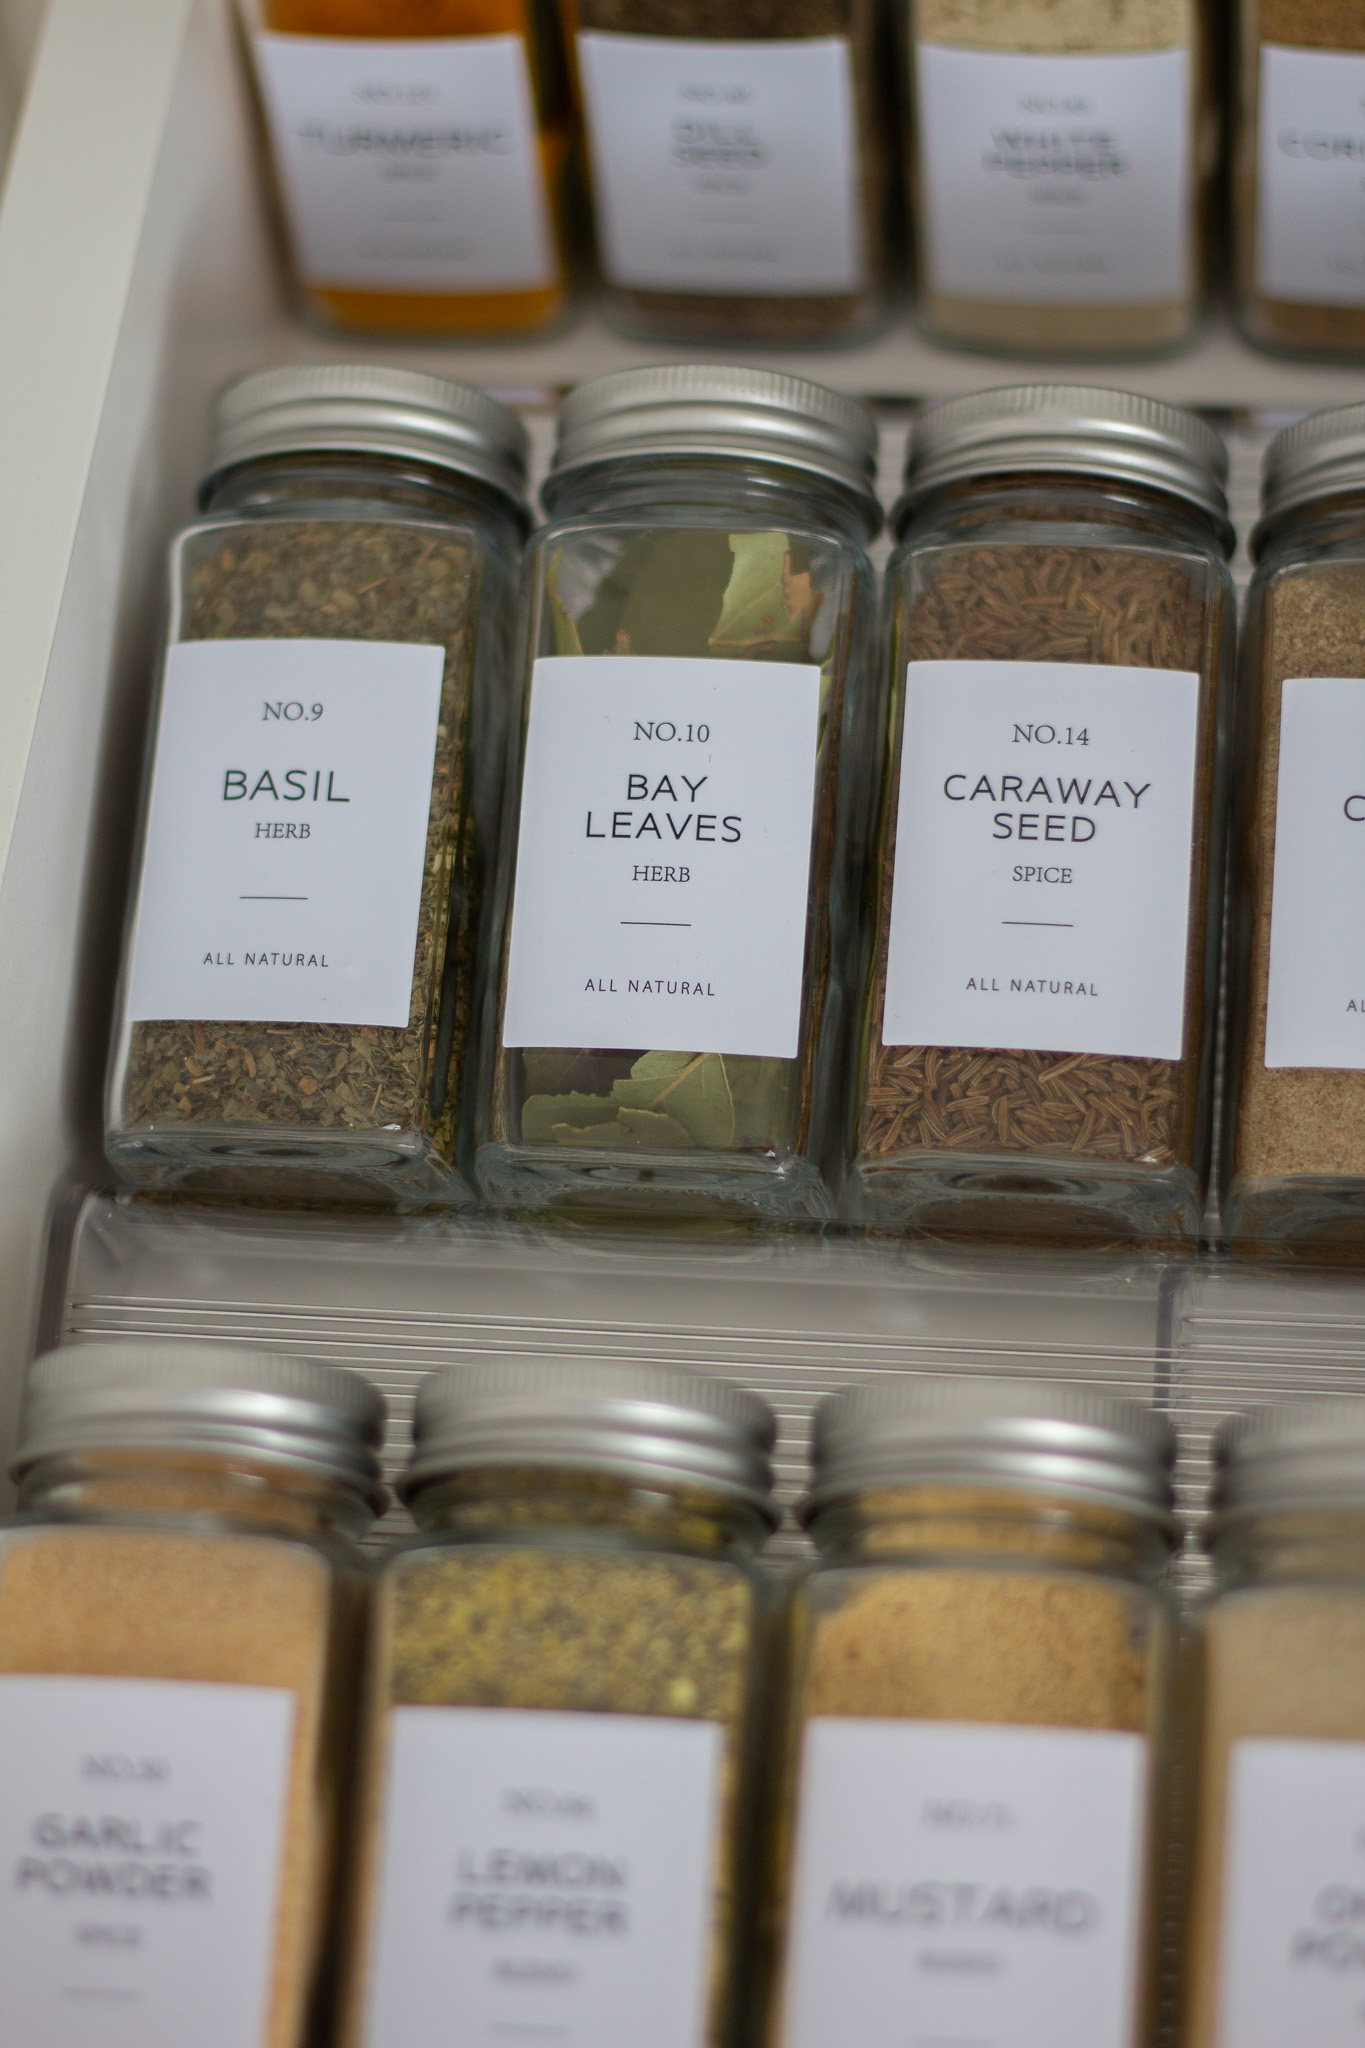
Here is a view of my spices all lined up in the drawer. I decided that having the jars on a tilt would be my preference. These jars can stand up in the drawer or lay flat or on a tilt. Scroll down to see the shelf I found and love!
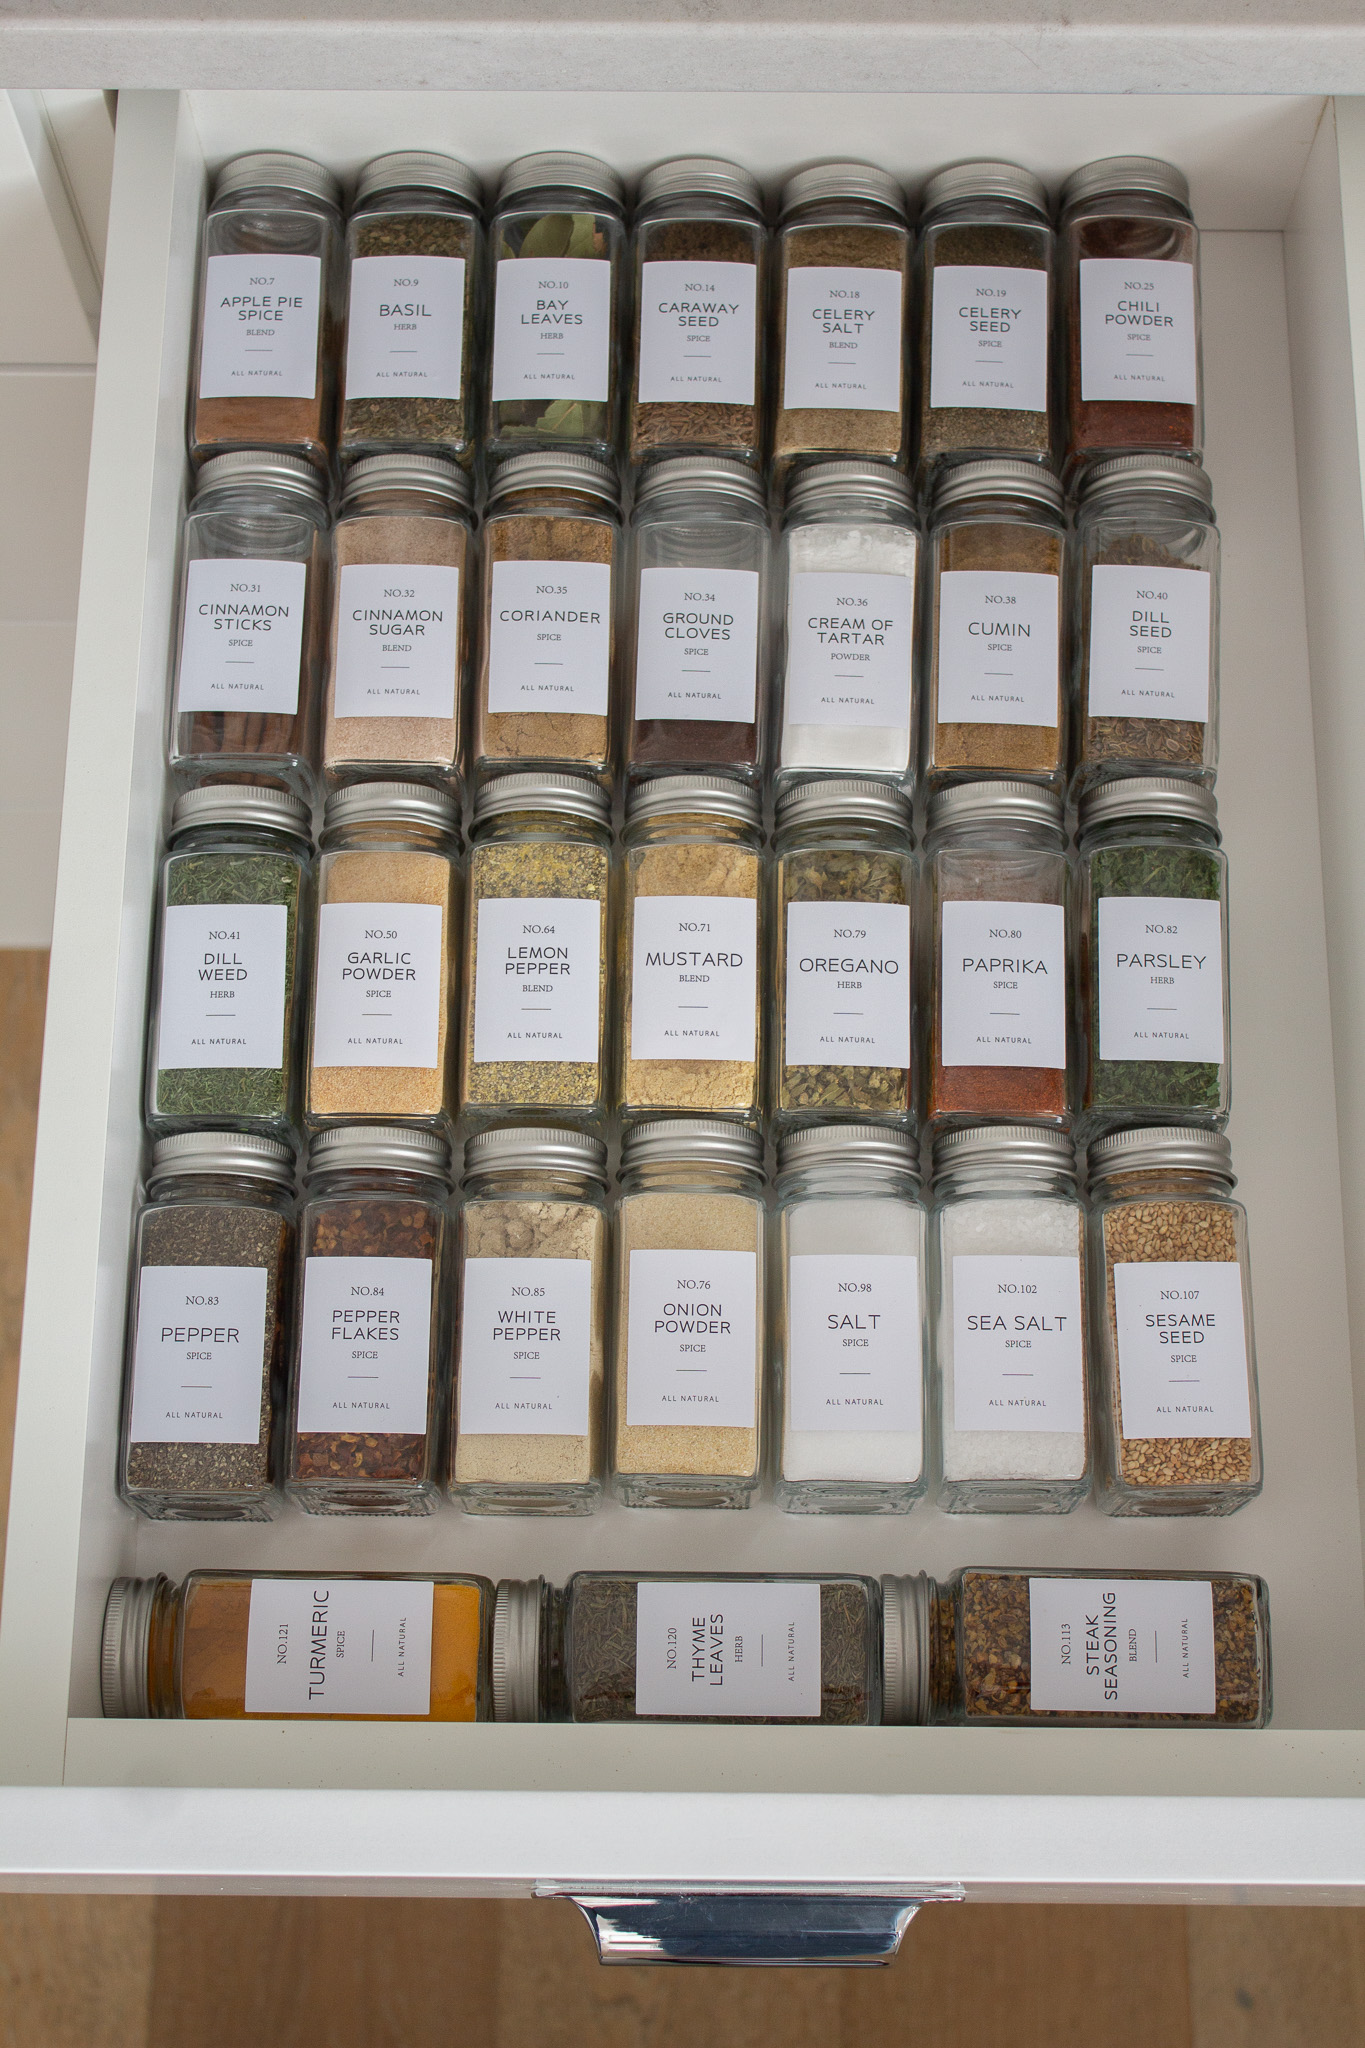
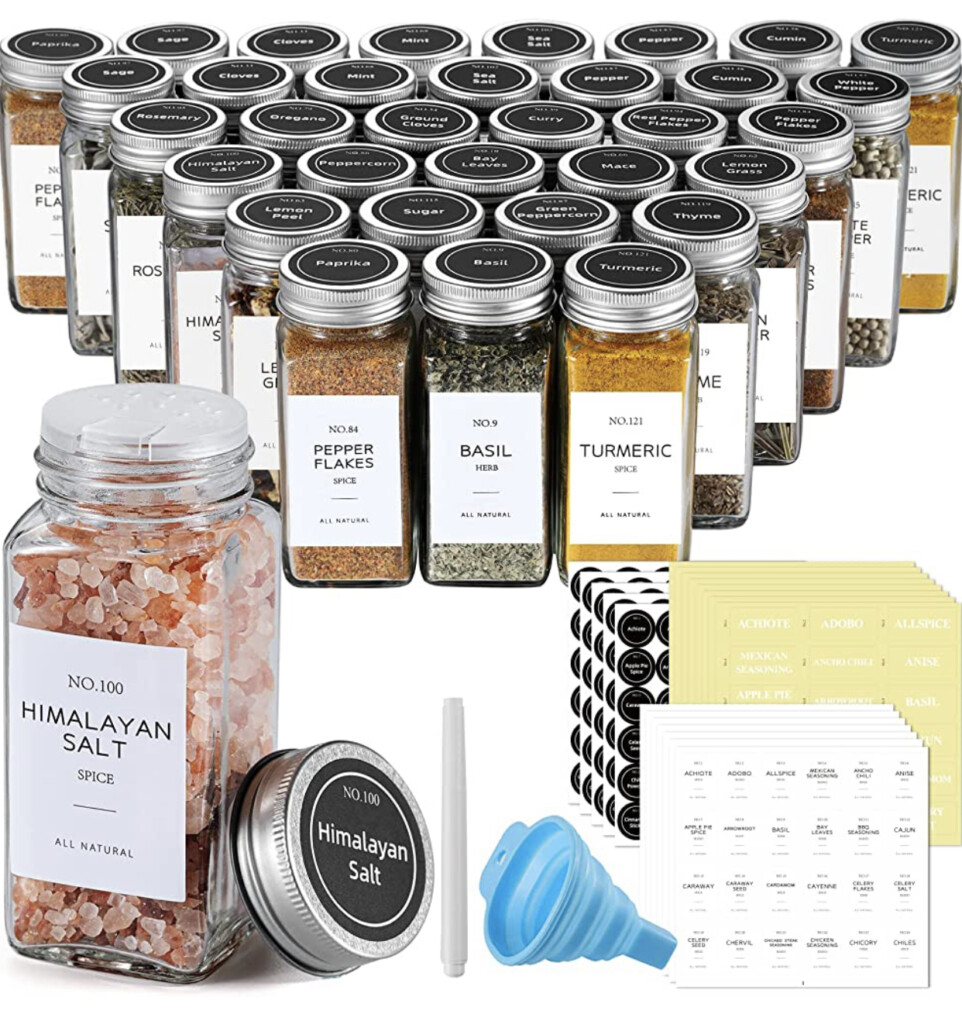

This clear shelf is hardly noticeable under the spices and helps the jars slant up on a tilt. This makes them easy to grab and helps them all stay in their place. I really love it. Because of the size of my drawer, I do have to put 5 jars in the very back spot. This is fine because they are spices I do not use often.
Now I have my baking spices and my cooking spices all organized! I have TRULY loved this project and every day find myself opening the drawer just to stare it it all. It is so mentally calming and makes using these spices during cooking a joy!
Tips & FAQ’s for Simple Kitchen Spice Jar Organization:
- How do you know when your spices will expire? The set I purchased comes with some small chalkboard stickers that are round and fit right underneath each jar lid. The set also comes with a chalk marker so you can mark and change the dates each time you refill a jar!
- Can you fit baking spoons in the jars? You can fit a 1/2 teaspoon in the set I bought, and a 1 teaspoon in the set with the wood lids.
- Is it hard to pour some spices with the rubber funnel the set comes with? YES! I learned it’s really hard to pour fine spices that get static through the funnel the set comes with. For really fine spices or spices that will clog the funnel (like dill weed) I would highly suggest using a sheet of paper rolled into a funnel. The spices will fall right down into the jar!
- Do you have to be careful not to get the spicy powders into your eyes while transferring? I didn’t have an issue with this, but if you pour the spices into the jars too quickly I can see how it might come back up into your eyes or face.
Prepping the jars:
- Did you wash all of the jars before organizing your spices? YES! I washed all of the jars in the dishwasher and hand washed the metal lids in soapy water, rinsed and fully dried before doing this project.
- Do you have any regrets about the set you bought? No! I absolutely love this set after 3 weeks of consistent use. I really like having them displayed on the tiered shelf they’re now on.
- Did you have to order additional labels? NO! This set came with every single label I needed and a TON extra! It also comes with blank sheets and different styles (Like clear or round for the lid tops).
- How did you get the labels all on evenly? The most efficient way to do this would probably be to build a little wood jig. I didn’t have the patience to wait to make one so I simply used a ruler and measured 1/2″ from the bottom of each jar and placed 1/4 of the sticker on the ruler to make sure it was straight. I then took the sticker on the ruler and placed it on the jar (1/2″ up from the bottom) and stuck the sticker on. This worked quickly and easily! You could also make a little template out of frog/painters tape and move it jar to jar. Using a damp cloth to set the jars on really helps hold them in place while you’re applying the label.

Thank you so much for stopping by the blog today! I hope you feel inspired to organize a frequently used space in your home. Enjoy the mental calm and happiness it can bring!


