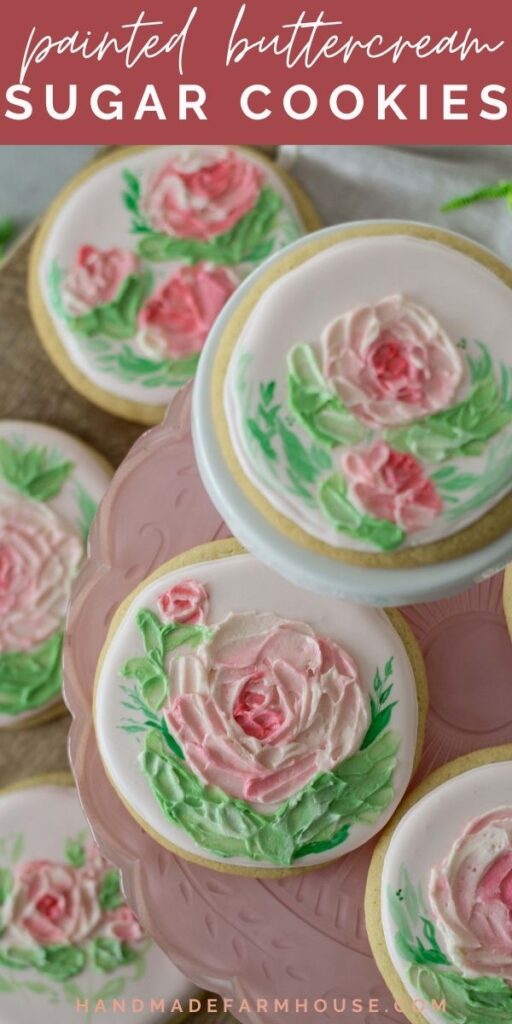
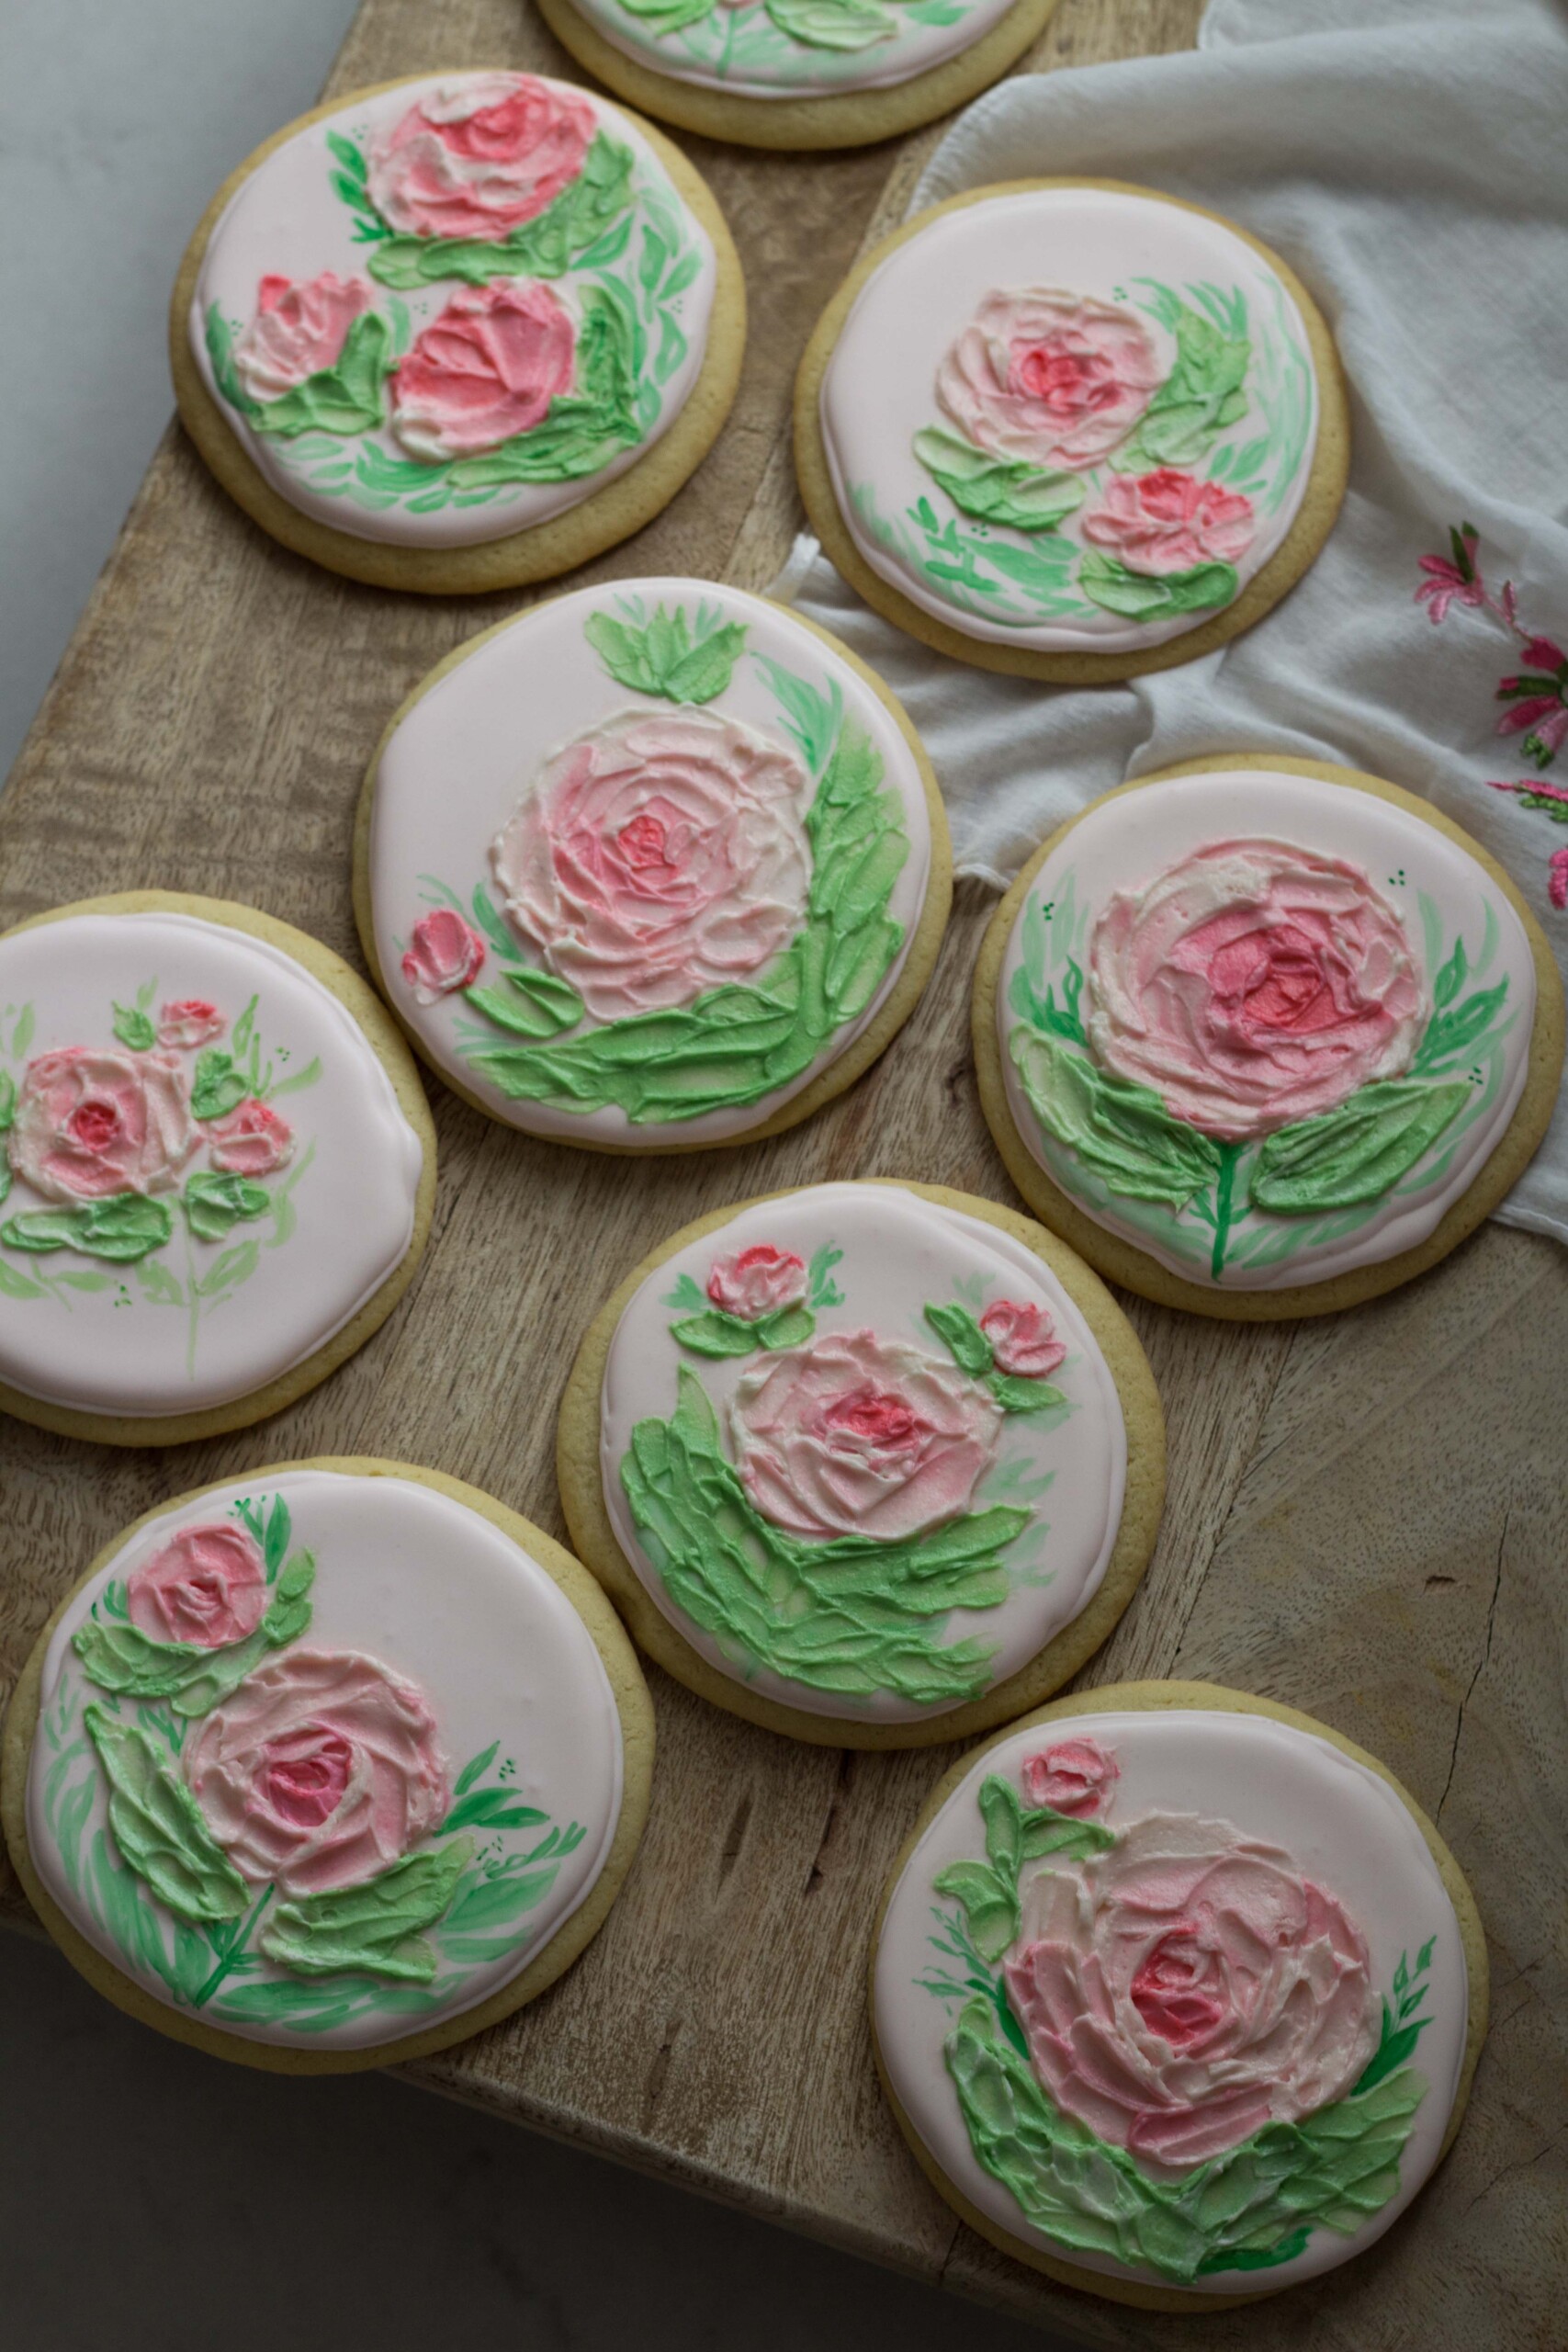
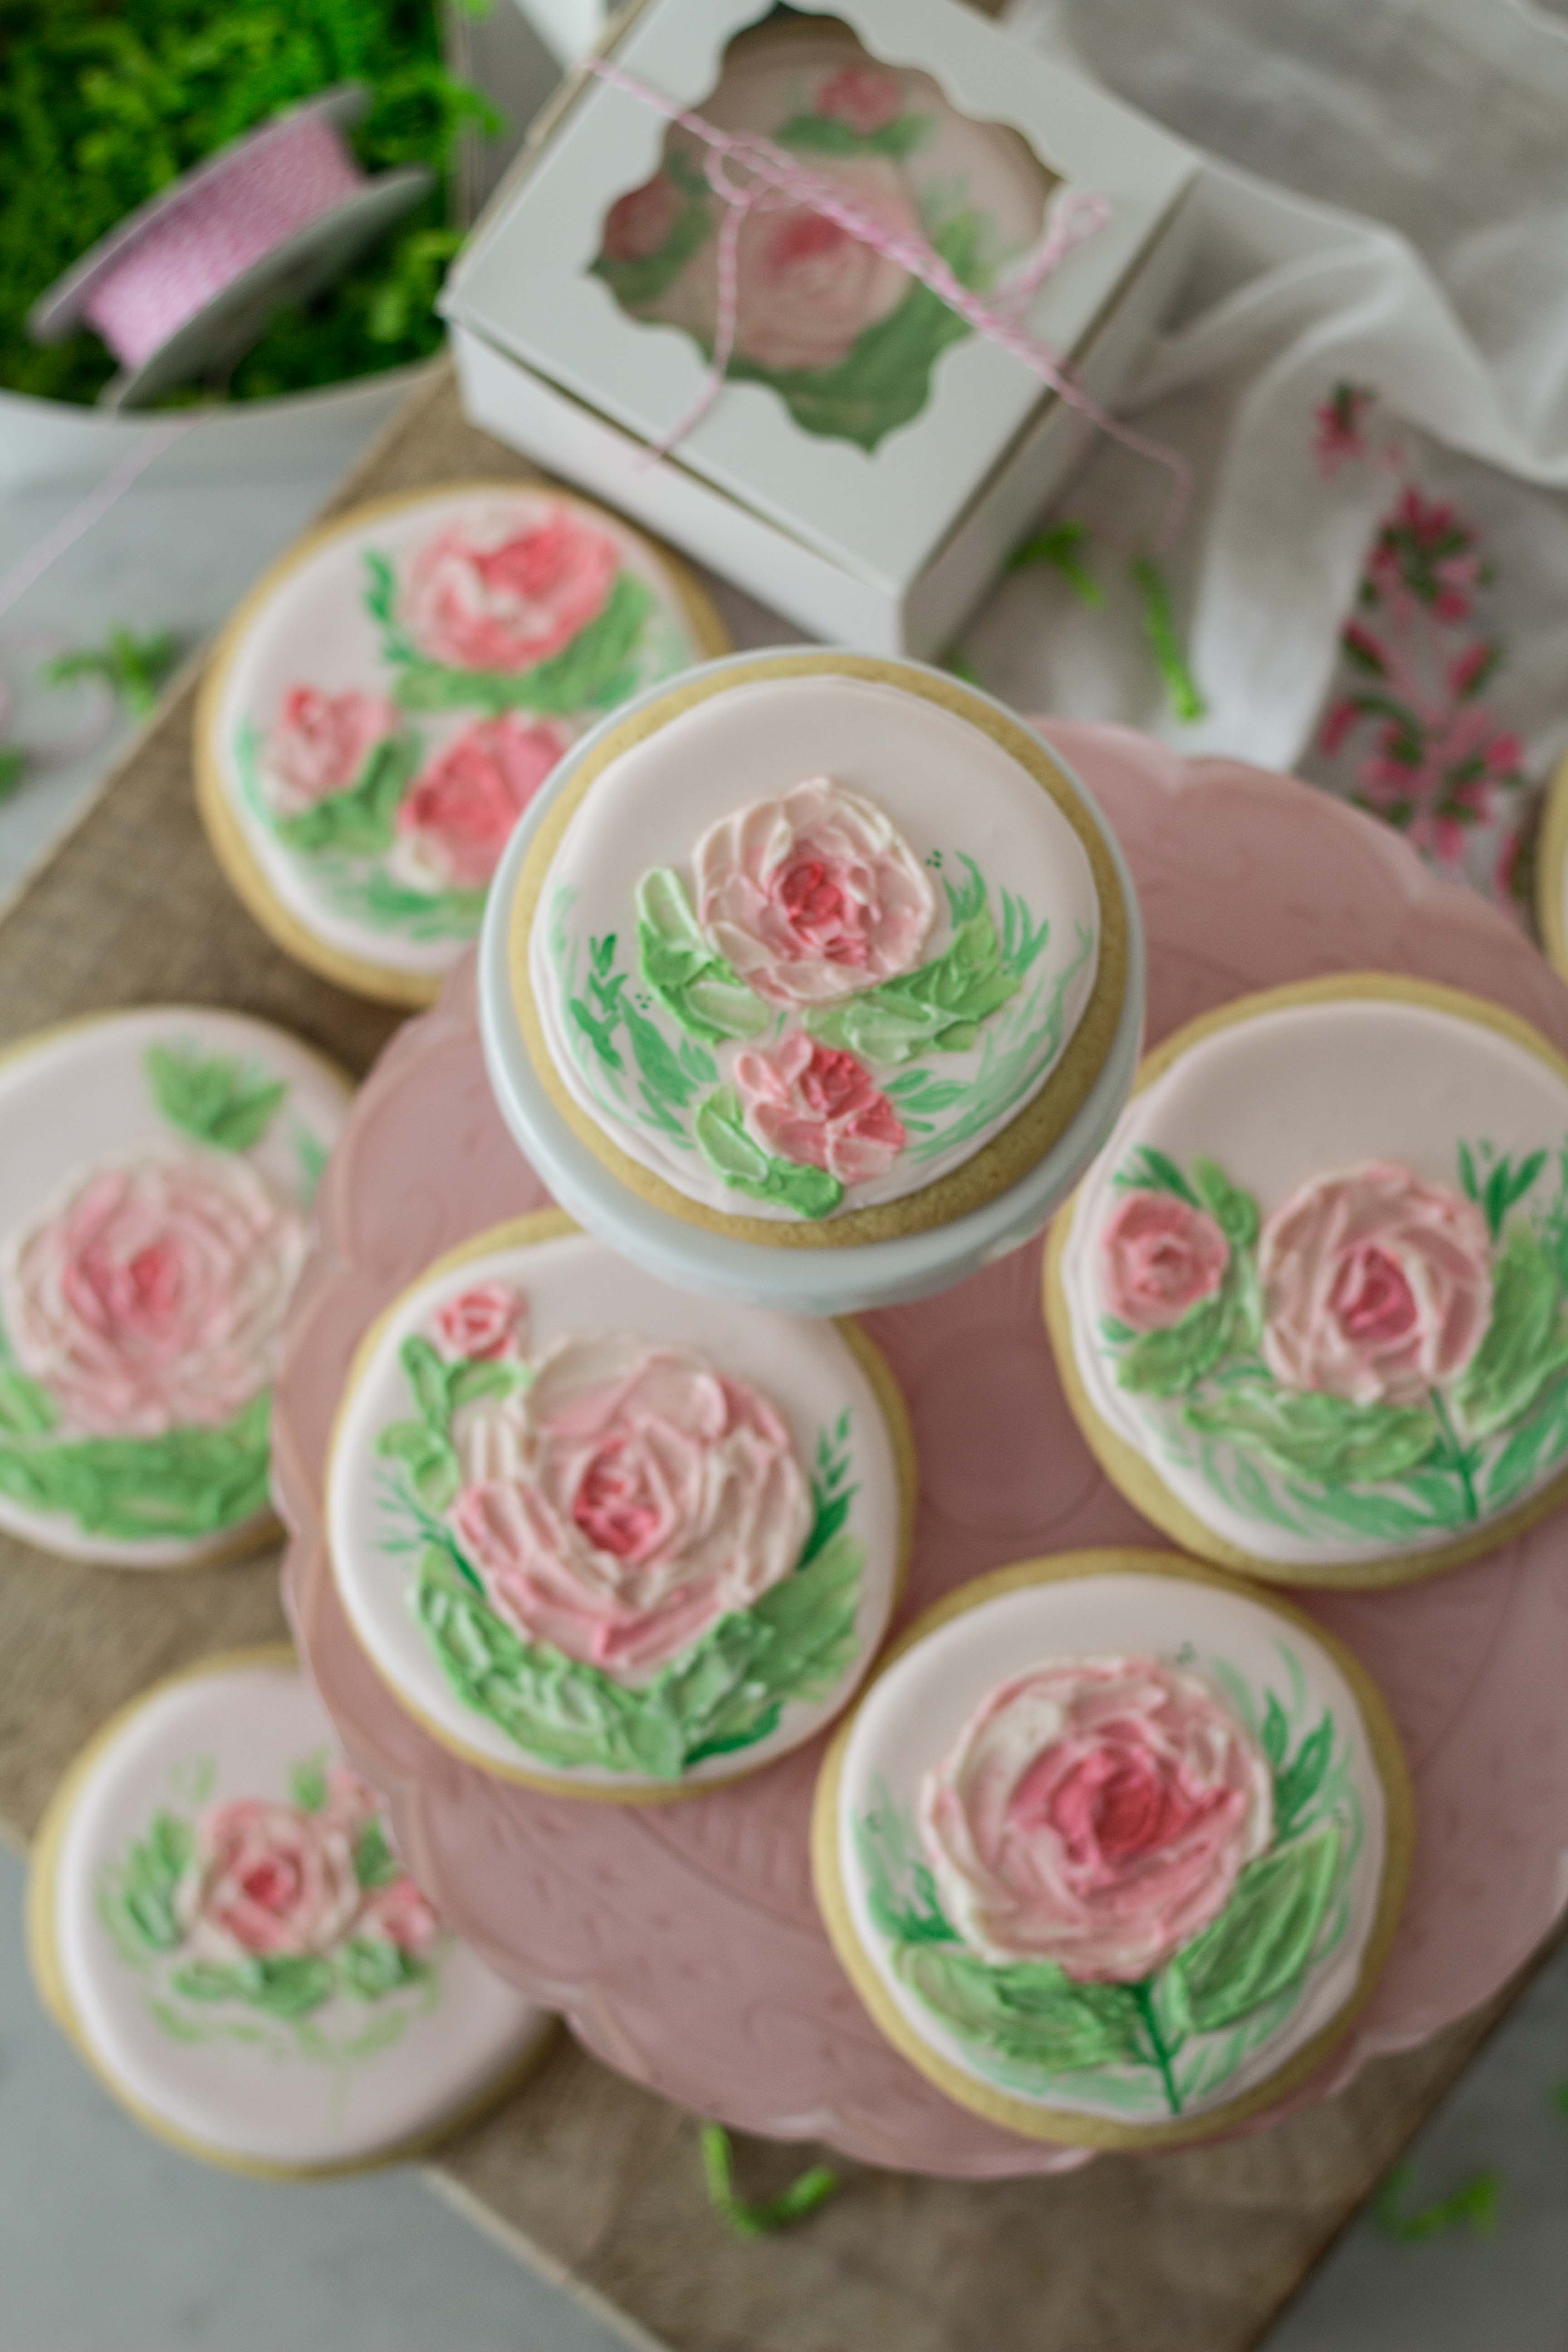
Friends, I’m not sure I have been more excited to share a post with you! These painted buttercream sugar cookies were SO much fun for me to create. I had the idea to use these little cookies as a mini canvas for an “oil painting” look. I am thrilled to tell you this technique is quite simple while working with a whipped buttercream frosting.
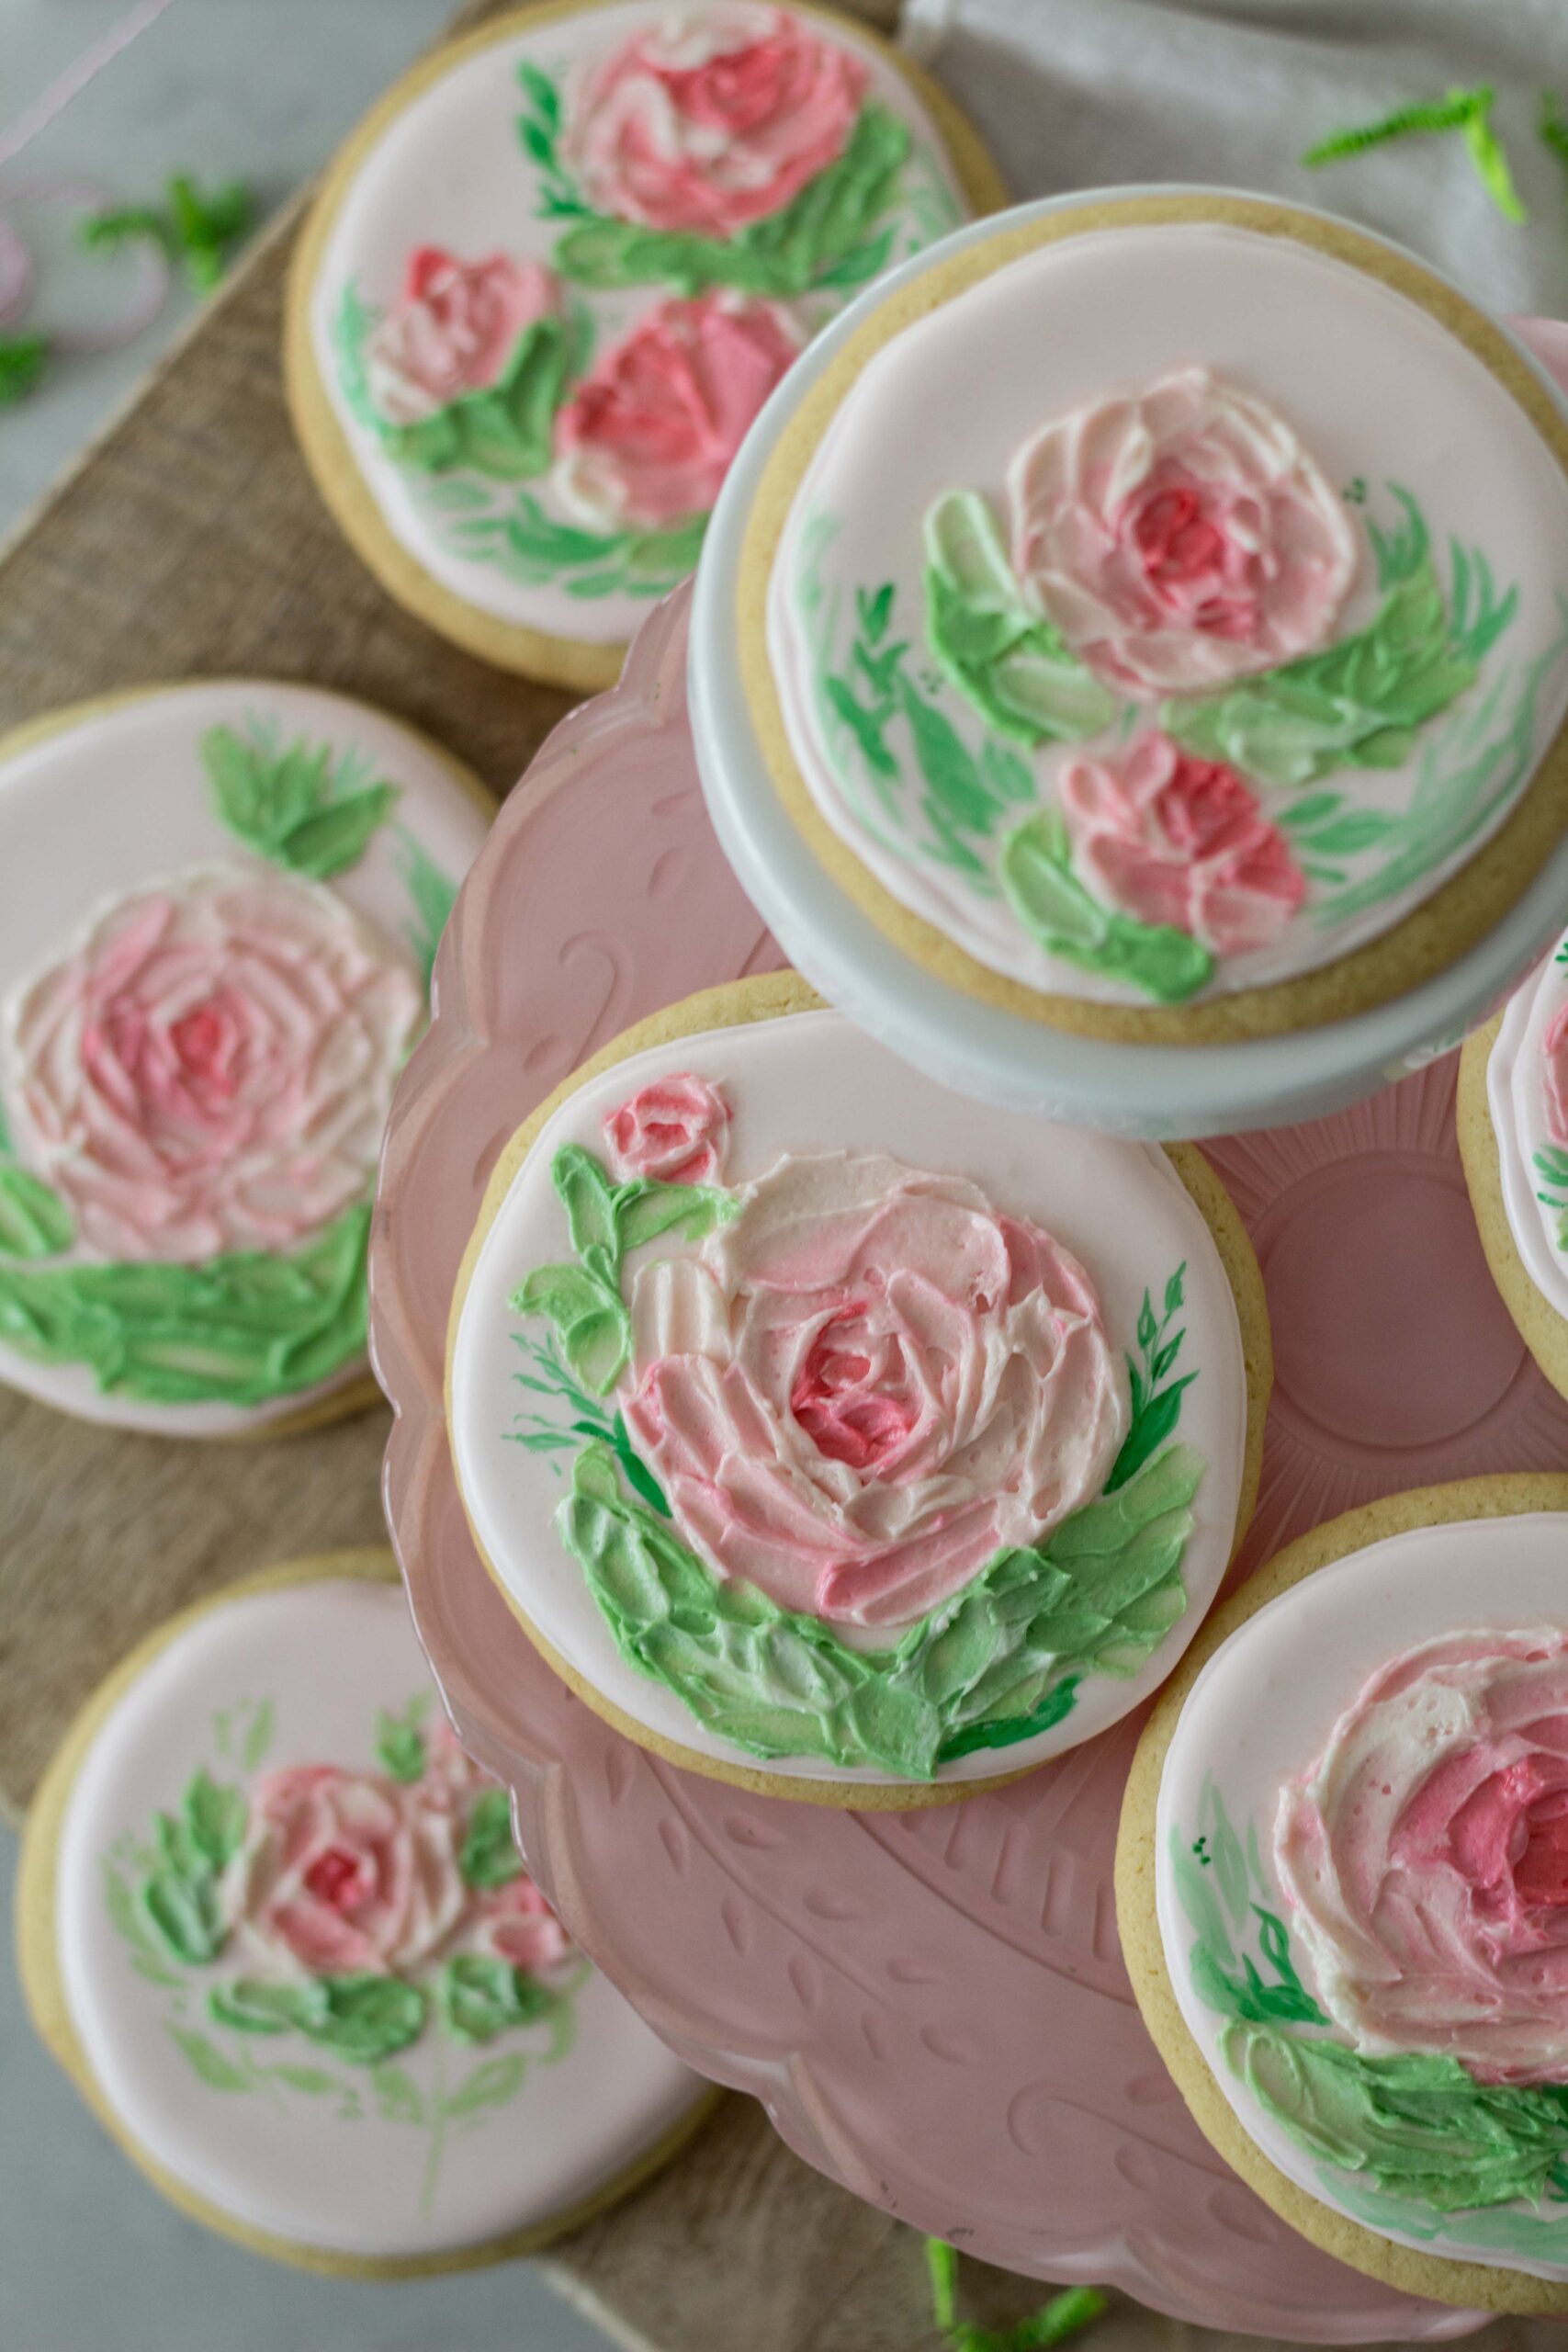
In this post I will share each step of how I made these pretty little spring cookies, so lets get started!
This post contains affiliate links, which means I may make a small commission on linkable items at no additional cost to you. Full disclosure here.
the cookie
A couple of years ago a friend shared her family sugar cookie recipe with me. It caught my attention because you do not have to chill the dough! For me that is a win, as most all sugar cookie dough recipes require chilling. Even better than that, the flavor and soft texture of these cookies is off the charts delish! You will love this recipe for every season and any holiday. You can find this recipe for The Best Sugar Cookies HERE!
royal frosting
After your cookies are baked, you’ll want to get started with your Royal frosting. Royal frosting make you nervous? Me too! Don’t worry, I have a recipe that is SO easy to follow. This recipe from Martha Stewart is the one I followed. I added a tiny bit of pink gel coloring just to create a background that would be cohesive with my pink florals. I used meringue powder, not egg whites, and it worked perfect!
If you’re looking for good food coloring, I would highly suggest these food color gels. It’s what I use for my painted macarons as well!
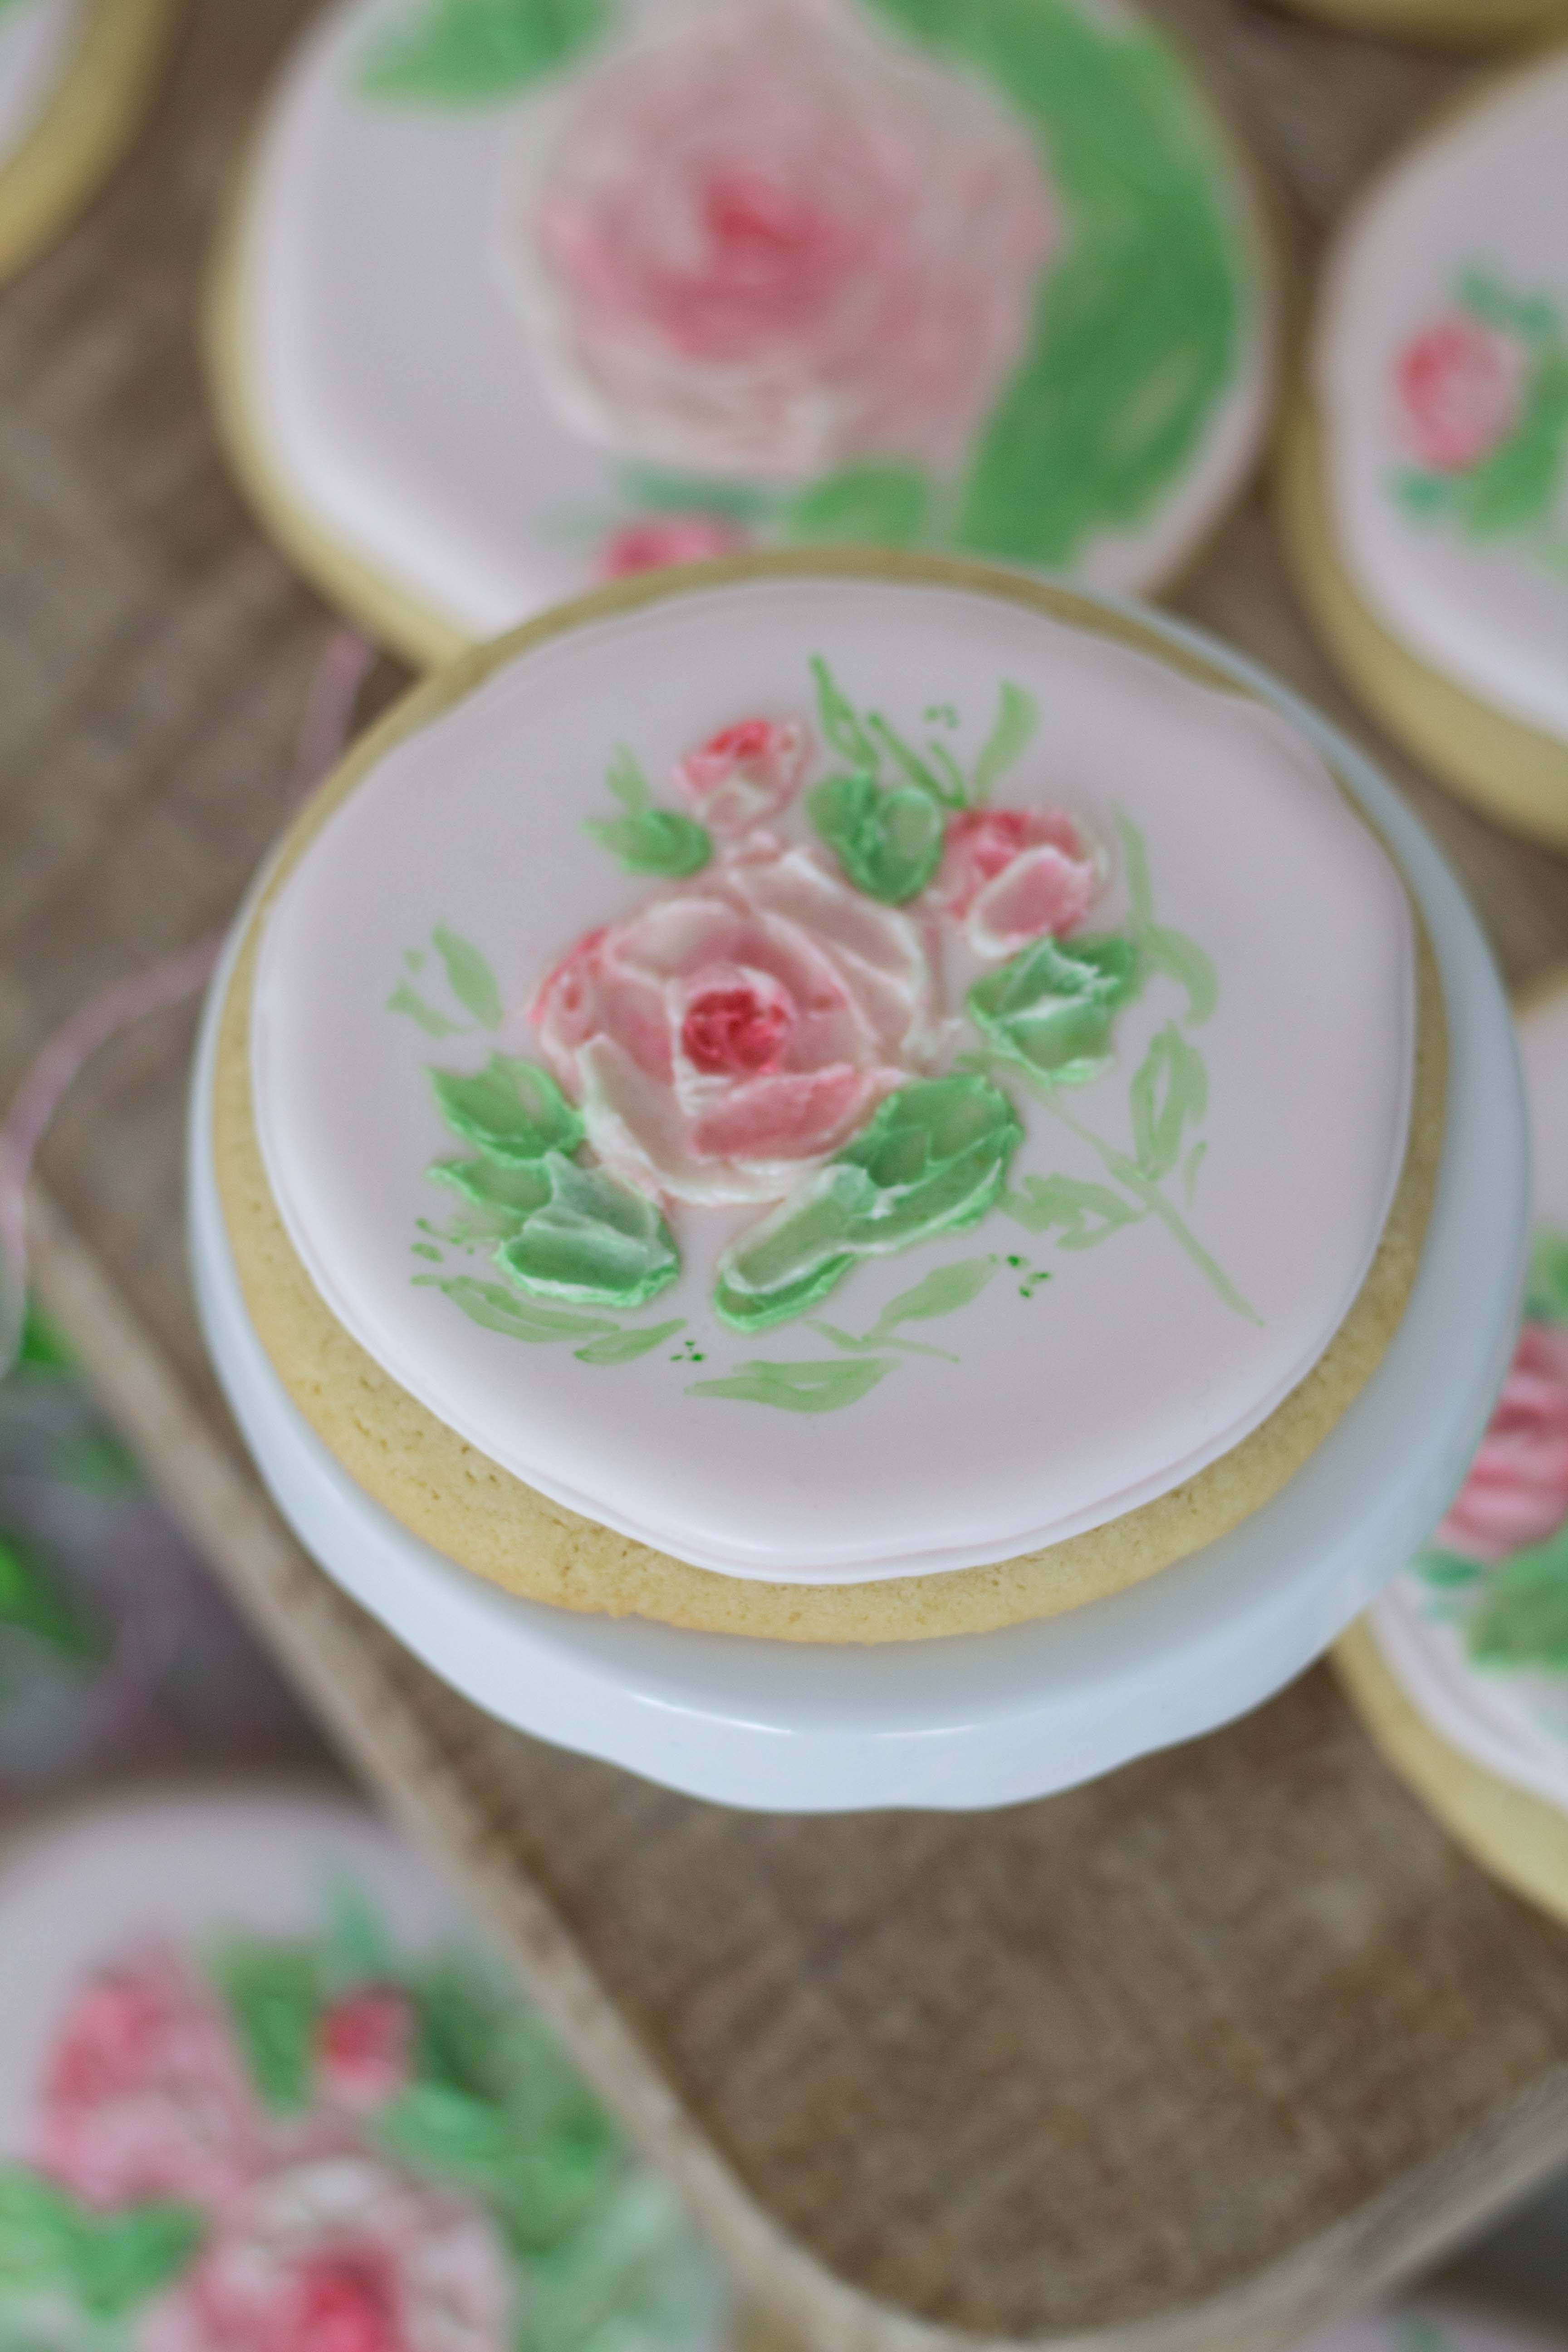
All done with your royal frosting? You will want to give the cookies some time to really set so that you can use the palette knife for the next layer. While the cookies are setting, lets get started making the whipped buttercream. This frosting recipe is a keeper, let me tell you! It really has the consistency and texture of a whipped butter so it works great for cupcake or layer cake filling.
whipped buttercream
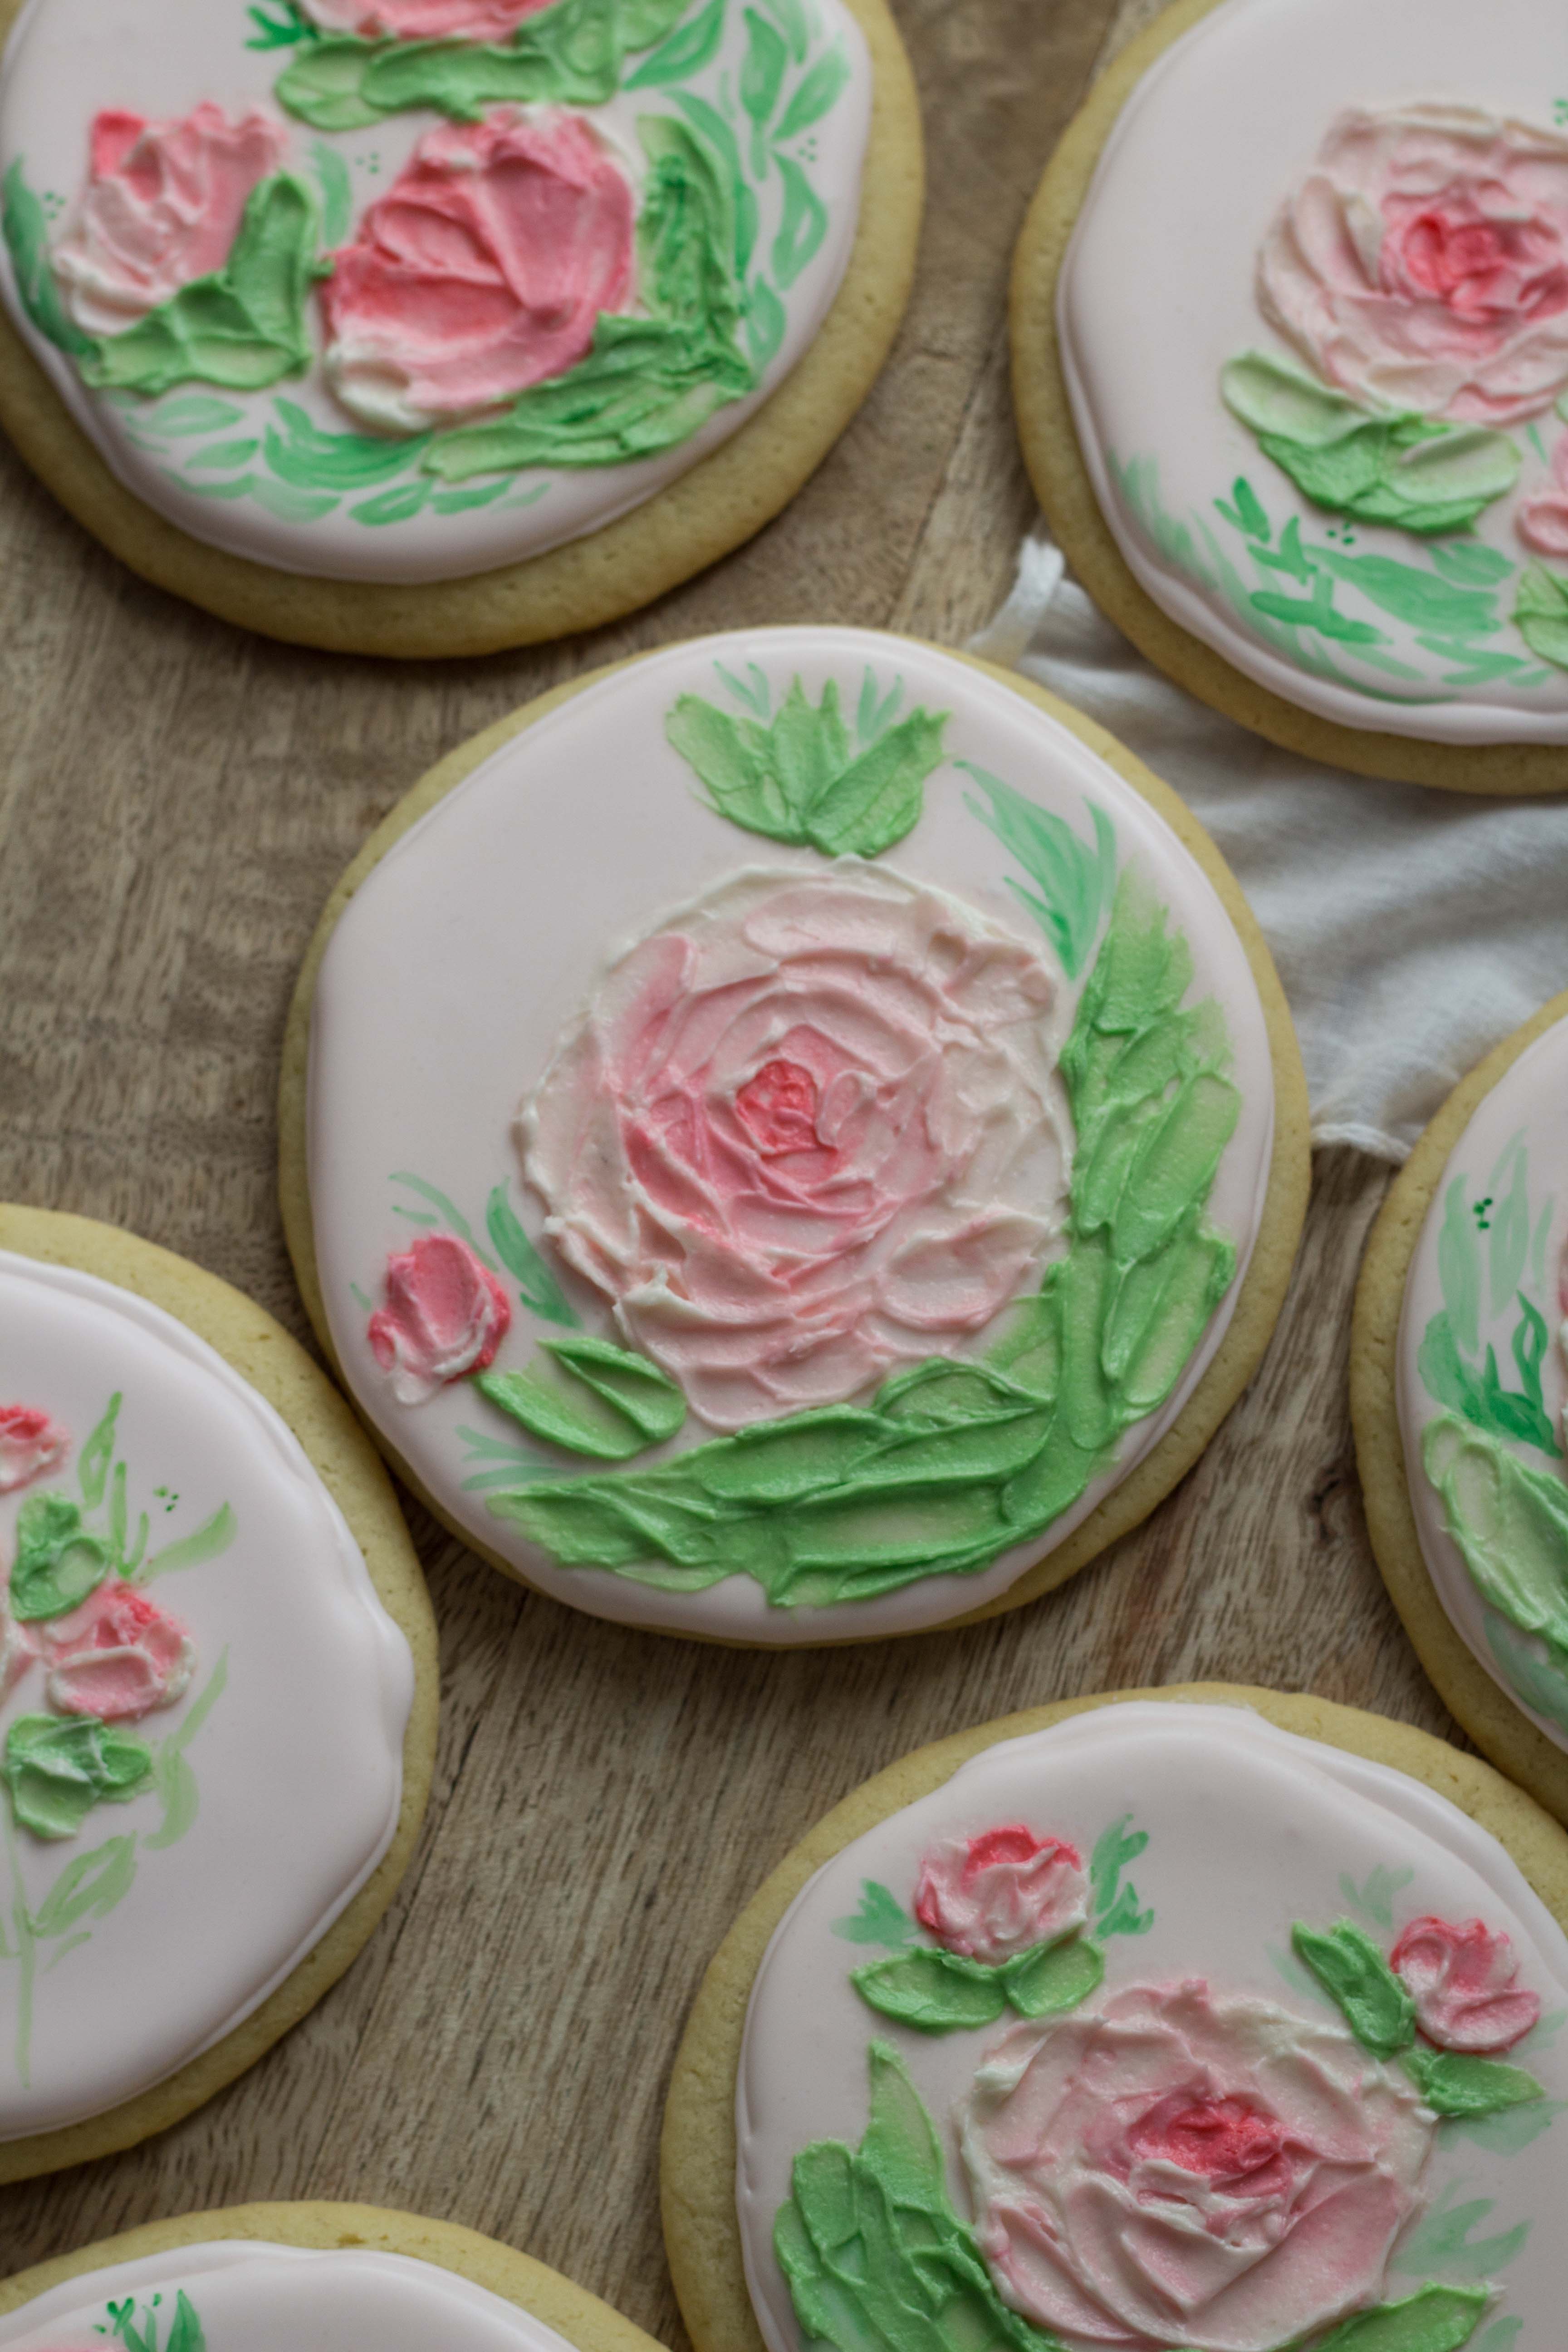
The whipped buttercream also works perfectly for this “painted” technique because it’s soft and easy to manipulate without drying.
Whipped Buttercream Frosting
Ingredients
- 3 tablespoons all purpose flour
- 1/2 cup milk
- 1/2 cup salted butter
- 1/2 cup granulated sugar
- 1 teaspoon vanilla extract (lemon, almond or orange is also delish!)
Instructions
- Whisk together flour and the milk in a small saucepan and cook, whisking constantly, over medium heat until it starts to thicken. It should look like thick pudding. Remove from heat and use a whisk to whip the mixture until completely smooth with no lumps. Chill in the fridge until completely cool. In an electric stand mixer, beat the butter and sugar until incorporated and fluffy. While the mixer is running, add the cooled mixture of flour and milk. Add the flavoring. Beat for 5-7 minutes on the highest speed you can without it spraying out of the bowl. When the frosting is velvety smooth, use it to fill cupcakes, layer cakes, pastries or as a frosting for any dessert.
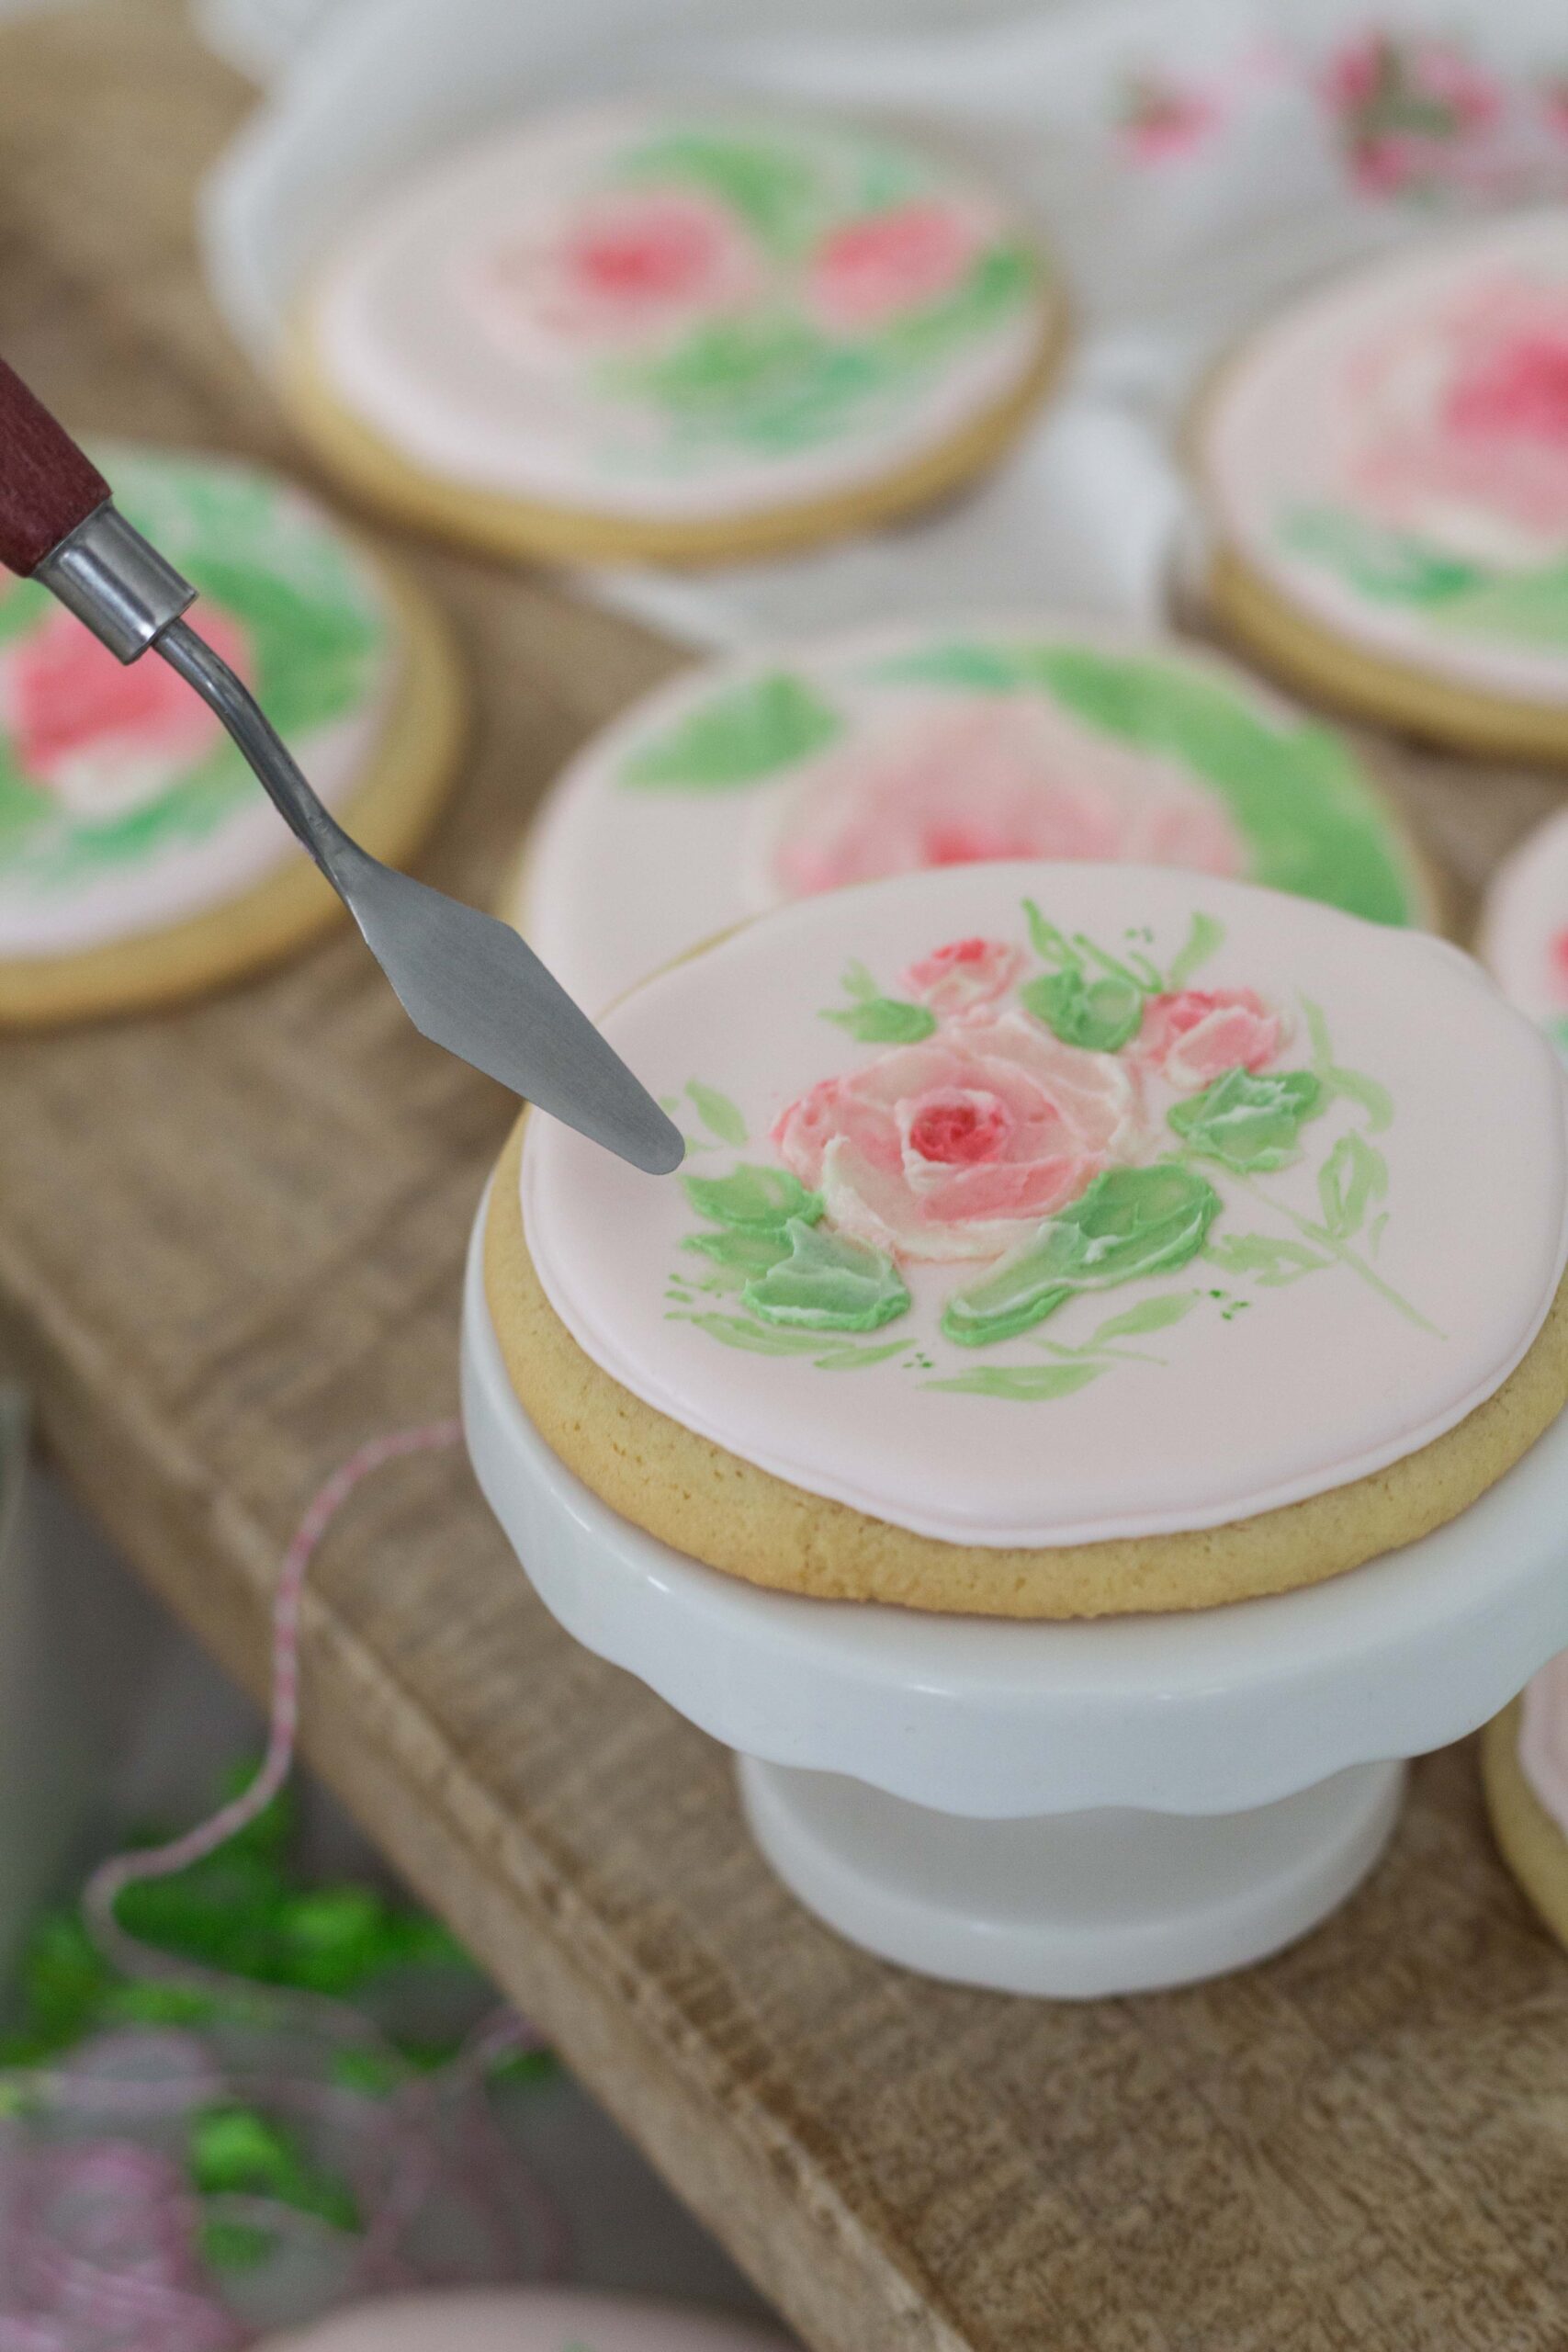
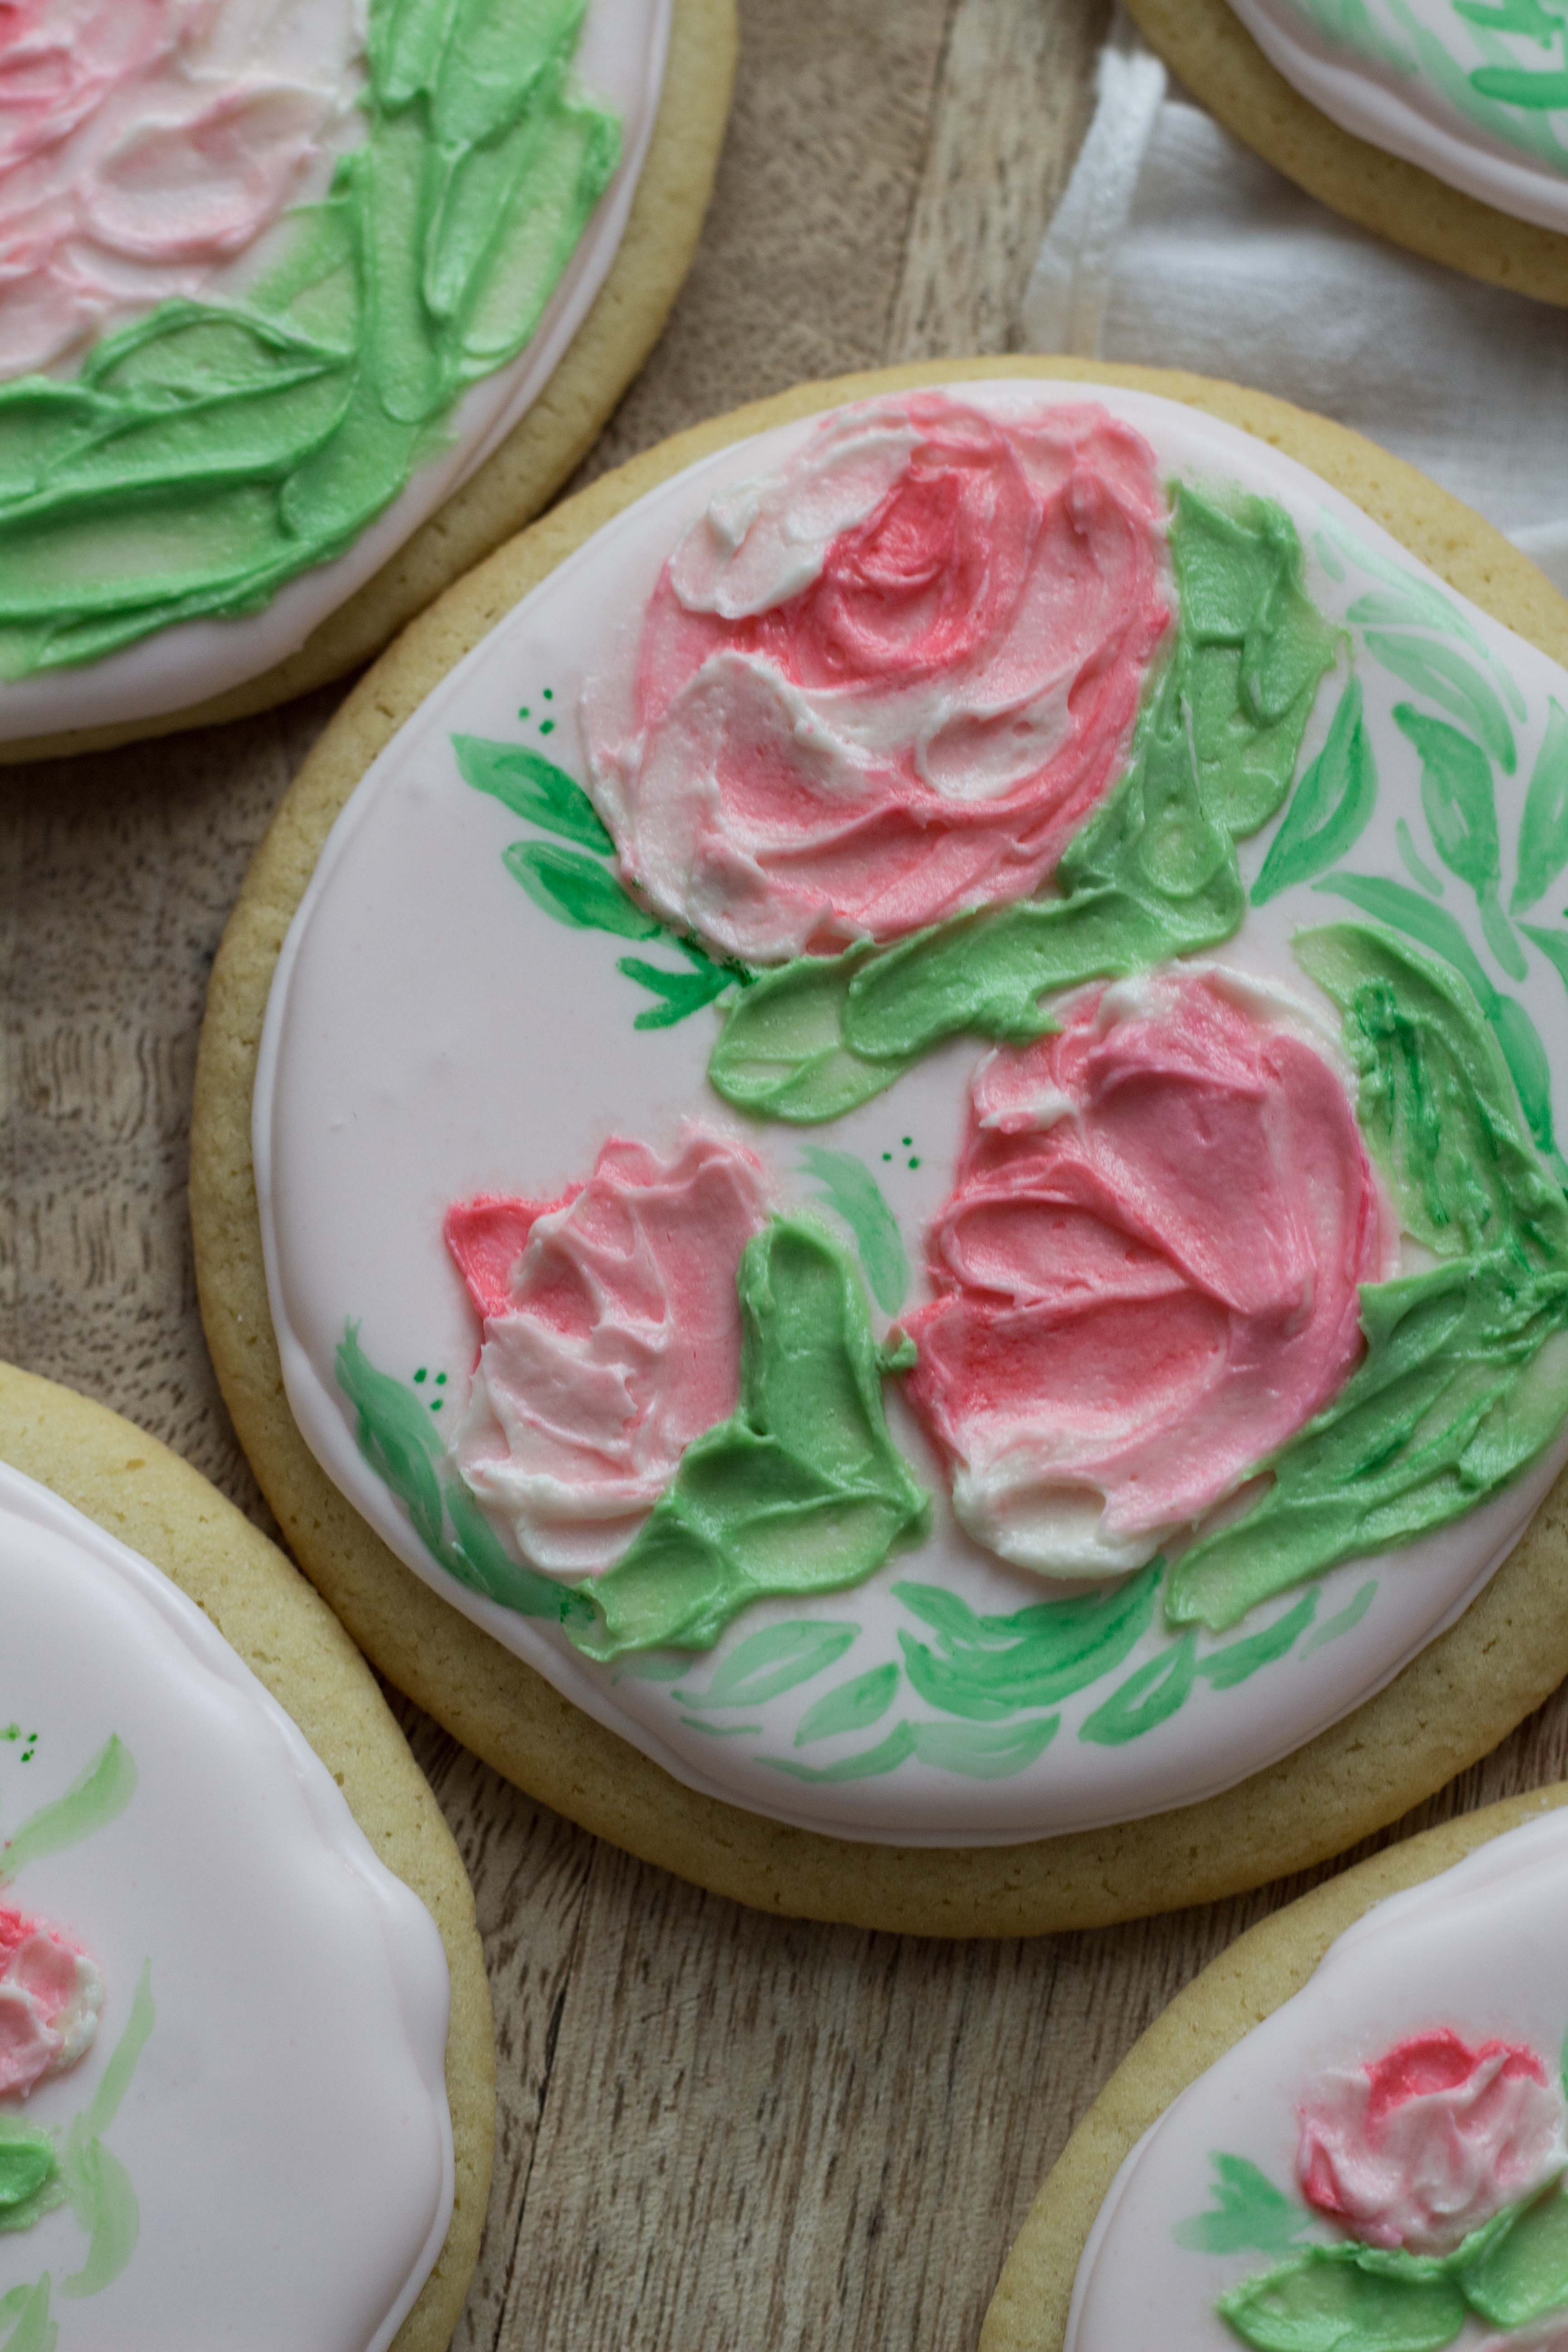
Once your whipped buttercream is ready, you can choose your colors and mix a few different colors in small cups or on your plate or palette board. This is so fun, the options are limitless! I thought it would be really fun to do sunflowers, lilacs, wildflowers or lavender!
For this technique, you will need a set of these palette knives. You can find them at most craft stores or grab these inexpensive ones on Amazon!
A brush set like this is fun for “painting” fine details on the cookies with a mix of food color gels and clear extract. Make sure you save the brushes in the kitchen so they’re only used on food!
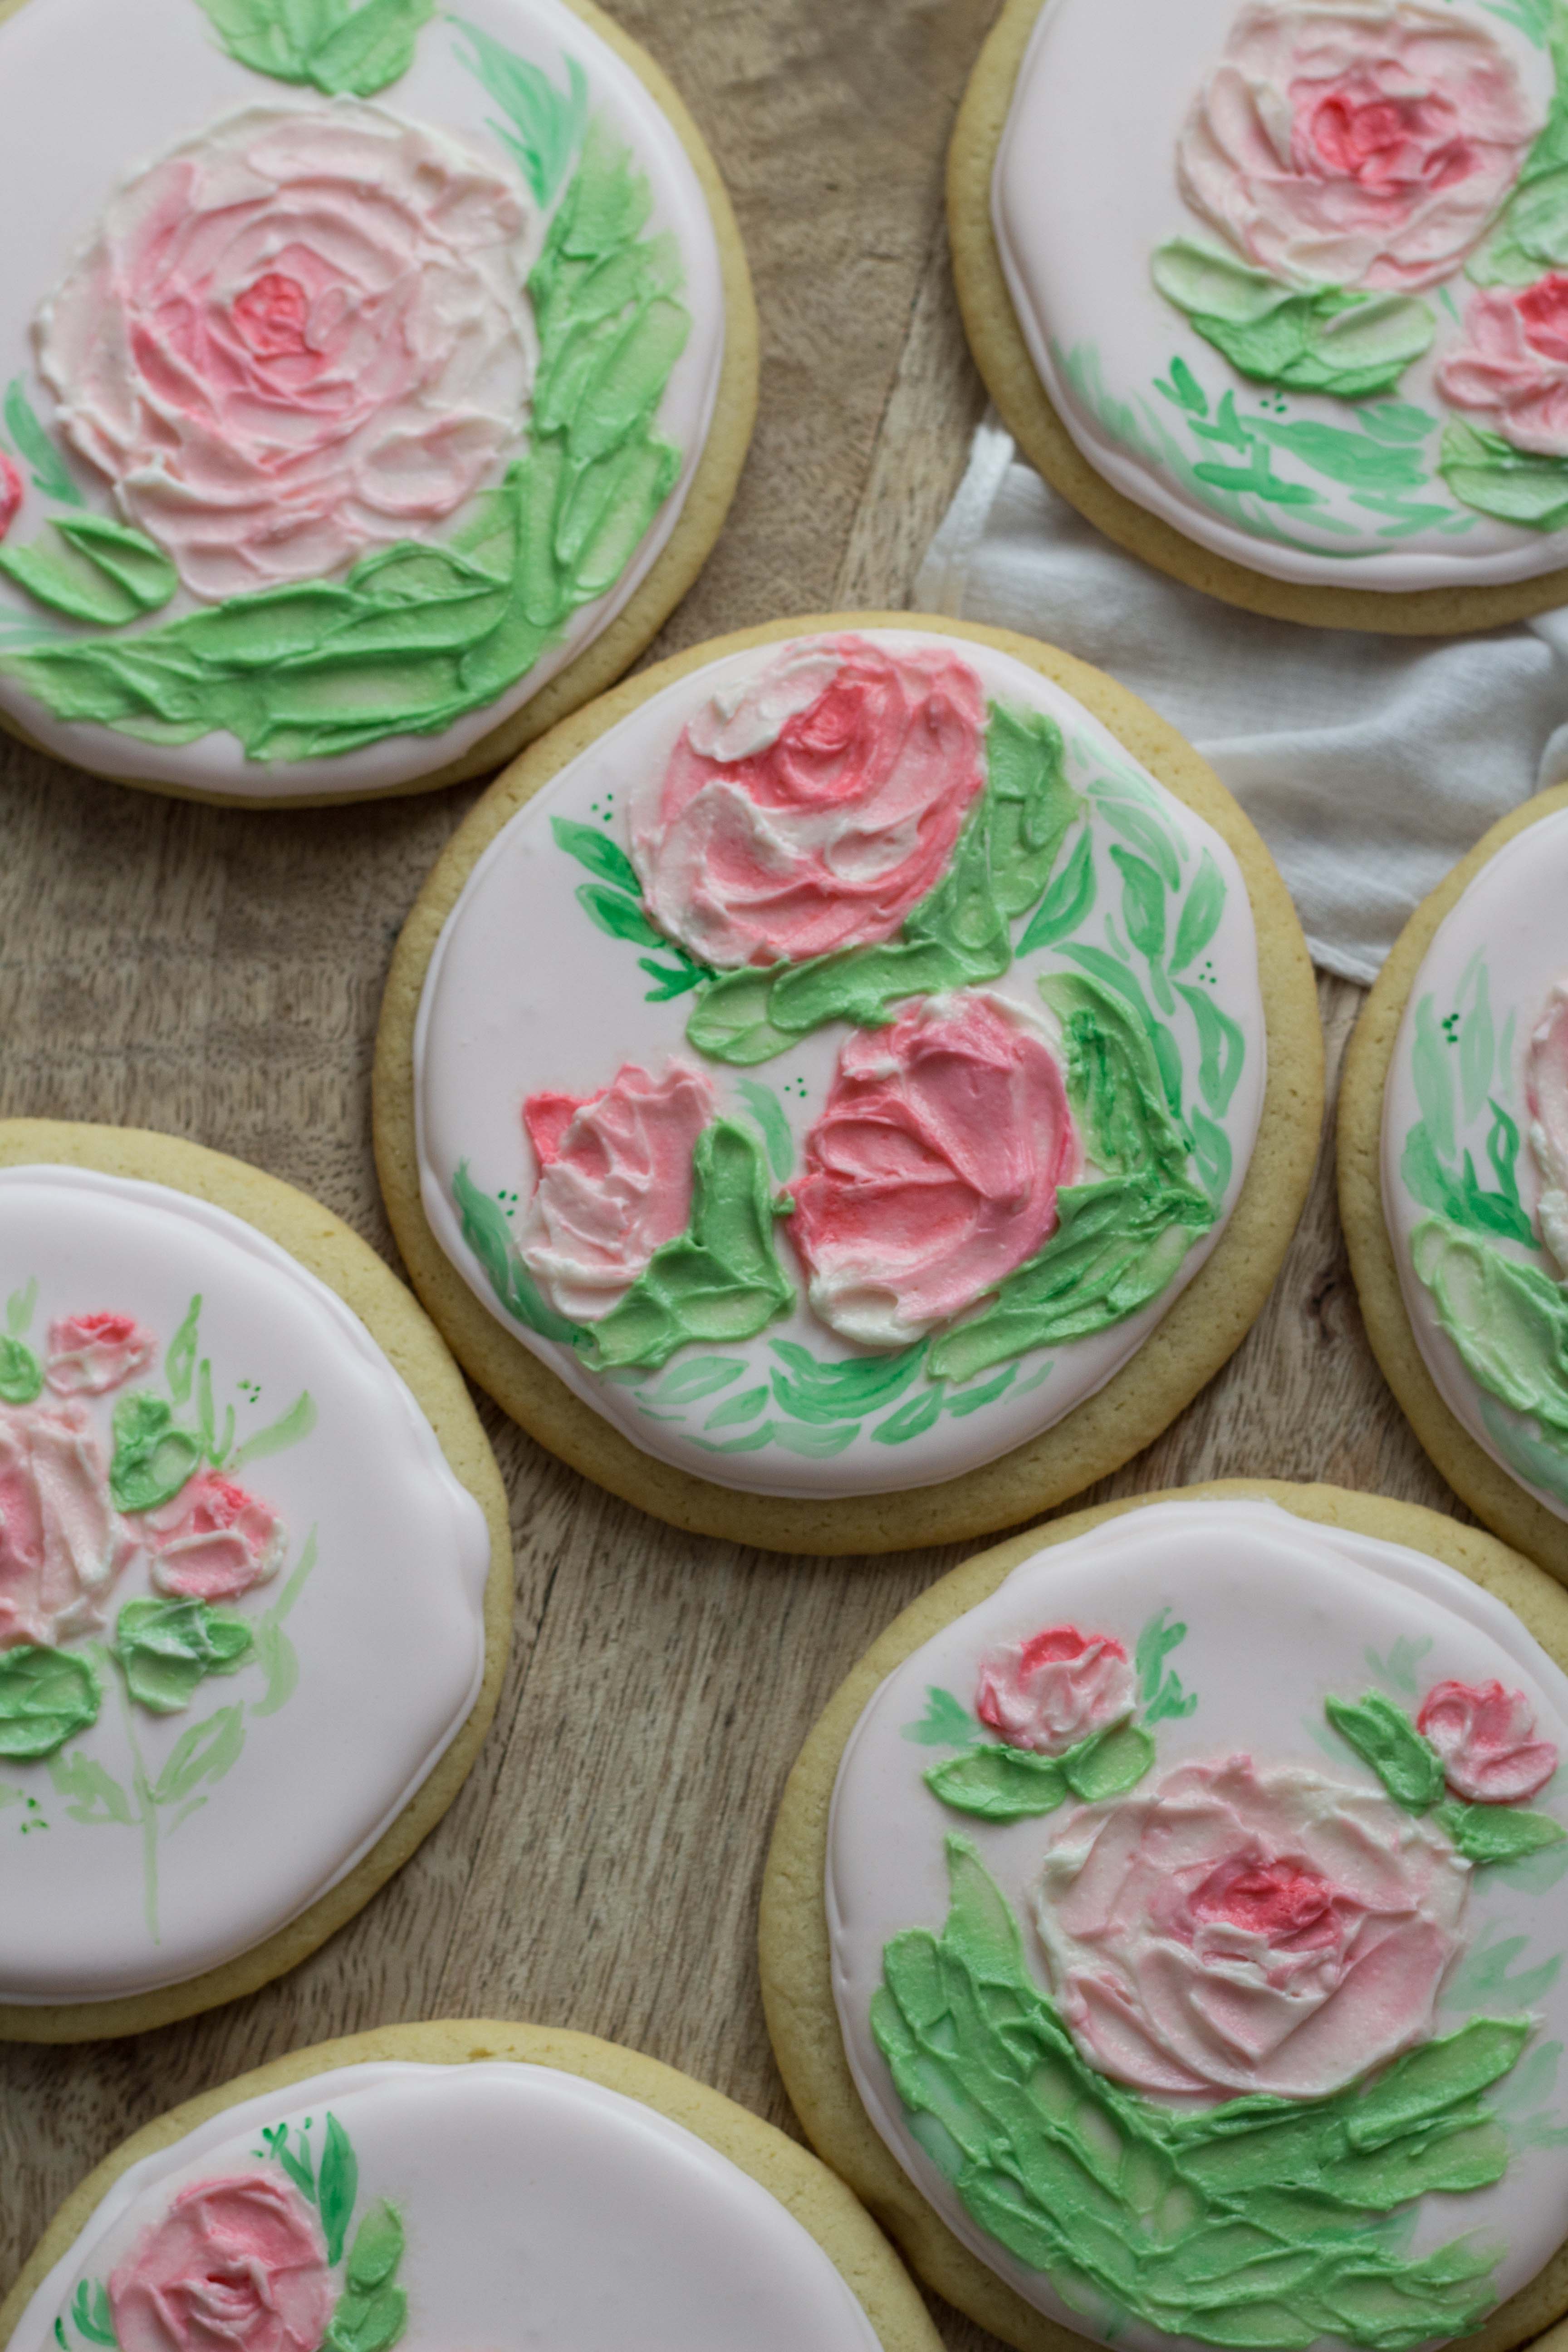
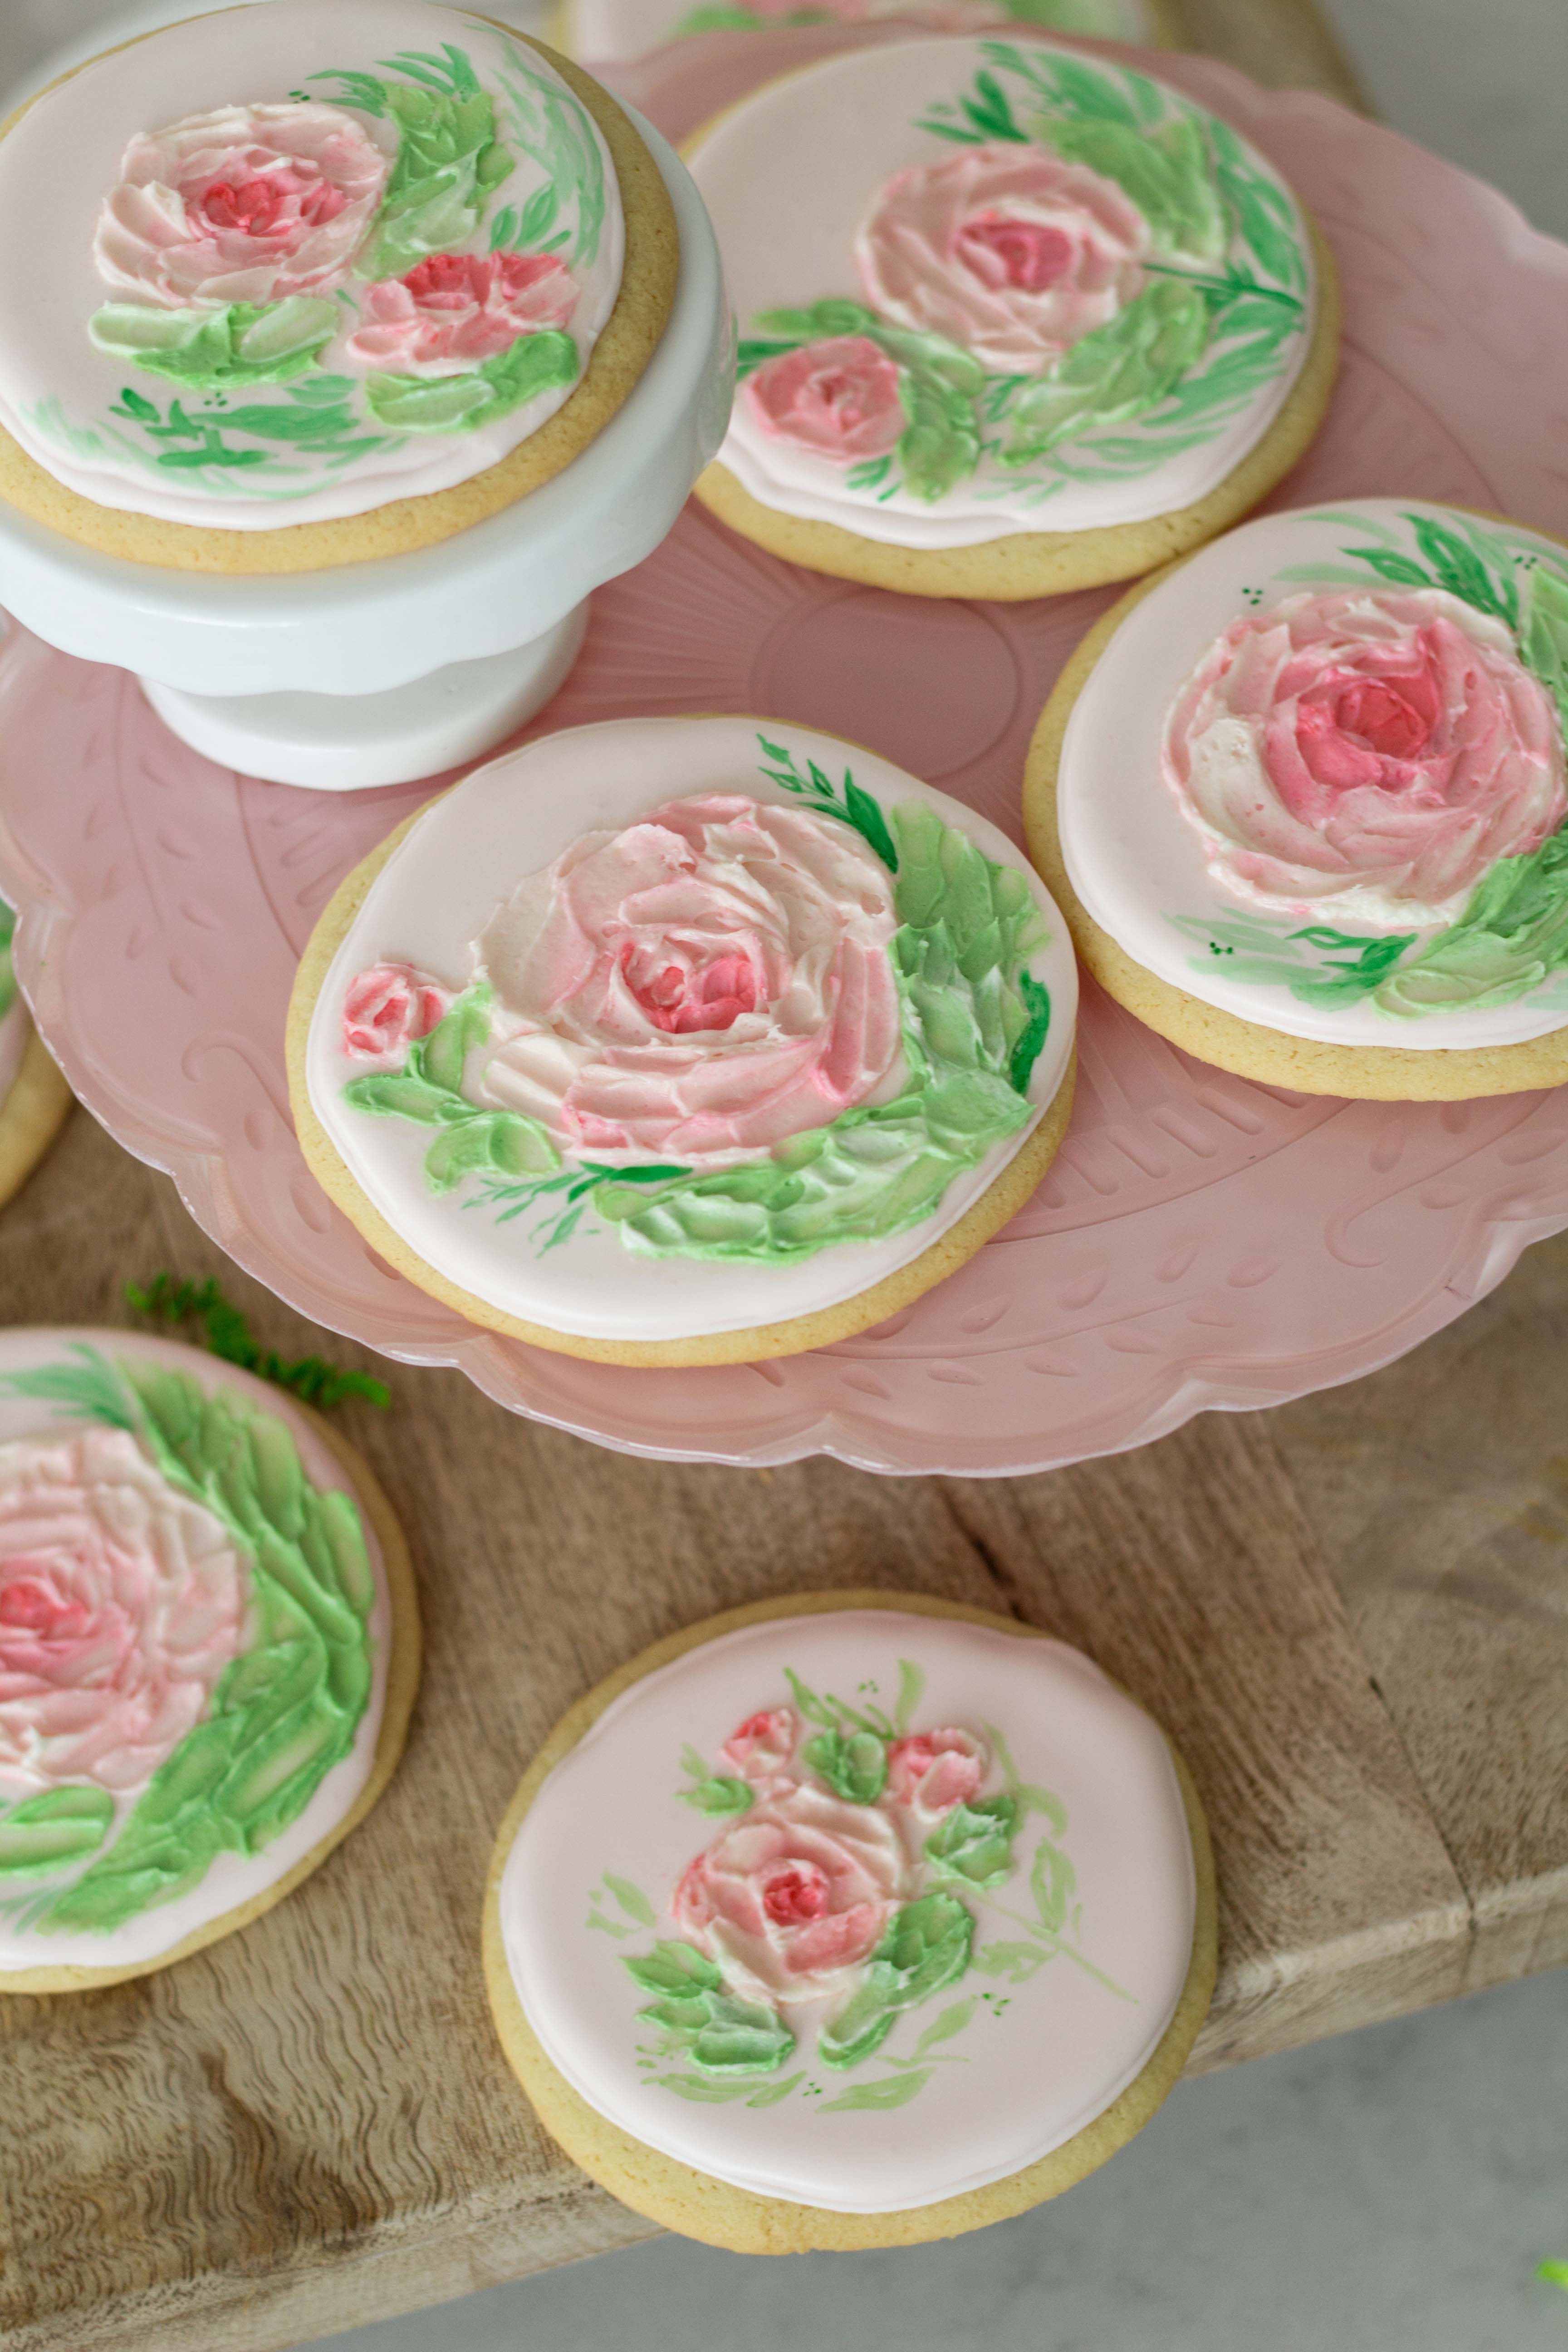
tips for “painting” buttercream with a palette knife:
- Mix your colors in small cups and then add frosting to a plate so its easy to spread with the palette knife.
- Layer colors starting with the darkest in the center and growing lighter as the flower grows. This works great for roses!
- Use two greens for the leaves. You can add a little bit of brown gel to make the leaves a bit less neon and more realistic in color.
- Use clear extract mixed with a little gel coloring and a paintbrush to make some additional vines and leaves on the Royal frosting.
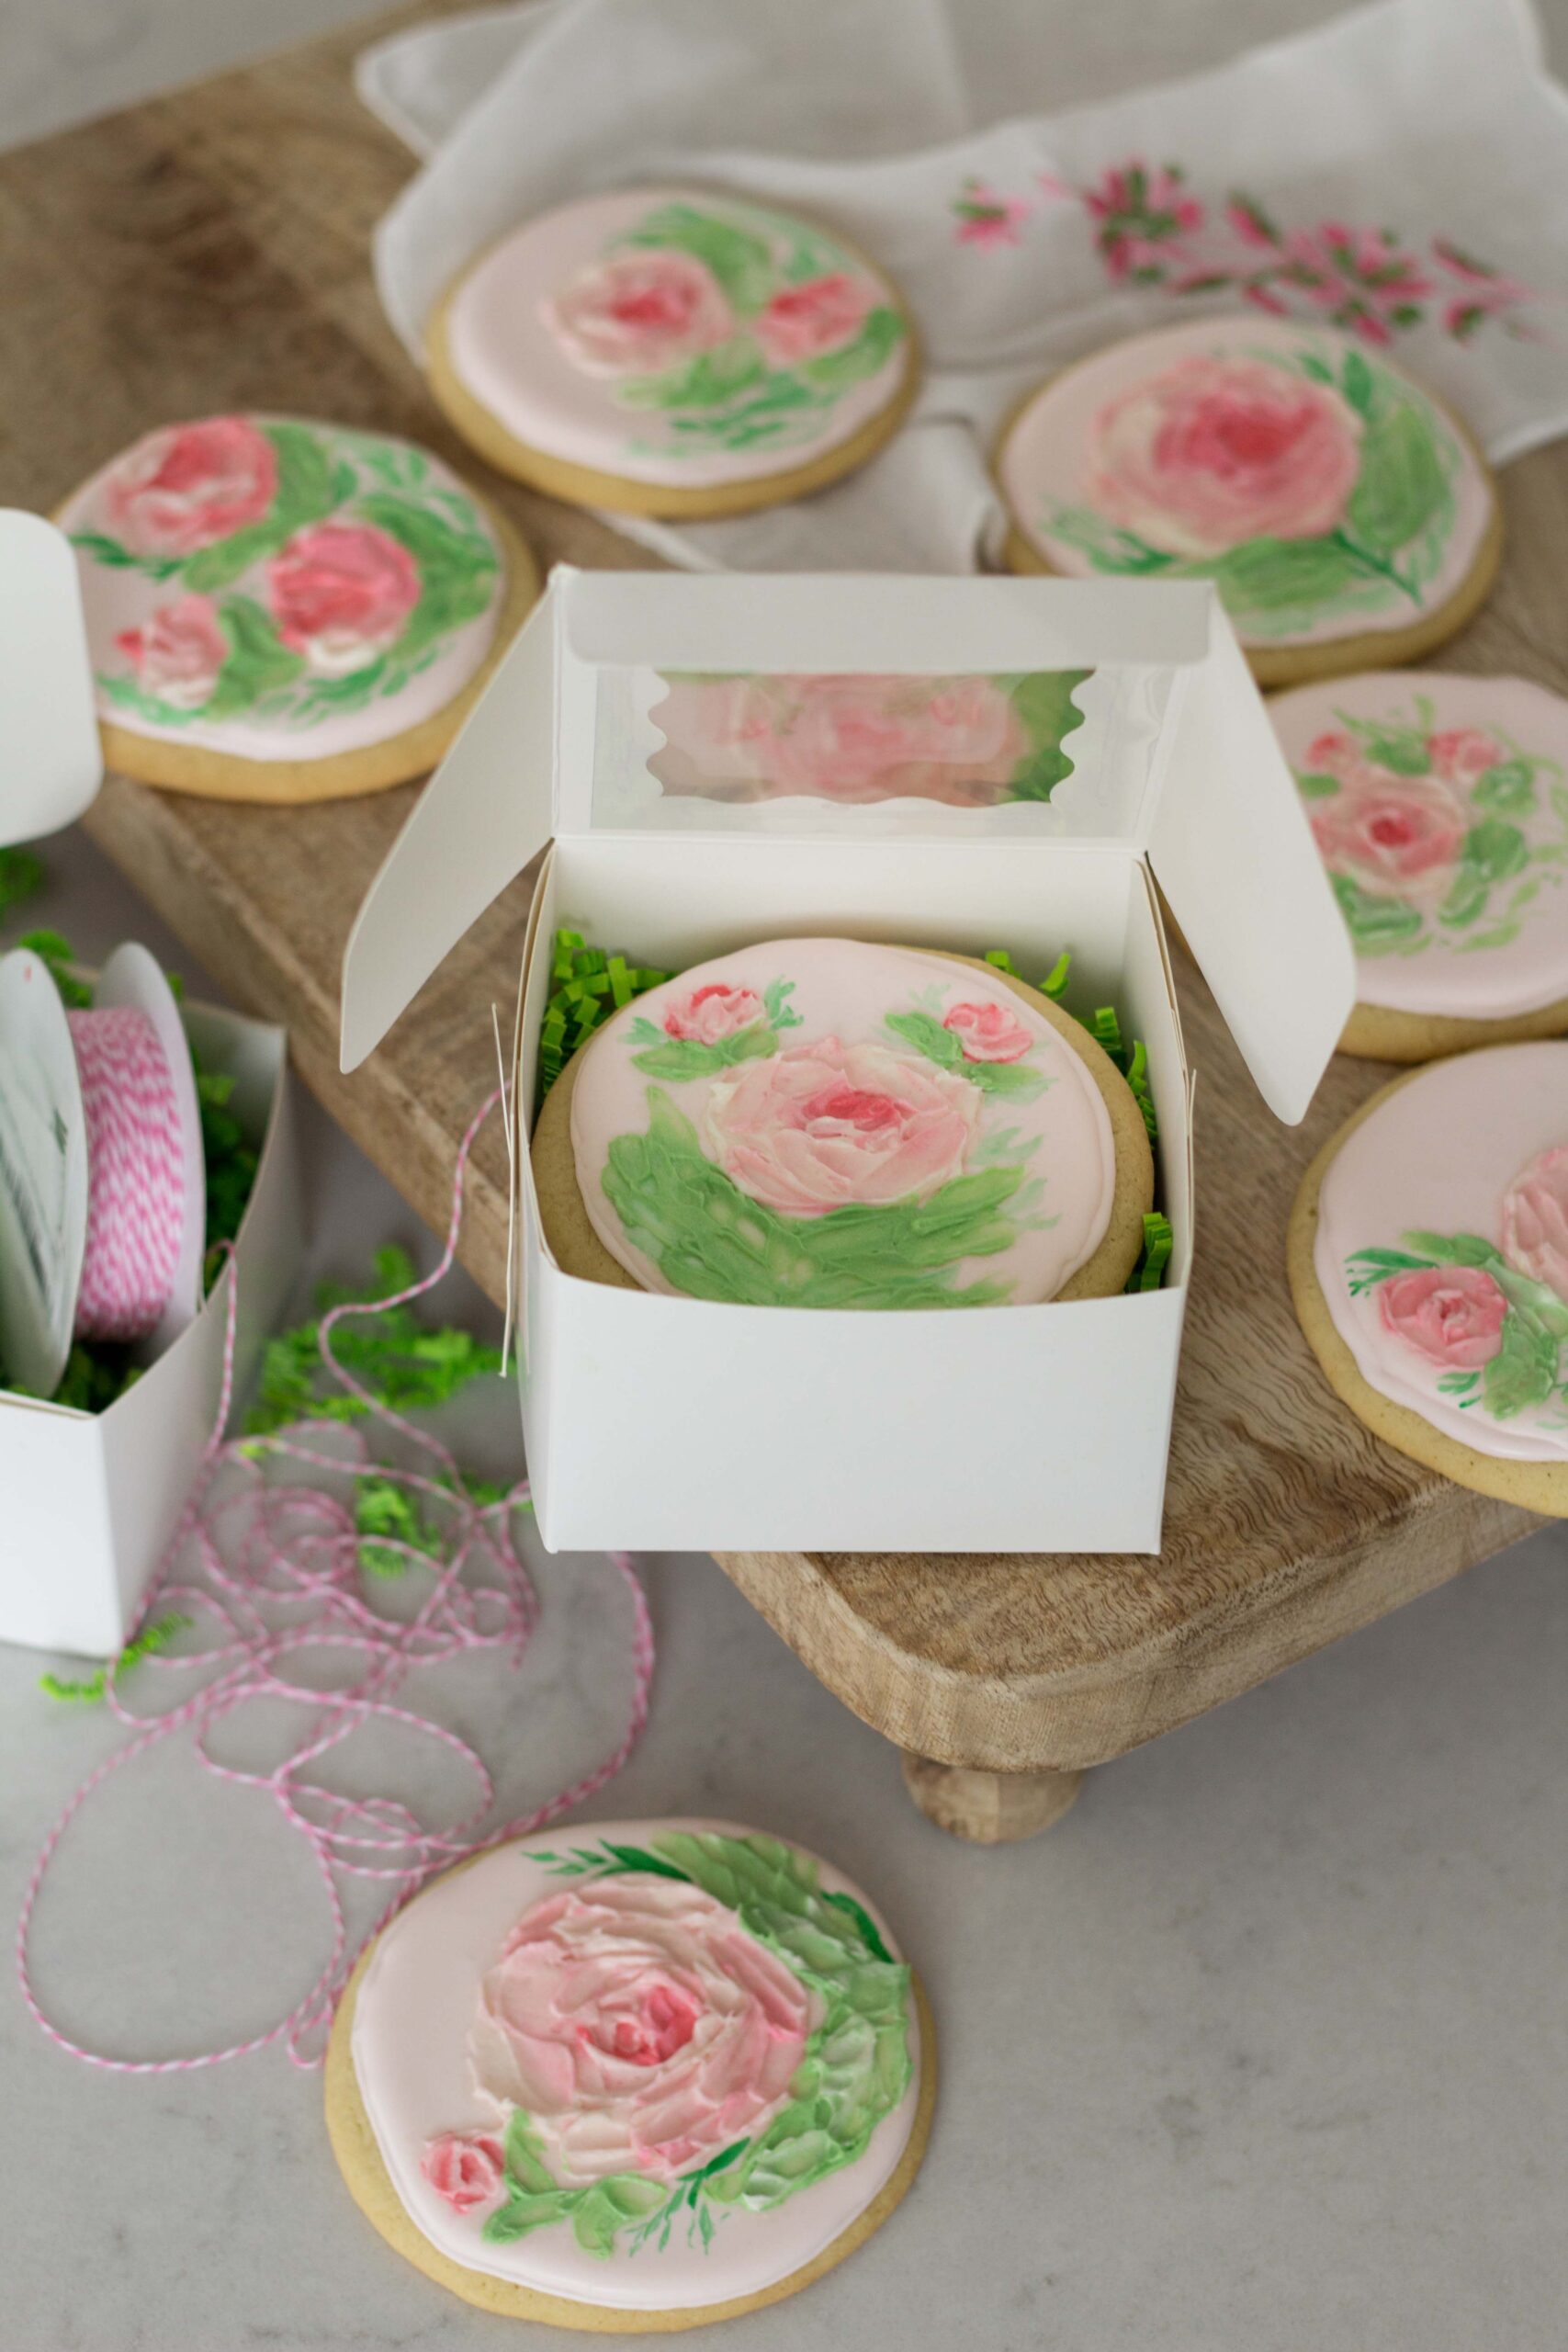
I love these cute little cupcake boxes, you can add one cookie inside and see how beautiful it looks through the little window on top. I love adding paper confetti underneath to make it extra special. This would make such a darling gift for friends, teachers, Mother’s Day, a bridal or baby shower!
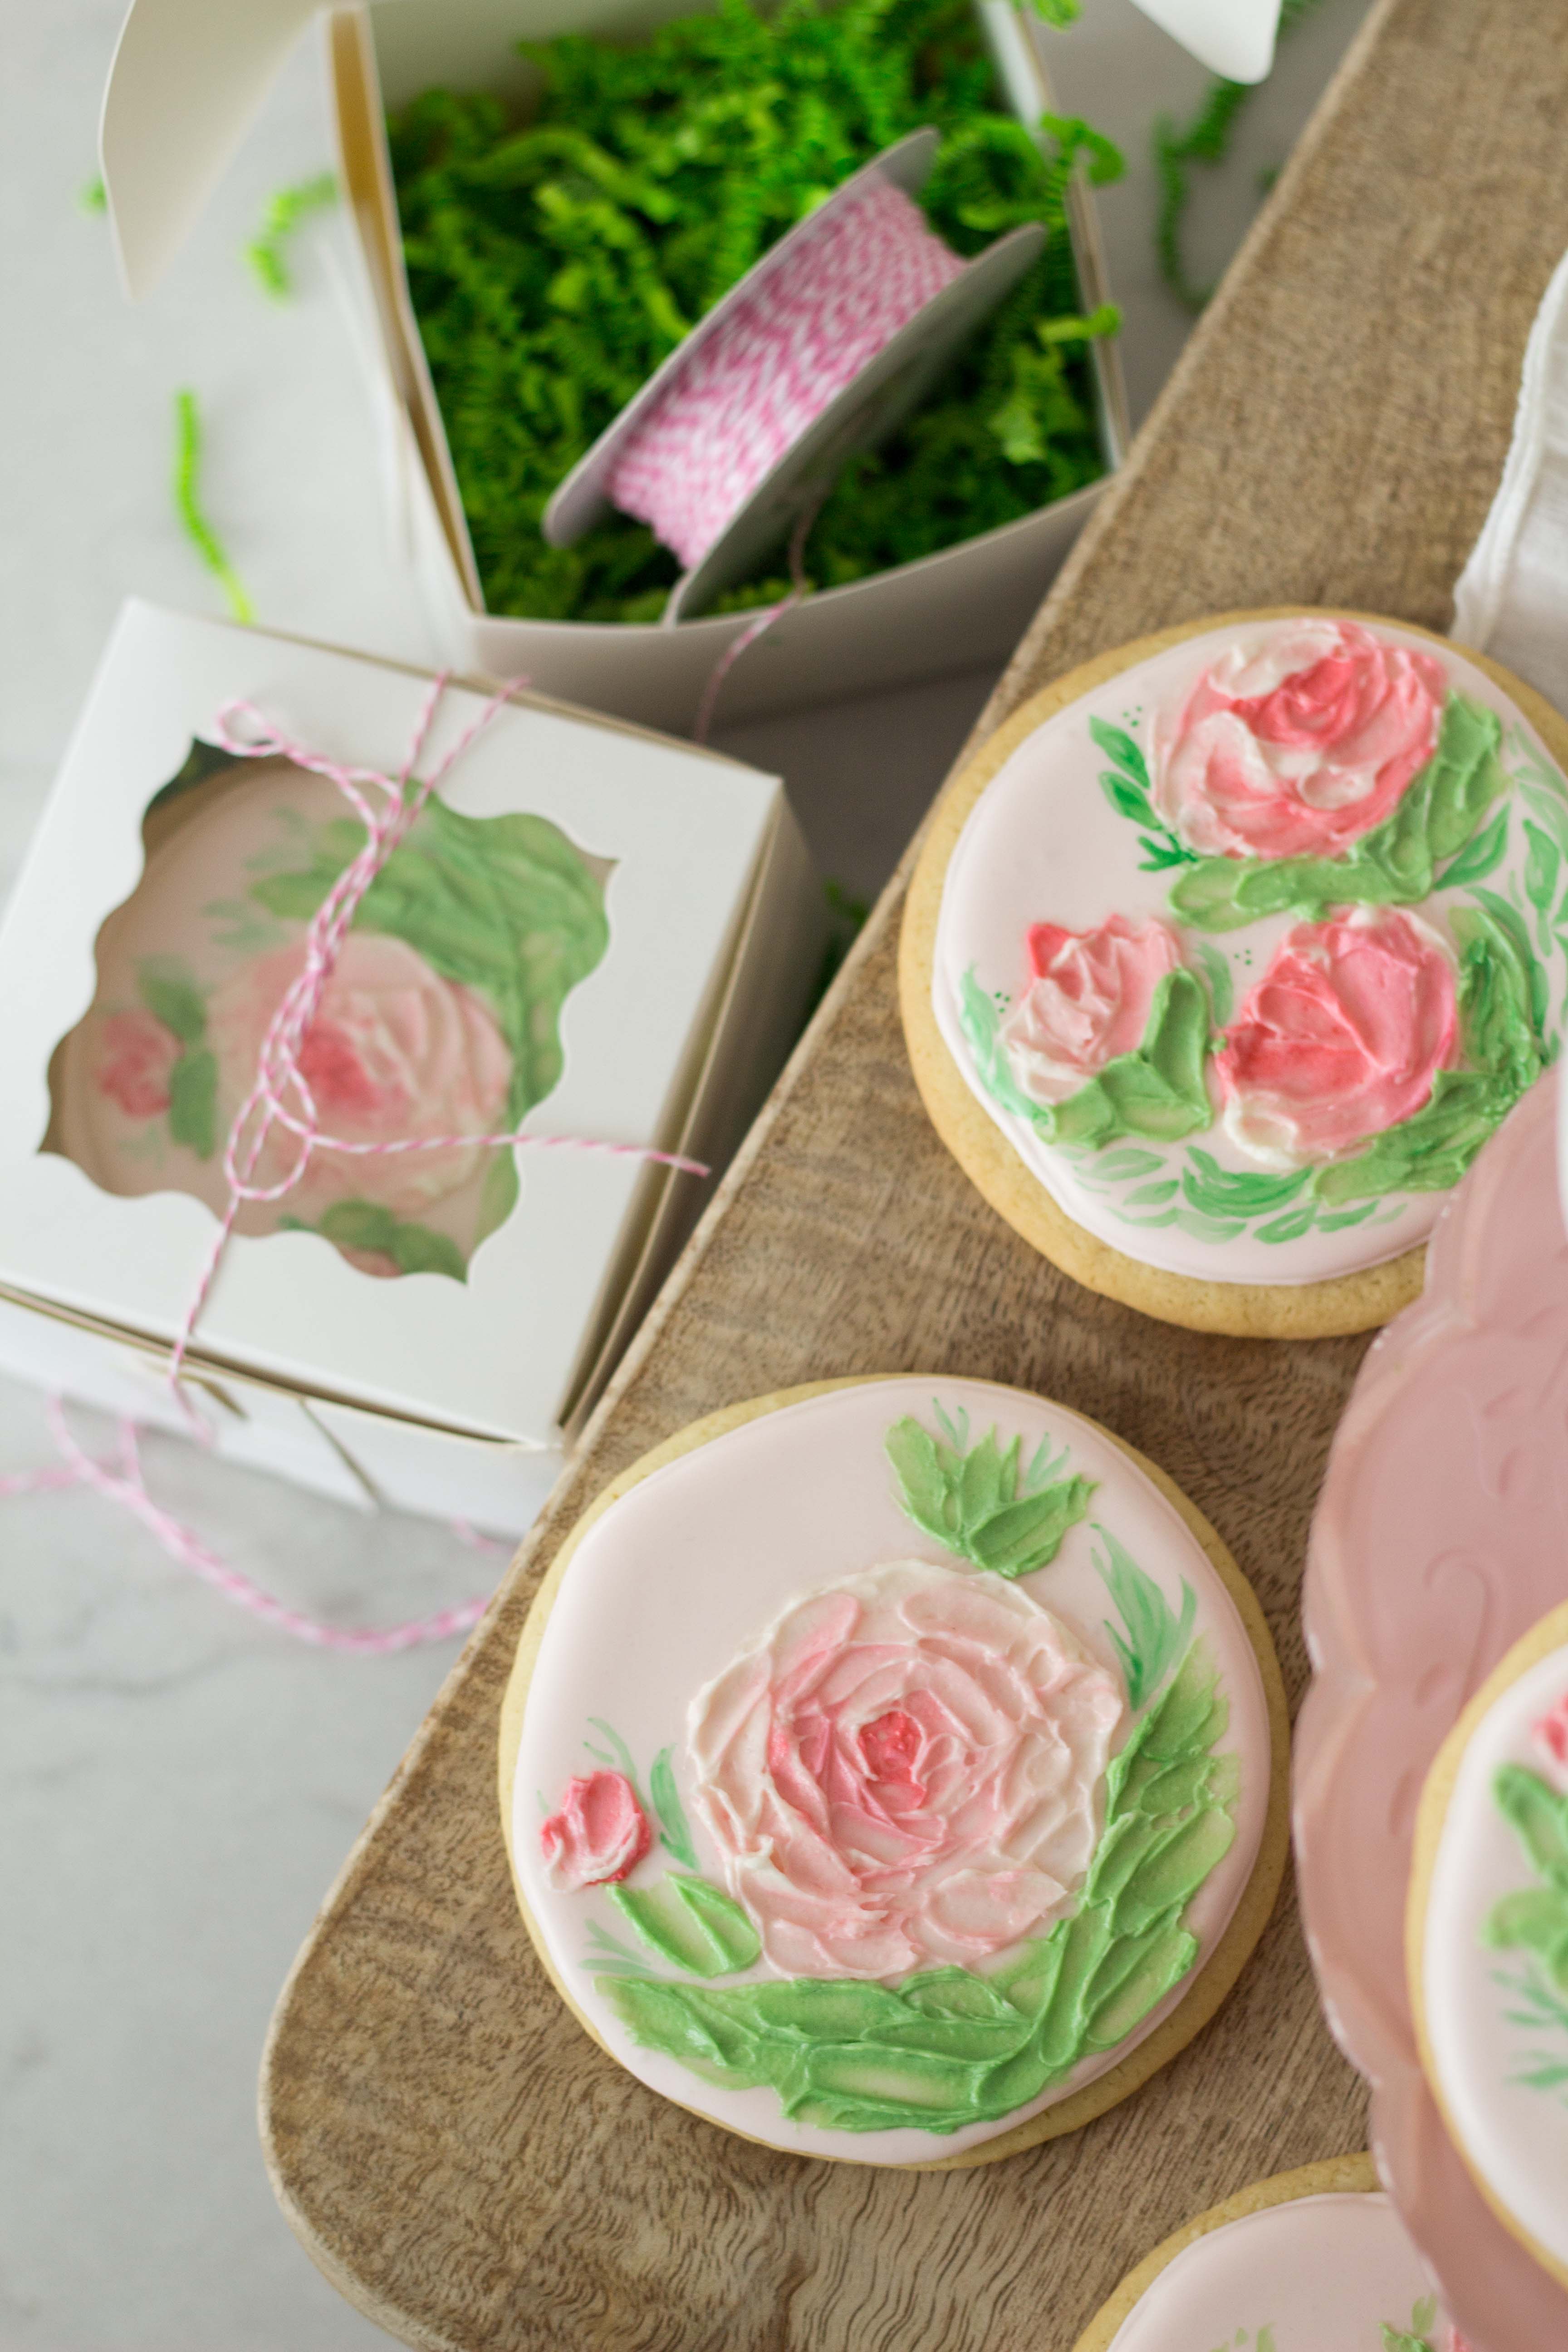
I hope you loved this post and found it inspiring. If you make your own batch of painted buttercream sugar cookies, I would LOVE to see them! Please tag me over on Instagram @handmade.farmhouse so I can see and share!
Other posts you may enjoy:
Looking for other cookie and dessert recipes? CLICK HERE!
Looking for some other fun teacher or friend gift ideas, or things you can make for Mother’s Day?
All natural homemade body scrub
love this post for painted buttercream sugar cookies? pin it!
