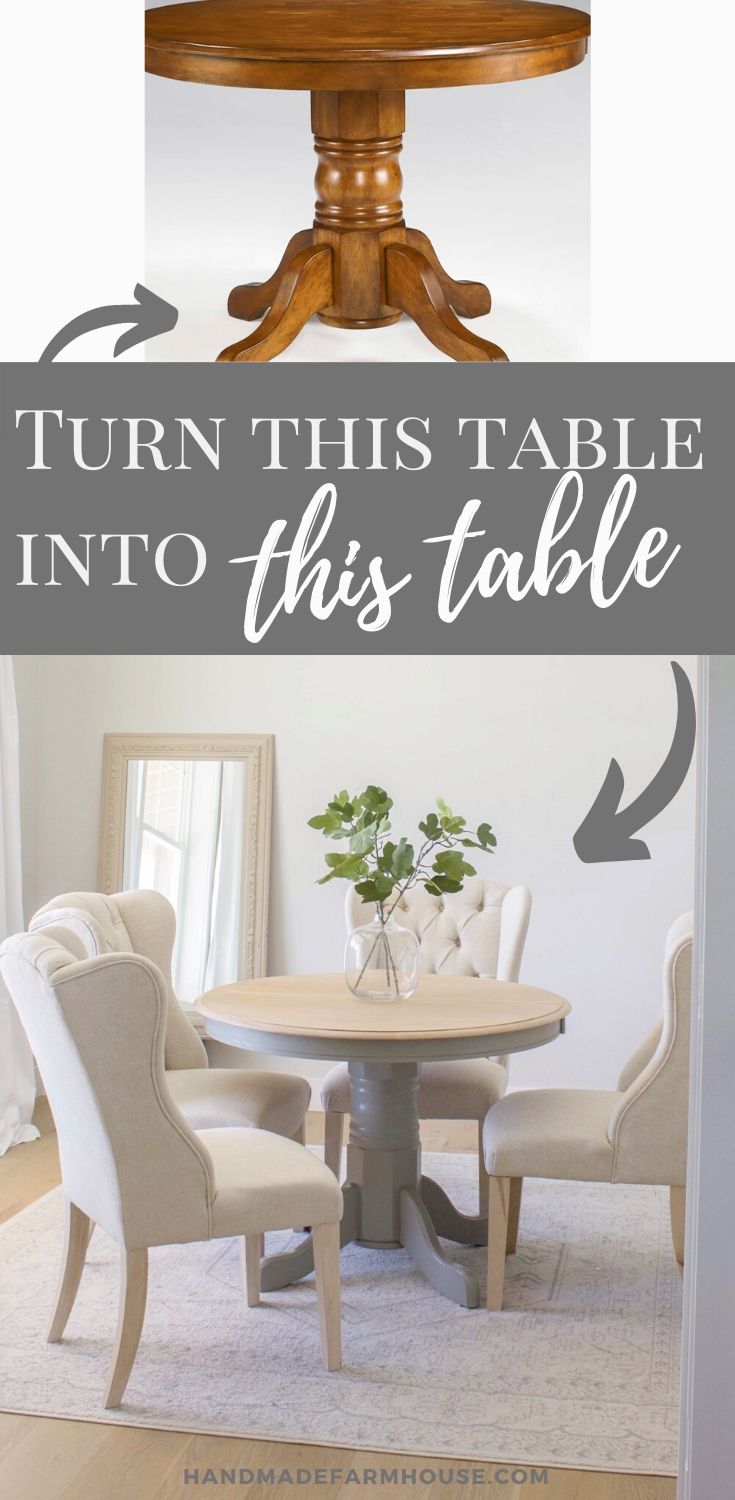
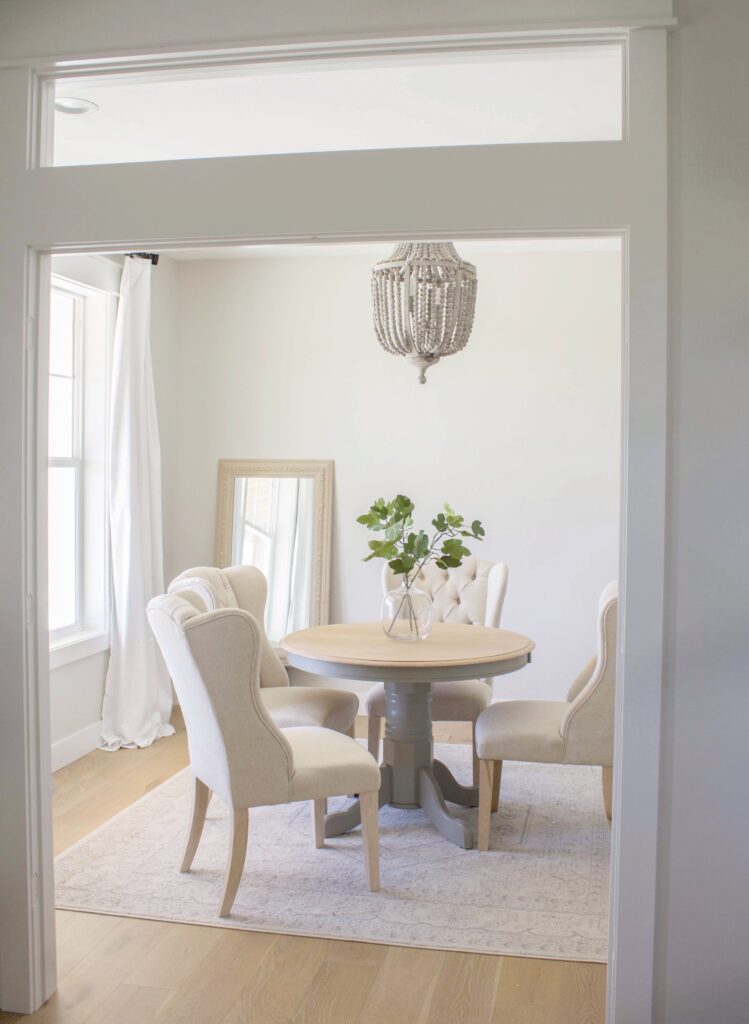
In this post I’m sharing an easy tutorial for how I gave an old table a new look and a new life in our little home office. I can’t believe this table was once dark and orange!
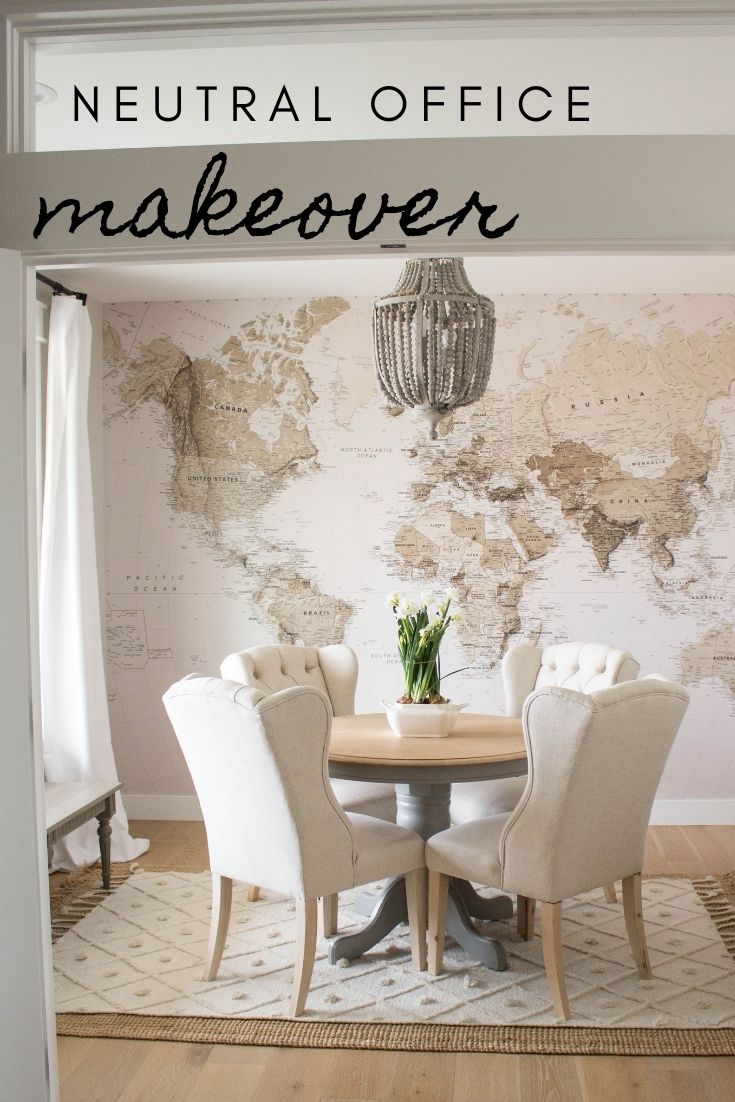
In the front of our home we have a nice little room that is probably meant for a formal dining. However, I am all for entertaining and dining in our kitchen/living room open area, so I knew we would never actually dine in a separate room away from our kitchen. Maybe we’re just not fancy like that (ha!)
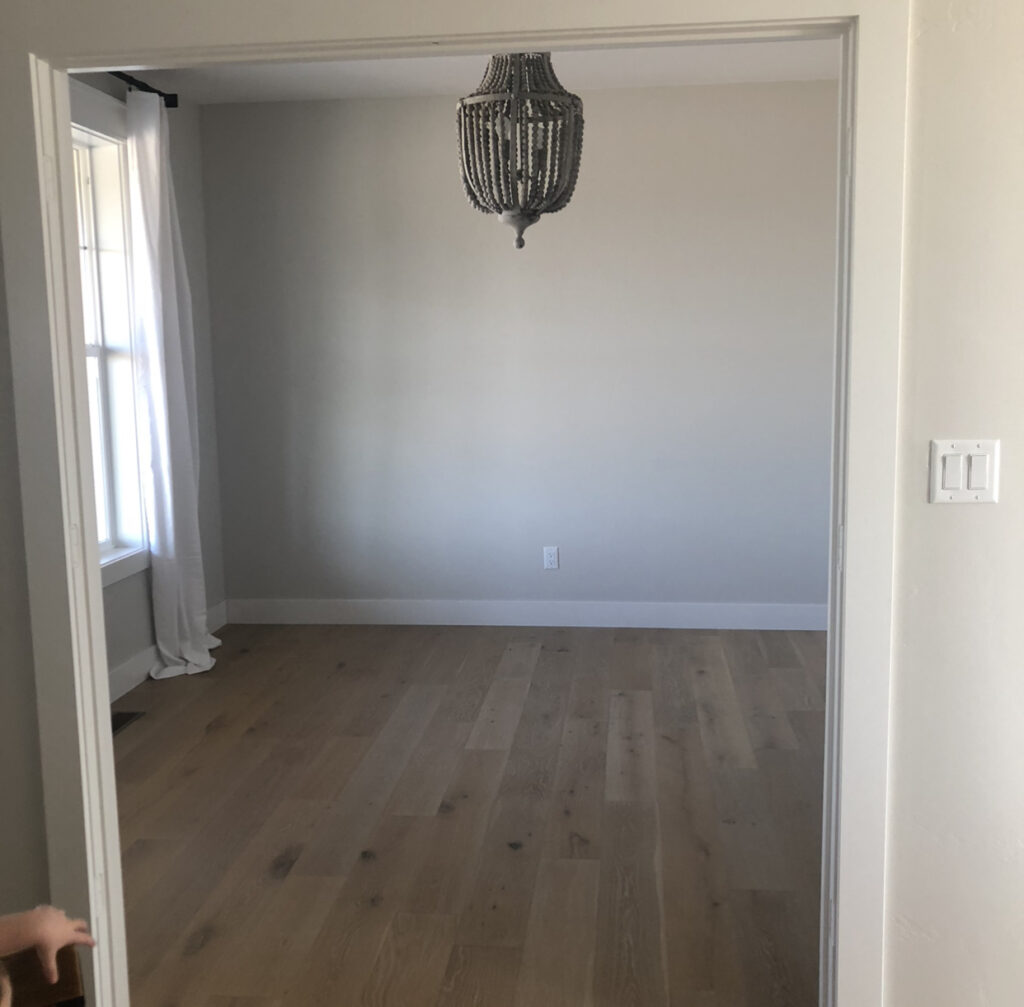
This room has become a great space for our piano and also doubles as a fun little spot to play board games or even have privacy for doing homework or office work. I knew I wanted to incorporate a small, round table in this space, but I was struggling to find something affordable!
After months of watching for sales, I went into a thrift store one afternoon and couldn’t believe my eyes! There in front of me sat an oak pedestal table the exact size and shape that I needed. The best part? It was only $30! What a score!
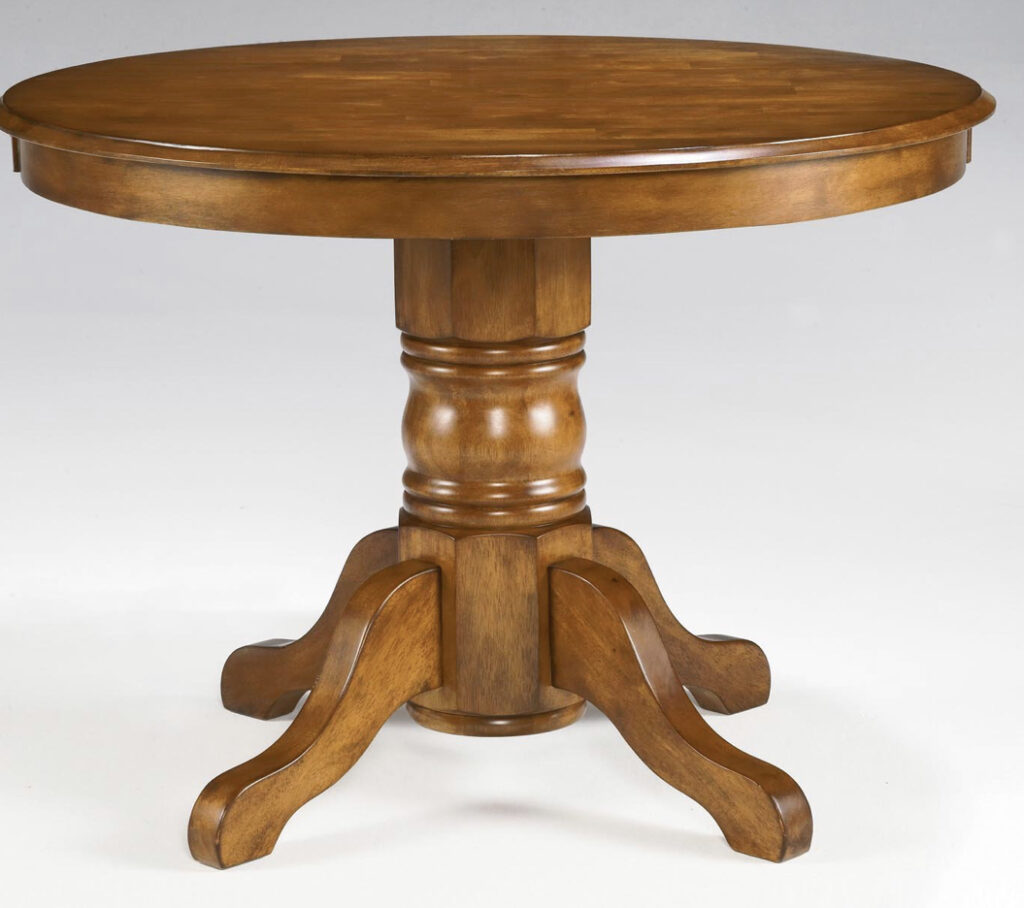
This oak table needed some work to give it a more cohesive feel in my home. I decided to paint the pedestal section with my very favorite furniture paint. Have you ever tried it? It’s called “Paint and Primer in one” by Behr and you can find it at The Home Depot. I always go for the small sample cups (on the carousel at the paint counter). They’re inexpensive and go a LONG way! Make sure you get it in a satin finish (semi-gloss will look like wet paint). The color I picked (and have used on many pieces in my home) is called “Battleship Gray”
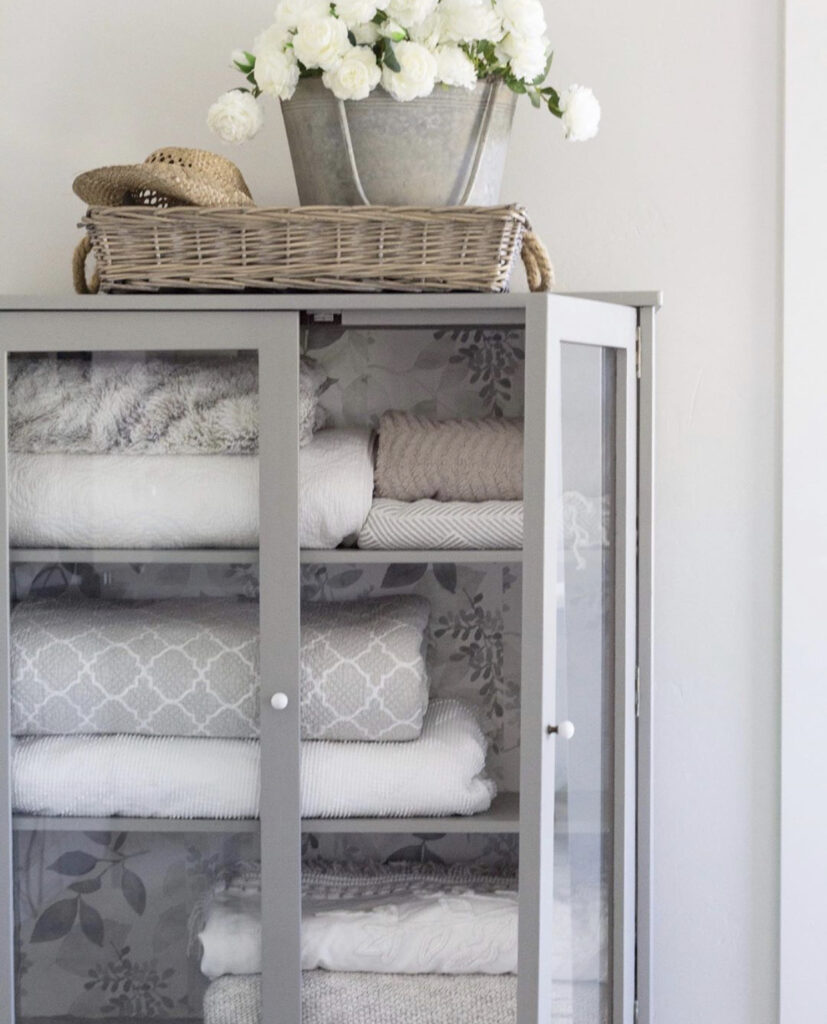
Here is another example of how I have used this paint on a vintage piece for my home:
After painting the bottom section of the table, I knew I wanted to incorporate a wood tone that would match my floors. My husband helped me sand the top of the table with his electric sander. I would recommend being really careful when you’re sanding a piece with veneer. If you sand too far down there’s nothing you can do to save the wood, so be sure to pay close attention and do the least amount of sanding as possible!
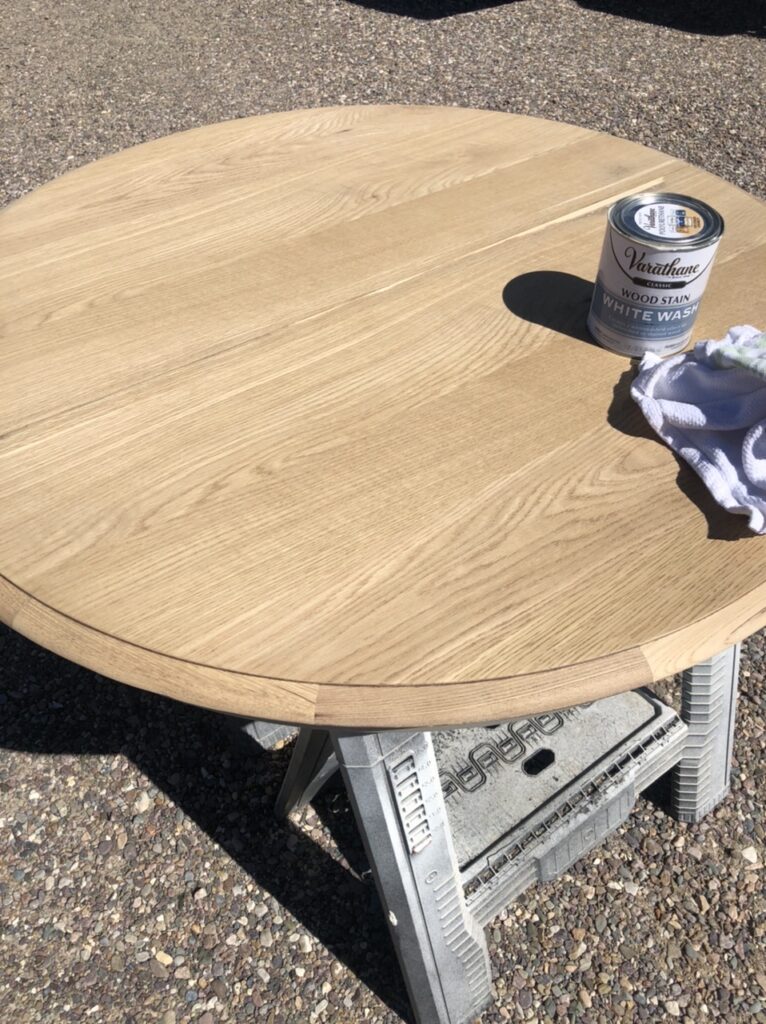
We were able to get the orange, dark stain sanded off of the table. Sanding it really lightened the wood up so much, however, it still had a very yellow tone to it. I remembered a product I had on hand when I finished my wood mantel. I used it to help take the yellow tone out of the poplar we used.
This is an amazing product to give wood furniture a whitewashed look, or to simply remove yellow tones from raw wood.
Tips for sanding and whitewashing furniture:
- When you’re sanding old furniture, try to find out if it is solid wood or if it has a thin veneer. Veneer means there is a paper thin layer of real wood that is applied to both sides of another material like MDF. Veneer pieces are much harder to refinish.
- Once you have raw wood, I highly recommend using a wood conditioner before you stain or whitewash it. Speaking from experience, the stain will go on MUCH more smoothly and give an even finish vs a blotchy one. This extra step is really quick but makes a big impact.
- When you’re ready to use the whitewash: get two old rags or two old cut up t-shirts. Use one rag for dipping and applying the whitewash and the second, dry rag for removing the whitewash. Once you remove it, do so in a large circular motion. This is where you can decide how heavily you want to apply it.
- If you’re looking for a heavy whitewash look, I would recommend using a brush to apply.
- If you want to simply remove yellow tones from raw wood without giving it a whitewashed look, just apply a thin layer of whitewash and wipe it off immediately with a dry rag. The whitewash will be so subtle but you’ll notice it helps tremendously with the yellow tones.
- Can I whitewash un-sanded shiny wood? This is a question I get often. I would recommend sanding or stripping your furniture down before applying the wood conditioner and whitewash. I have never tried it on finished pieces and I don’t think you’ll have as successful an outcome unless you sand it before hand. You can always try a test spot though!
SHOP THESE PRODUCTS
Did you know you can save money by purchasing furniture that comes unfinished?
Buying wood furniture unfinished gives you the option of painting, staining or whitewashing so that it’s more cohesive for your home! The best the part is, you can get it for a fraction of the cost!
I hope you enjoyed this post on how I gave an old table a new look, and I hope it inspires you to save money and give a second life to an old piece of furniture you find!
If you’ve done a little DIY project and want to share it, I would love to see! Please tag me @handmade.farmhouse on Instagram!
