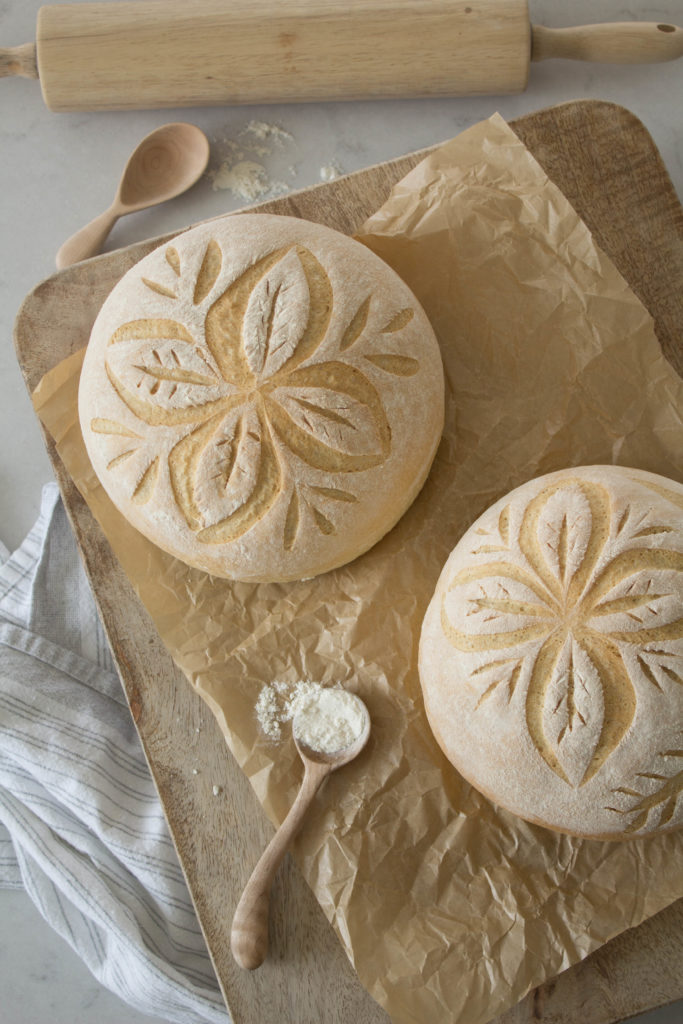
Transform a delicious homemade loaf of bread into a unique work of art! Follow this simple, step-by-step guide for country loaf making, and basic bread scoring. This recipe requires a bit more time to make, but the payoff is well worth it! If you’re looking for a quick loaf with crusty texture, you might enjoy this recipe as well.
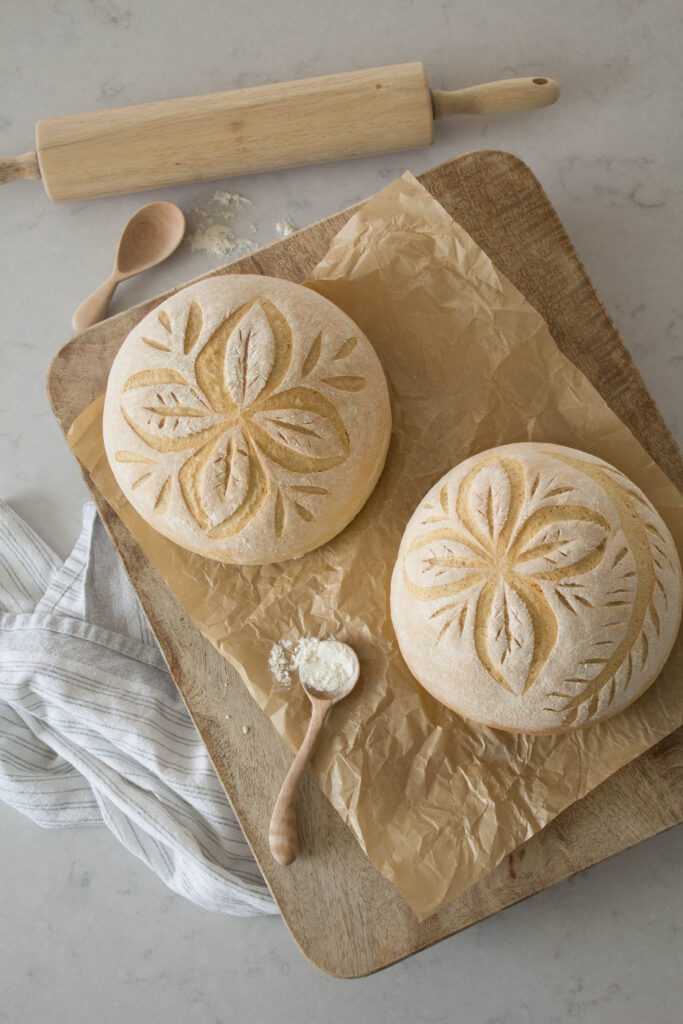
What does it mean to “score” a loaf of bread?
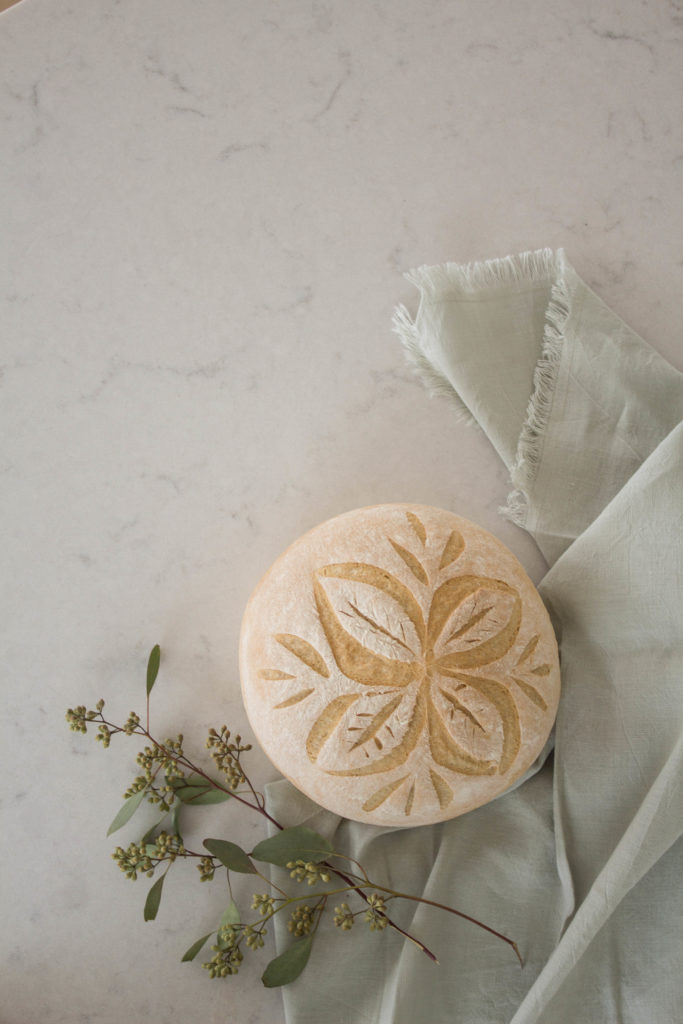
Did you know that bread scoring was born many, many years ago when villages only had access to a community oven? Families would “score” or slash their bread so that they could identify their loaves at the end of the communal bake. Nowadays, we use bread scoring to transform ordinary loaves into a unique work of art by scoring our own creative designs.
Yeast makes me nervous, I never get a good rise! What are your tips?
- If you’re newer to bread making, fear not! This is a great recipe to try. My favorite yeast to use is always this SAF-instant yeast. It comes in a large pack so I open it, pour it into a gallon zip-lock, and store it in the freezer. This will keep it fresh! You can then add it right into your mixing bowl when you need it for bread-making.
- One very important thing to get right when you’re using yeast, is your water temp. Be sure its not too hot or it will kill the yeast. Too cool, and you won’t activate it. I like to think about the temperature I would use to give a baby a bath. Very warm, but not hot.
- One way to be able to tell if your yeast is activating is by checking it a few minutes after mixing. You should notice your dough mixture getting bubbly and rising. This means you have success with your yeast! Great work.
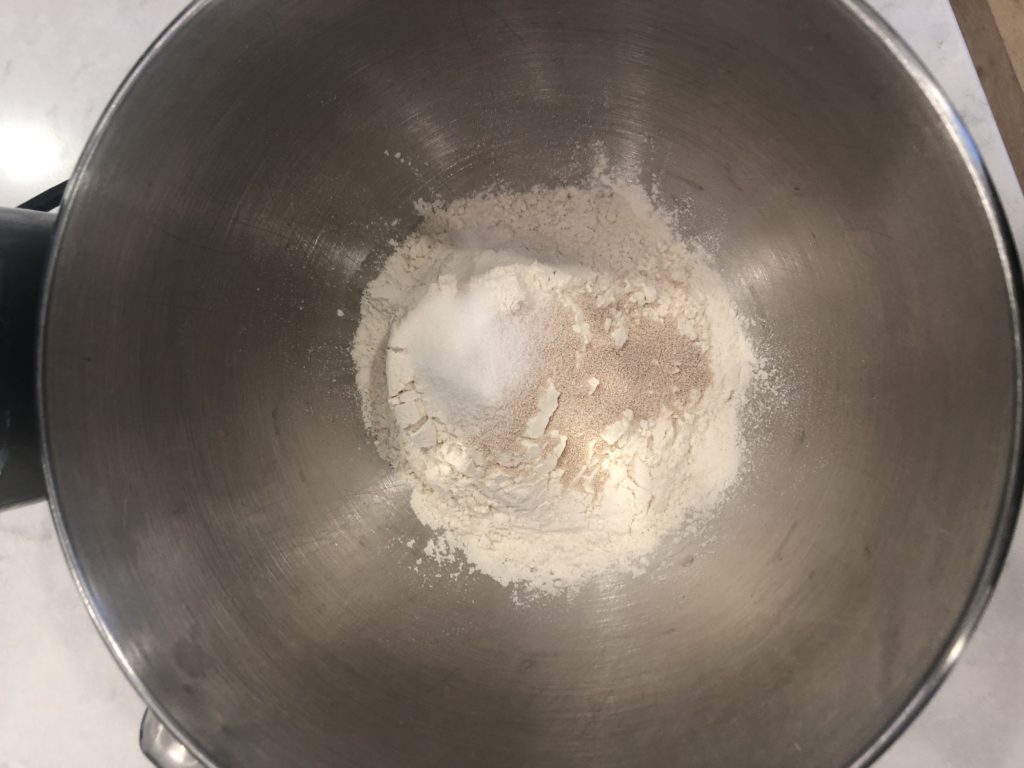
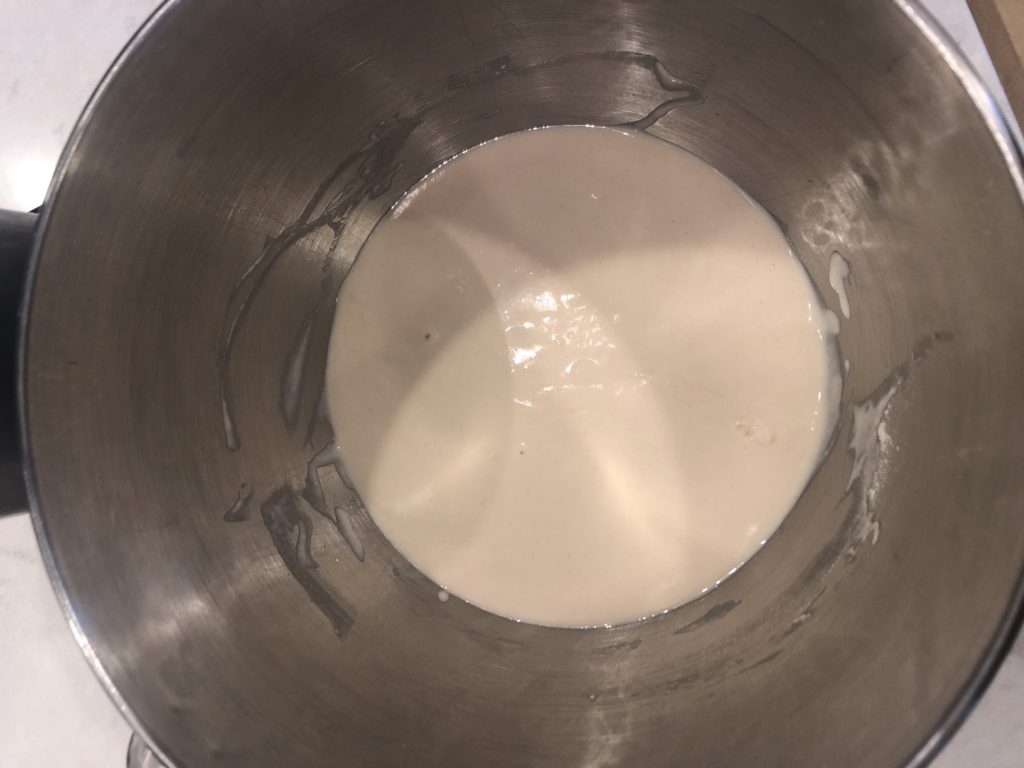
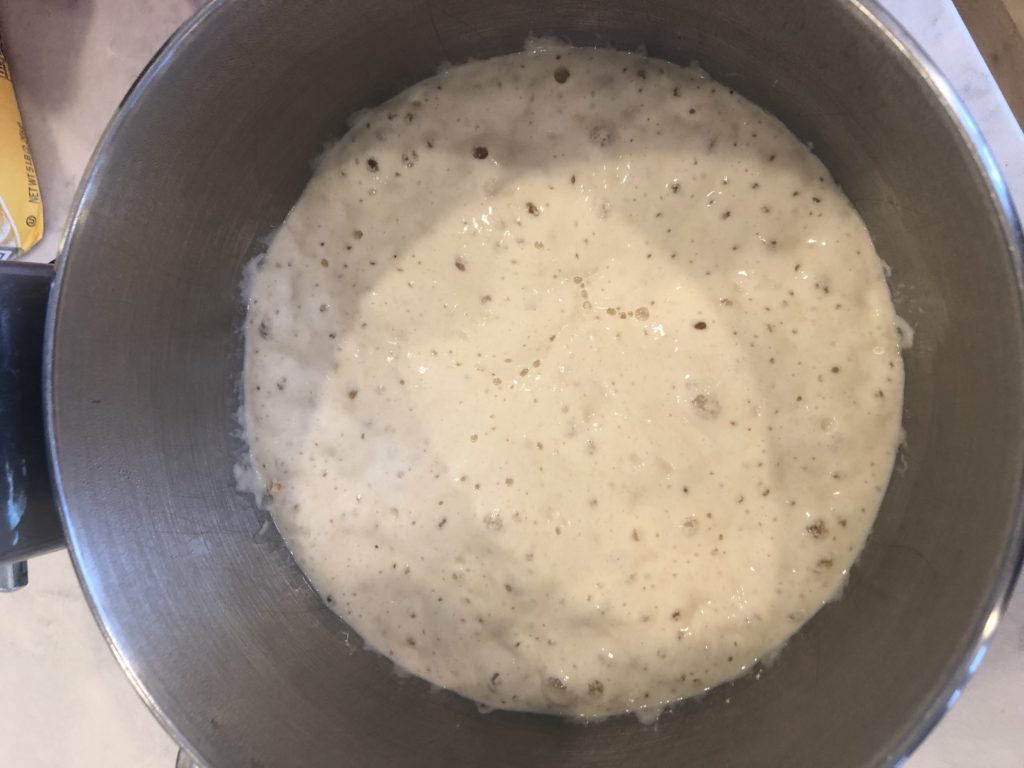
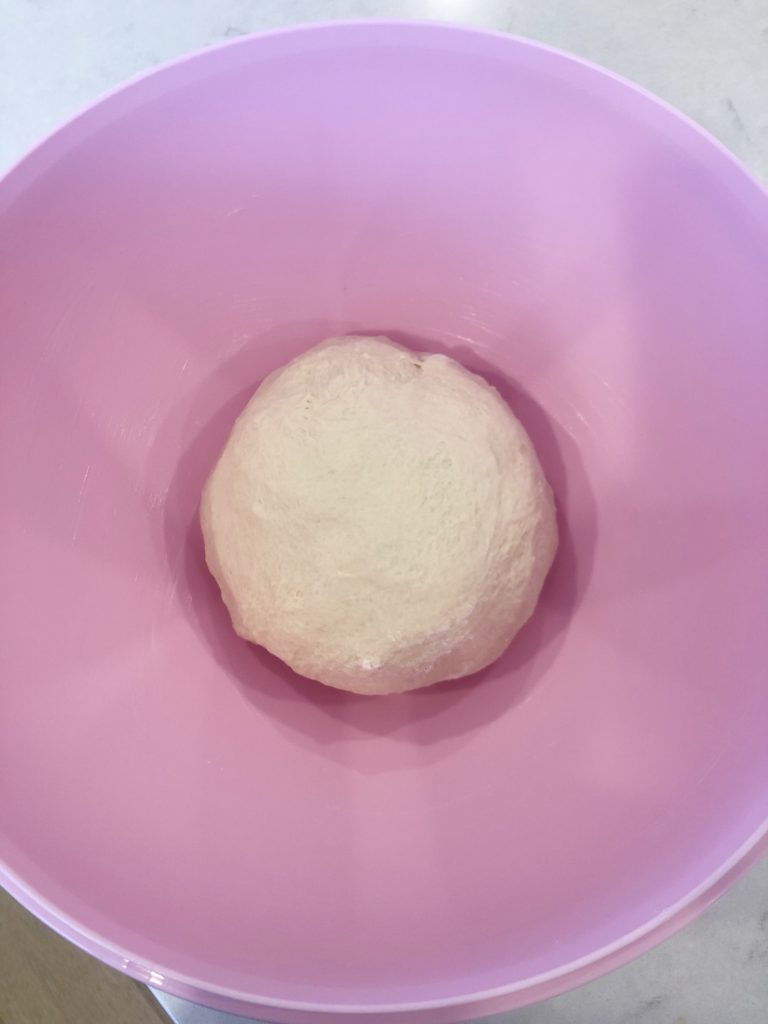
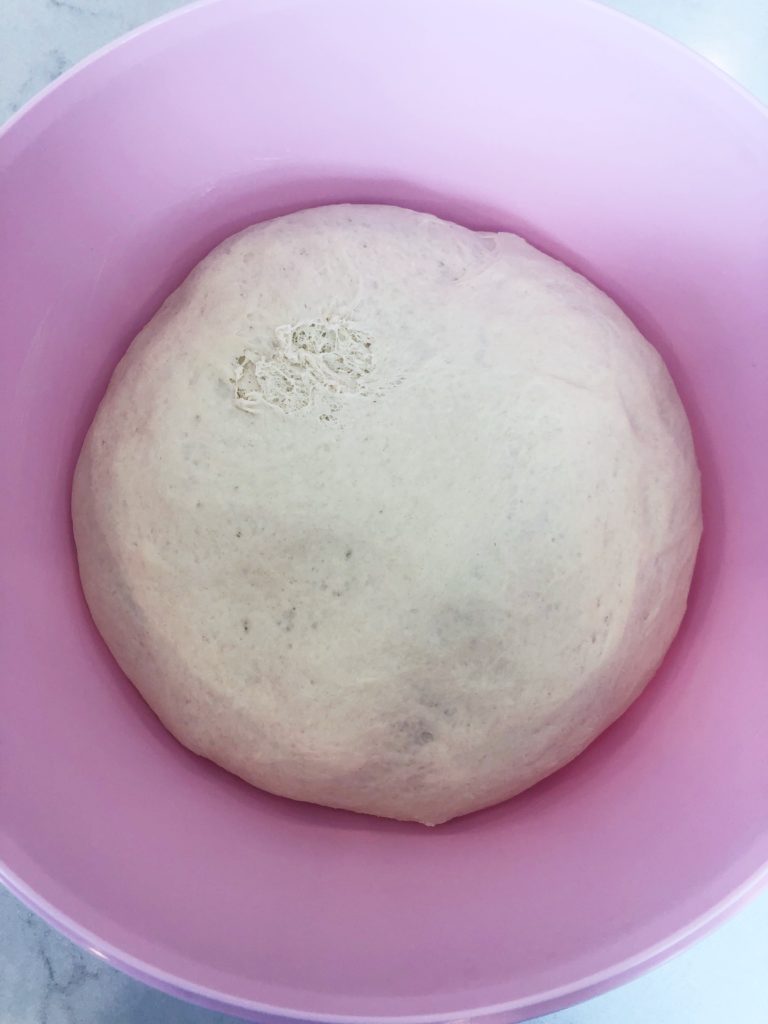
This images show the process of the first mixture with 1 hour rise. Nice and bubbly! Yeast success.
Why is letting the bread rise and re-rise, so important?
- This recipe calls for several rises. Allowing the dough the appropriate time it needs to rise, and re-rise, will result in an incredible texture of the bread once baked. You will notice the bread has a perfectly browned outer crust and a soft, chewy, sponge-like texture on the inside. The rising time will also allow the dough to develop in flavor which will give the bread a rich delicious taste with every slice.
What is a bread lame?
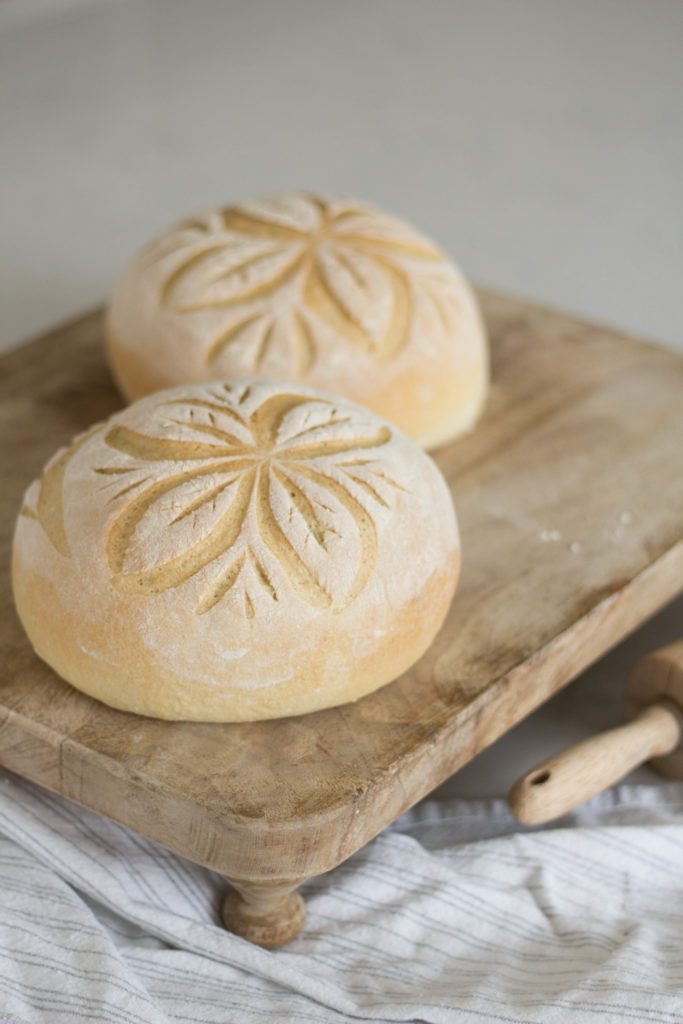
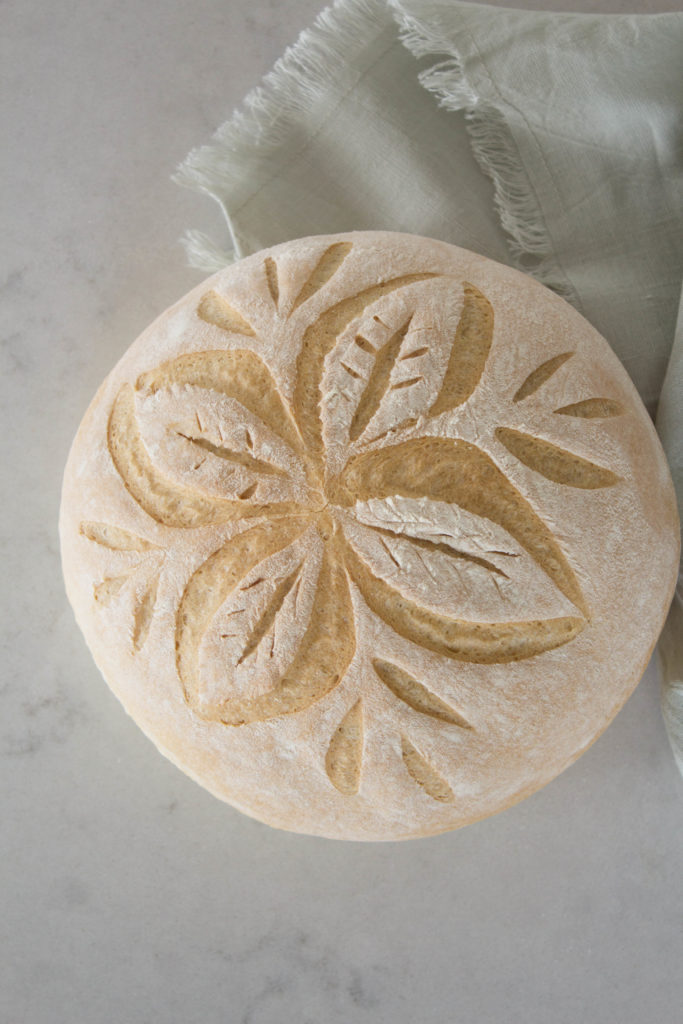
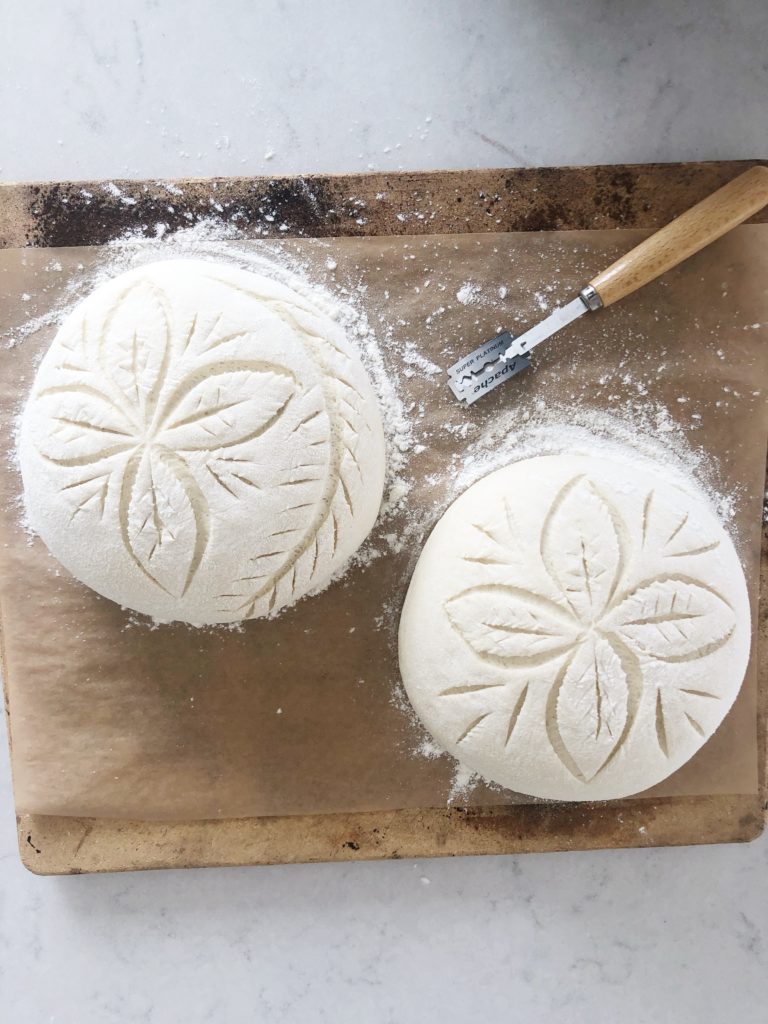
There is a certain technique used for bread scoring. It is a form of art and takes a little practice. However, when using a special double-sided razor called a “lame”, you can easily transform your risen loaf into a canvas and create a beautiful work of art by scoring it. Don’t let fear overcome you! You’ll be so happy to see your beautiful golden loaf come out of the oven with your unique stamp on it!
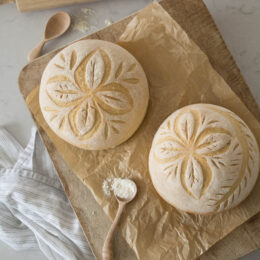
Country Bread Loaf
Ingredients
- 5-5 1/2 cups bread flour All purpose flour may be substituted, however, bread flour has a higher content of gluten which will give this bread its amazing chewy texture. Do yourself a favor and use bread flour!
- 1 tsp sugar
- 2 1/4 tsp regular or quick active dry yeast I always use SAF-instant
- 2 cups very warm water If water is hot it will kill your yeast. I like to think of the temperature I would bathe a baby in. Very warm but not hot!
- 2 tablespoons olive oil or vegetable oil
- 2 tsp salt
Instructions
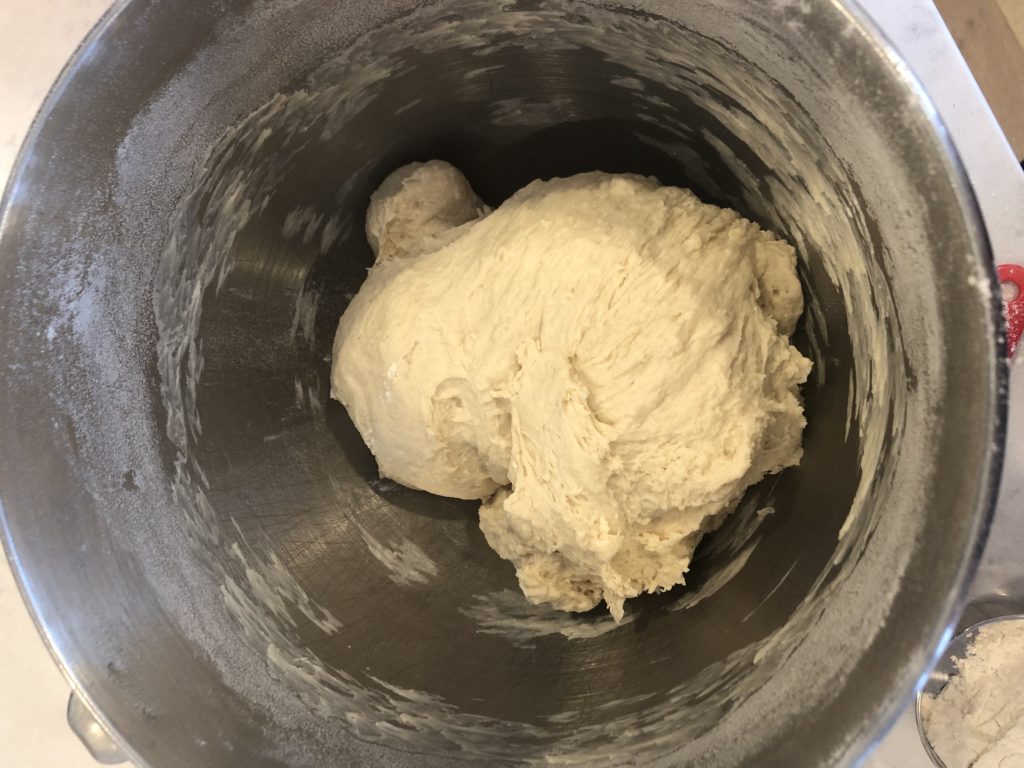
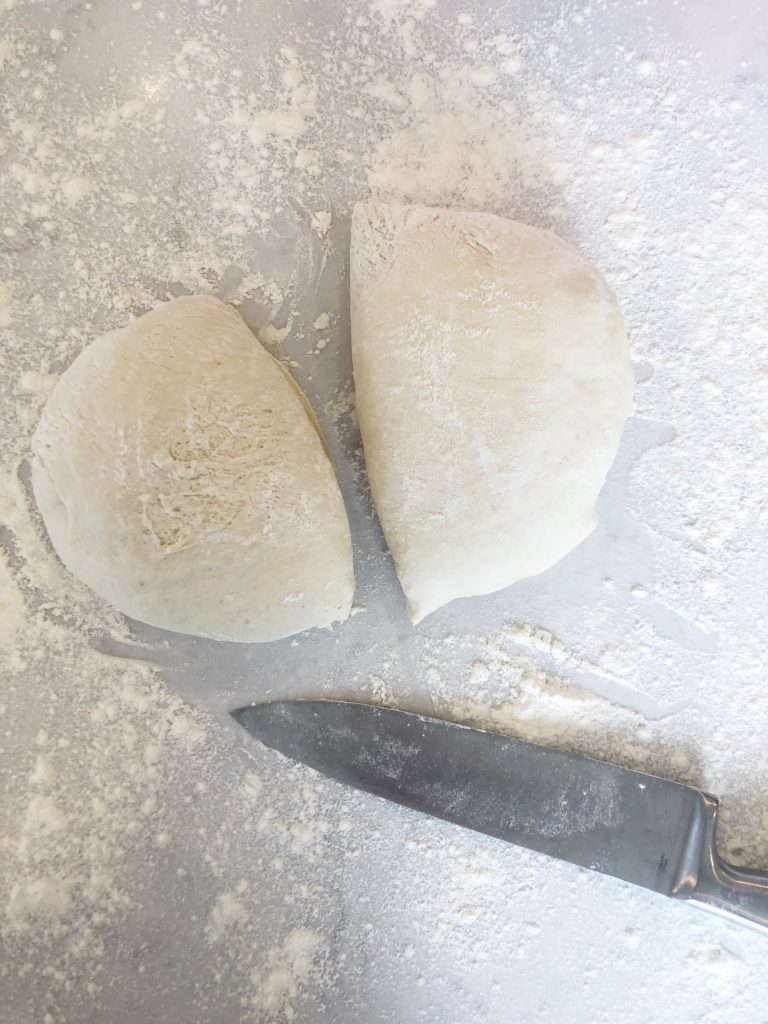
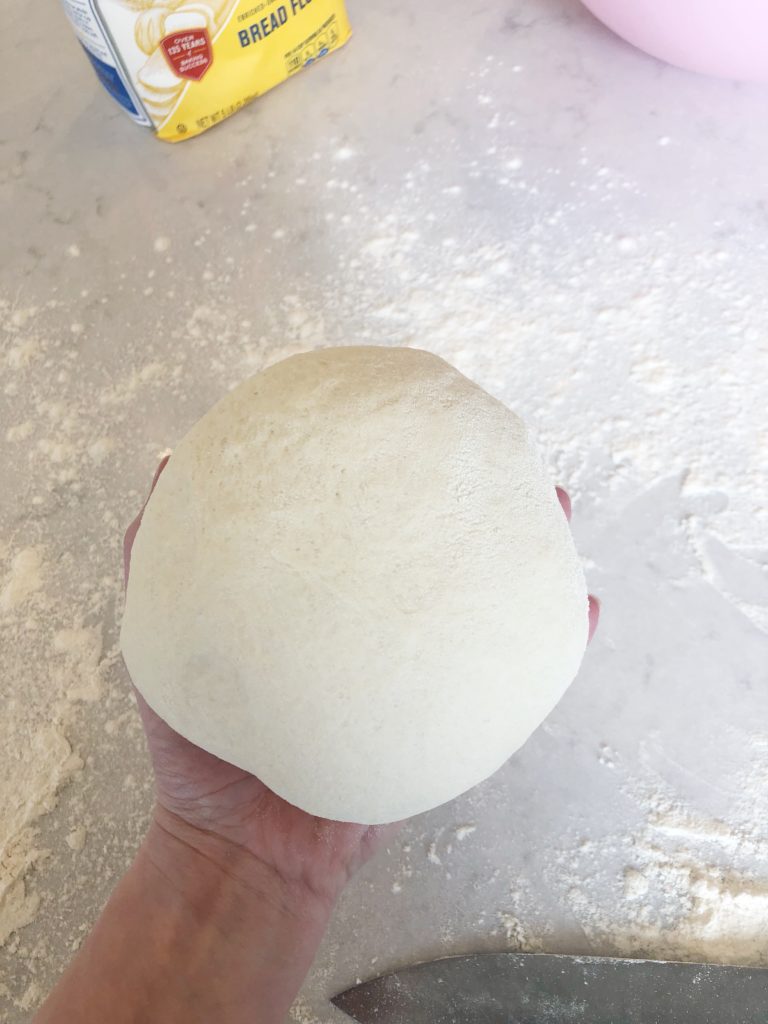
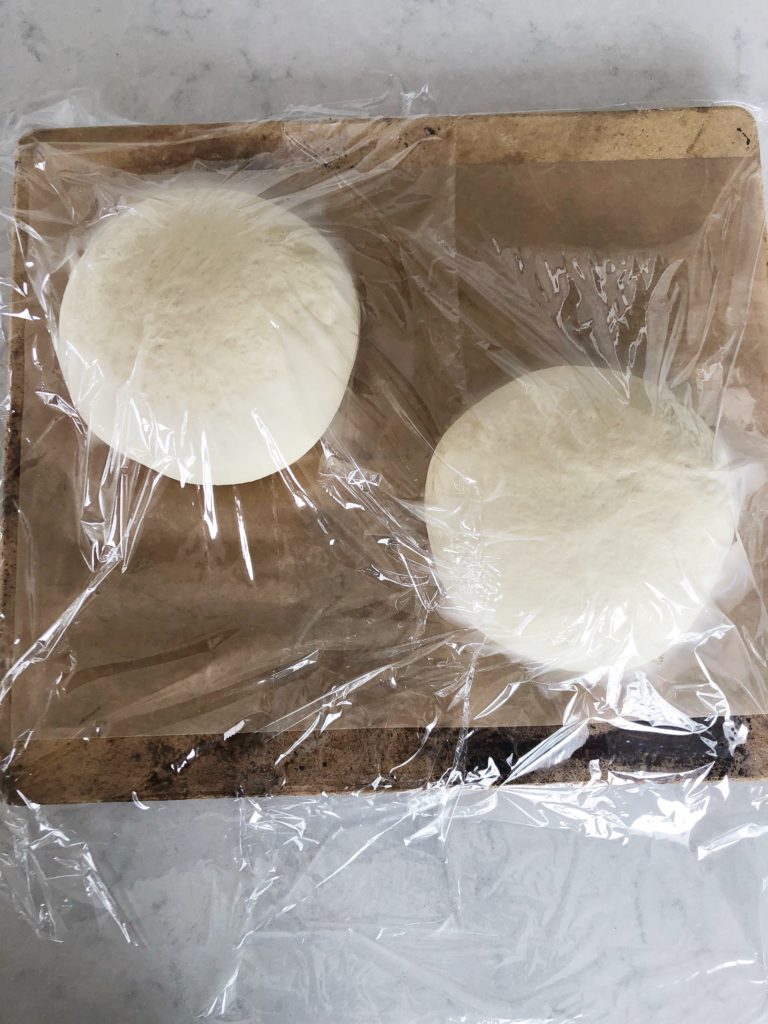
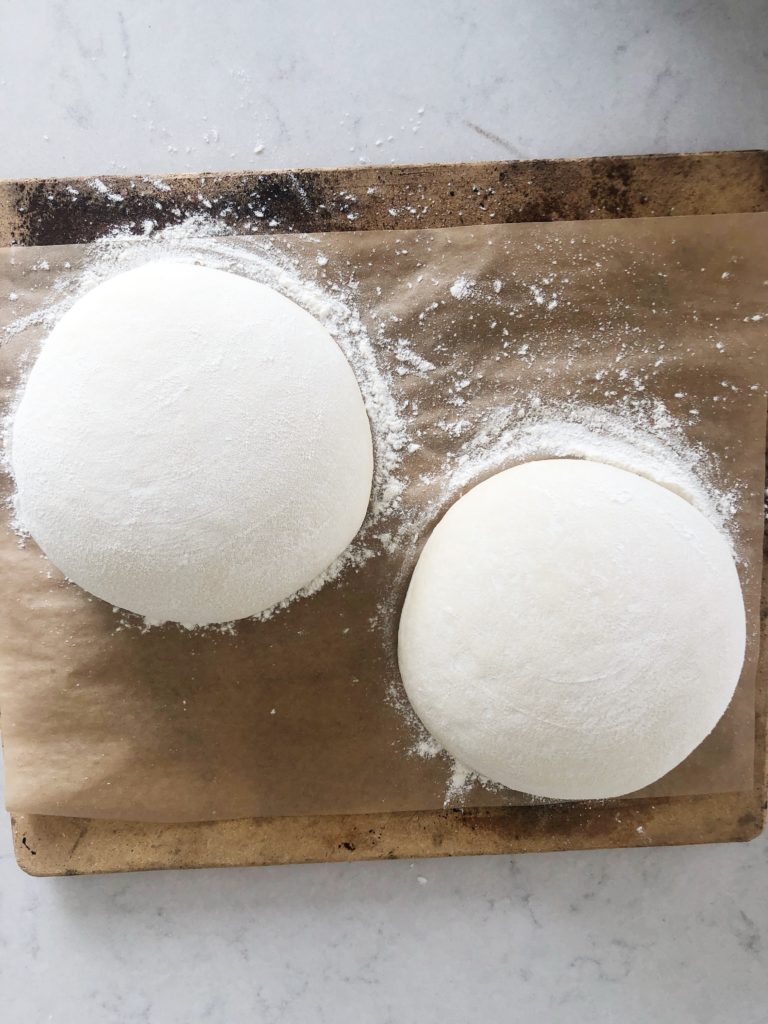
- 1. Mix two cups of flour, 1 teaspoon of sugar, and 2 1/4 teaspoons yeast in a mixing bowl. I like to use my KitchenAid for this recipe. Now add 2 cups of warm water. Beat mixture for 1 minute until smooth. Cover bowl with plastic wrap and allow to stand 1 hour until bubbly.2. Now add oil and salt. Mix in enough remaining flour 1/2 cup at a time until a smooth dough forms. I use 5 cups because I live in a dry area. Swap to dough hook and allow mixer to knead dough for 5-8 minutes. Or do so by hand until dough is smooth and springy.3. Place dough into a large bowl greased with shortening. Cover with wrap and allow to rise 1 hour or until double. 4. Once risen, dump dough onto a lightly floured counter. I like to slice dough in half but this can be made into one giant loaf as well.5. Take one part of dough and gently shape into a ball by stretching the sides of the dough downward under the loaf to create a round, smooth ball. Repeat with second loaf. Place loaves smooth side up on a parchment lined cookie sheet (Upside down if baking both on one, and give them plenty of space) or a sheet greased with shortening. Or, a parchment lined pizza stone. Allow to rise 25-30 minutes.6. Heat oven to 425 degrees F. Lightly spray loaves with a cool water mist and sprinkle with flour. Use your hand to smooth flour evenly on loaf. Use a bread lame to “score” bread with 1/4″ deep designs (have fun and get creative!). Place a metal pan 1/3 full of water on the bottom rack of your oven. This will steam while bread is baking which helps create a delicious crispy crust! An alternative option would be to simply toss in 5-7 ice cubes in the bottom of the oven that will steam while baking. 7. Place pan or stone in oven and bake for 30-35 minutes or until loaf is deep golden brown with a crisp crust and sounds hollow when you tap on it. Allow to cool for a few moments and slice with a serrated knife.
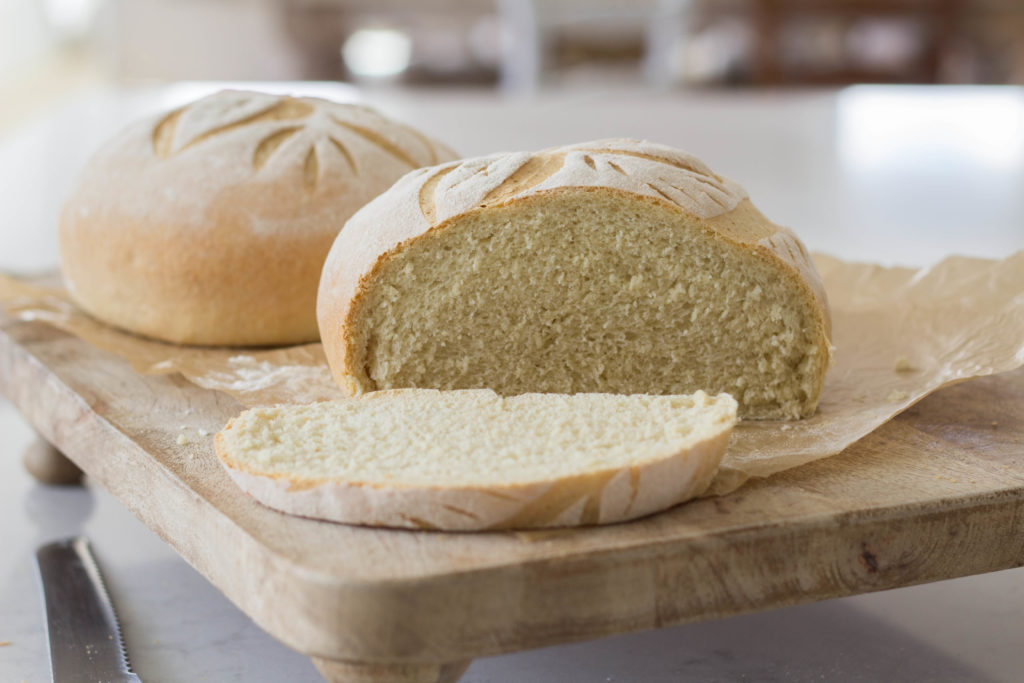
How do I slice into my freshly baked bread loaf without smashing it?
- Allow the bread to cool for a few minutes from hot to warm.
- Use a serrated bread knife! This makes the world of a difference when you’re ready to slice into your warm loaf. Now load it up with butter and honey, and sink your teeth into that slice of heaven!
Want to save this tutorial for later? PIN IT!



I don’t know why this recipe doesn’t have any reviews – i’ve made this bread at least 10 times. This recipe is SO good, you can score the top of it so easily and the pattern will hold up in the oven. Thank you so much for creating it:)
I’ve made this recipe for a couple of years now, it always turns out delicious and so pretty! It’s been a favorite to give as a gift or bring to a dinner party.