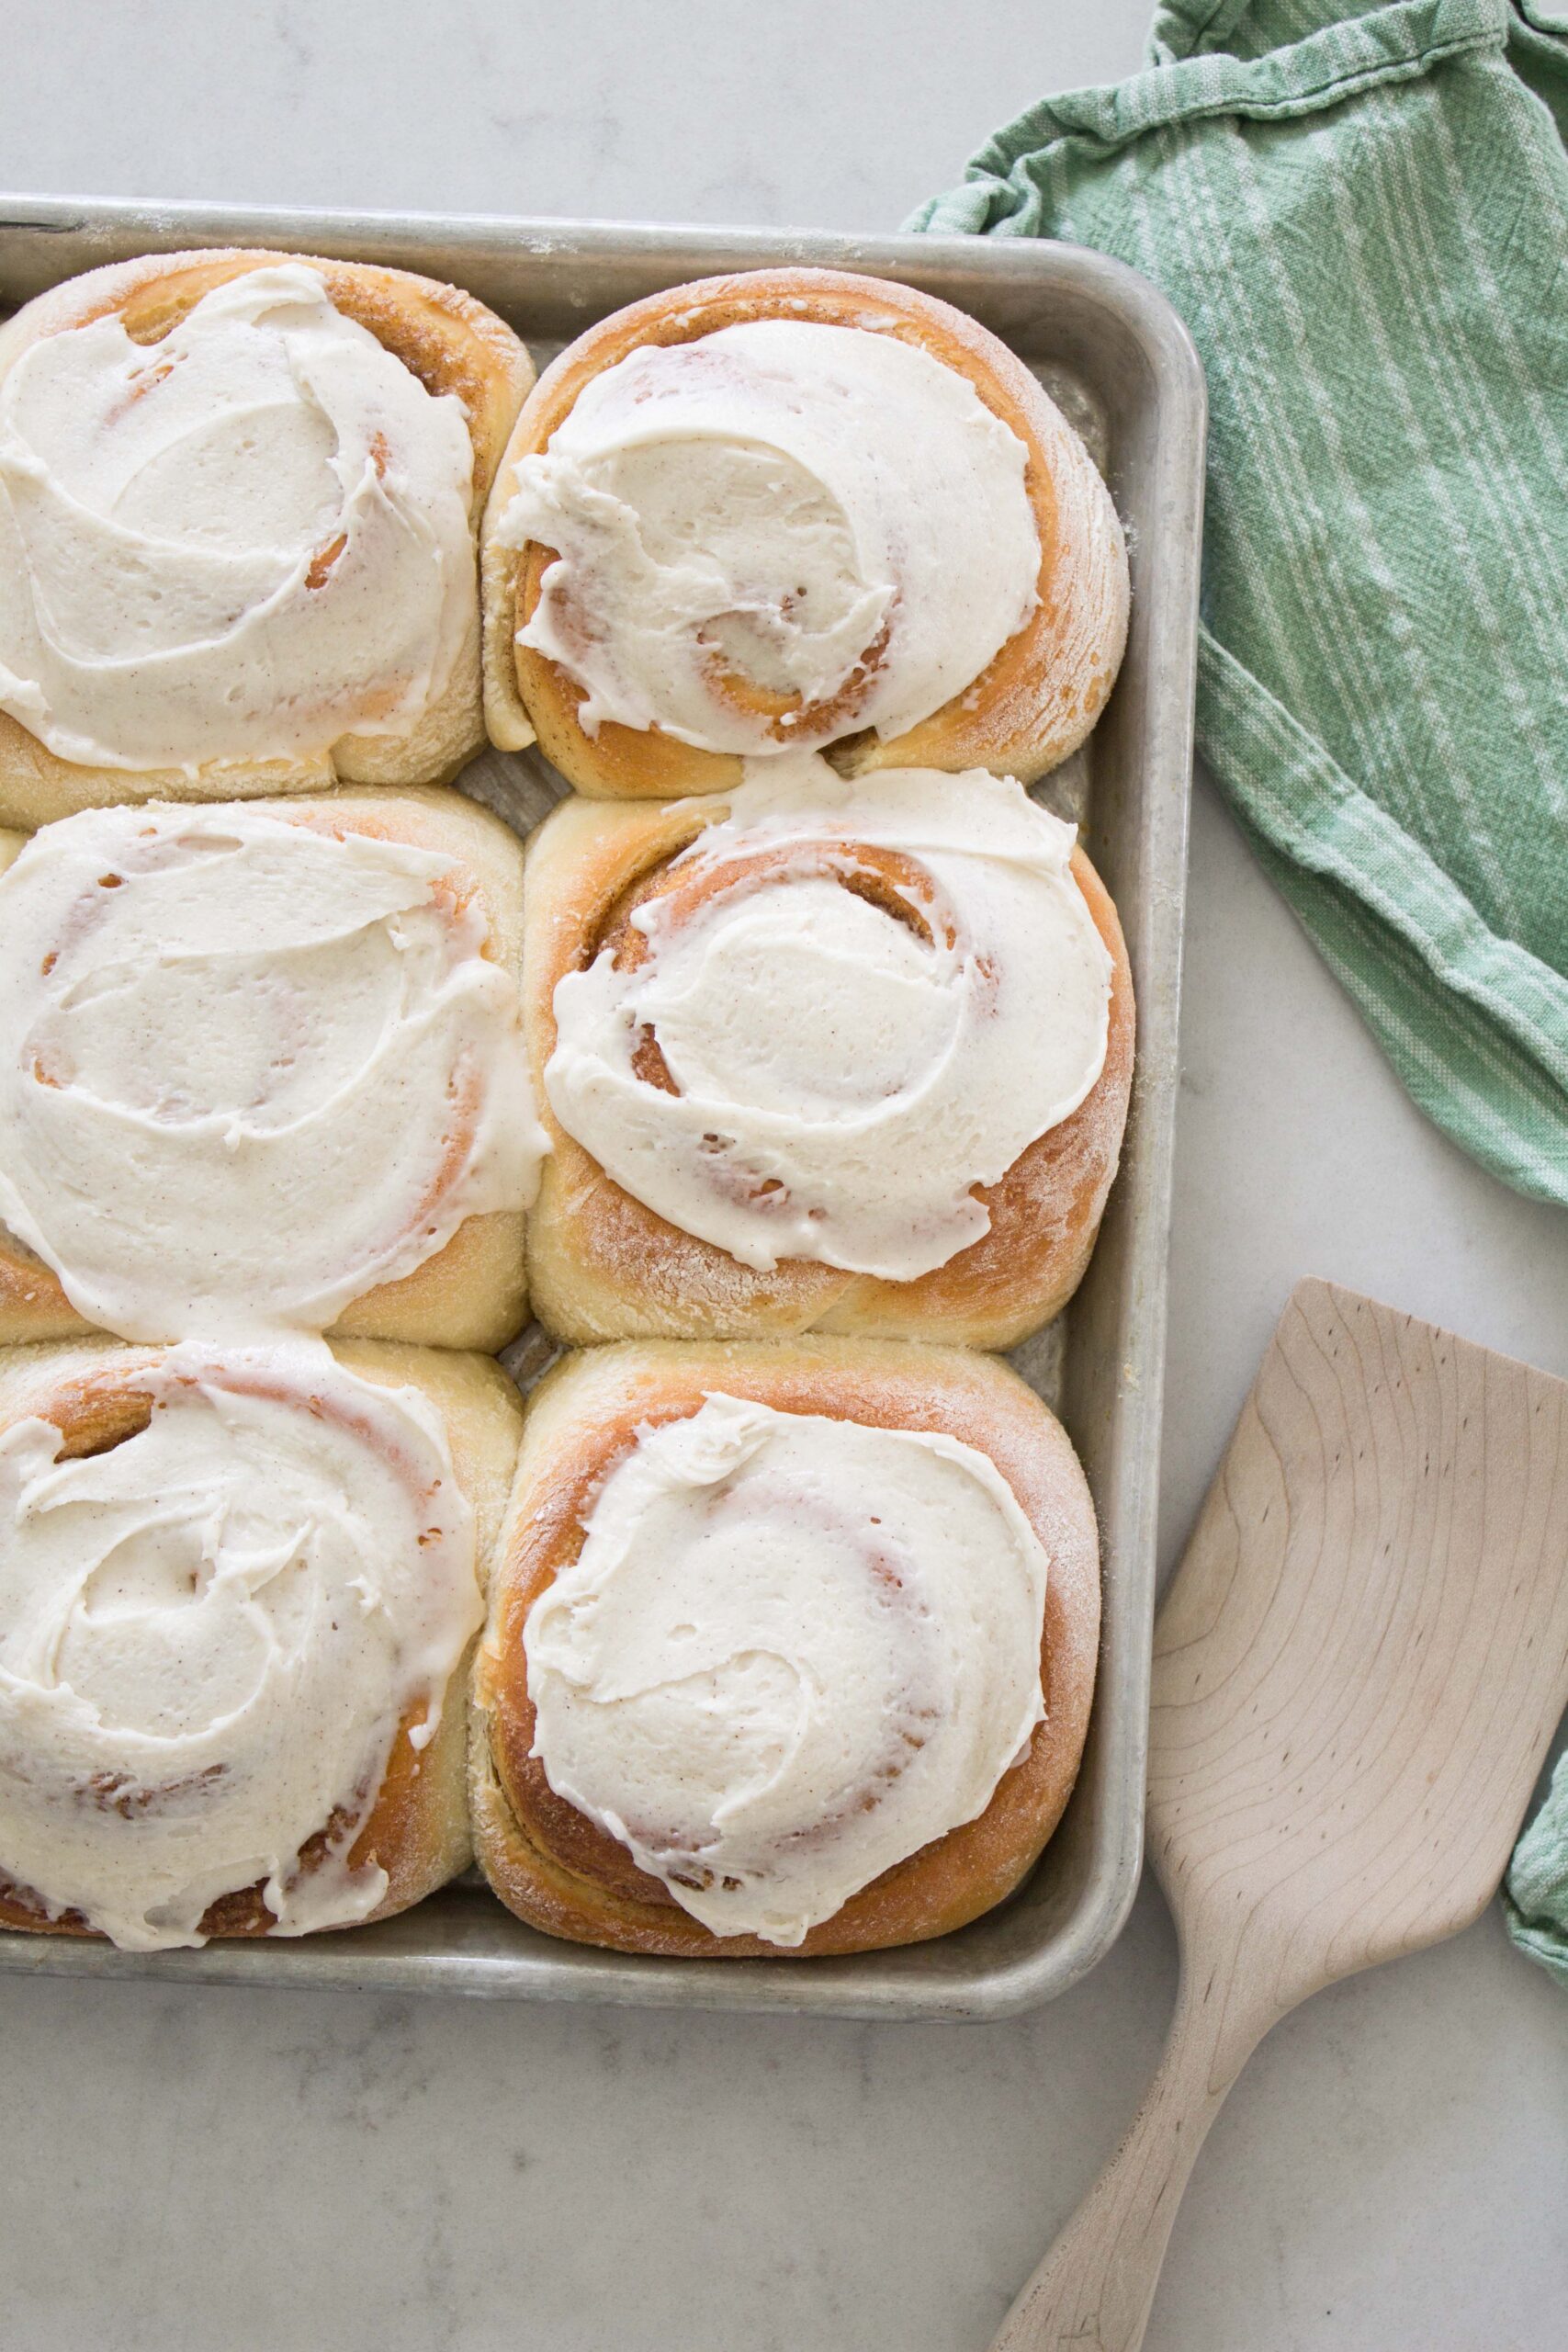
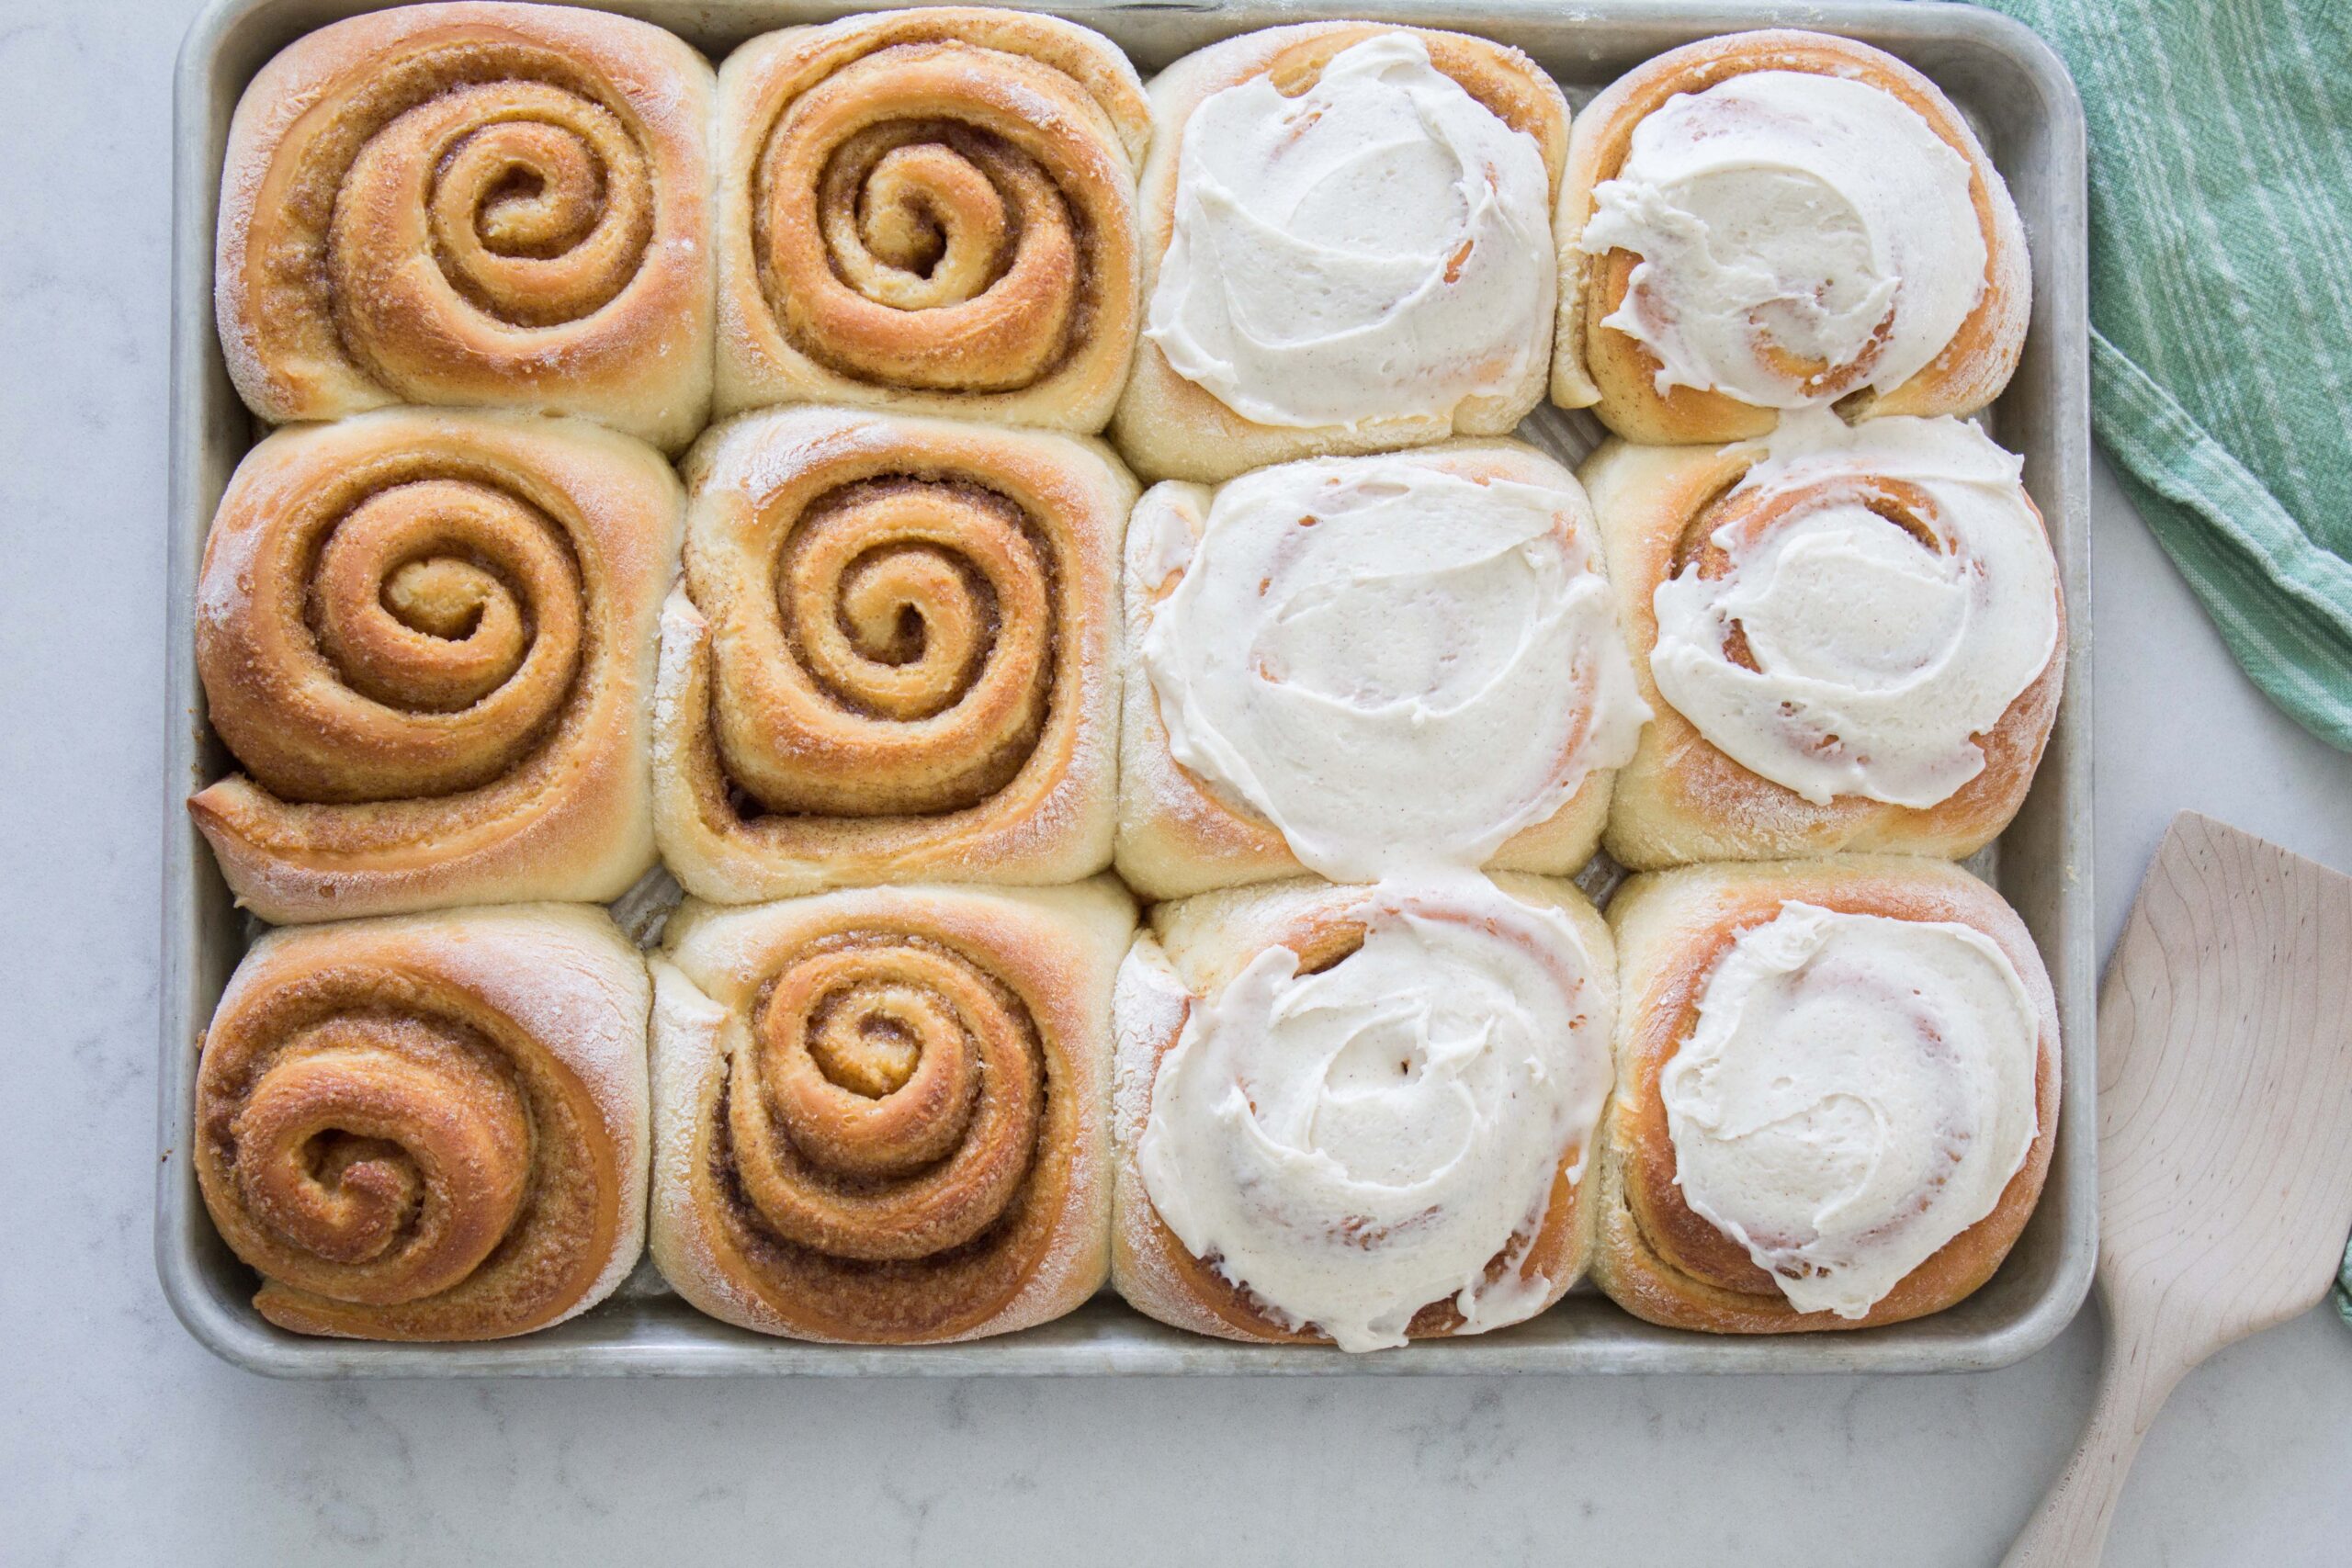
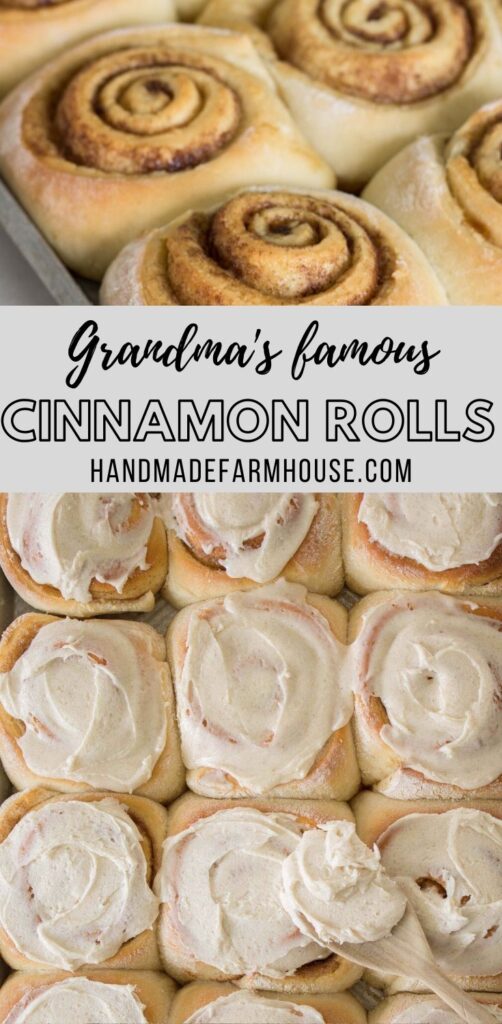
A family favorite recipe that is so special, it’ll be requested time and time again! Grandma’s famous cinnamon rolls are the perfect treat to share.
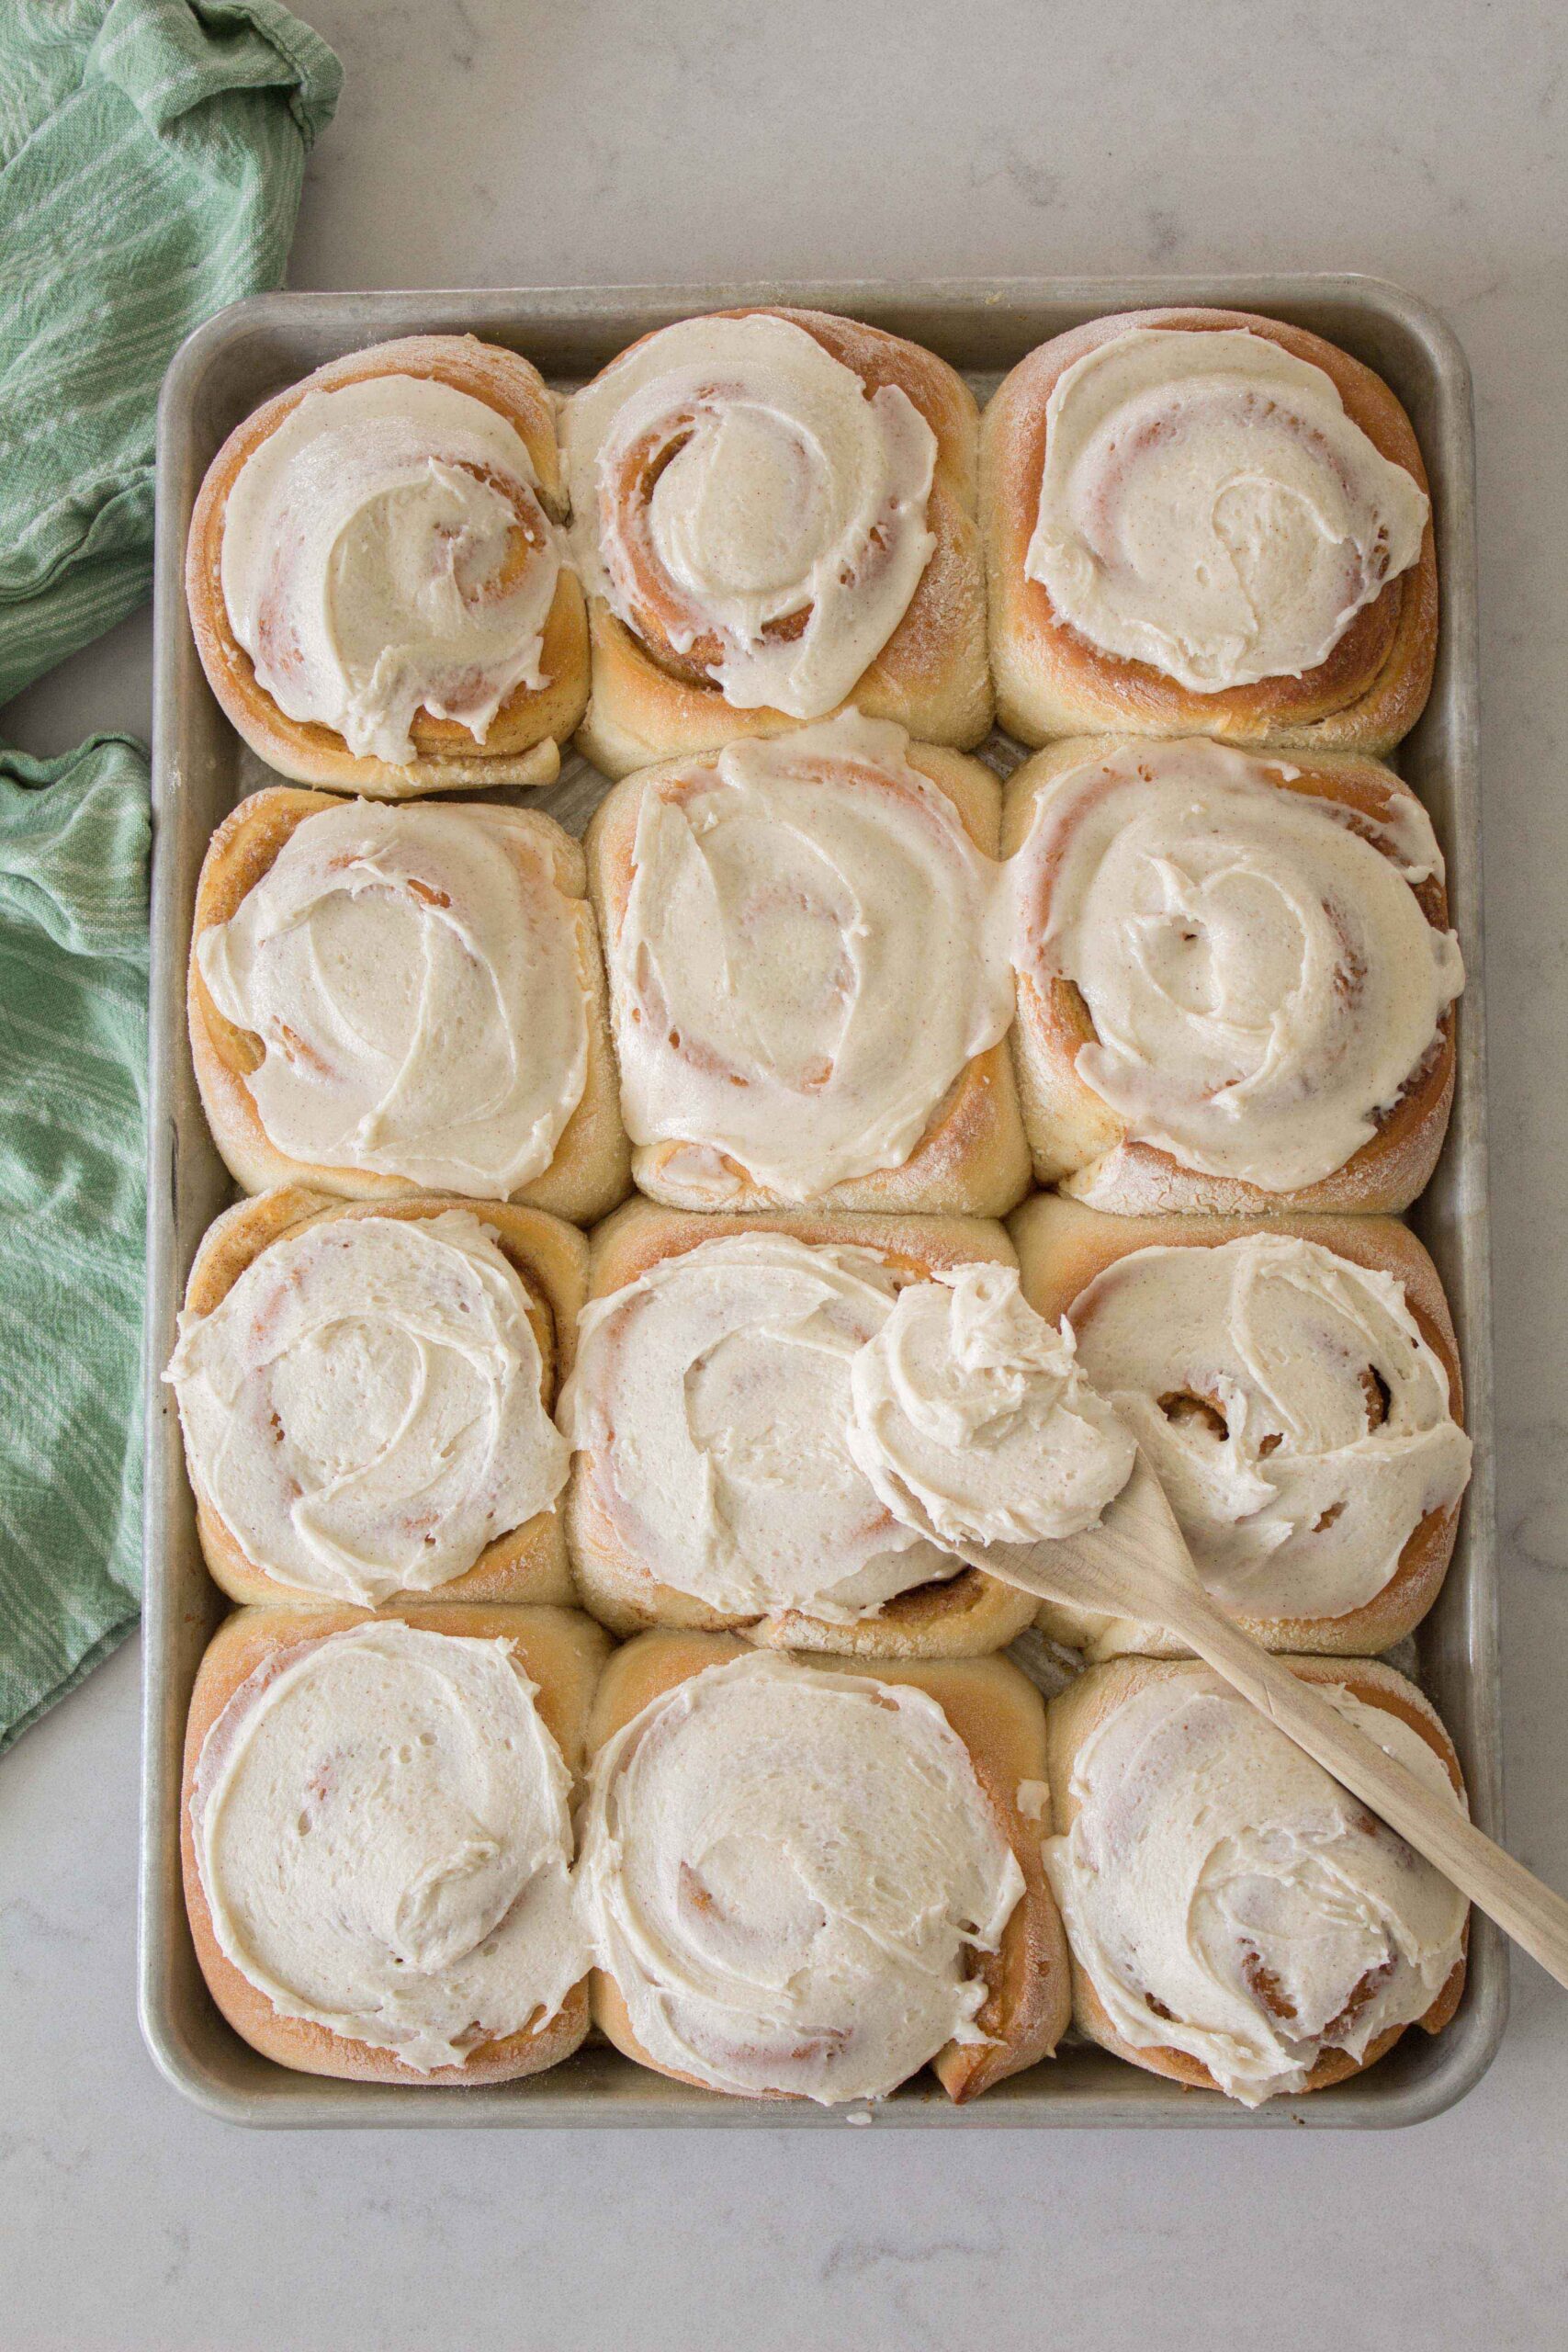
You know those recipes that take you back in time to grandma’s kitchen as a child? The ones that provide pure time travel and allow you to revisit some of your most cherished memories?
Today I am sharing a recipe that is unique and so very special to me! Grandma Hilvia’s famous cinnamon rolls. Grandma always made them for me when I had a sleepover at her house. She brought them to the farm crew to share during harvest time. She shared them with friends and people she cared about. I grew up on a farm and the memory of working with my family and watching for grandma’s car to come with warm treats will always be engraved in my heart!
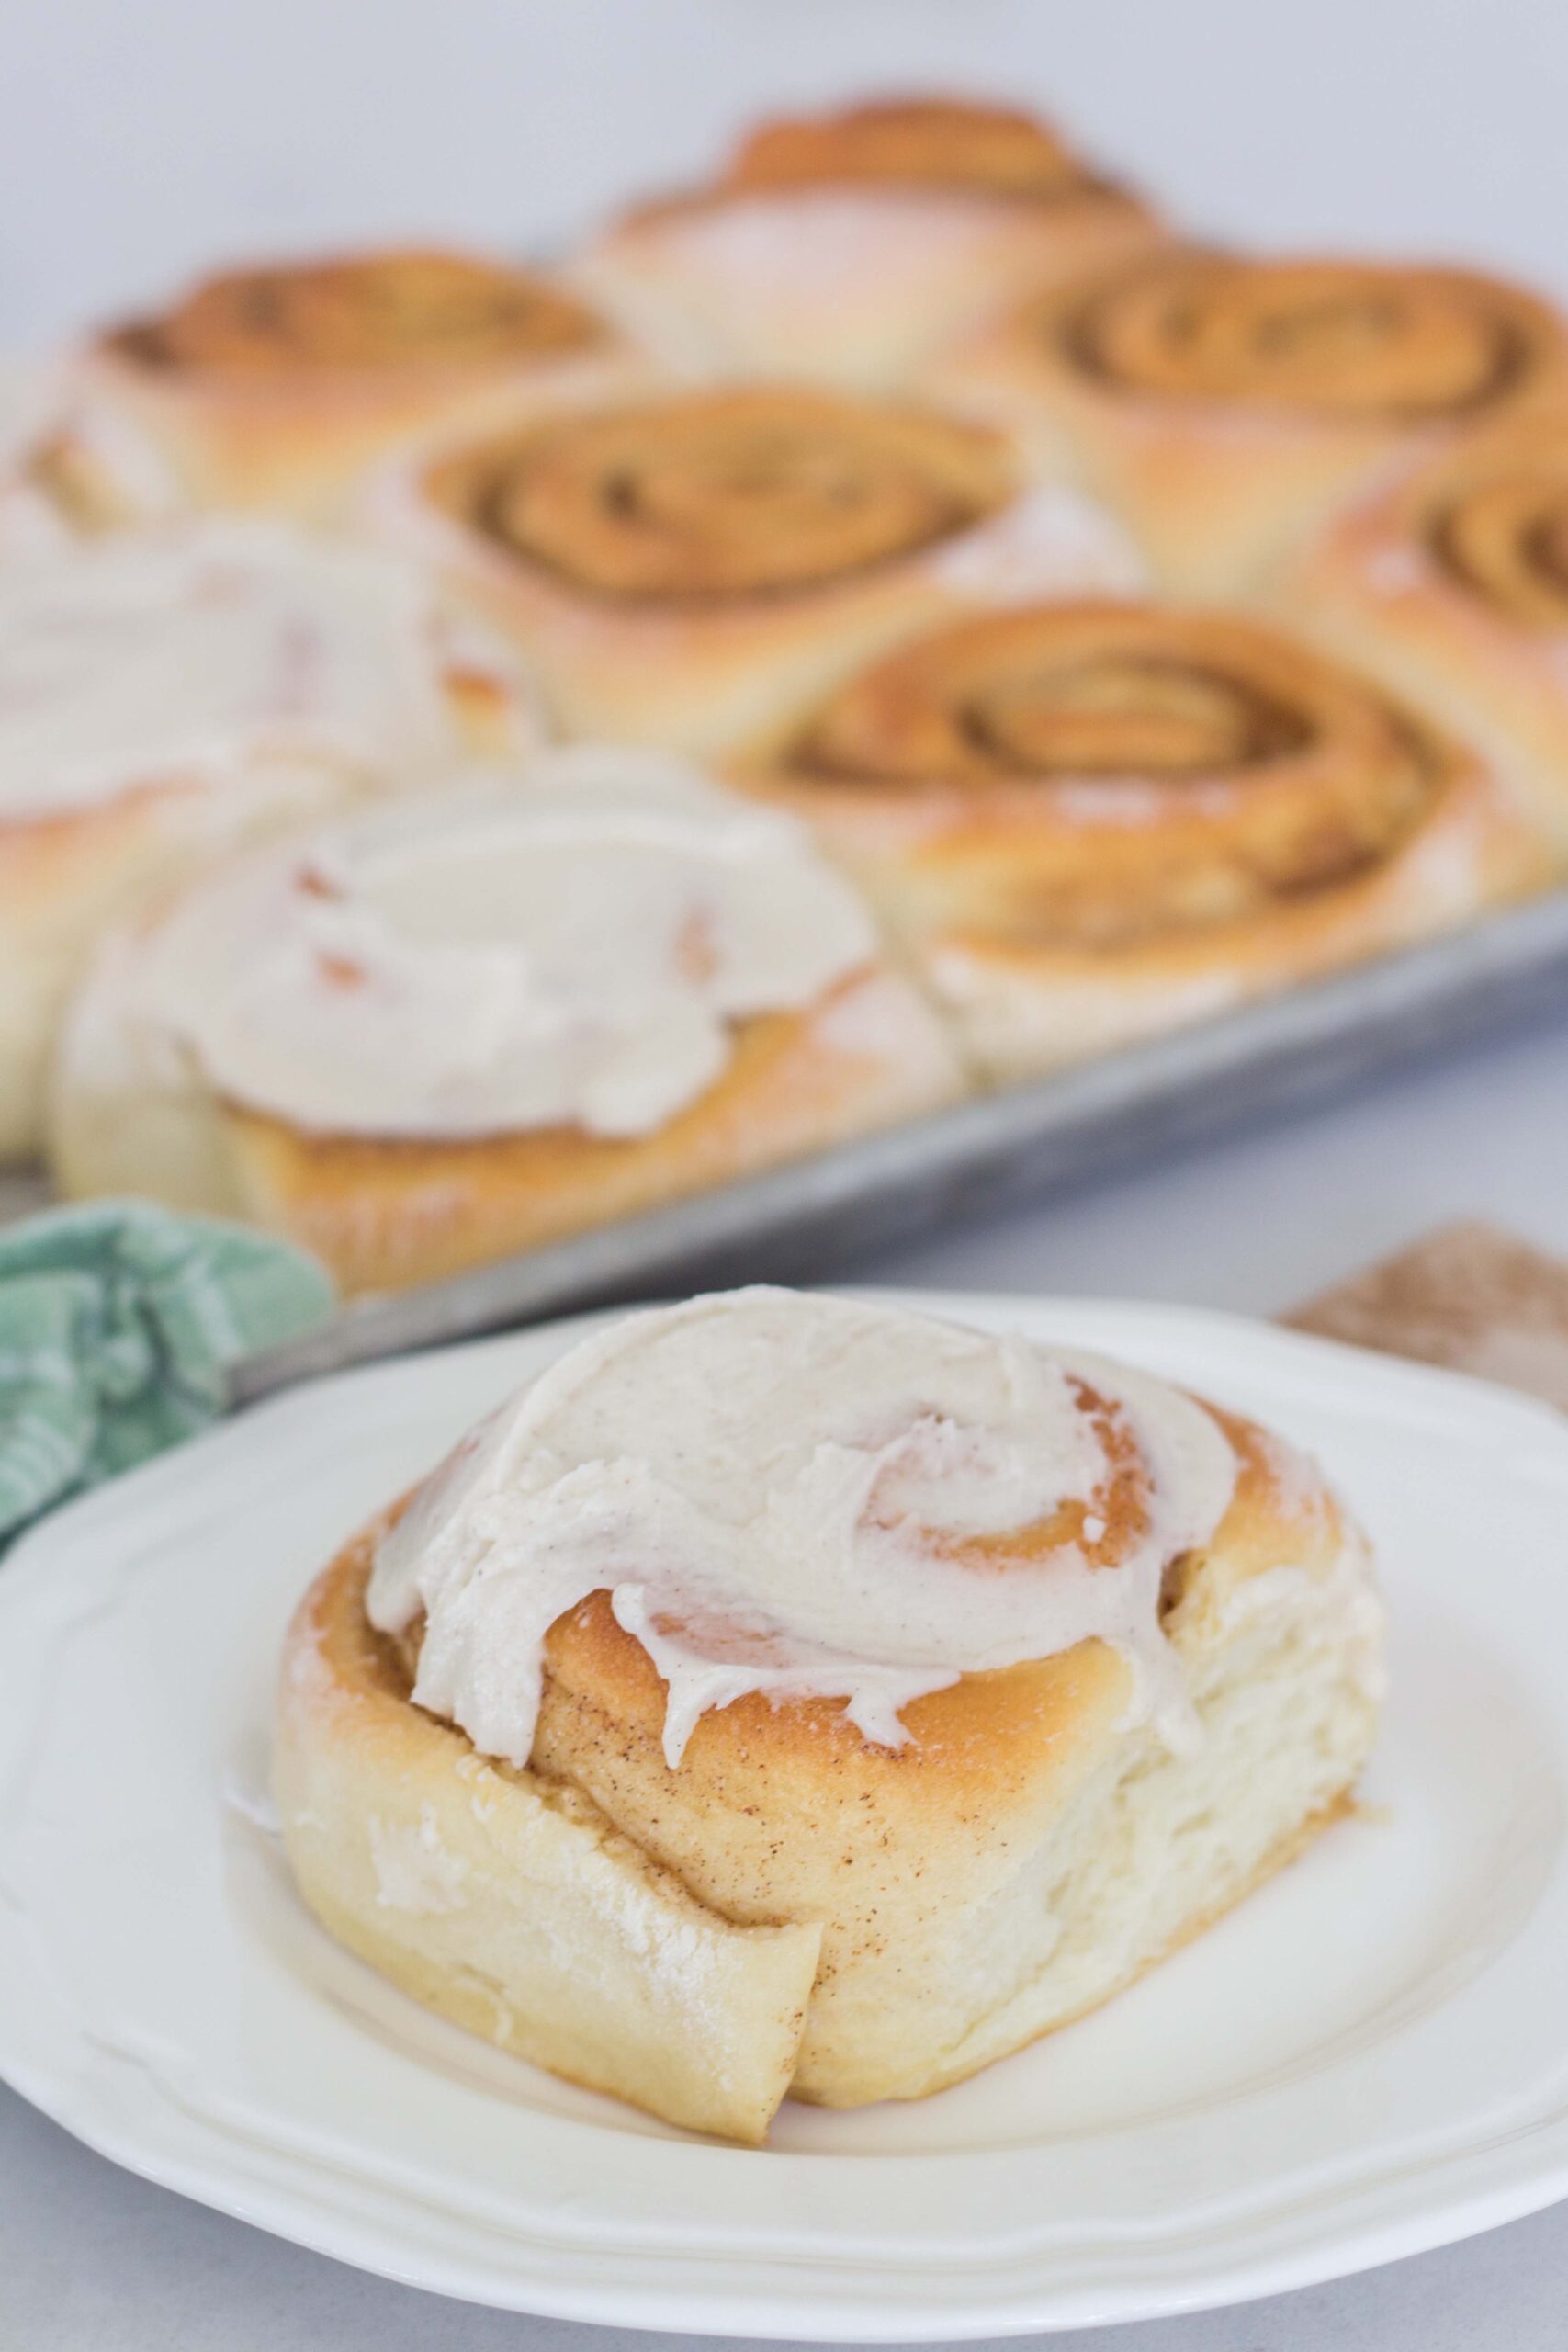
Grandma’s cinnamon rolls have been passed down to my mom, myself and now I am starting to make them with my daughter, Ellie!
This recipe does take a bit of time to make, but fear not, it’s mostly just rise time! Each time I make this recipe I feel so excited to share it with someone I love.
There is something so satisfying about working with dough and watching the ingredients transform into something so wonderful!
Shop kitchen tools from this post:
Grandma’s Famous Cinnamon Rolls
PrintEquipment
- Kitchen Aid mixer, large mixing bowl
- Rolling pin
- Baking sheet
Ingredients
- 1 1/2 cups warm water
- 1 1/2 cups warm milk
- 3 tablespoons lard shortening can be substituted but lard is best!
- 1 tablespoon yeast
- 1 tablespoon salt
- 1/2 cup granulated sugar
- 7 cups all purpose flour
- 1 heaping cup packed light brown sugar
- 2 teaspoons cinnamon
- 4 oz 1 stick room temperature butter (not melted)
Frosting
- 1 stick room temperature butter 8 Tablespoons
- 4 tablespoons milk
- 4 cups powdered sugar
- 2 teaspoons vanilla
- 1/4 teaspoon cinnamon (optional)
Instructions
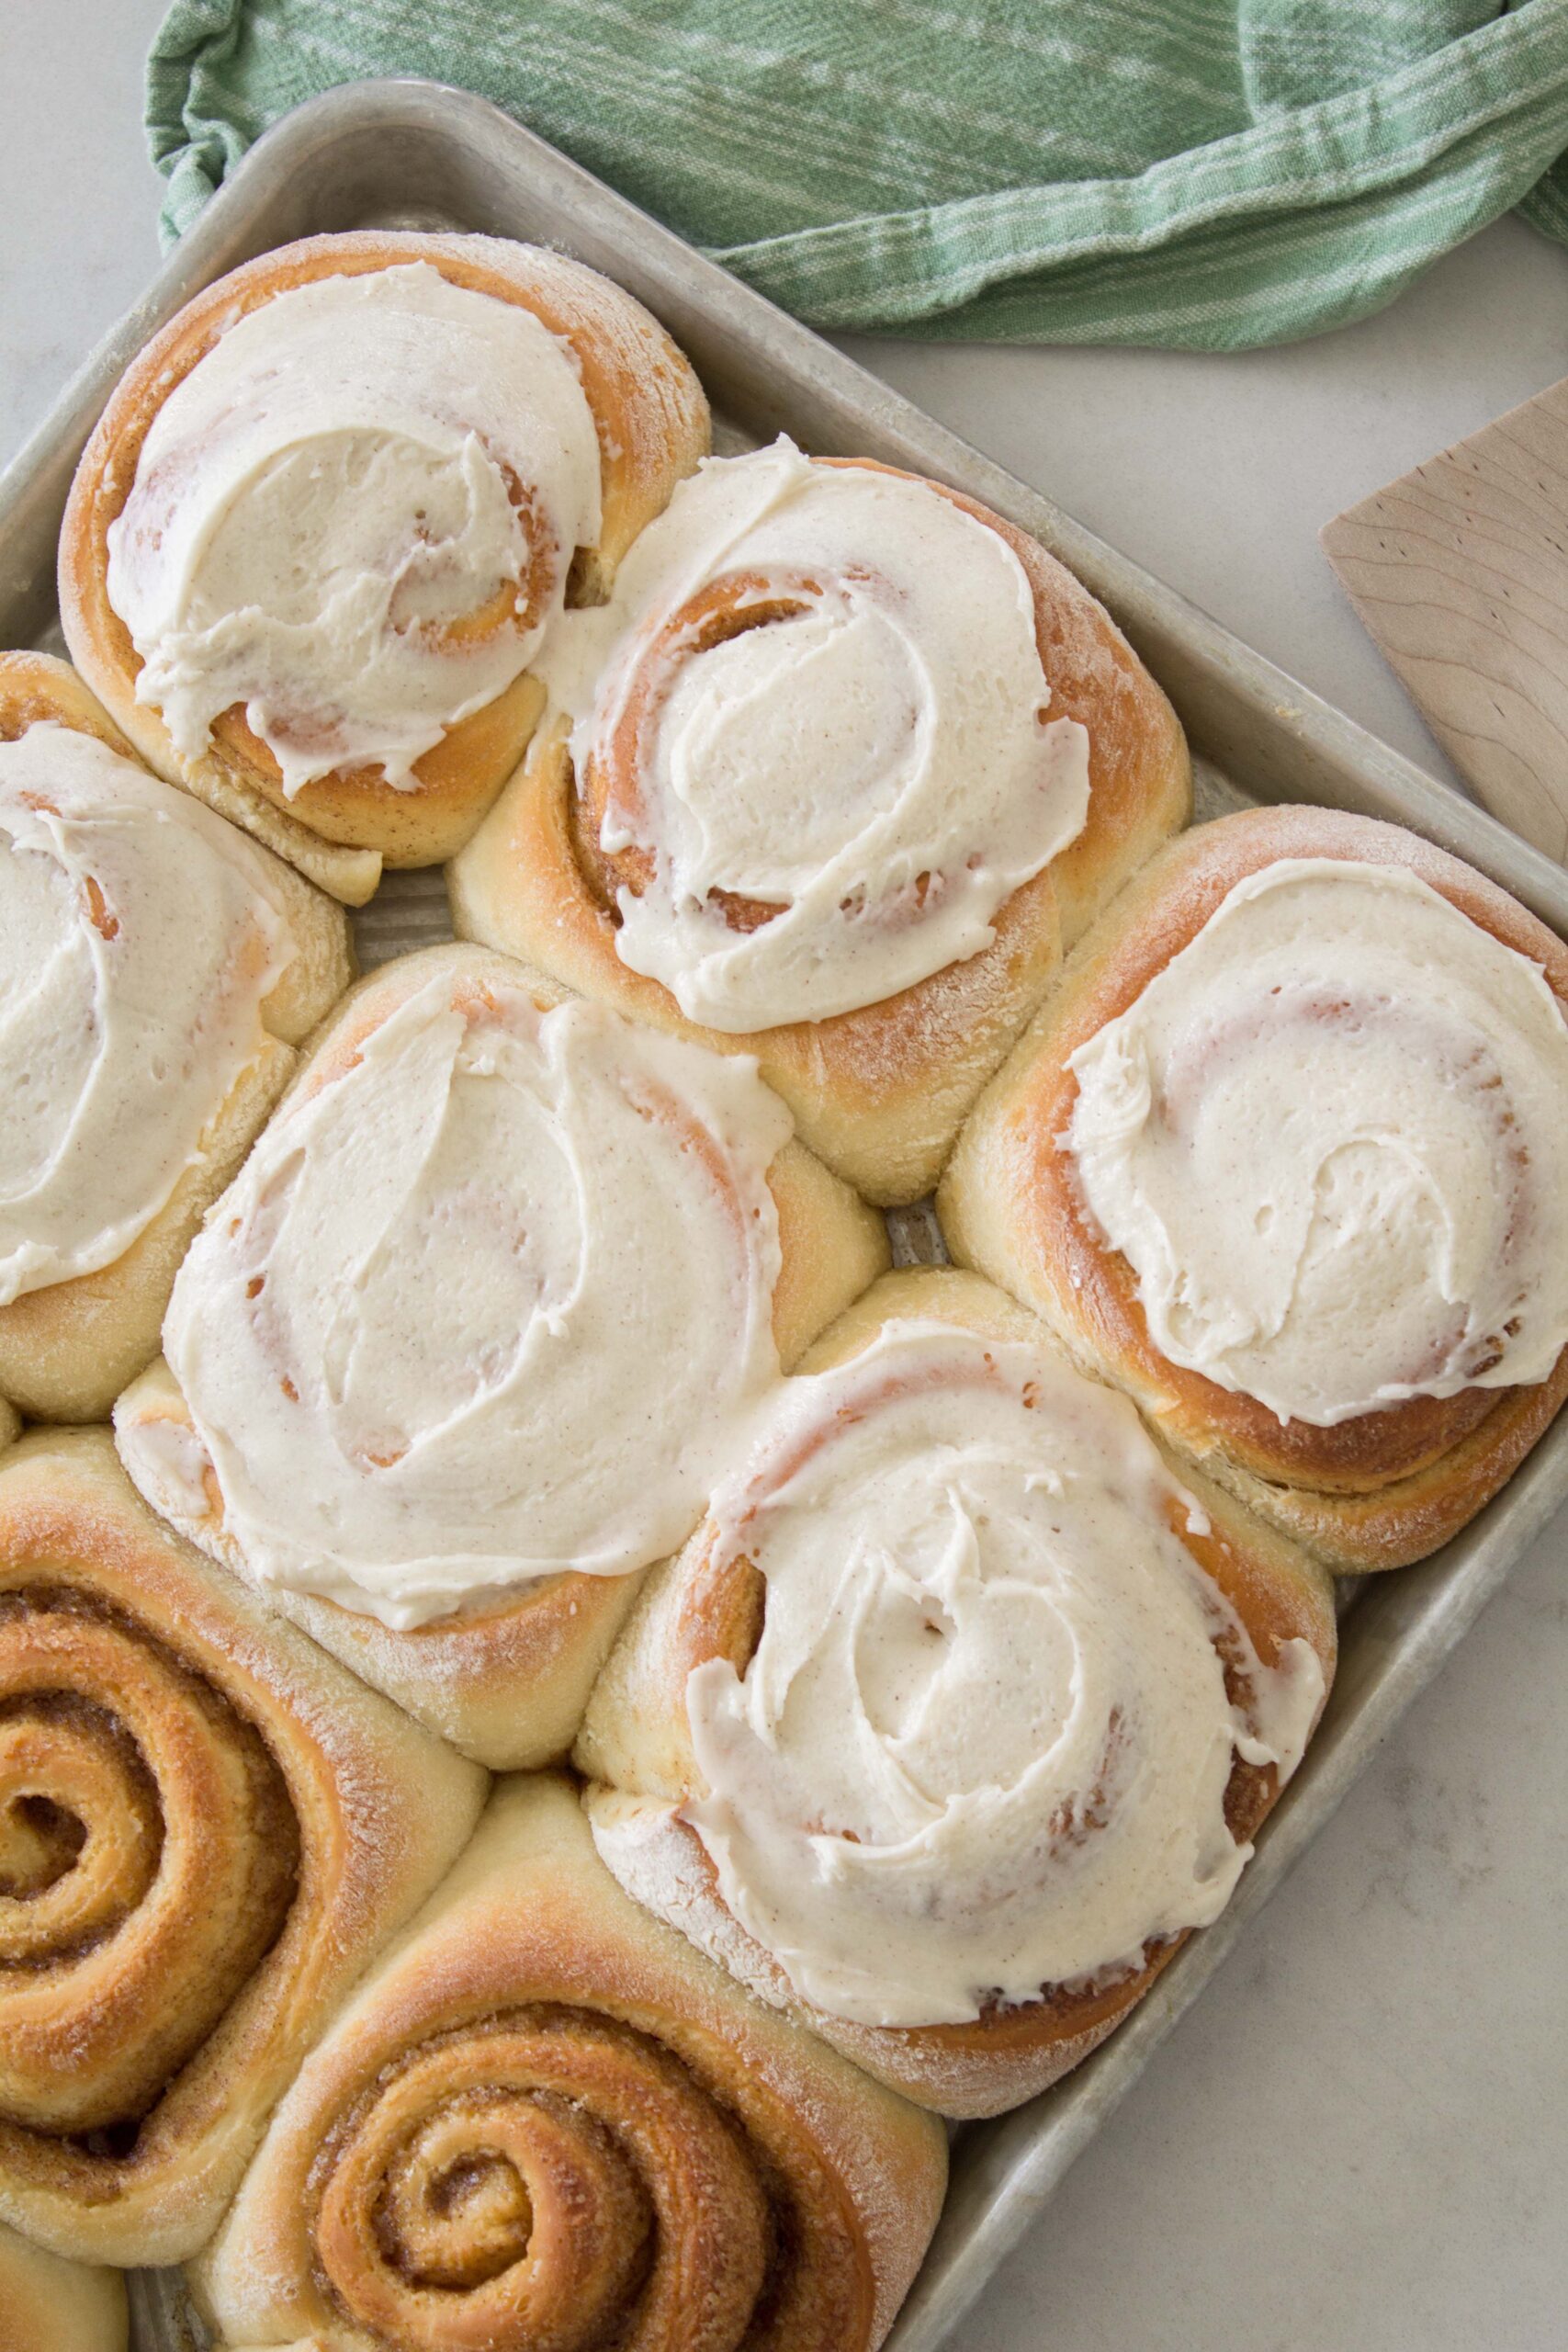
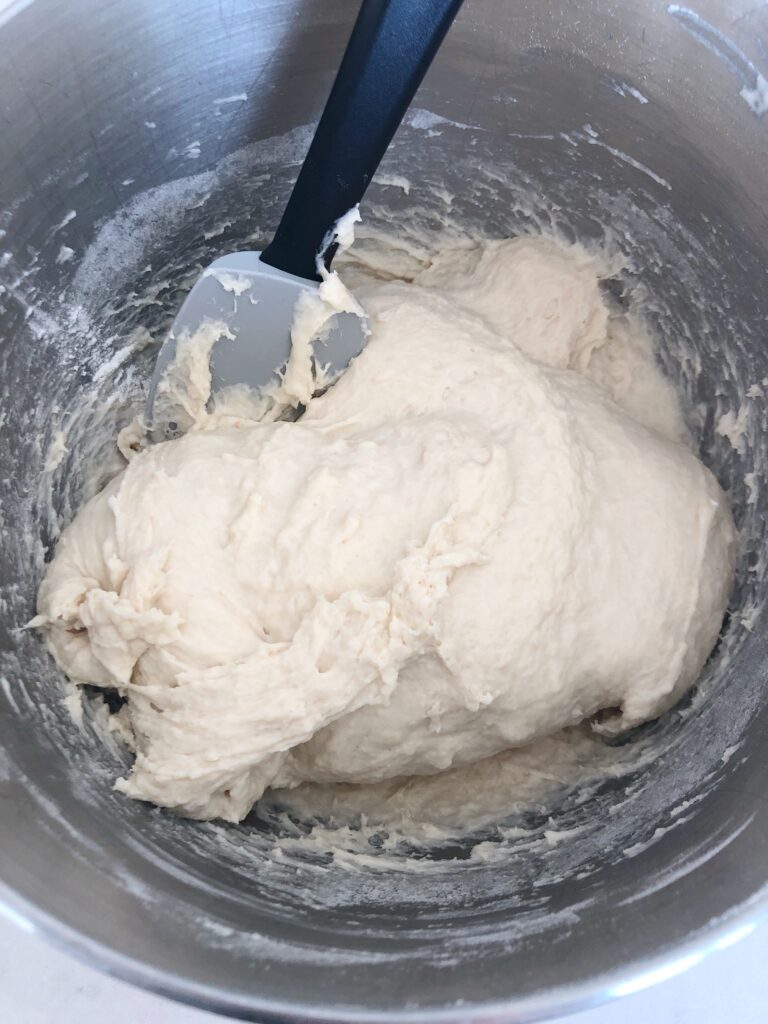
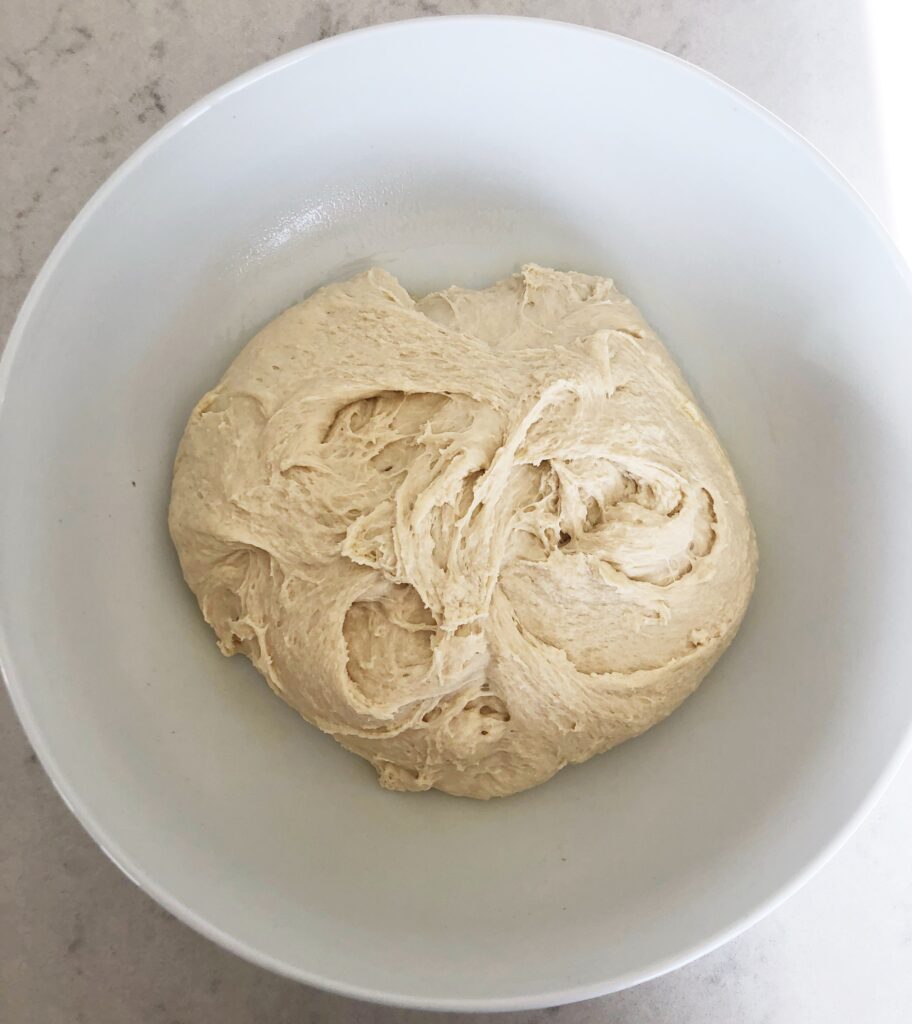
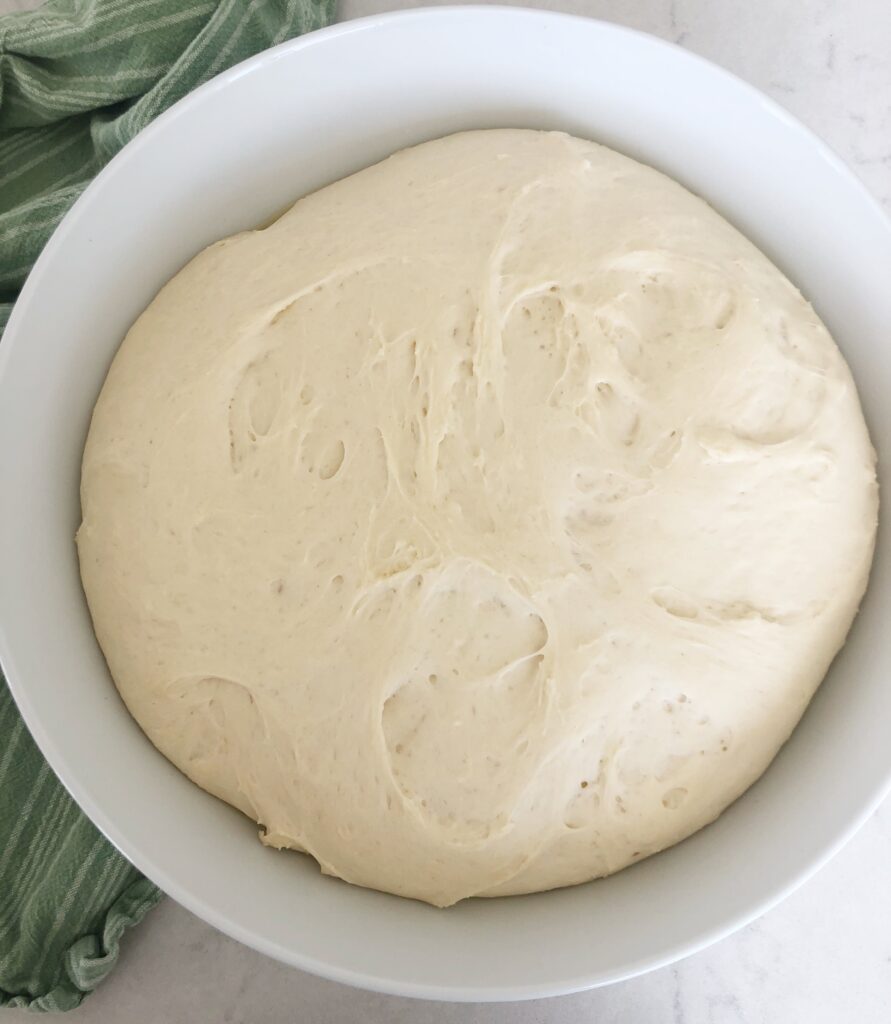
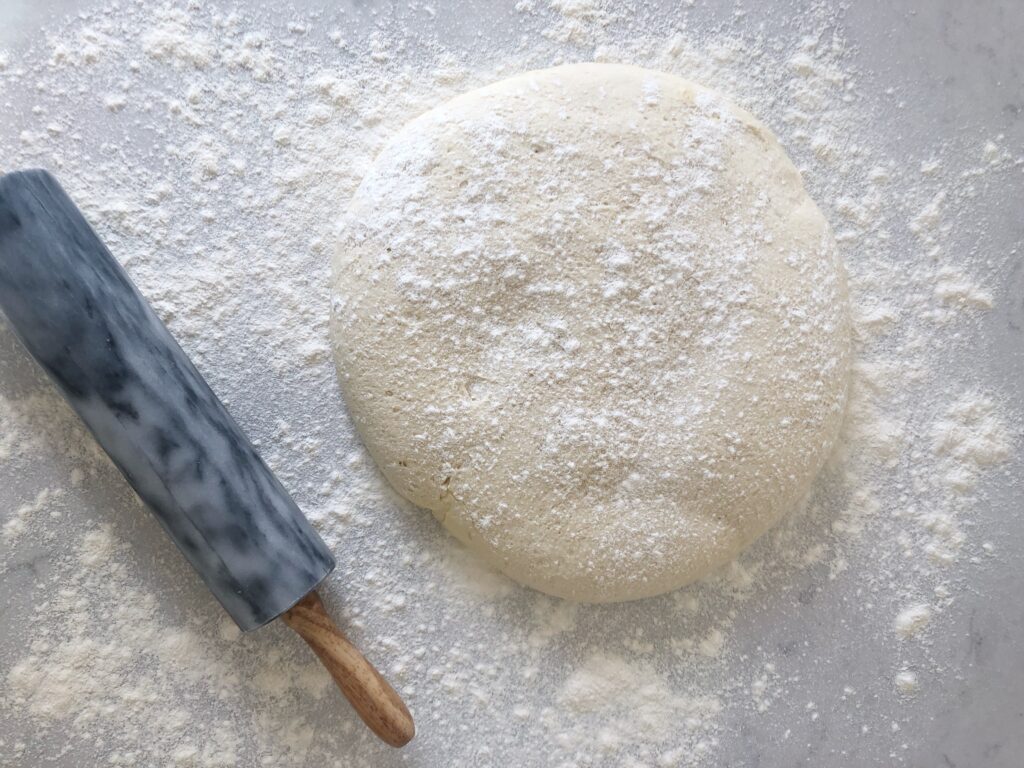
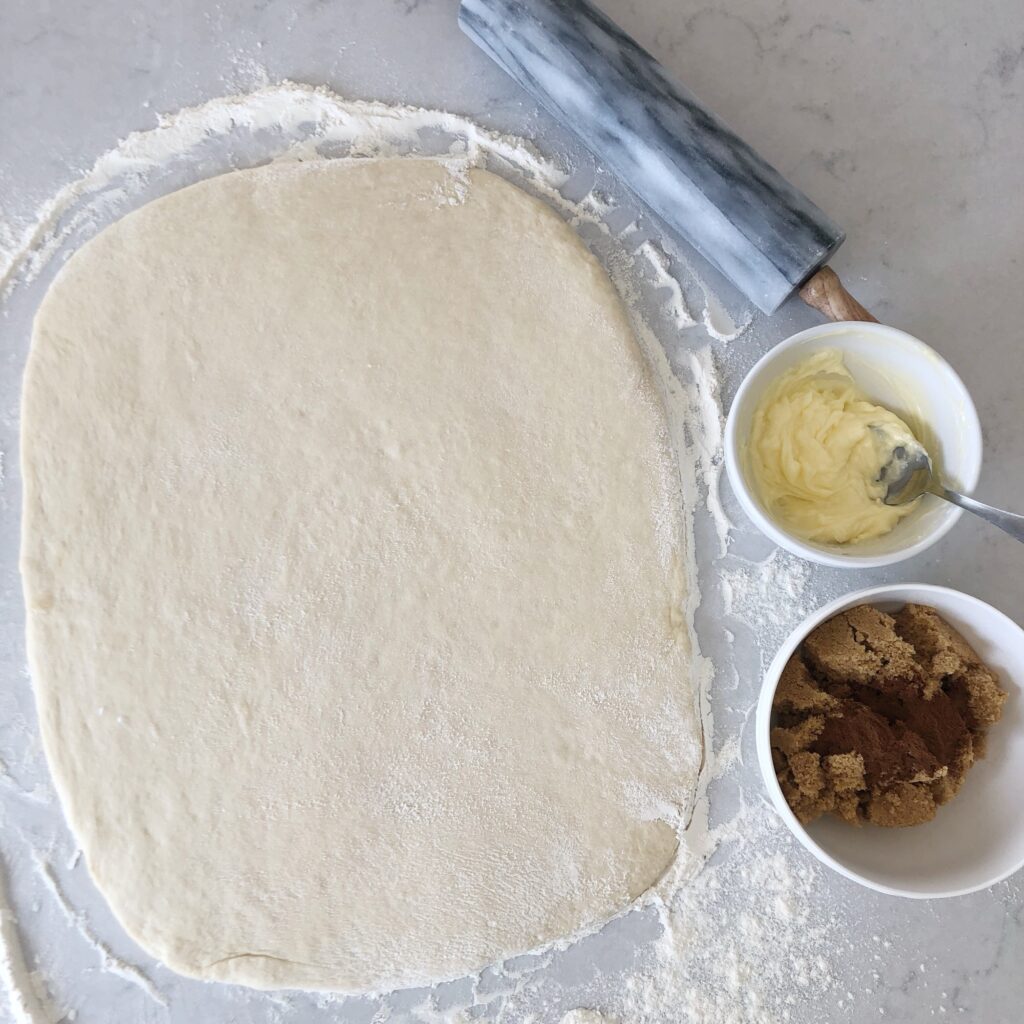
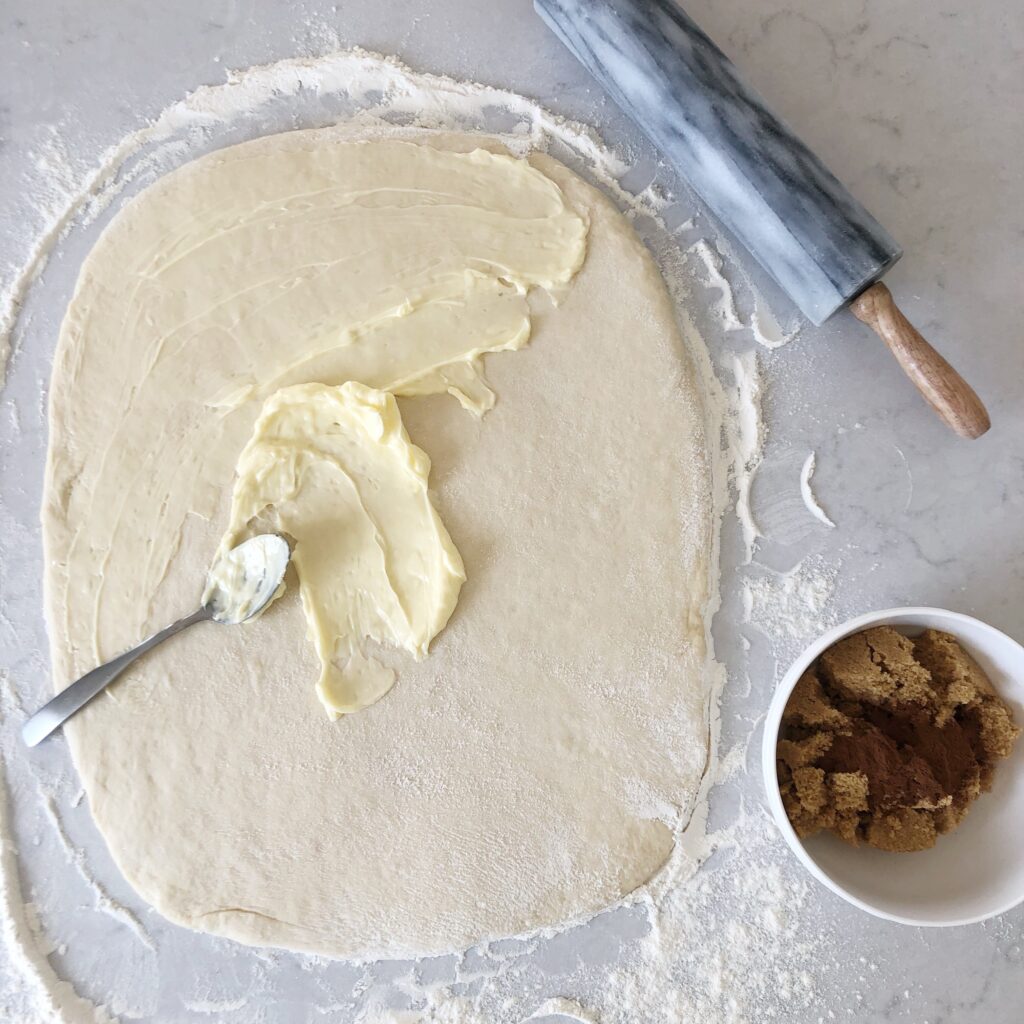
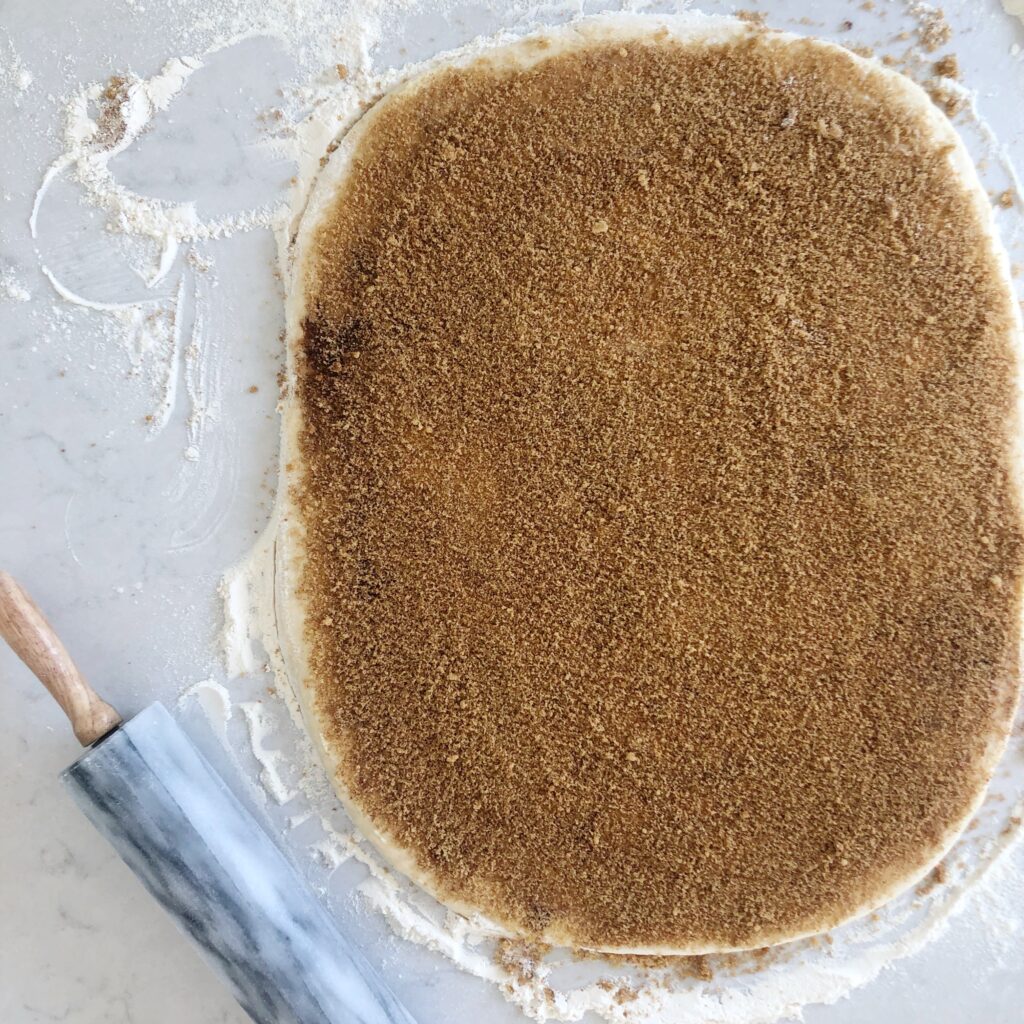
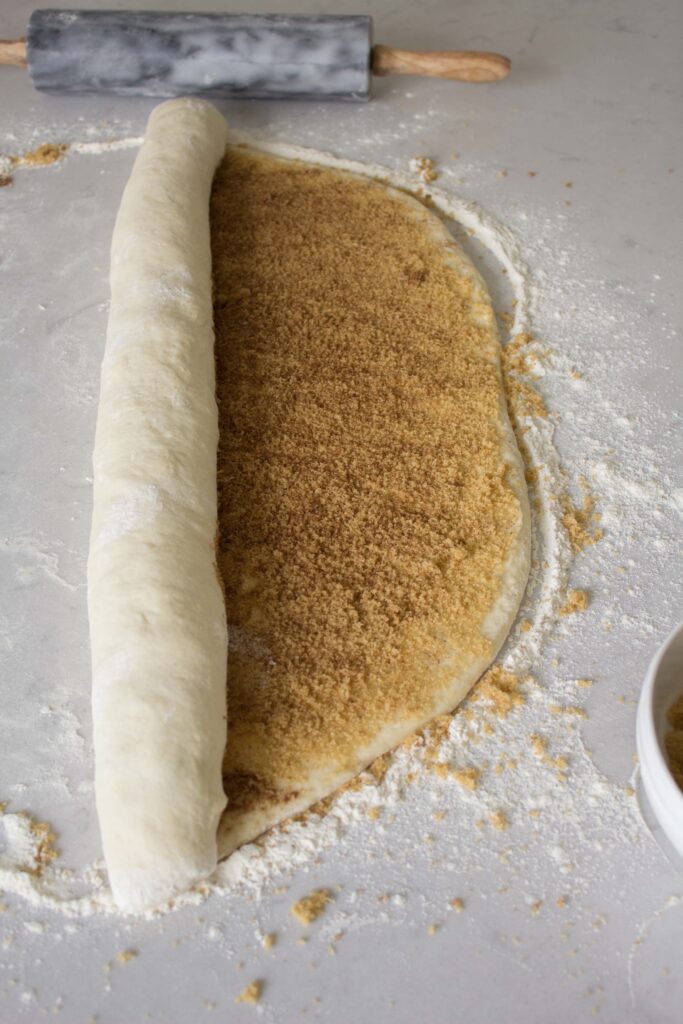
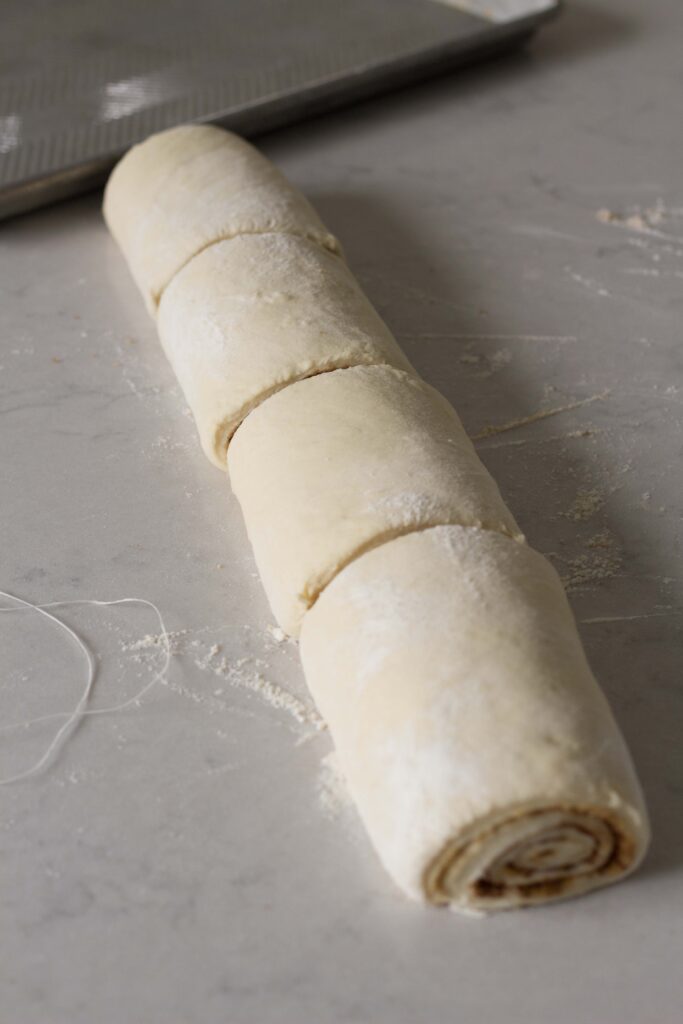
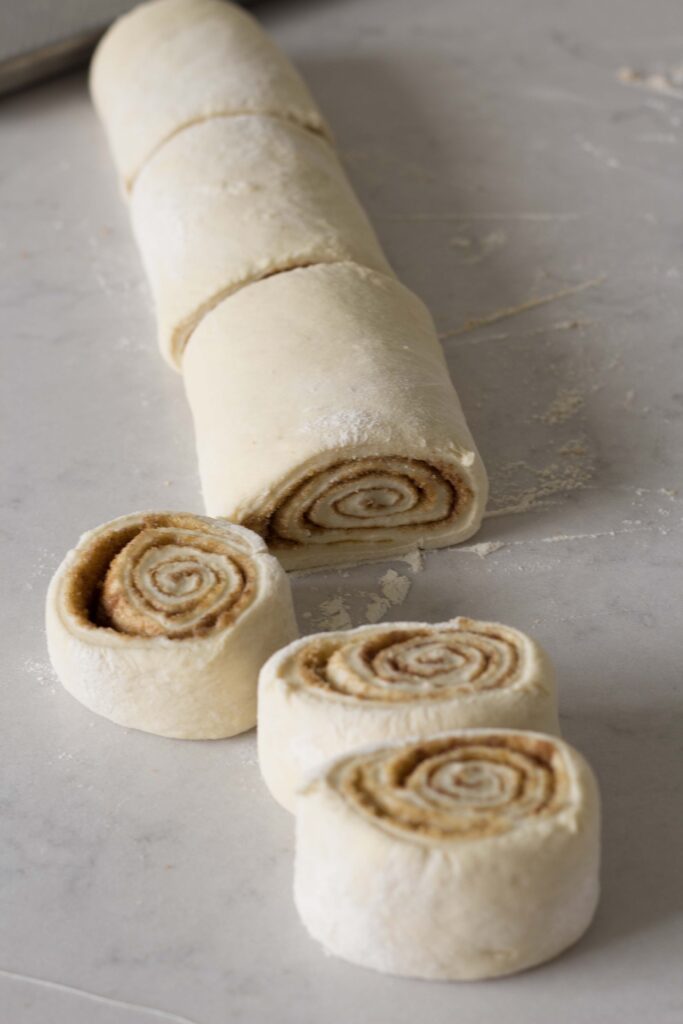
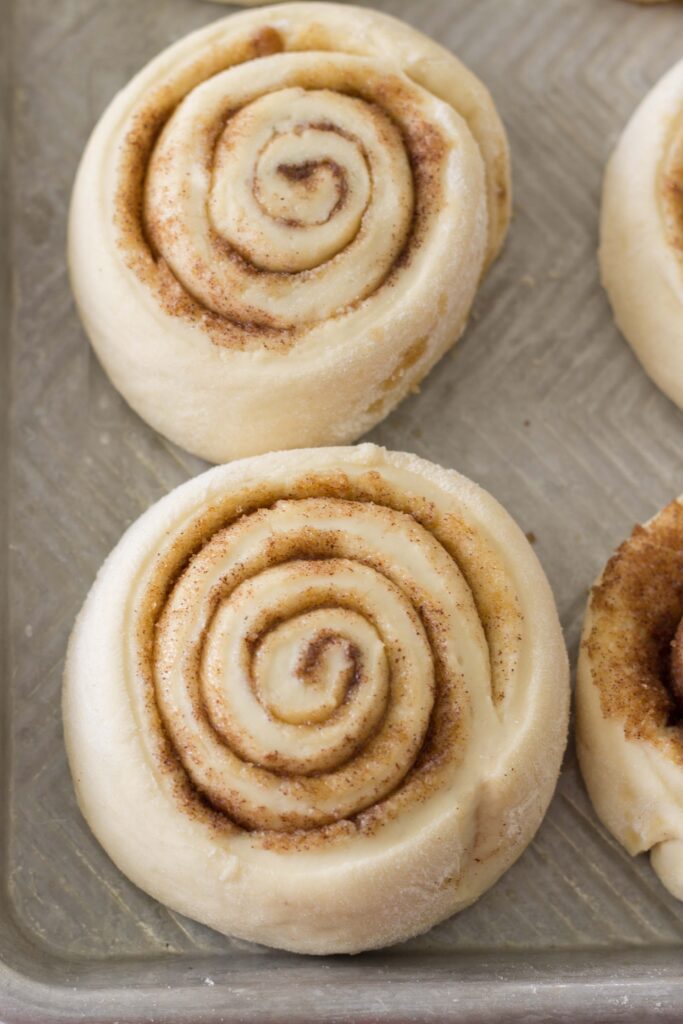
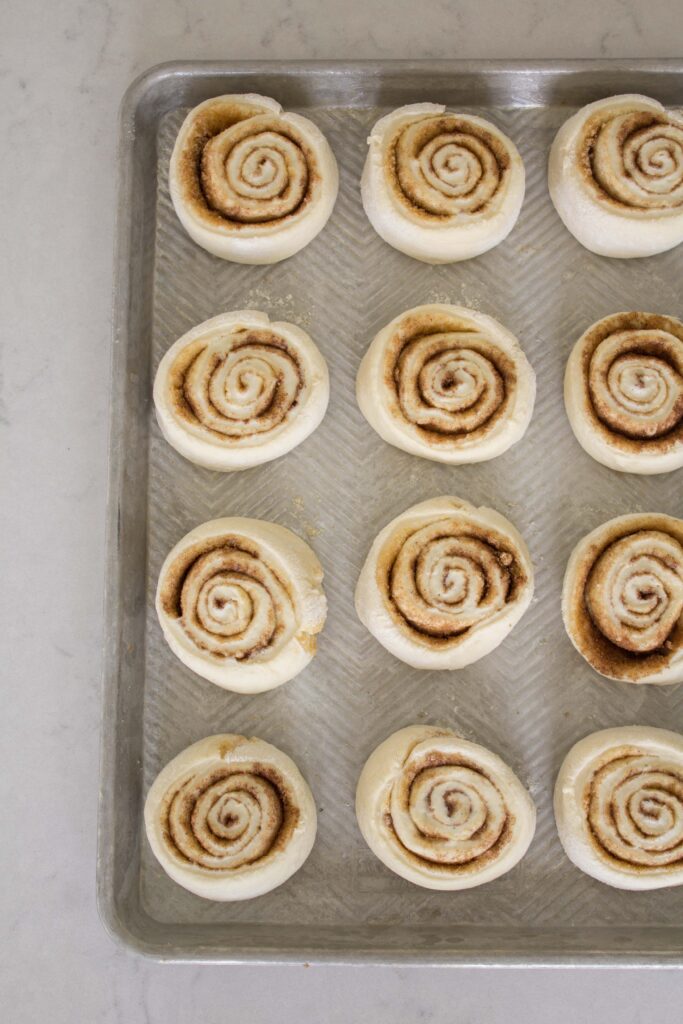
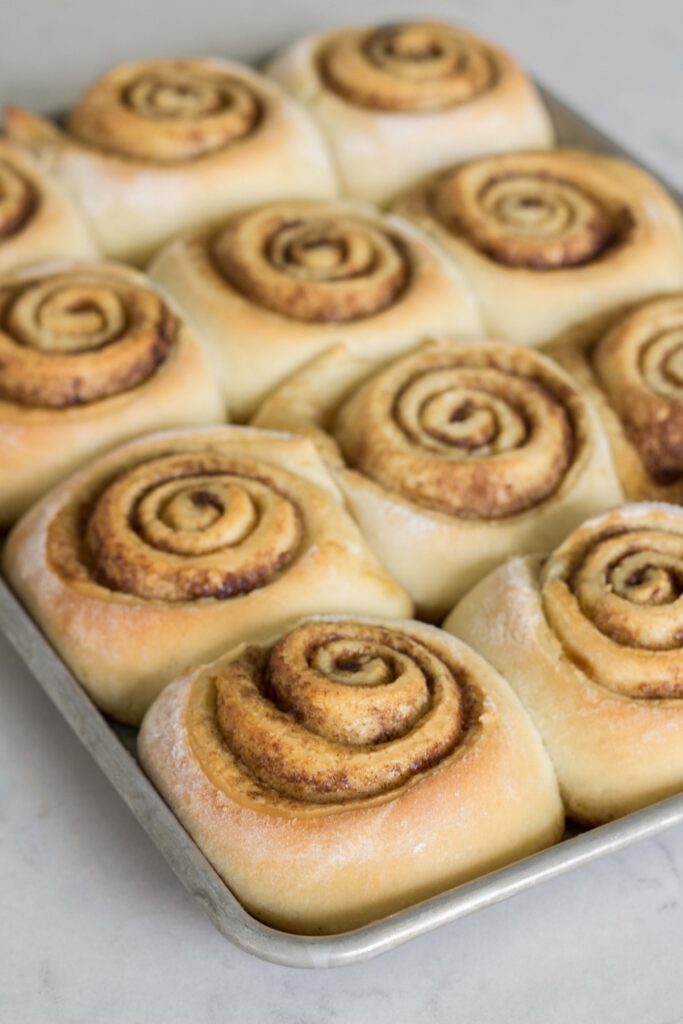
- In medium bowl add warm milk, water and lard. Heat in the microwave or on stove until warm (I usually go about 2 minutes, 30 seconds but each microwave is different and you don't want it hot enough to kill the yeast, just very warm). In the bowl of your Kitchen Aid mixer or large mixing bowl (if stirring by hand), combine yeast, sugar, 3 cups of flour and salt. Add warm liquid mix to this dry mixture and combine until smooth. Allow this to sit for 5 minutes (covered with a clean dish towel) to allow yeast to activate. You should see a few bubbles after 5 minutes. Add in remaining 4 cups of flour and mix well. You want the dough to be smooth and elastic as this will develop the gluten. I usually add a dough hook attachment for the last cup of four so it can do a bit of kneading/stretching for me. After all flour is added, allow the mixer to stretch the dough for 5-7 minutes and make sure that everything is incorporated smoothly.Pour dough into a large pre-greased bowl (I just spray it with non-stick spray or use shortening). Cover and allow to rise for 1 hour. Dough should double in size. Sprinkle counter top with flour and dump out risen dough. Sprinkle the top of the dough with flour and very lightly (without mashing the dough down and allowing it to keep its bubbly structure), gently roll into a rectangular shape approximately 16×20)Spread room temperature butter over your rectangle (make sure the butter is not melted!). Sprinkle brown sugar and cinnamon on top. Tightly roll the dough up (starting with the long side and rolling away from you) and form into a roughly 19" long roll. You can pat the roll and shape it slightly so its even from end to end. Use dental floss to slide under the roll and bring the strings up and around to make a slice. This works much better than a knife so you don't smash the dough. Cut the roll into 12 even slices (I always cut in half and then into fourths so I can cut each section into 3 rolls to help with even cutting). Prepare sheet pan with cooking spray. Add rolls and cover with a flour sack towel and allow to rise 30 minutes. This rise time is important for fluffiness and texture!Preheat your oven to 350 F and bake for 25-30 or until rolls are golden brown.Remove from the oven and place on a cooling rack. Allow rolls to cool for 10-15 minutes before frosting.
Frosting
- Mix all ingredients together and frost cinnamon rolls when warm, not hot.
Here’s a visual process of the recipe:
FAQ’s about Grandma’s famous cinnamon rolls:
- Can this recipe be made ahead? Yes! I would suggest fully baking the rolls and freezing them without frosting. Wrap pan tightly with plastic wrap and then again with tin foil. When ready to use, allow to defrost fully before adding frosting.
- Can this recipe be doubled? Yes! I use about 13 cups of flour when doubling.
- What baking sheets do you use? You can shop my baking sheet HERE!
- Can fruit be added to the recipe? Yes! You can add tiny chopped apples (tossed in cinnamon and sugar) to the cinnamon rolls after adding the butter, cinnamon and sugar. You can also make orange rolls by adding orange zest to the dough and subbing orange extract and zest to the frosting.
- How long will the cinnamon rolls stay good? I would suggest allowing the rolls to fully cool, then add to gallon ziplock bags to keep fresh for 24-48 hours. Freeze the rolls if possible, to keep them more fresh!
- What is the best way to package warm rolls? I love delivering warm cinnamon rolls to friends and family! I love using tin disposable pans with plastic lids to share. You’ll want to keep the rolls uncovered (to prevent condensation) until just before delivery.
Love bread-making? You’ll love my other favorite recipes!
CLICK HERE TO CHECK OUT MY OTHER BREAD RECIPES
Love this recipe for Grandma’s famous cinnamon rolls? PIN IT!
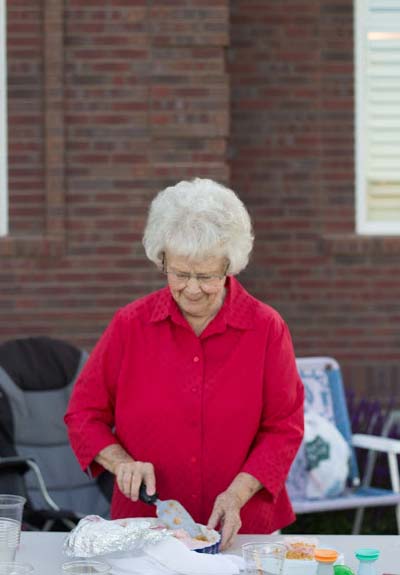
A special thanks to Grandma Hilvia for allowing me to share this recipe. When I asked her permission she said “I would just be delighted to help people learn to make a recipe that I used to make to show others how much I love them”.



Oh Emily, thank you so much for posting this. These are just gorgeous. Can’t wait to make them.😍