In this post you’ll learn how to get bread yeast right (every time) and have success with bread making at home!
One of the most common baking questions I get is about yeast. I’m not surprised! Yeast can be intimidating, and for good reason! If you don’t get it right, your bread isn’t going to be successful. That’s why today I’m showing up to teach you how you can GET BREAD YEAST RIGHT, every time. I promise, it isn’t hard. And once you learn the basics, you’ll know just what to look for to ensure a successful loaf each time you bake.
Tips to get bread yeast right (every time)
- Water temperature. This is a big one! If your water is too hot, it will kill the yeast and it will not become foamy and activated. Too cold, no good either! I like to think of it like you’re filling the sink to bathe a newborn. Warm water, not too hot, not too cool. If you really want to get fussy about it, you can use a thermometer and check for 110-115 degrees F.
- Salt kills yeast, sugar feeds it. I love adding a pinch of sugar to my yeast and water whenever I’m making bread. The sugar encourages yeast activation and a little pinch really helps!
- After mixing the yeast, water and pinch of sugar, cover it! I always toss a kitchen towel over the mixture and allow it 5-7 minutes to activate. Trapping the heat helps the yeast!
- If you yeast isn’t foamy and activated within 5 minutes, toss it and start again. You wont have success if you use inactive yeast. Maybe the water was too hot, or too cold. Or maybe it is expired. Either way, begin again. This is your foundation and you want it to be right.
- Store your yeast in an airtight baggie in the freezer. I always do this so that my yeast stays nice and fresh!
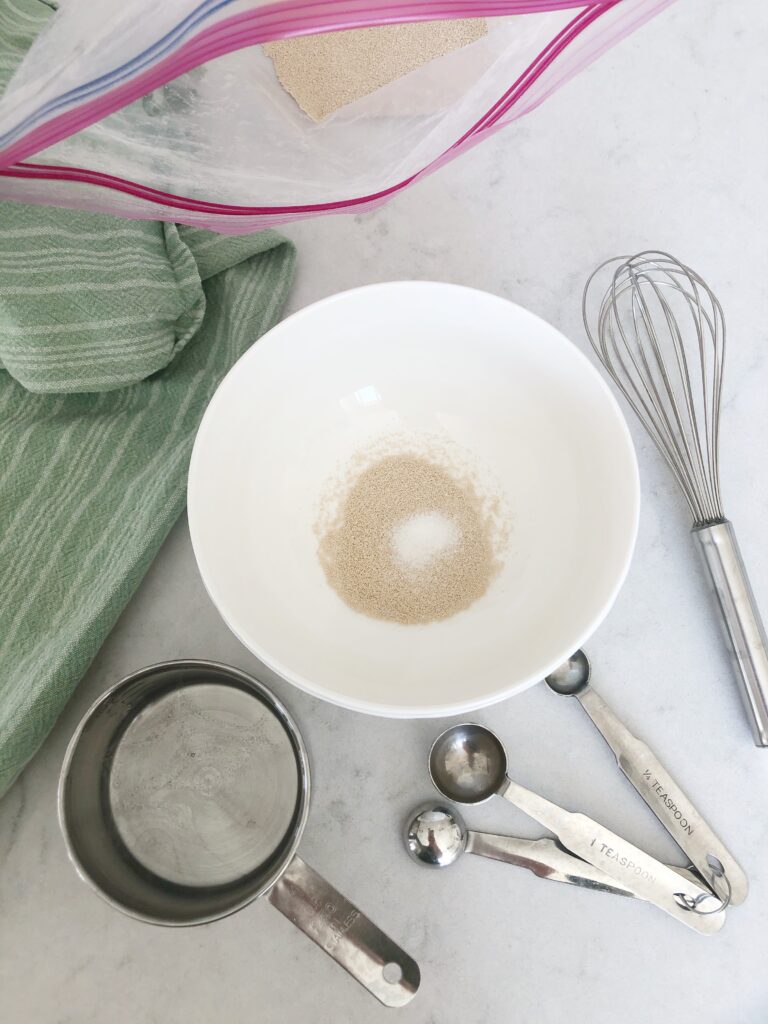
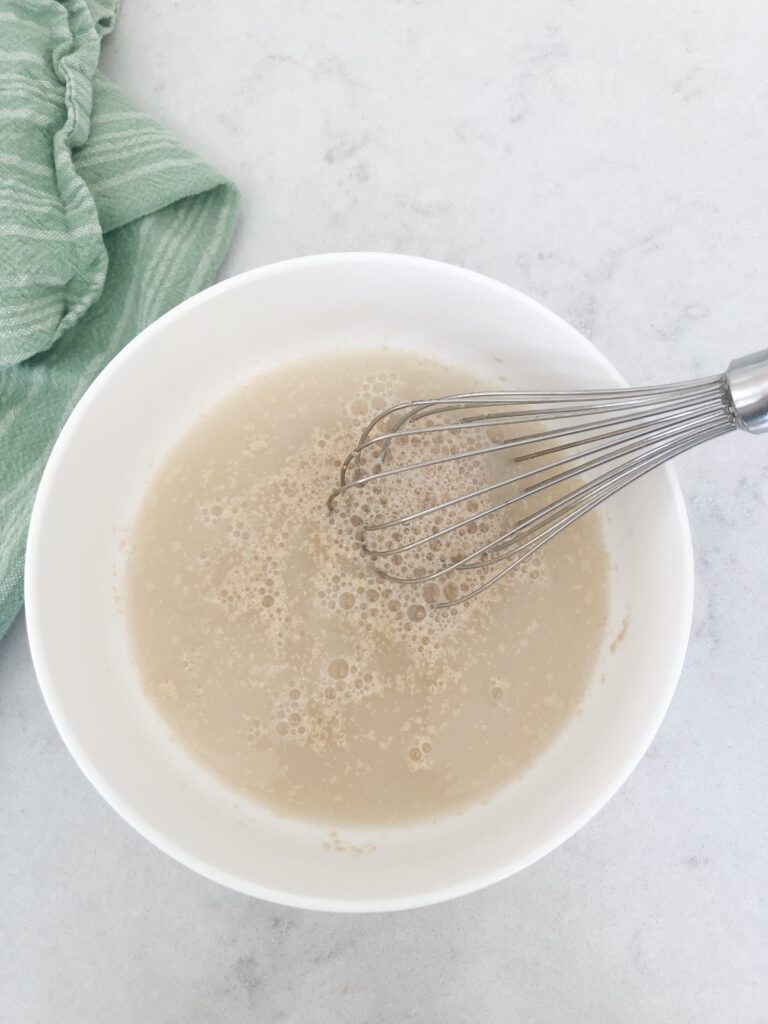
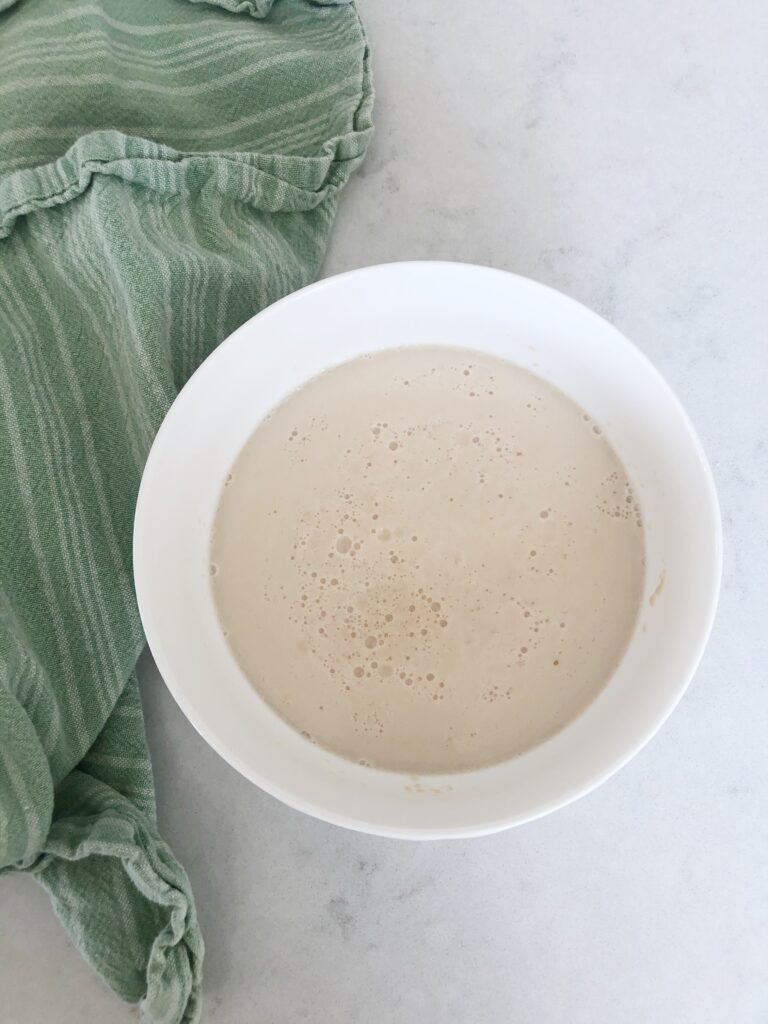
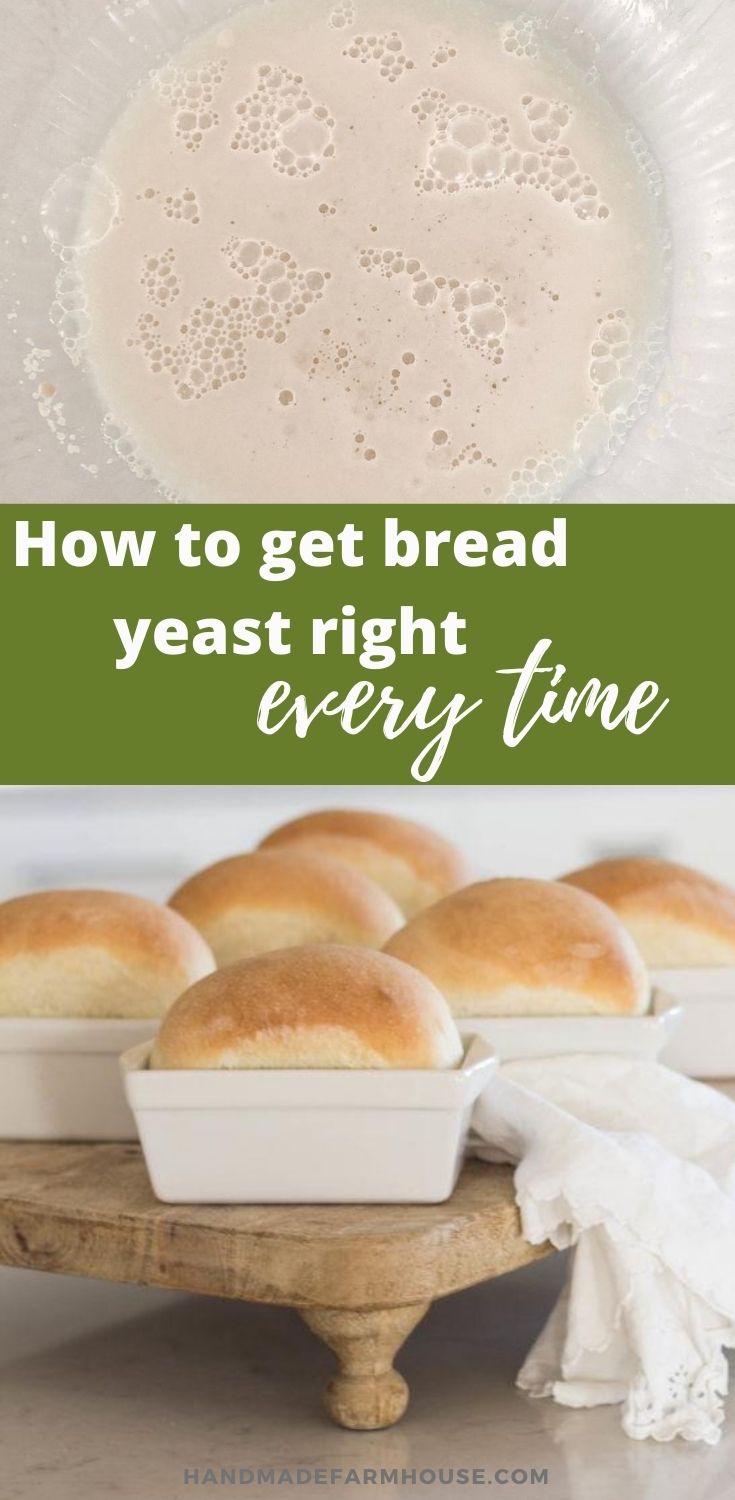
As you can see in this sequence, I added a pinch of sugar to my yeast before I added the warm water. Then, after mixing in the water and covering for at least 5 minutes, you can see in the last image that the yeast is bubbly, foamy and activated. This is successful yeast.
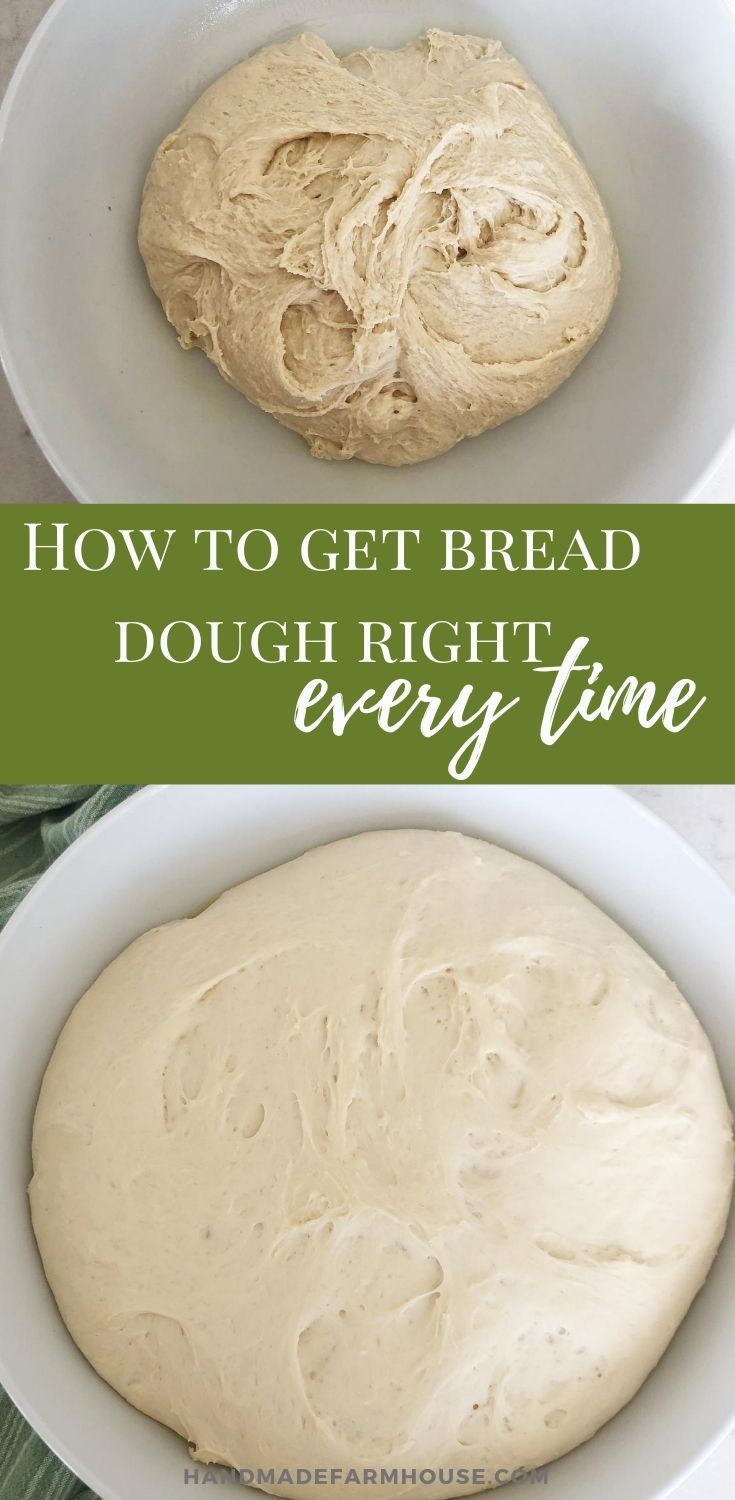
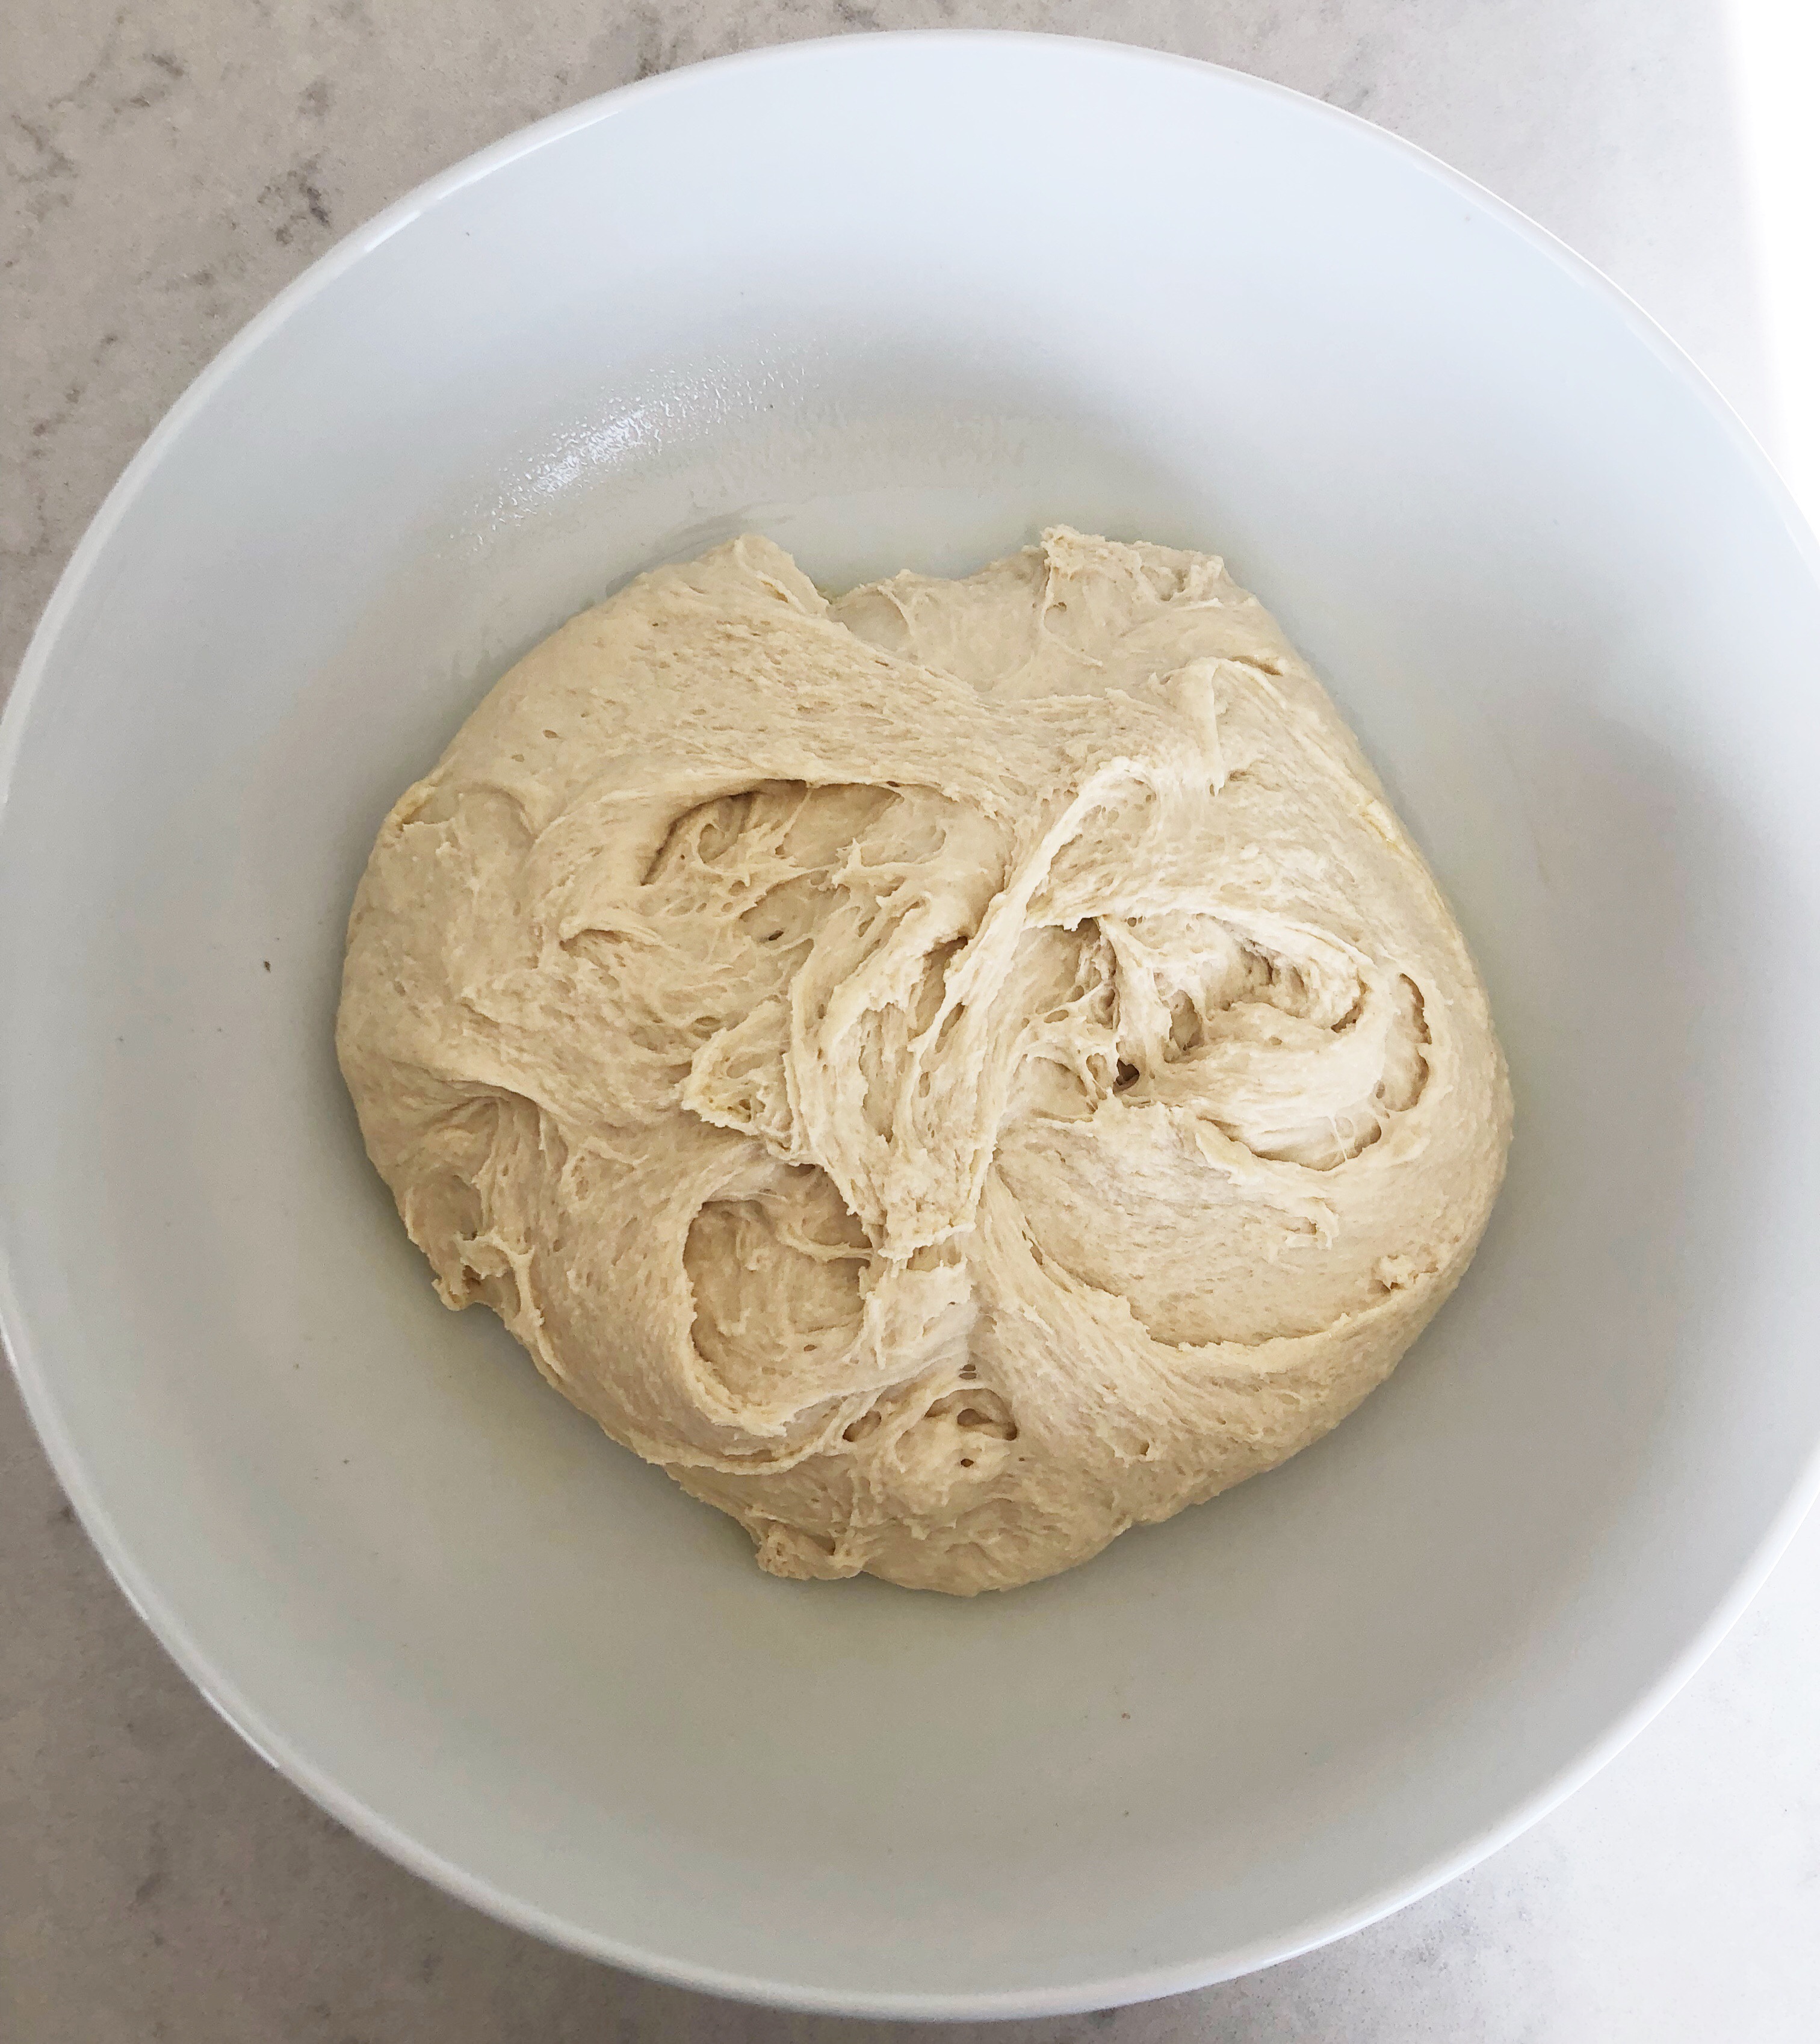
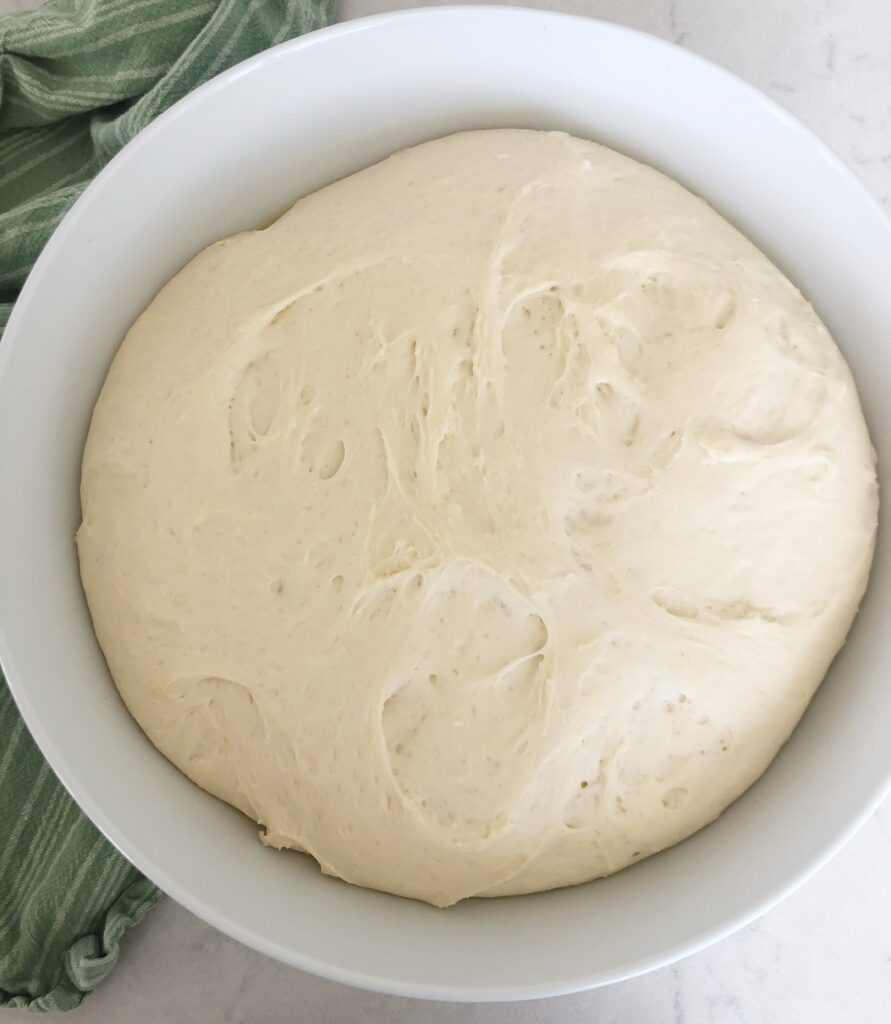
Here is a great example of mixed bread and risen bread, proof that our yeast was successful to begin with!
What brand of yeast do you recommend?
My mother and grandmother always used SAF instant yeast. I love it and feel it never overpowers my bread like other yeasts can. It comes in an airtight bag, so I cut it open and store the rest in a zip lock in my freezer. Then each time a need a tablespoon or so, I just scoop it from the bag and toss it back into the freezer.
What are some good bread recipes for beginners?
You might consider starting with a few basics such as my Basic Homemade White Bread, Artisan Bread (the easy way), or my Honey Whole Wheat Bread. You may also love my Soft Buttered Pretzels (which are easy!), or this Pizza Dough that makes 2 pizzas for family night!
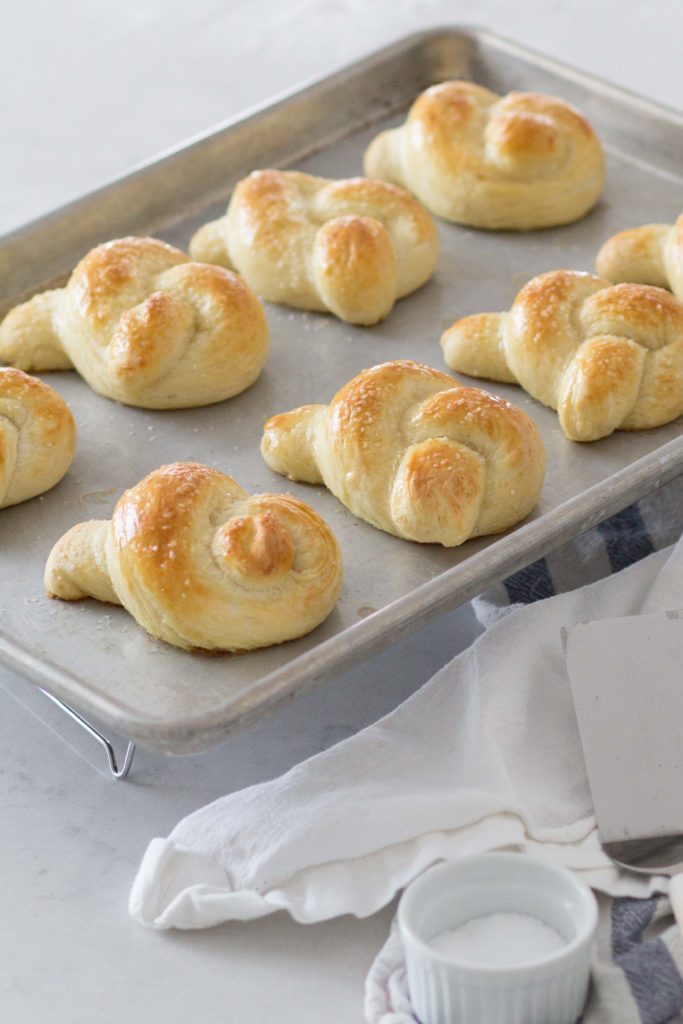
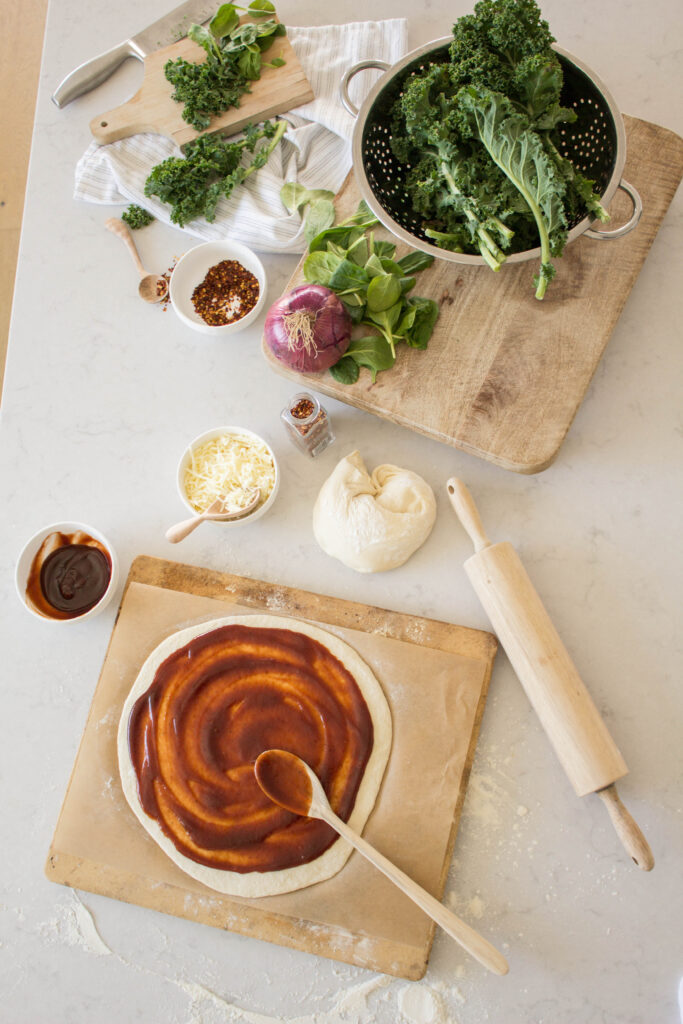
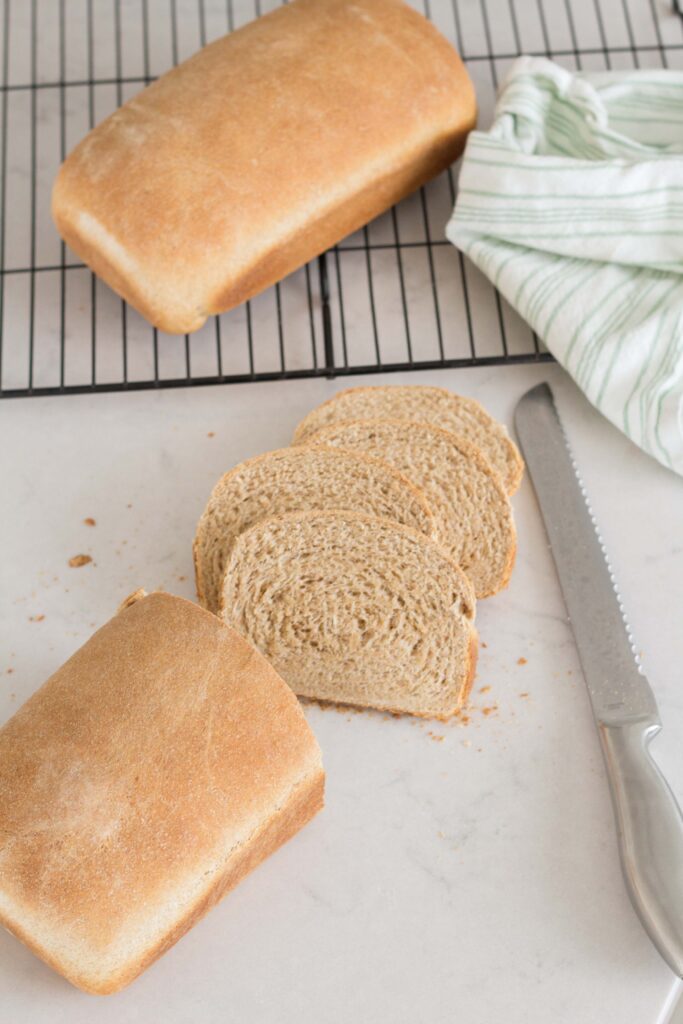
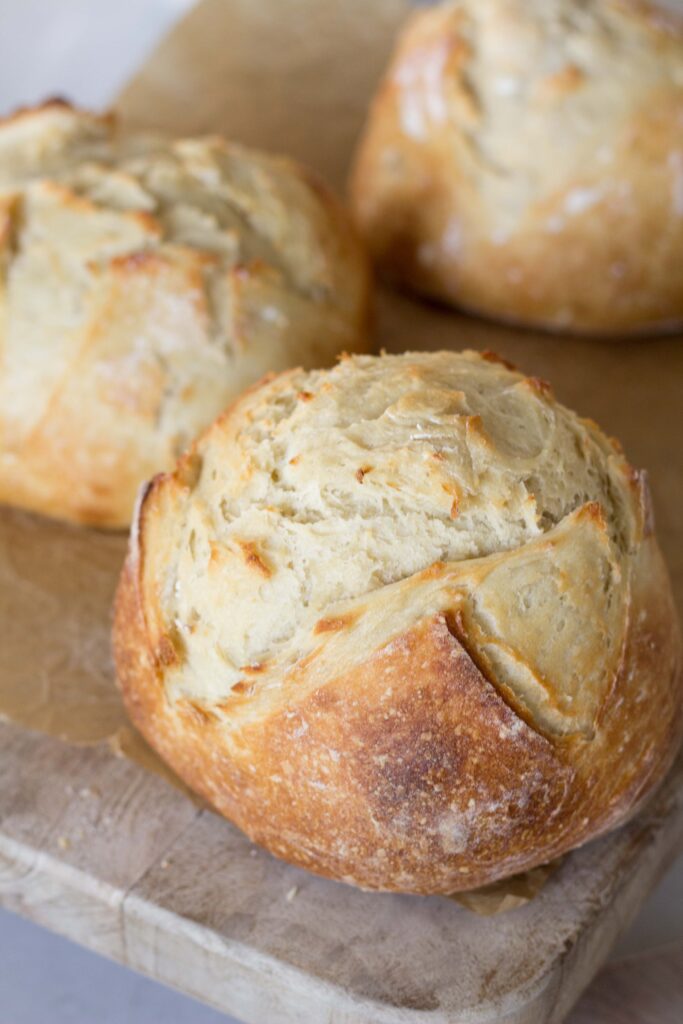
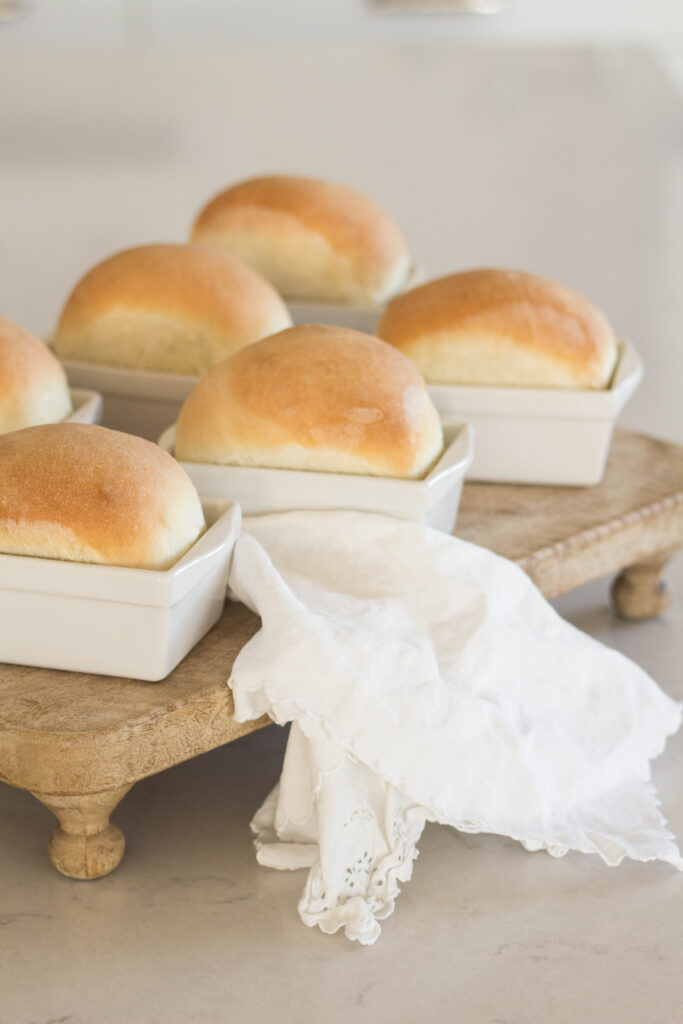
Once you’ve got the hang of getting your yeast right, I think you’ll also LOVE these recipes!
The Best Homemade Hoagie Rolls (my most popular bread recipe!), or Grandma’s Famous Cinnamon Rolls, or my Scored Country Loaf (another very popular one).

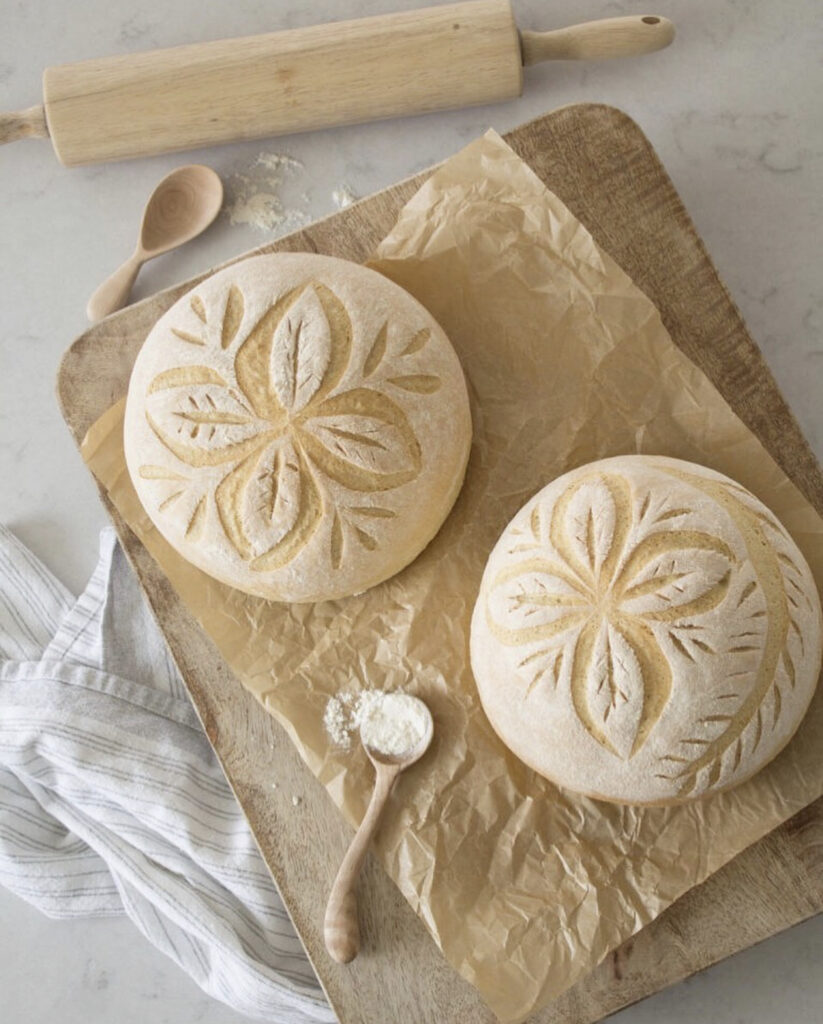
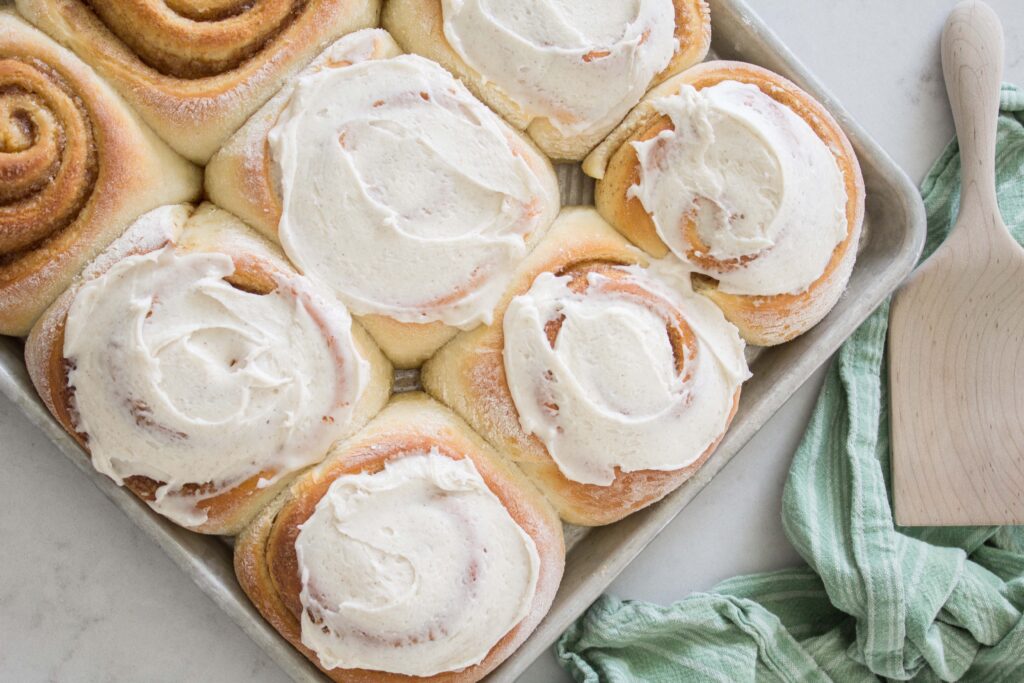
I hope this post on bread yeast basics has given you the confidence you need to start your bread making journey!
I always feel so happy, excited and fulfilled when I receive messages from people who are learning to make bread for the first time from a recipe or tutorial I’ve shared. It’s such a blessing in my life to hear how you’re baking and sharing with your family, and gathering them to your table for quality time.
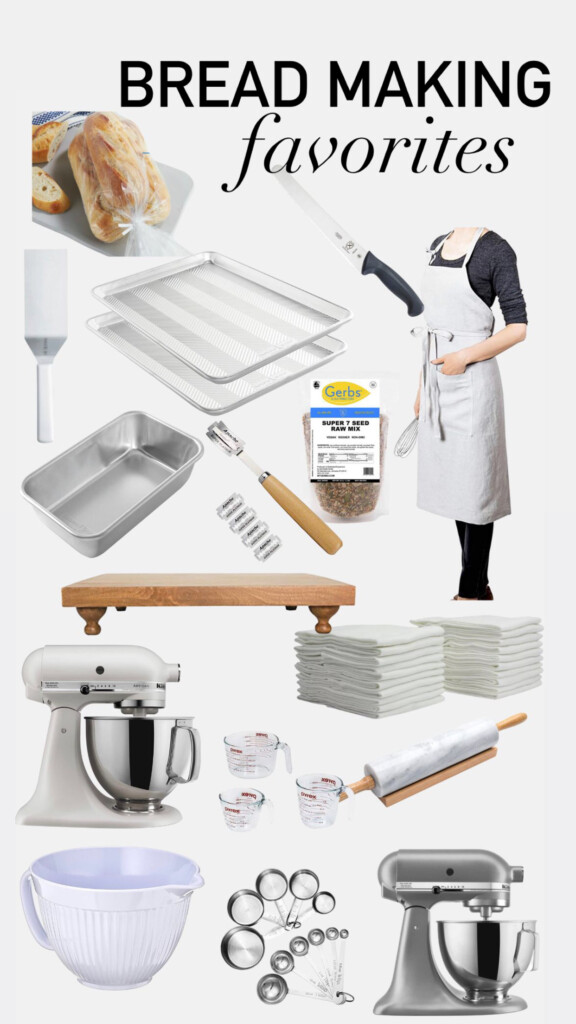
Bread making favorites:
PIN THIS POST:
