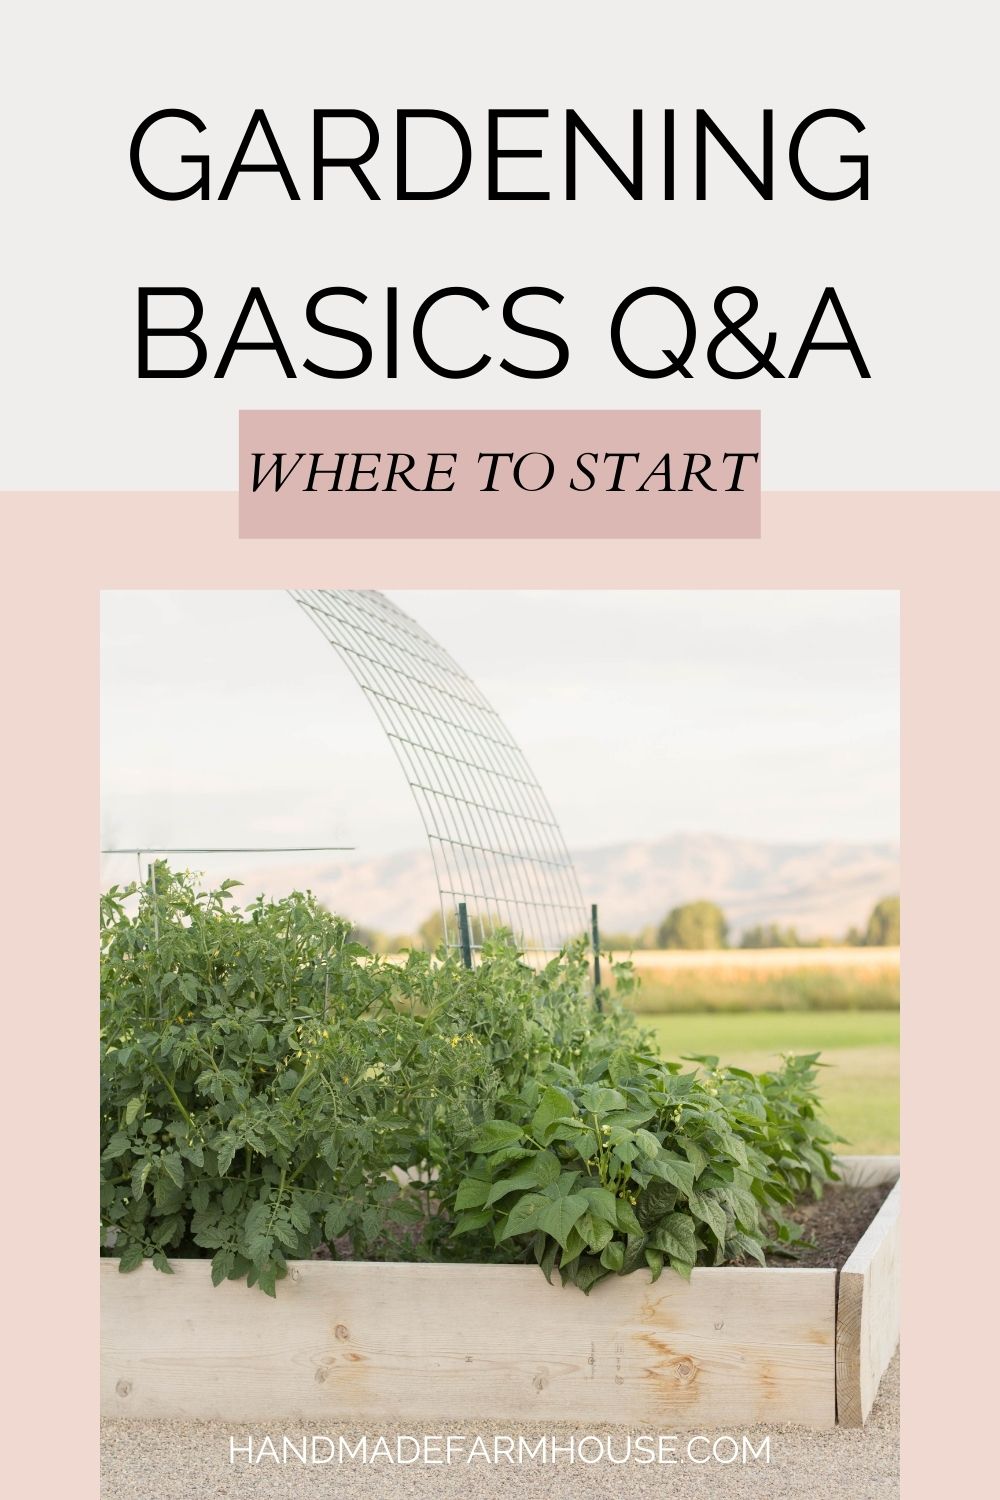
Interested in Gardening but not sure where to begin? Check out this post with a gardening basics Q and A to get started.
This week on Instagram I shared my garden plan for this year and the seeds I am planning to plant! I had so many messages after sharing, I decided I would write a blog post to address all of your gardening questions. I can’t wait to chat with you about it today!
This post contains affiliate links which means I may make a small commission on qualifying purchases at no extra cost to you. Disclosure here.
Throughout the spring and summer I plan to share my journey through gardening with you. I am no professional but I have been gardening for several years and learned SO many things through my passion for planting seeds and nurturing a small plant that gives so much in return.
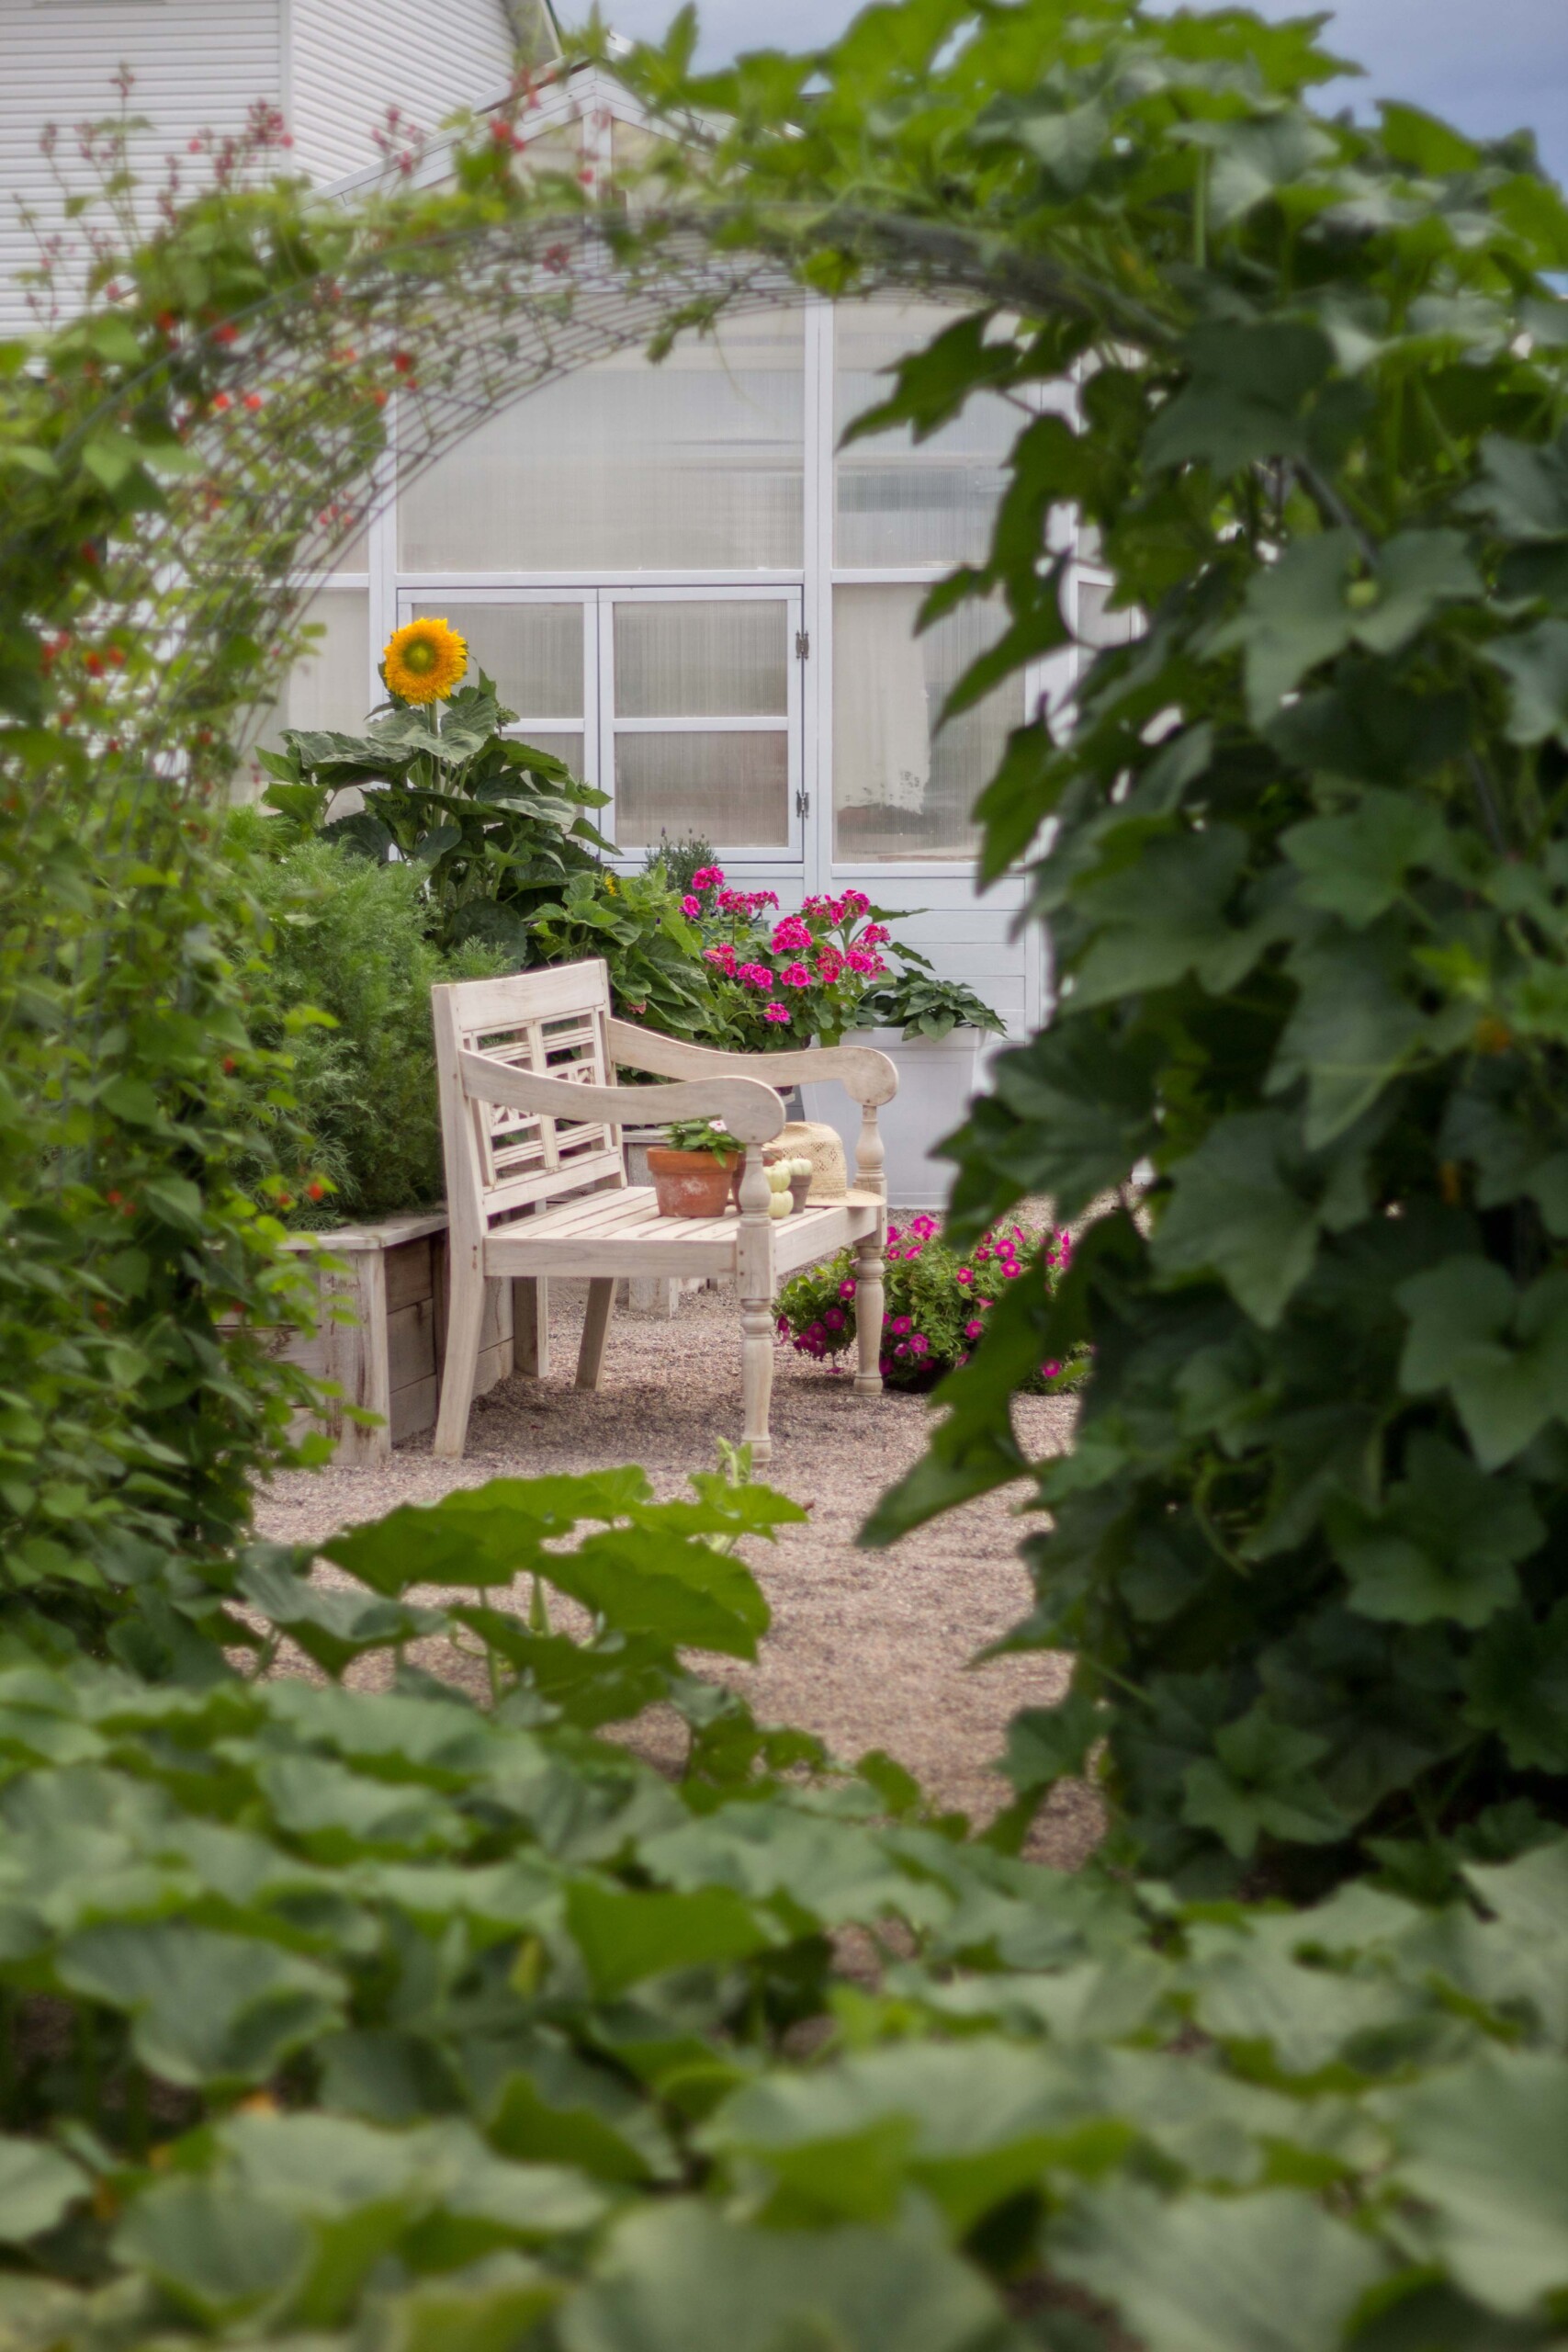
My passion and love for gardening has grown tremendously and I love to share any and all tips I can! I feel everyone should have the chance to partake of the joy that gardening can bring no matter the size or space you have available to do so.
Q&A
Since I had so many of you asking really awesome questions on gardening basics, I decided to break the questions up into a few different posts. Today I am going to answer 5 questions you asked, and I hope that gets you off to the right start with beginners gardening. The biggest tip and encouragement I can give you is to not over-think it! Seeds want to sprout and grow! Don’t let fear of failure get in the way of trying it. Gardening is very forgiving, and for every failure we experience, there are 10 triumphs to make up for it. I promise!
Gardening Basics Q and A: 5 of your most frequently asked questions
- 1. What is the best way to start a garden for beginners?
I LOVE this question! Many years ago when I desired to grow my first garden, we had no space or resources to do so.
We were in school at the time and didn’t have any extra money to build a special or luxurious garden like the ones you see on Pinterest. Yet, the desire was there for me! I suppose when there’s a will, there IS a way!
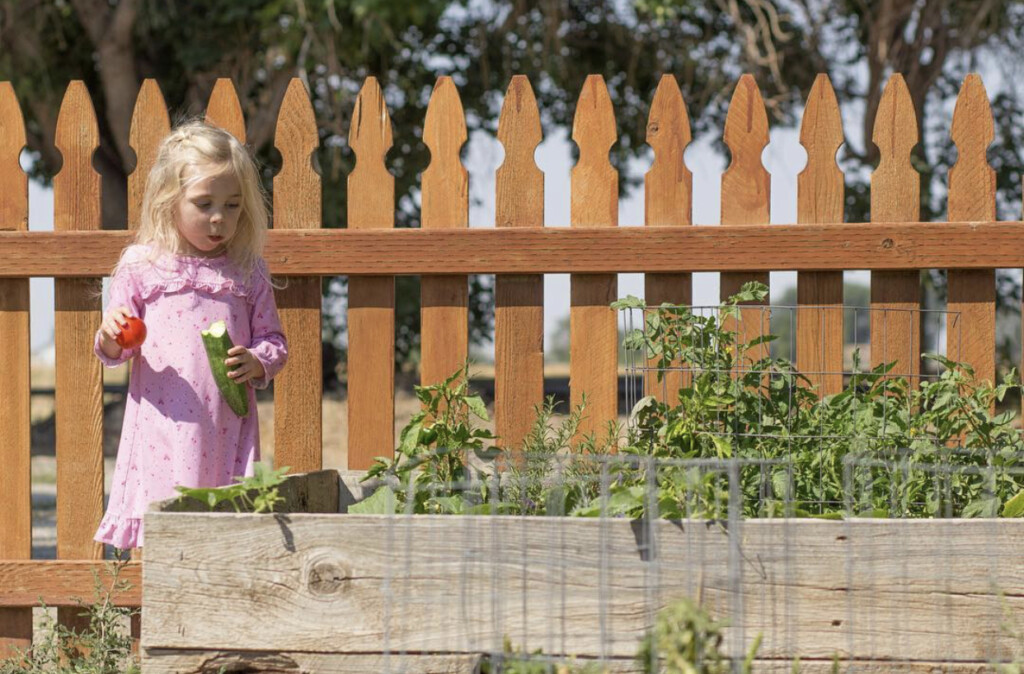
I found some old barn wood behind a shed near our home and asked my handy husband to construct it into a garden bed for me. It was small and simple but easy to make. We simply placed this bed in our yard on top of the grass, and added some weed barrier fabric to the bottom. I was able to take some dirt in wheelbarrow loads (from a nearby field) and fill the bed. Then I grabbed a couple of bags of organic raised bed soil from Home Depot. These are usually around $7-$10 a bag. I saw worms crawling in the soil I had dumped into the bed which I knew was a great sign. Worms are wonderful for gardens and healthy soil (more on that later!). It didn’t take much at all before my very first little garden dream was a reality. Look at my daughter eating an entire cucumber haha!
If you are just starting out, one of the first things you need to do is find out what growing zone you are in. This is a very valuable piece of information that will help you better understand what seeds/plants will have success in the growing season where you live. Not sure what zone you live in? Use this site to find out!
Locating a spot in your yard that will give you the most success for growth. When you find out your growing zone, you can now plan what seeds or plants you feel will do best in your yard. The next step is locating a space that gets plenty of sunshine and offers an environment that will help plants thrive. I would highly suggest you take the time to simply research your seeds and find out how much sunshine they need per day to thrive. A big mistake I made one year was planting peppers in a shady area. They were getting partial sun but they require full sun and did not thrive until I changed their location. Doing the work to get to know your plant’s individual needs will pay off in higher yields and a happier garden experience!
Draw a plan and map out your garden. Whether your garden is made up of a large in-ground space or several raised beds (or even just one!), it is essential, in my opinion, to make a map!
Each year before I even let myself look at seeds in the store, I use a pencil and paper to map out my garden space, I make a plan for what goes where and what are my number one seeds to plant. It is so important to do this so that you don’t get overwhelmed OR over-excited when purchasing seeds and end up wasting money.
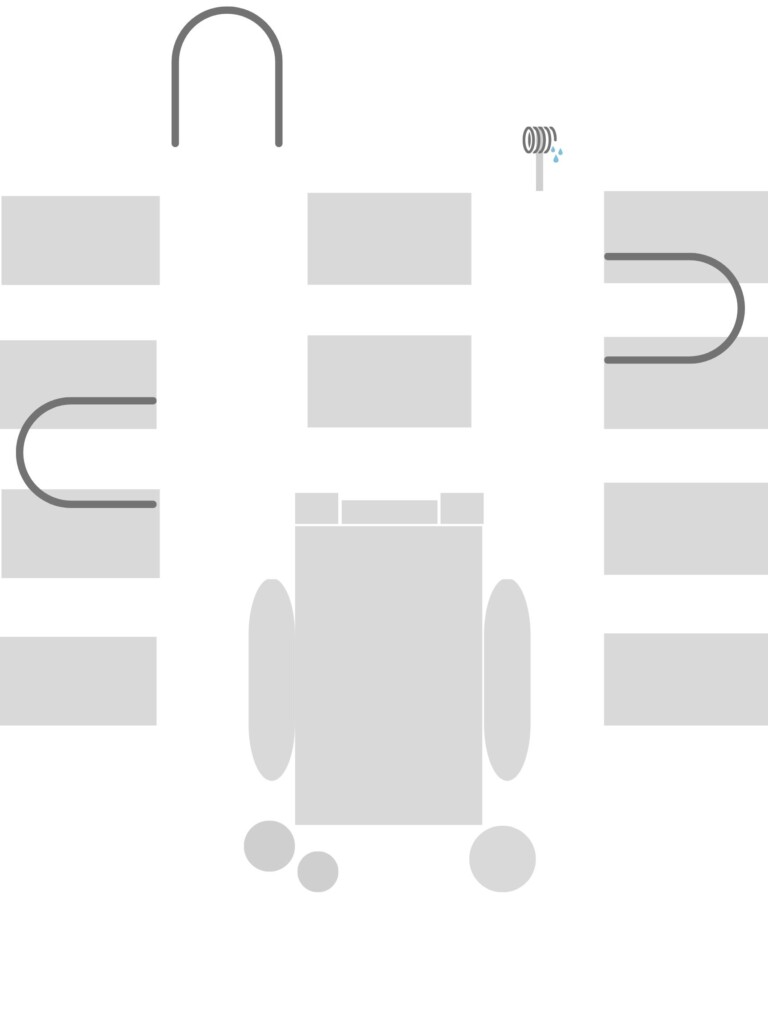
UPDATE: This year I used Canva (you can make this in the free version!) to make a super simple layout of my garden space from a bird’s eye view. I am so excited to fill out this sheet to come up with a plan for this year’s planting! That way I only buy the seeds/plants I have a plan for.
To make this layout I just created a blank document and used Elements (circles and rectangle shapes) to copy the layout of my garden. I kept the boxes gray so I can easily write over them and make a specific plan for planting.
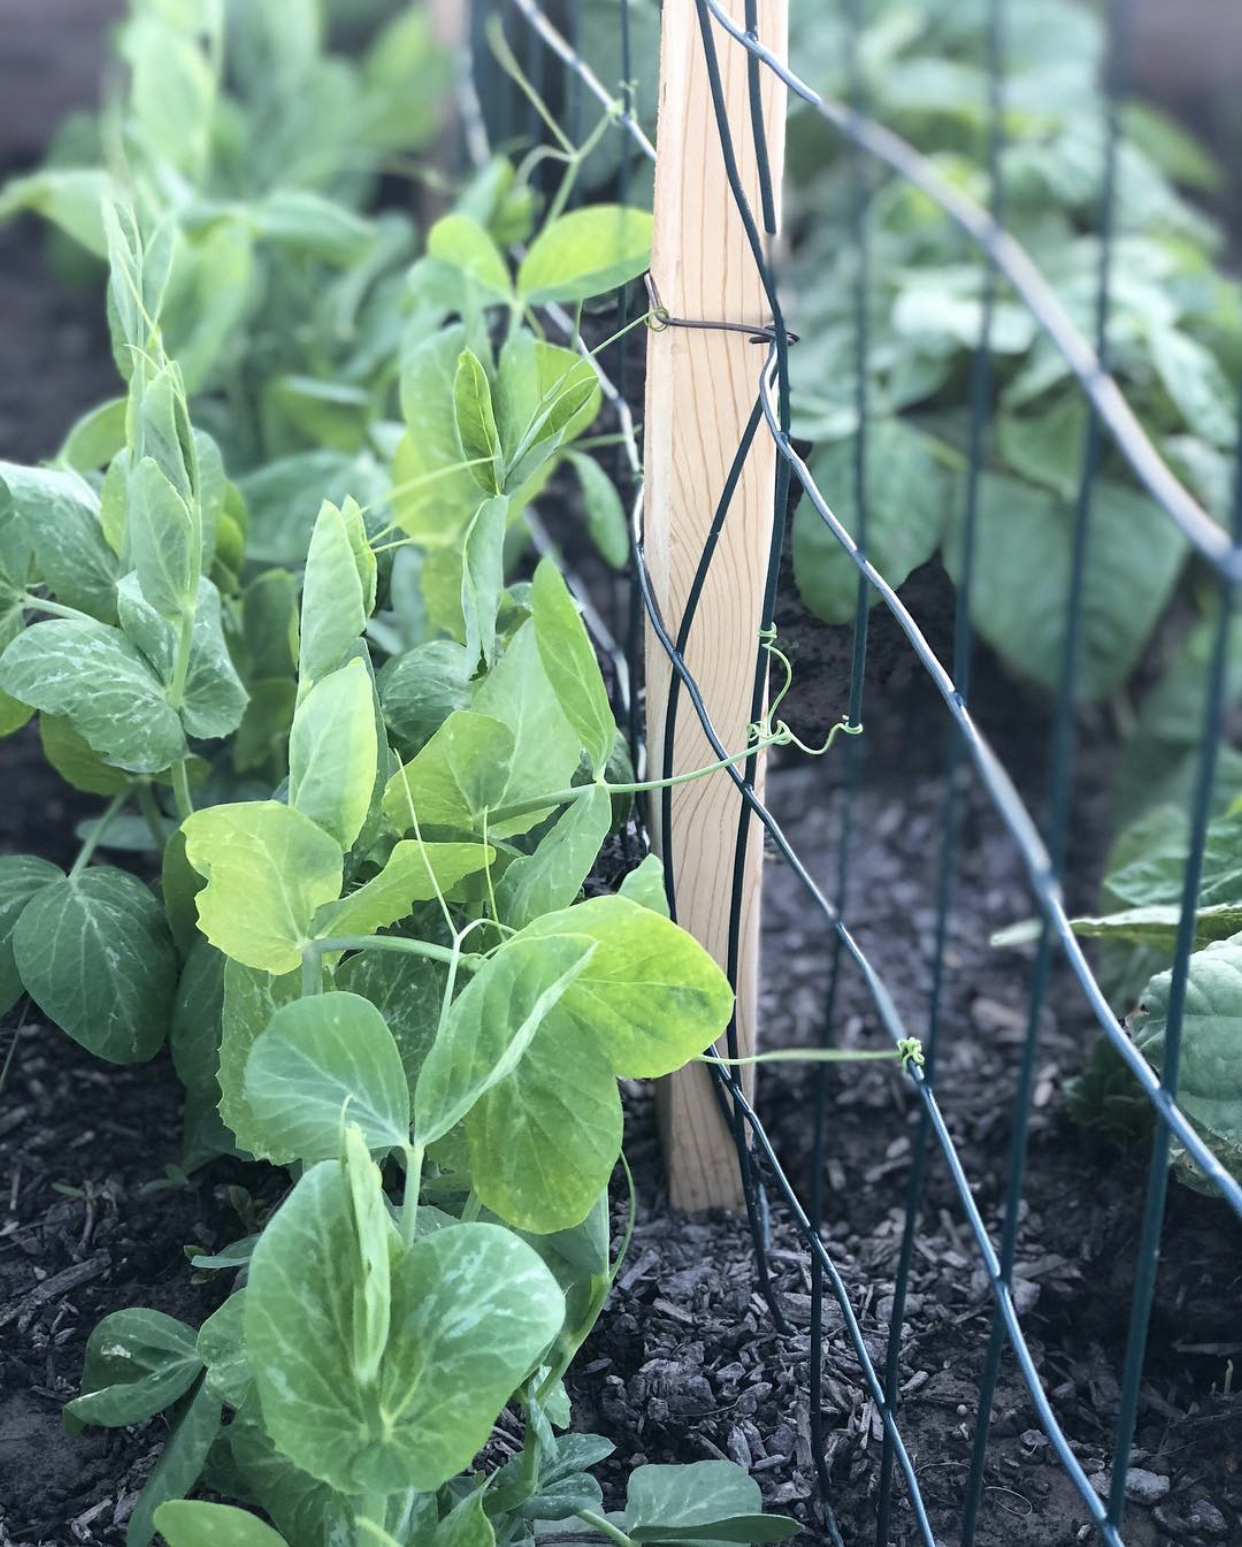
If wondering how far to space seeds or how much room to give plants makes you nervous, simply DO YOUR RESEARCH. Every packet of seeds or plant comes with specific instructions as to how far to space them. Do not skimp on this! Plants need space to thrive or they will compete for water and nutrients, and your outcome will be a smaller yield.
If you are planting in a small area, do your reading about companion planting, square foot gardening and what plants thrive when they are close together. It is really fun to learn about! Did you know that when strawberries are planted next to onions, they are sweeter? Here is a great resource for learning about companion planting.
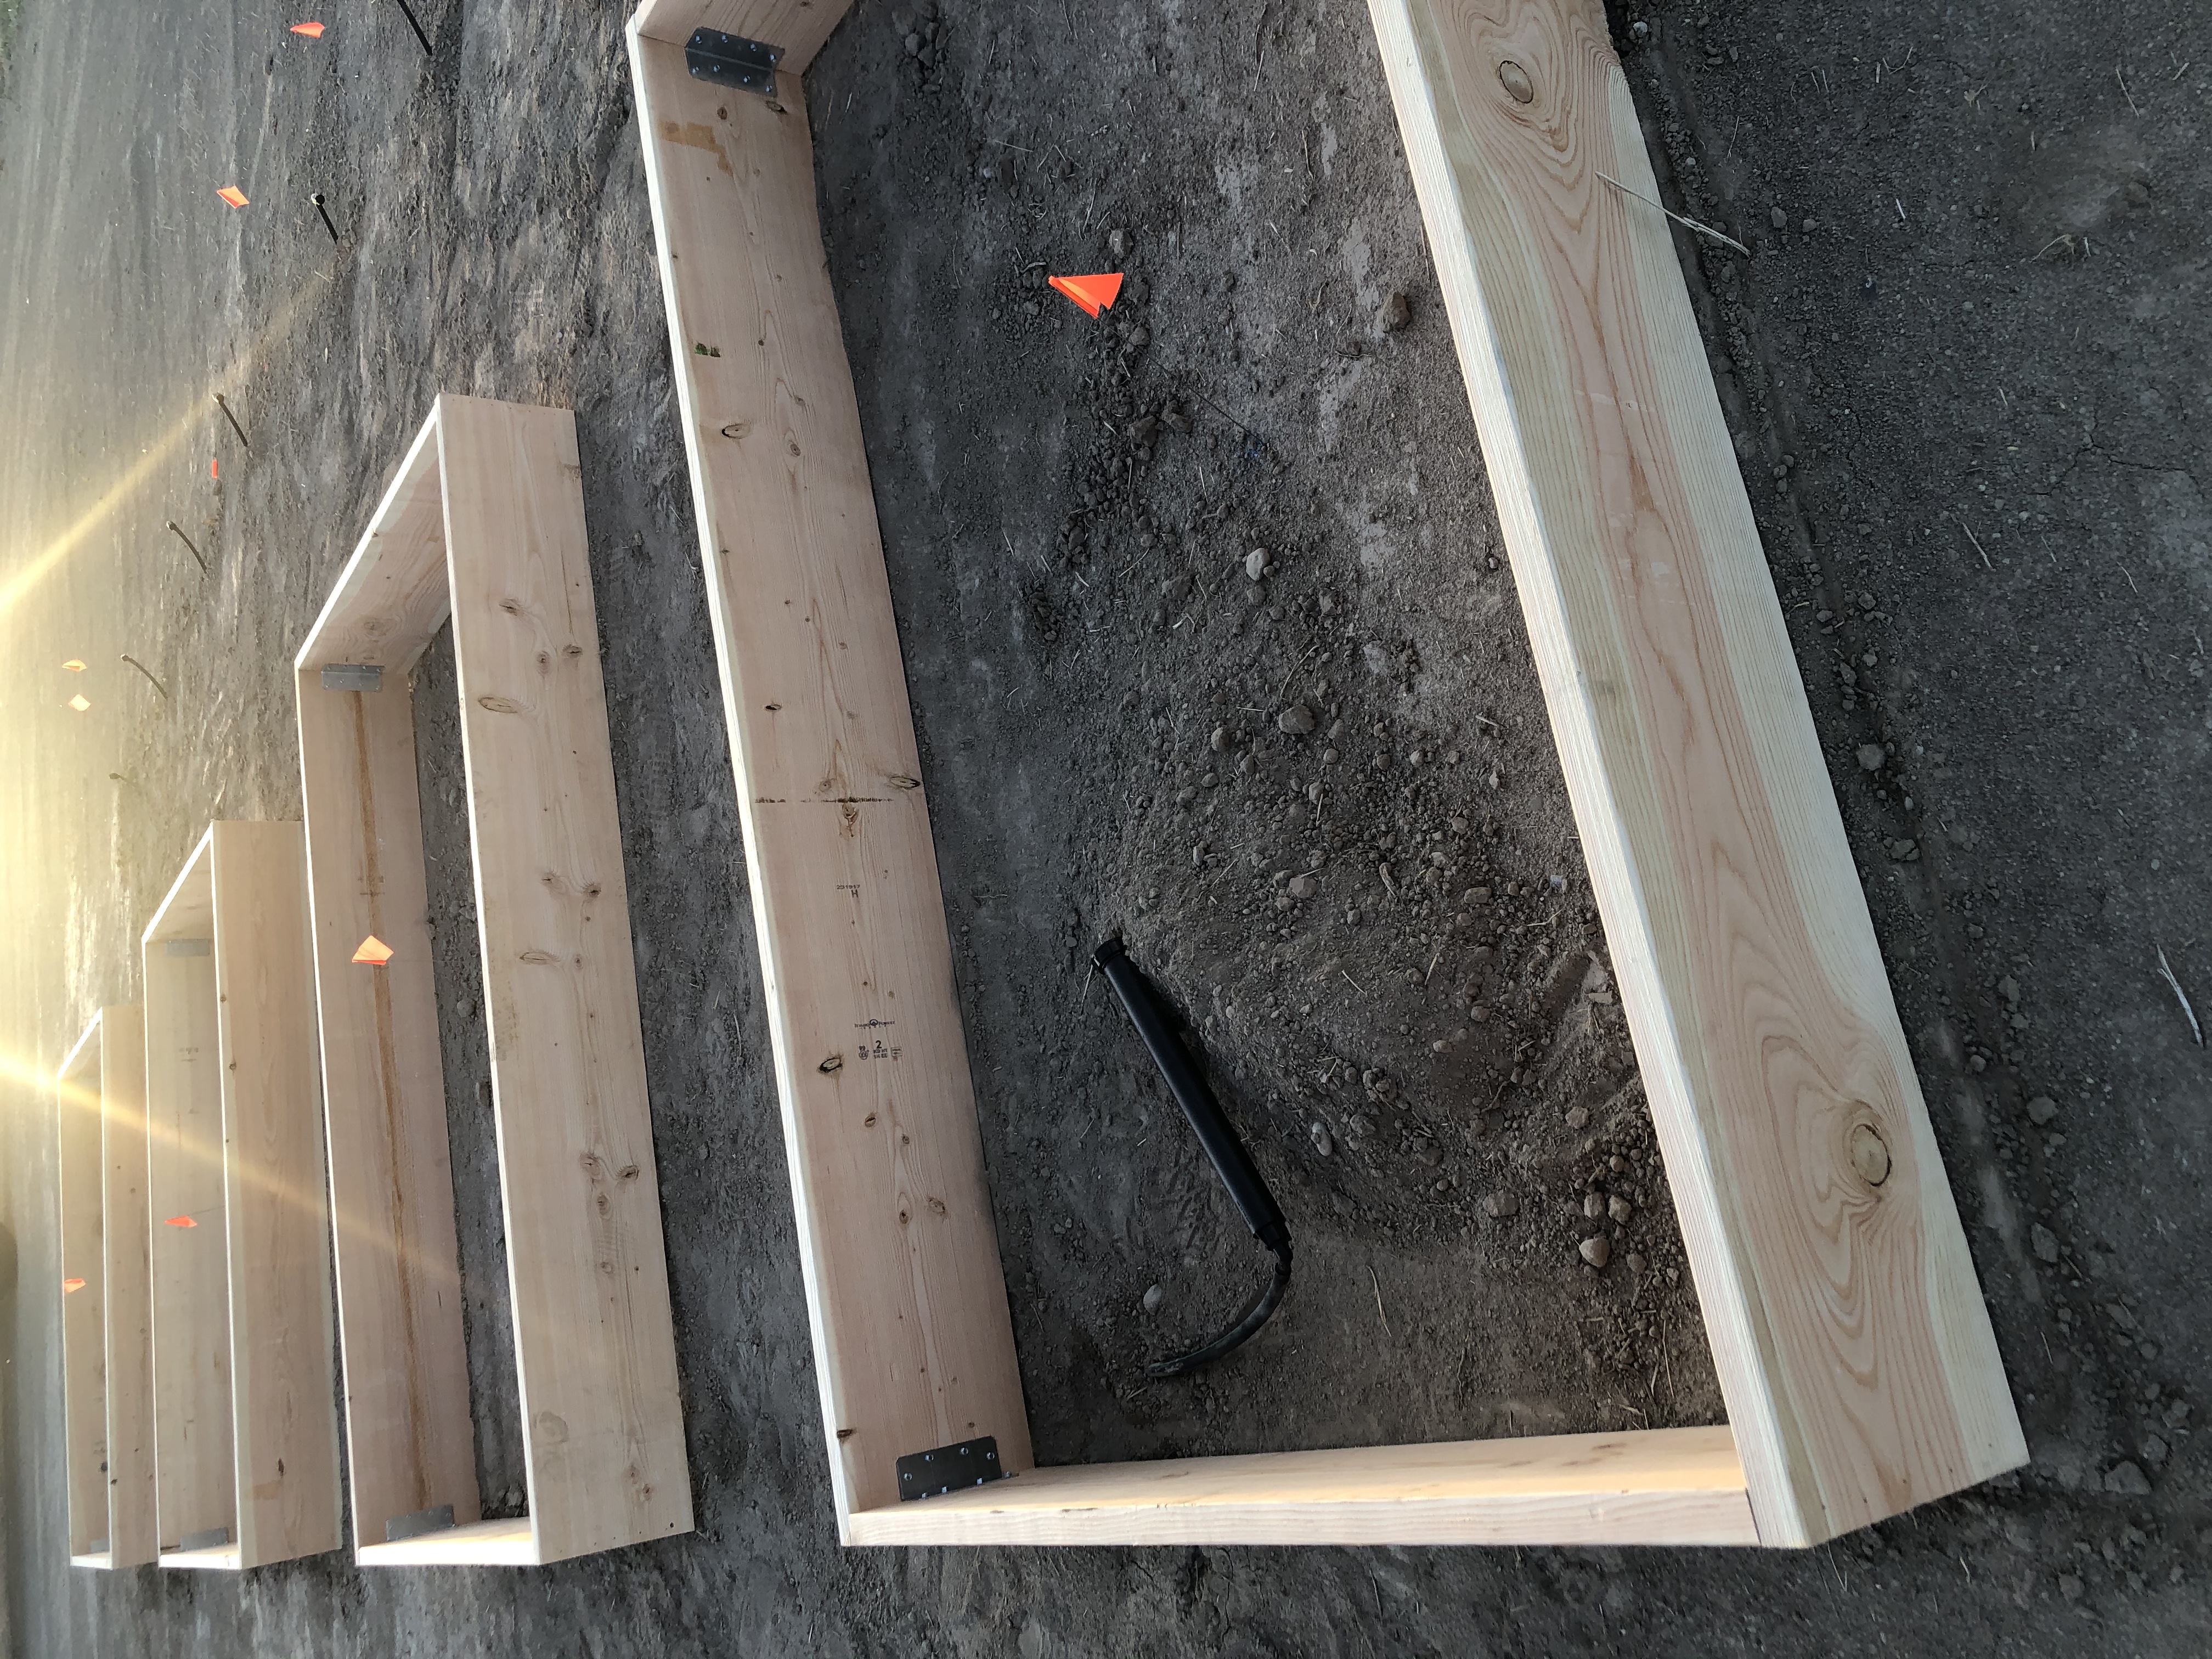
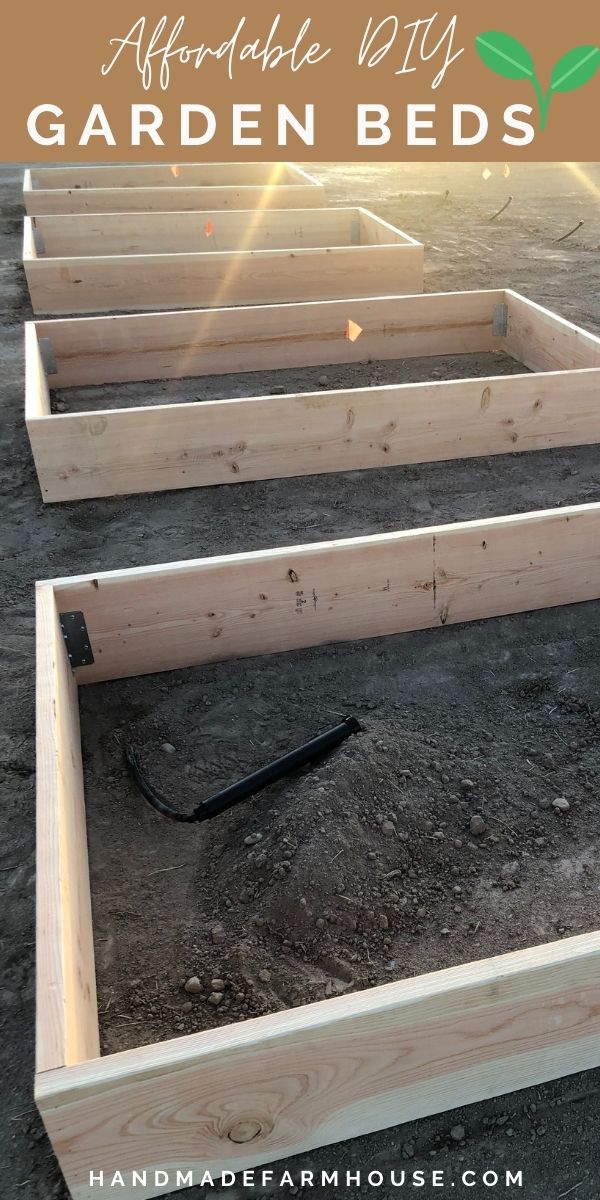
Trying to figure out if in-ground or raised beds are better for you? Here’s why I LOVE raised beds: (tap here to see how we built ours!)
Everyone will have different opinions on what style of gardening works best for them. I have planted both an in-ground garden and raised bed gardens. Here are a few reasons why I feel raised bed gardening works best for my needs and desires.
- Raised bed gardening is so much easier to weed and keep “clean”. We put a quality week barrier in each of our beds. We control what soil goes into the boxes and have nearly no weeding! If you do get an occasional weed, they pull up so effortlessly. This is also a benefit as it makes it easy to involve children in the care of your beds.
- Raised beds are a little easier on your back and body. The box is higher off of the ground and simpler to tend to and harvest from.
- I really enjoy the simple and organized look of a garden with raised beds. I like the orderly view of everything and it helps me to feel that the garden is easier to maintain. Many times my in-ground garden became overwhelming because of the time I was having to spend on weeding.
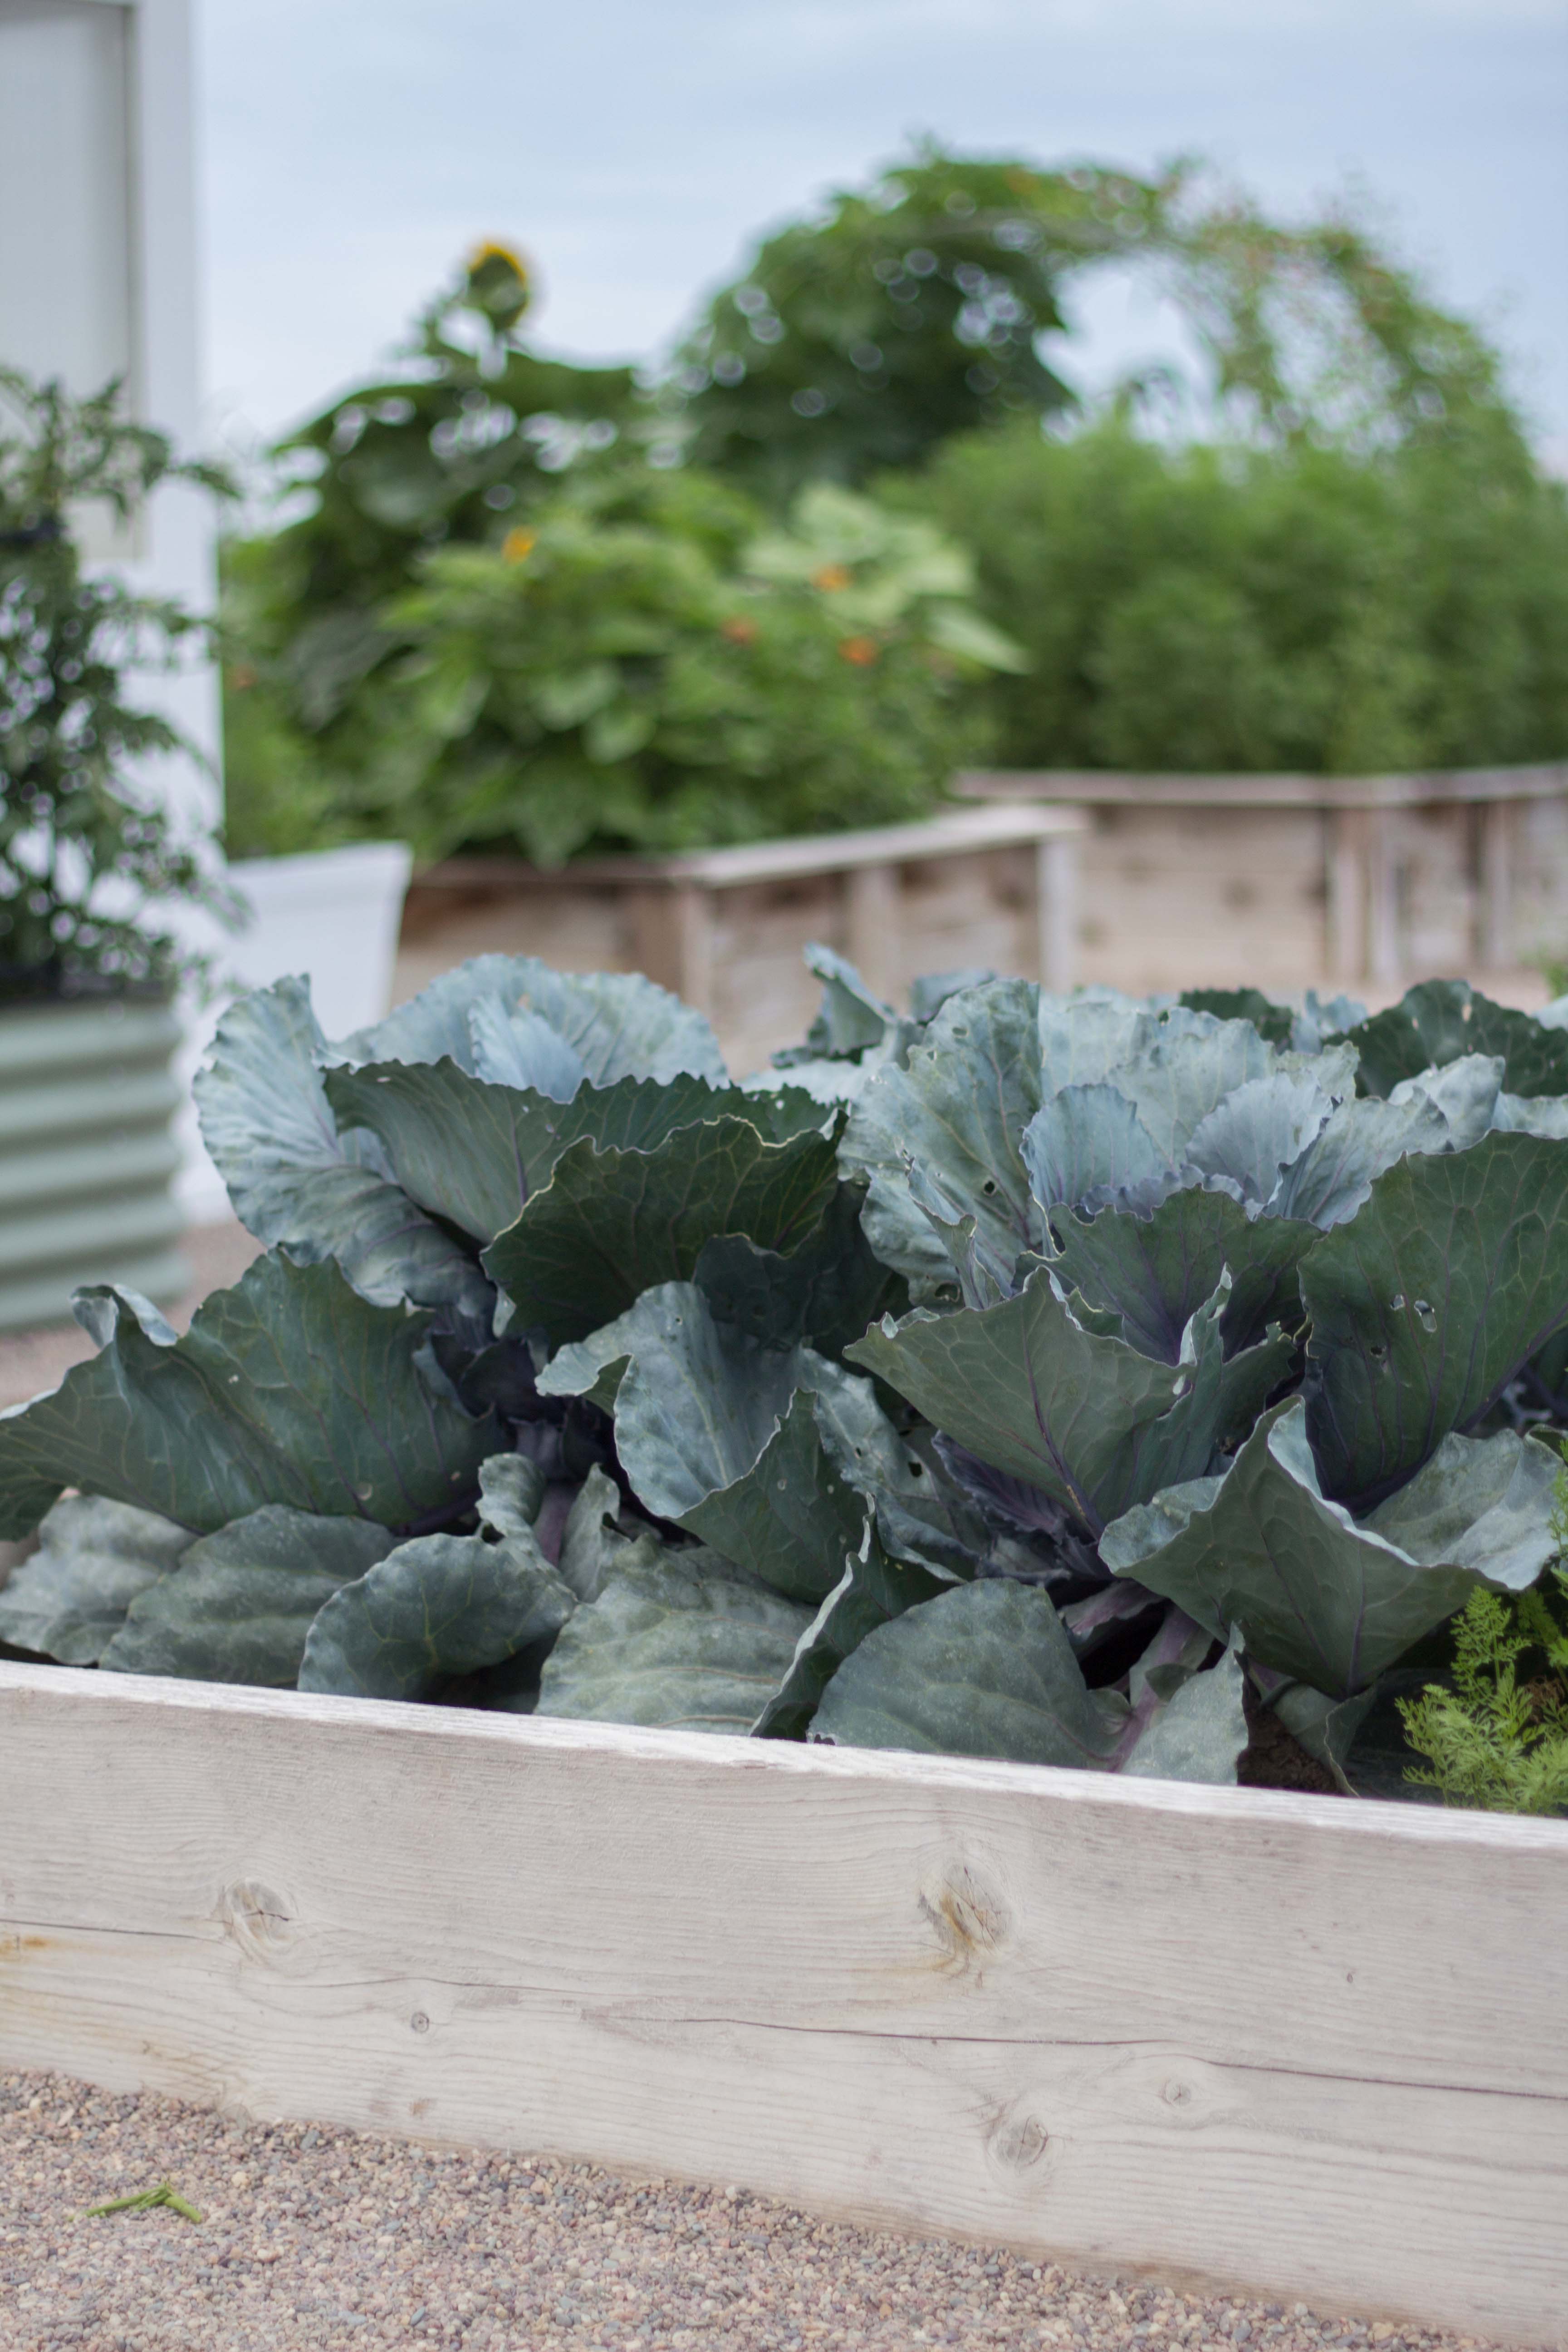
UPDATE: While I do still love my wood raised beds, I tested out a couple of VEGO beds last year and I absolutely LOVE them! They are sustainable and built to last over 20 years. They do not contaminate the soil and you have the option to build them in different shapes and sizes to fit your needs. Check mine out HERE (currently have a $20 off coupon!)
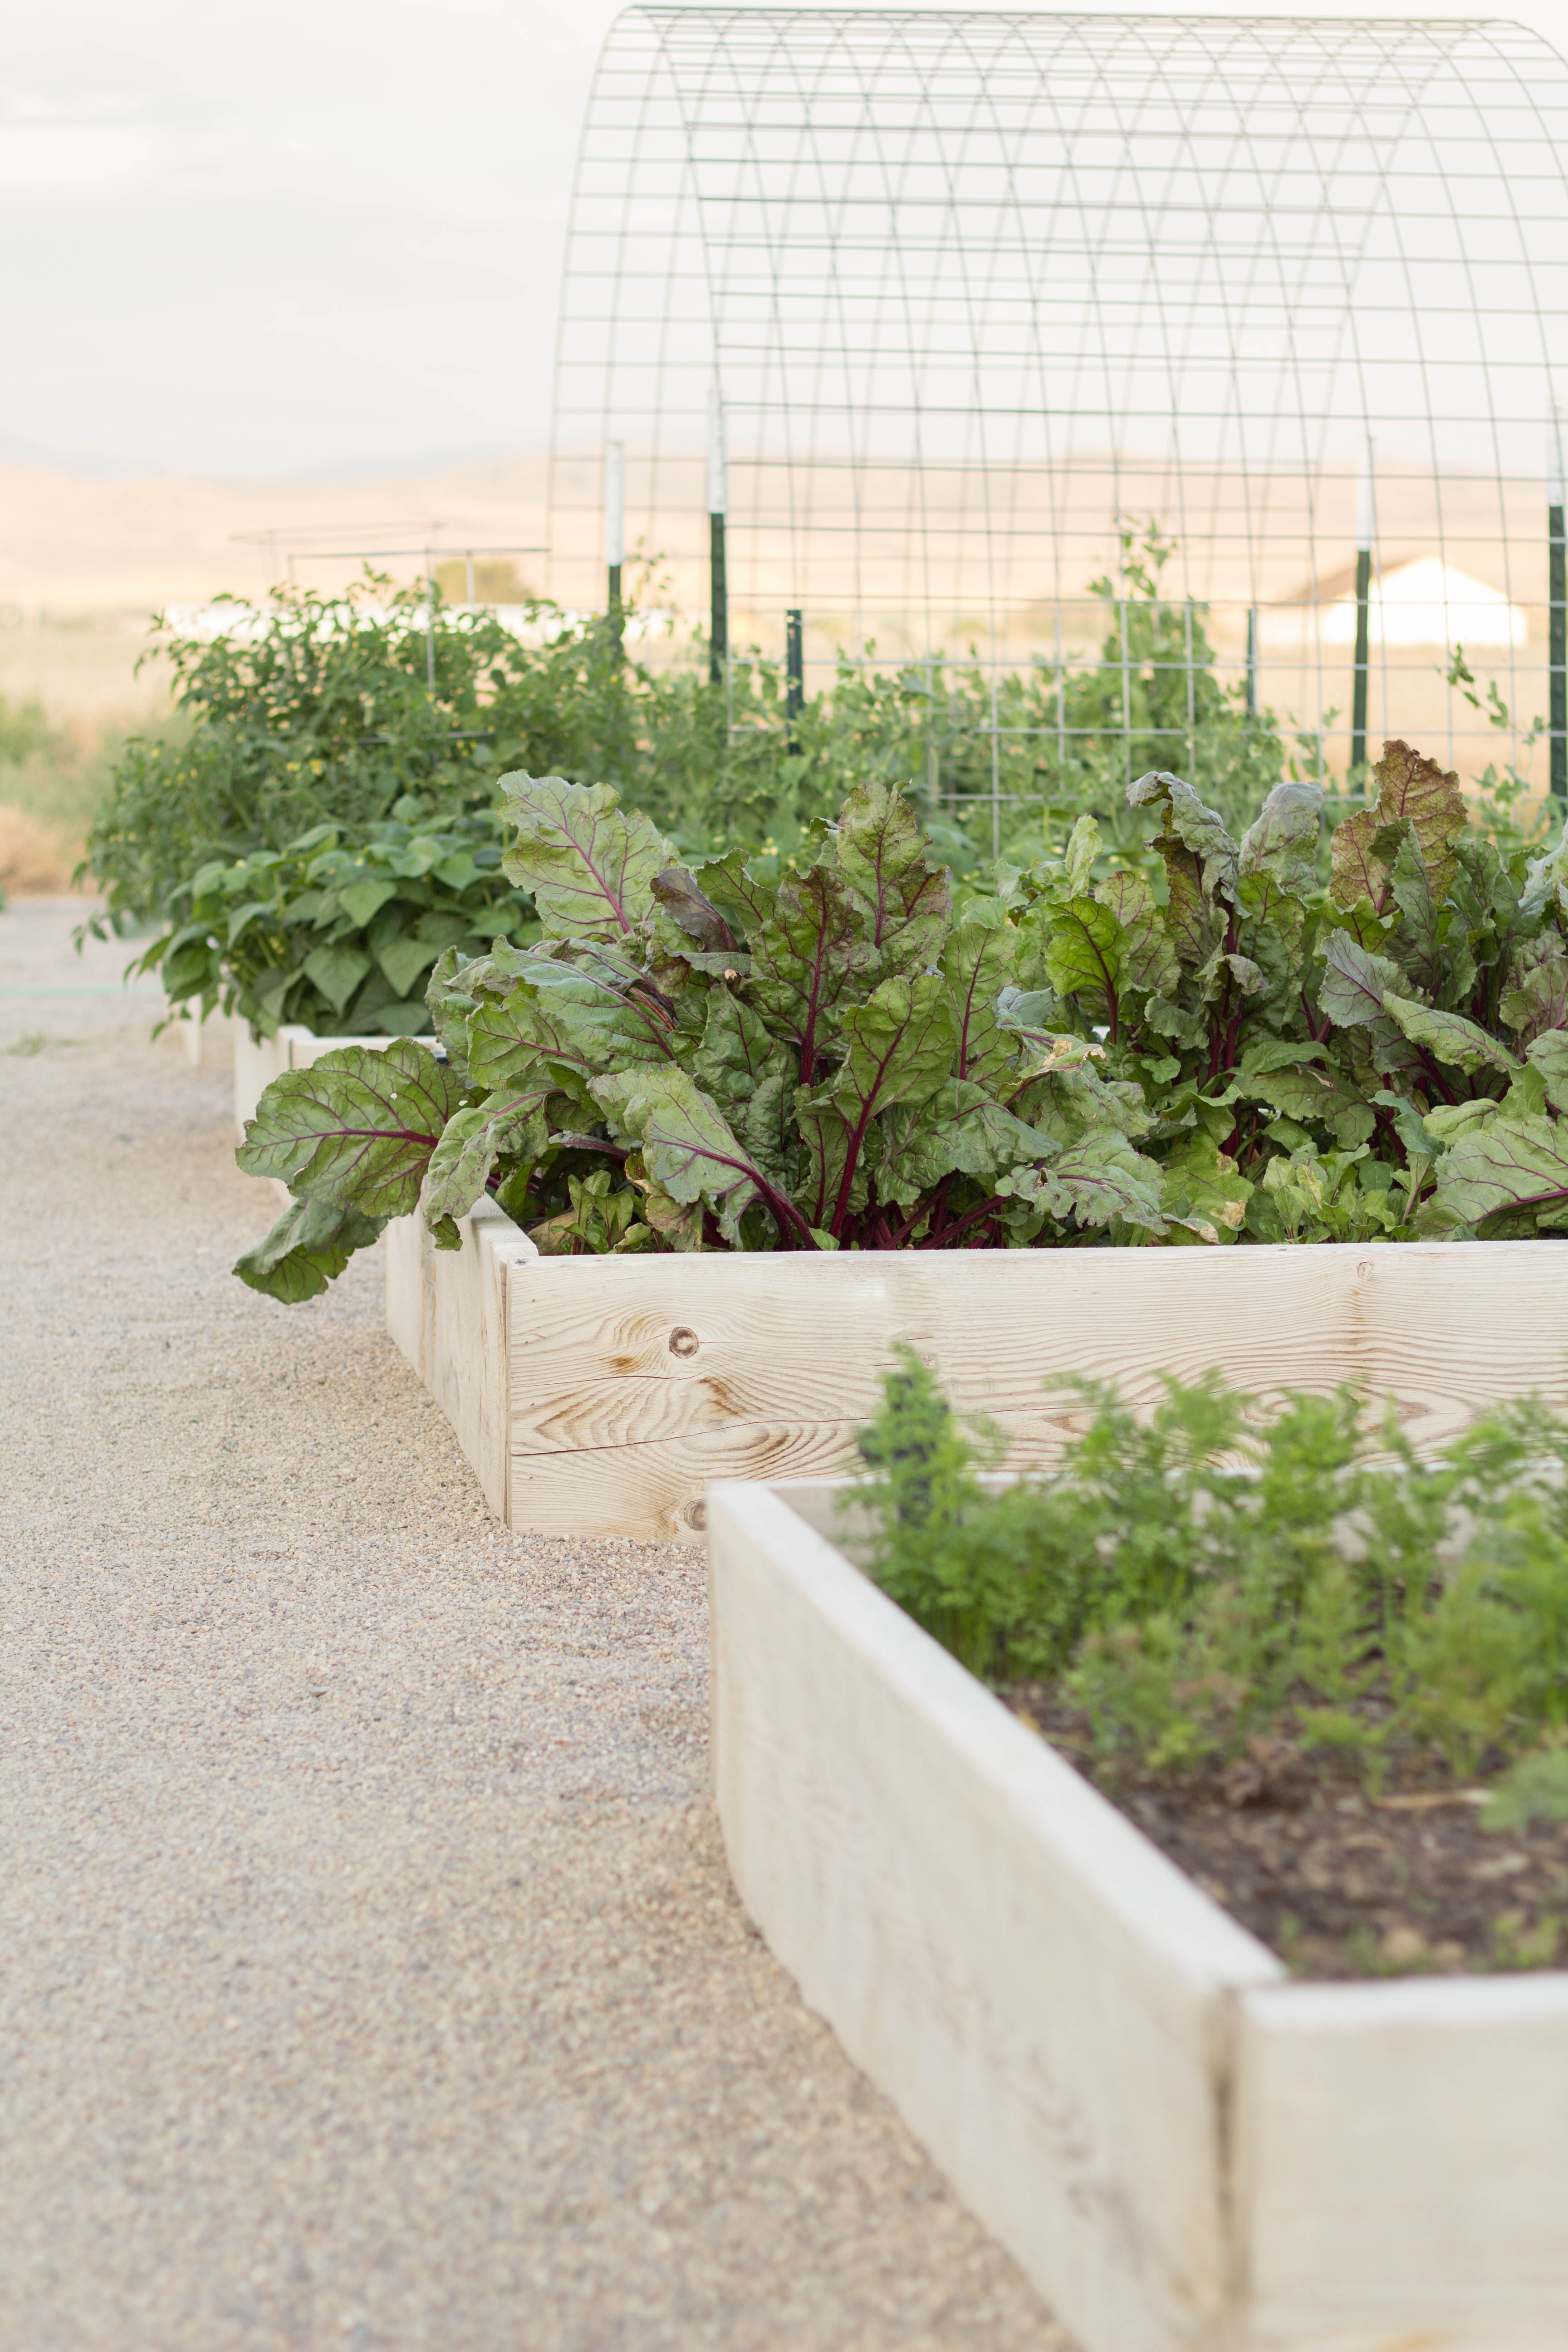
Soil and compost
- 2. How do I know what soil combo to use in my garden? This is a great question and will have a different answer for each individual garden based on where you live. Depending on the soil in your yard or that you have available to fill your beds with, each space can be so different. Does your soil feel clay-like? Is it rocky? Is it depleted of nutrients? Does it need compost added? Should I make my own compost? What can I add to my soil to make it more nutrient-rich? SO MANY THINGS TO THINK ABOUT!
- A lot of people get overwhelmed so much just with this one area of gardening that it prevents them from even starting. Truth be told, you don’t have to over-think it. I have been lucky with our yard because we do have nutrient rich soil that is not too sandy. I really haven’t had to add more than just a couple of bags of organic bed mix each year to my beds to have great success with planting. Over time (especially in raised beds) I think it’s good to either test your soil, or add organic compost such as rinsed egg shells, saw dust, peat moss, coffee or Crio Bru grounds, hay, leaves from your yard, or even just purchasing some soil activator, sulfur or fertilizer in. You can purchase a small test kit like this one to check if you are worried.
I have read that the top 6-8″ of your soil is the most important in gardening, especially in raised beds. So, if you are needing to save a bit of money, fill your bed with clean soil, and then make sure the top is filled with composted or more nutrient-rich soil, not old pot container soil, sand, or soil that is depleted.
Buying seeds
- 3. Where do you buy your seeds from? I have tested seeds from Burpee, Baker creek heirloom seeds, Ferry morse, American seeds (this is the dollar-store brand), Seeds of change, Jonny Seeds, Livingston, and many others from Etsy or just in the grocery store. Want to know a secret? THEY HAVE ALL SPROUTED! Never have I ever had a single pack of seeds not sprout and grow. I DO always try to purchase organic, non-gmo seeds (and check that they’re not expired). I’ve even had luck with being able to plant the same seeds over 2 different years and they have all come up. Do not worry yourself to death over certain brands, I think you will have great success with whatever is accessible. I do love Baker creek for more unique heirloom seeds. This year I am testing out a few of their Heirloom tomatoes.
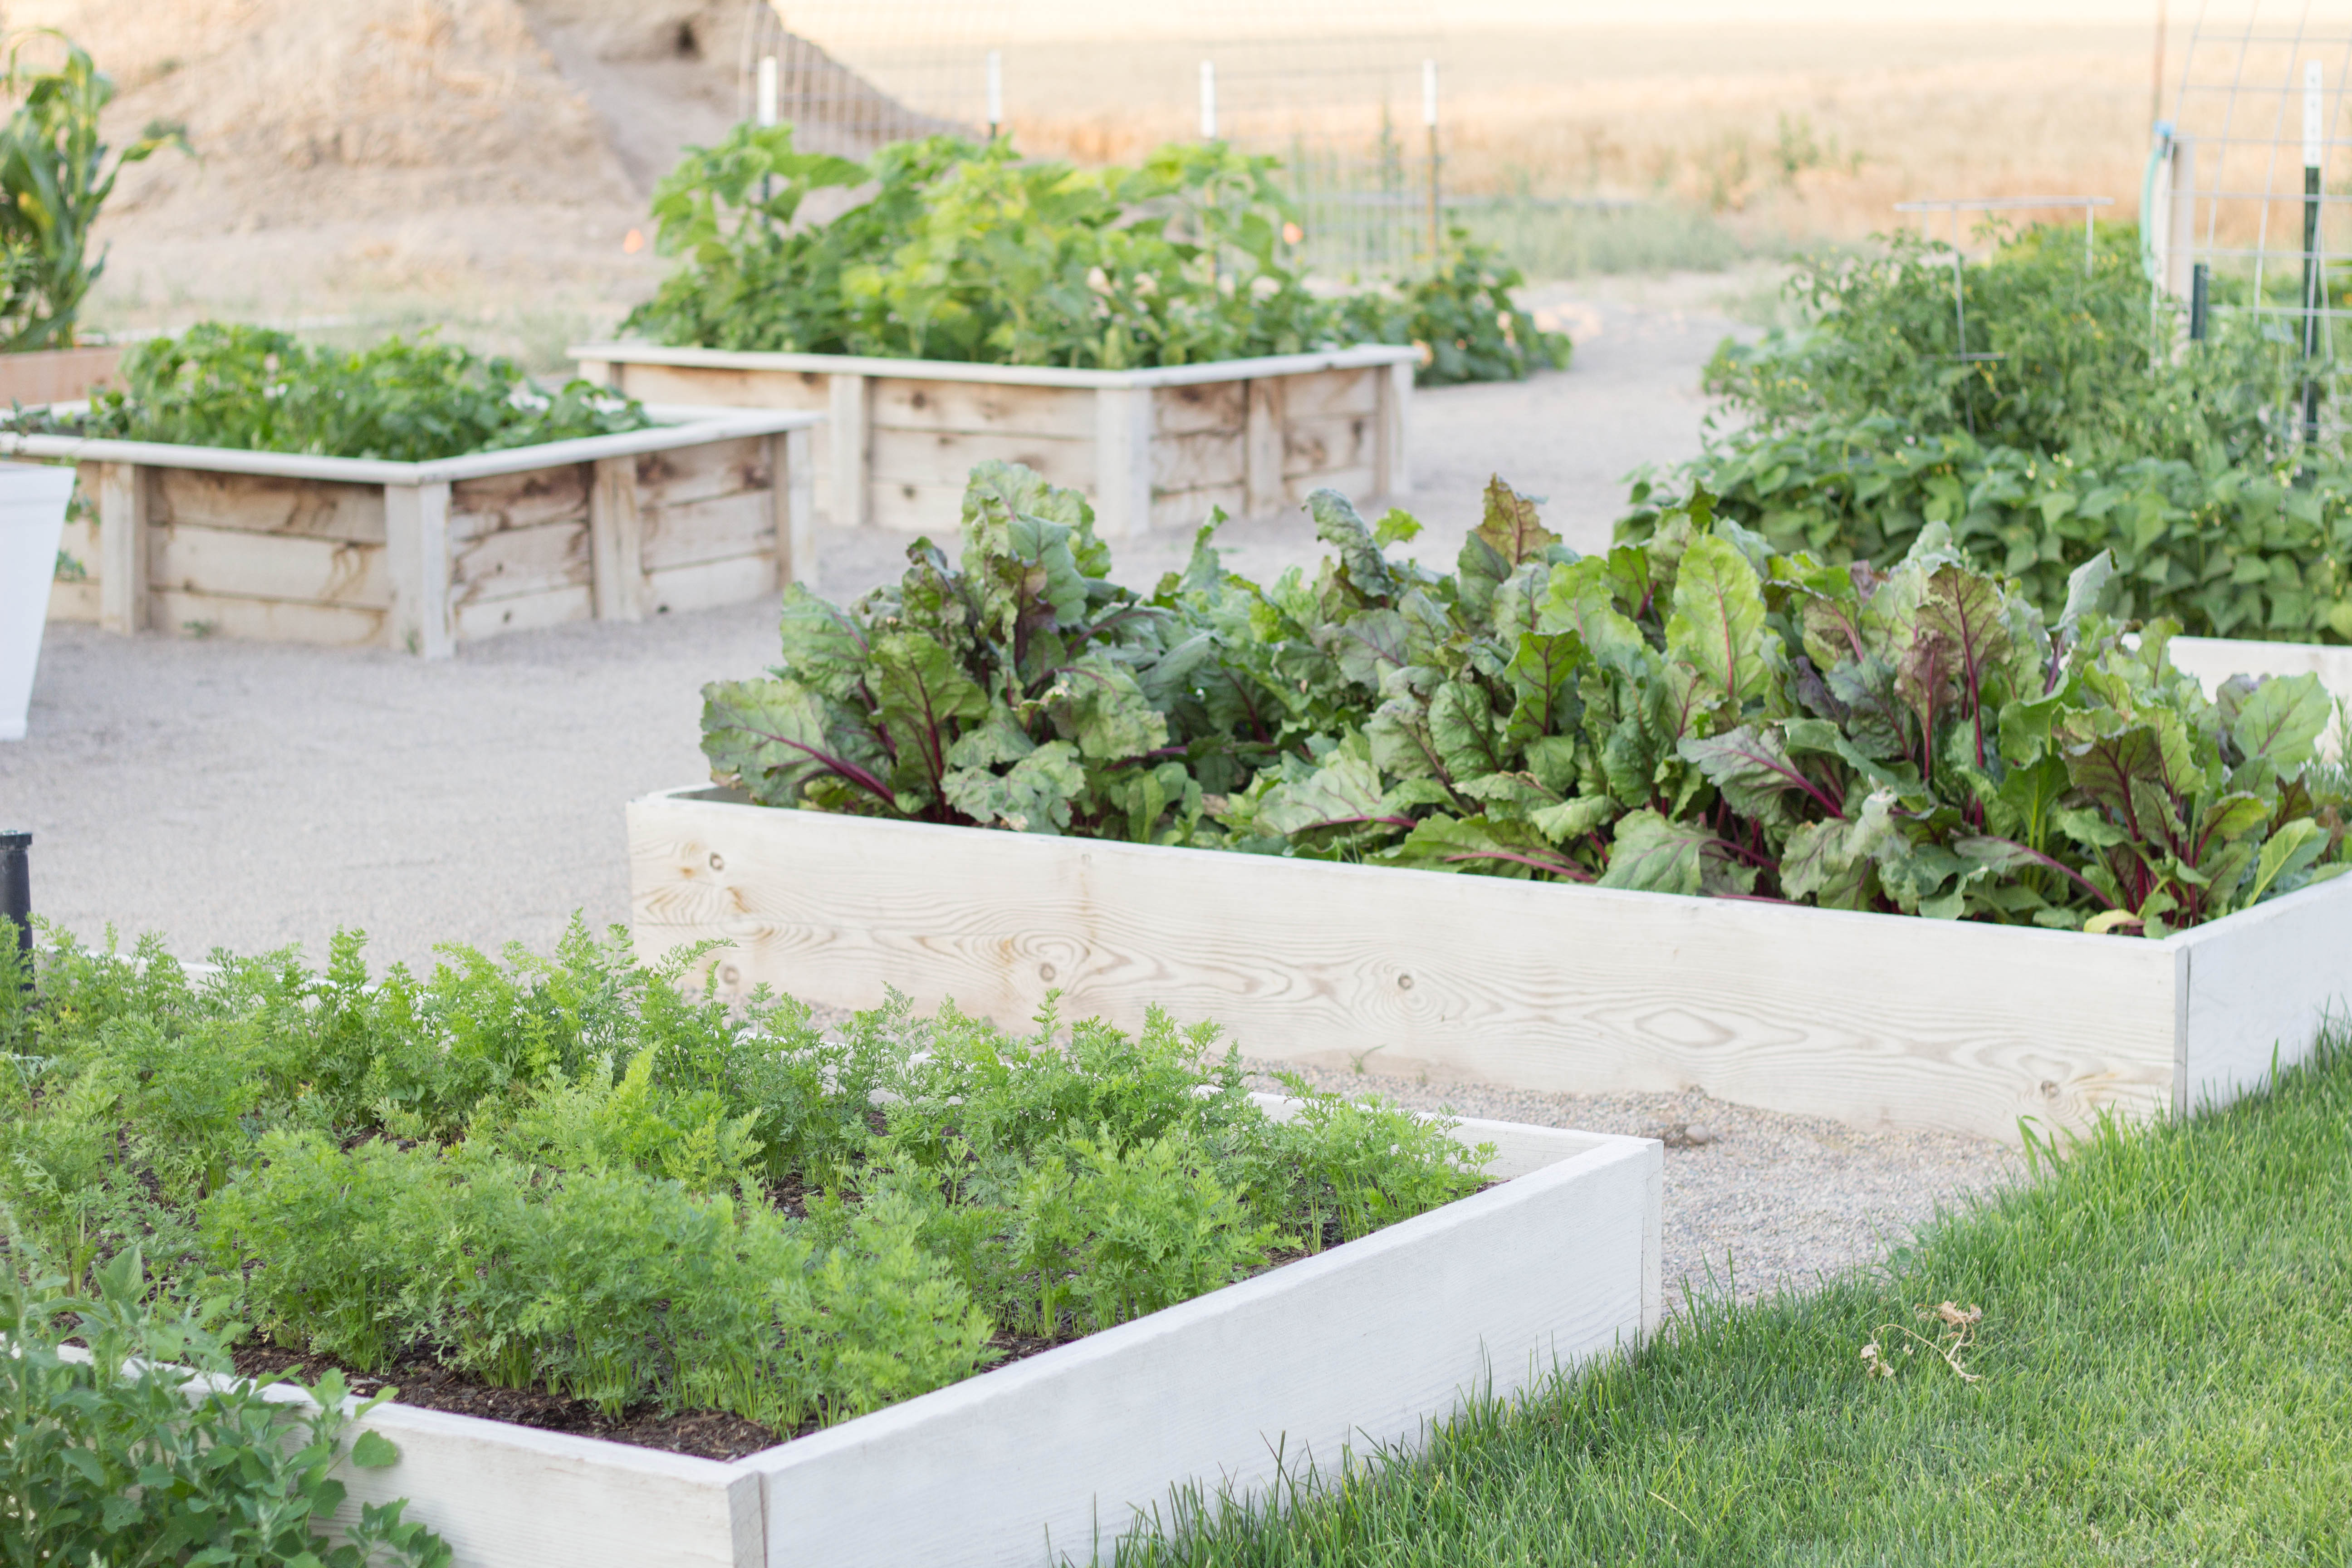
- 4. What watering system do you prefer? I have tried a few different watering systems and it has become very clear to me which is preferred. Back when I had a smaller garden with only 1-2 raised beds, I actually really enjoyed hand watering each evening. It was a therapeutic part of gardening for me to wander out at the end of each day to quietly water. As my garden expanded though, I found that I was spending about 1 hour a day watering. While I still did enjoy it, I couldn’t justify the time I was spending and it left little other time for me to tend to weeding and pruning my plants. It also, at times, added a lot of stress on busy evenings when I couldn’t get to it.
- I highly recommend a drip system for this reason. They are typically pretty easy to build yourself, but hire a professional if you don’t want to worry about doing it right. I can attest to consistent watering leading to great success for plant growth. If your watering is inconsistent you will notice cracks or odd growth patterns in your vegetables. I recommend an early morning water when it is cool, if possible. This allows the water to soak in sans hot sunshine, and it also allows the rest of the day for healthy insects like daddy long leg spiders, pollinator bees or other beneficial bugs to do their work on your plants and soil.
- 5. What are the easiest things to grow in a beginners garden?
- carrots
- cucumbers (as long as they are getting plenty of consistent water)
- beets
- peas
- tomatoes
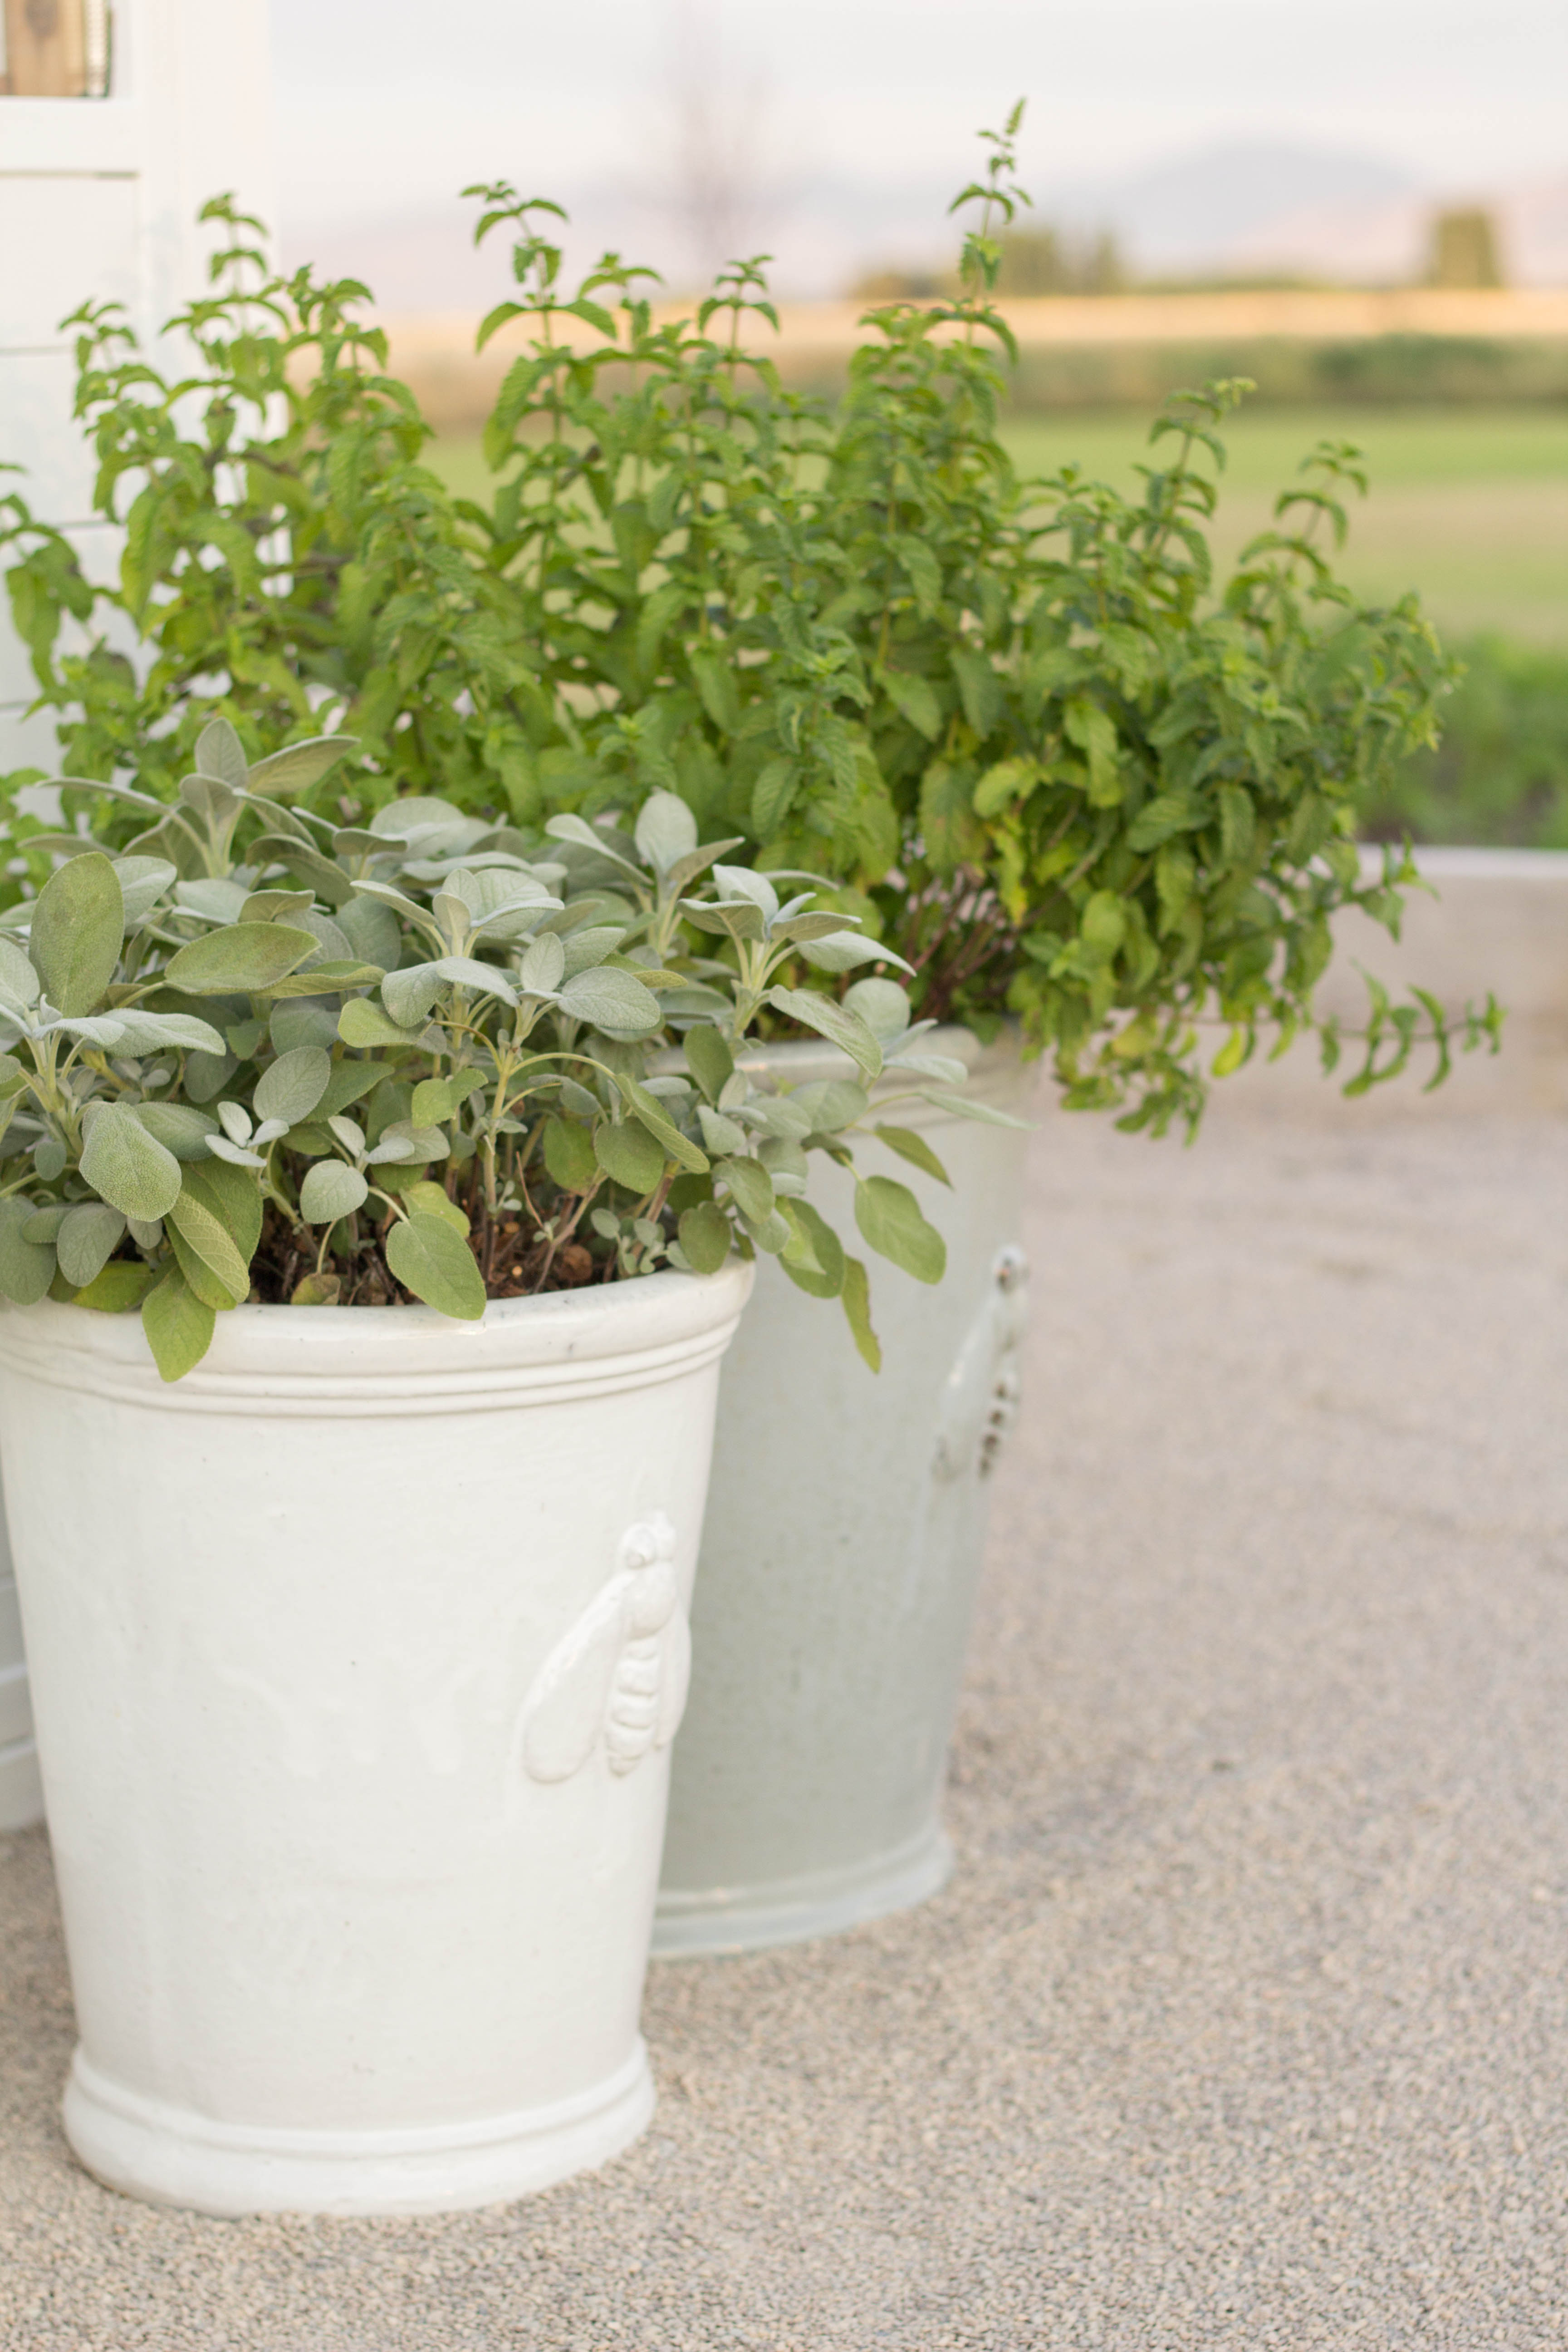
- herbs (basil, thyme, rosemary, sage)
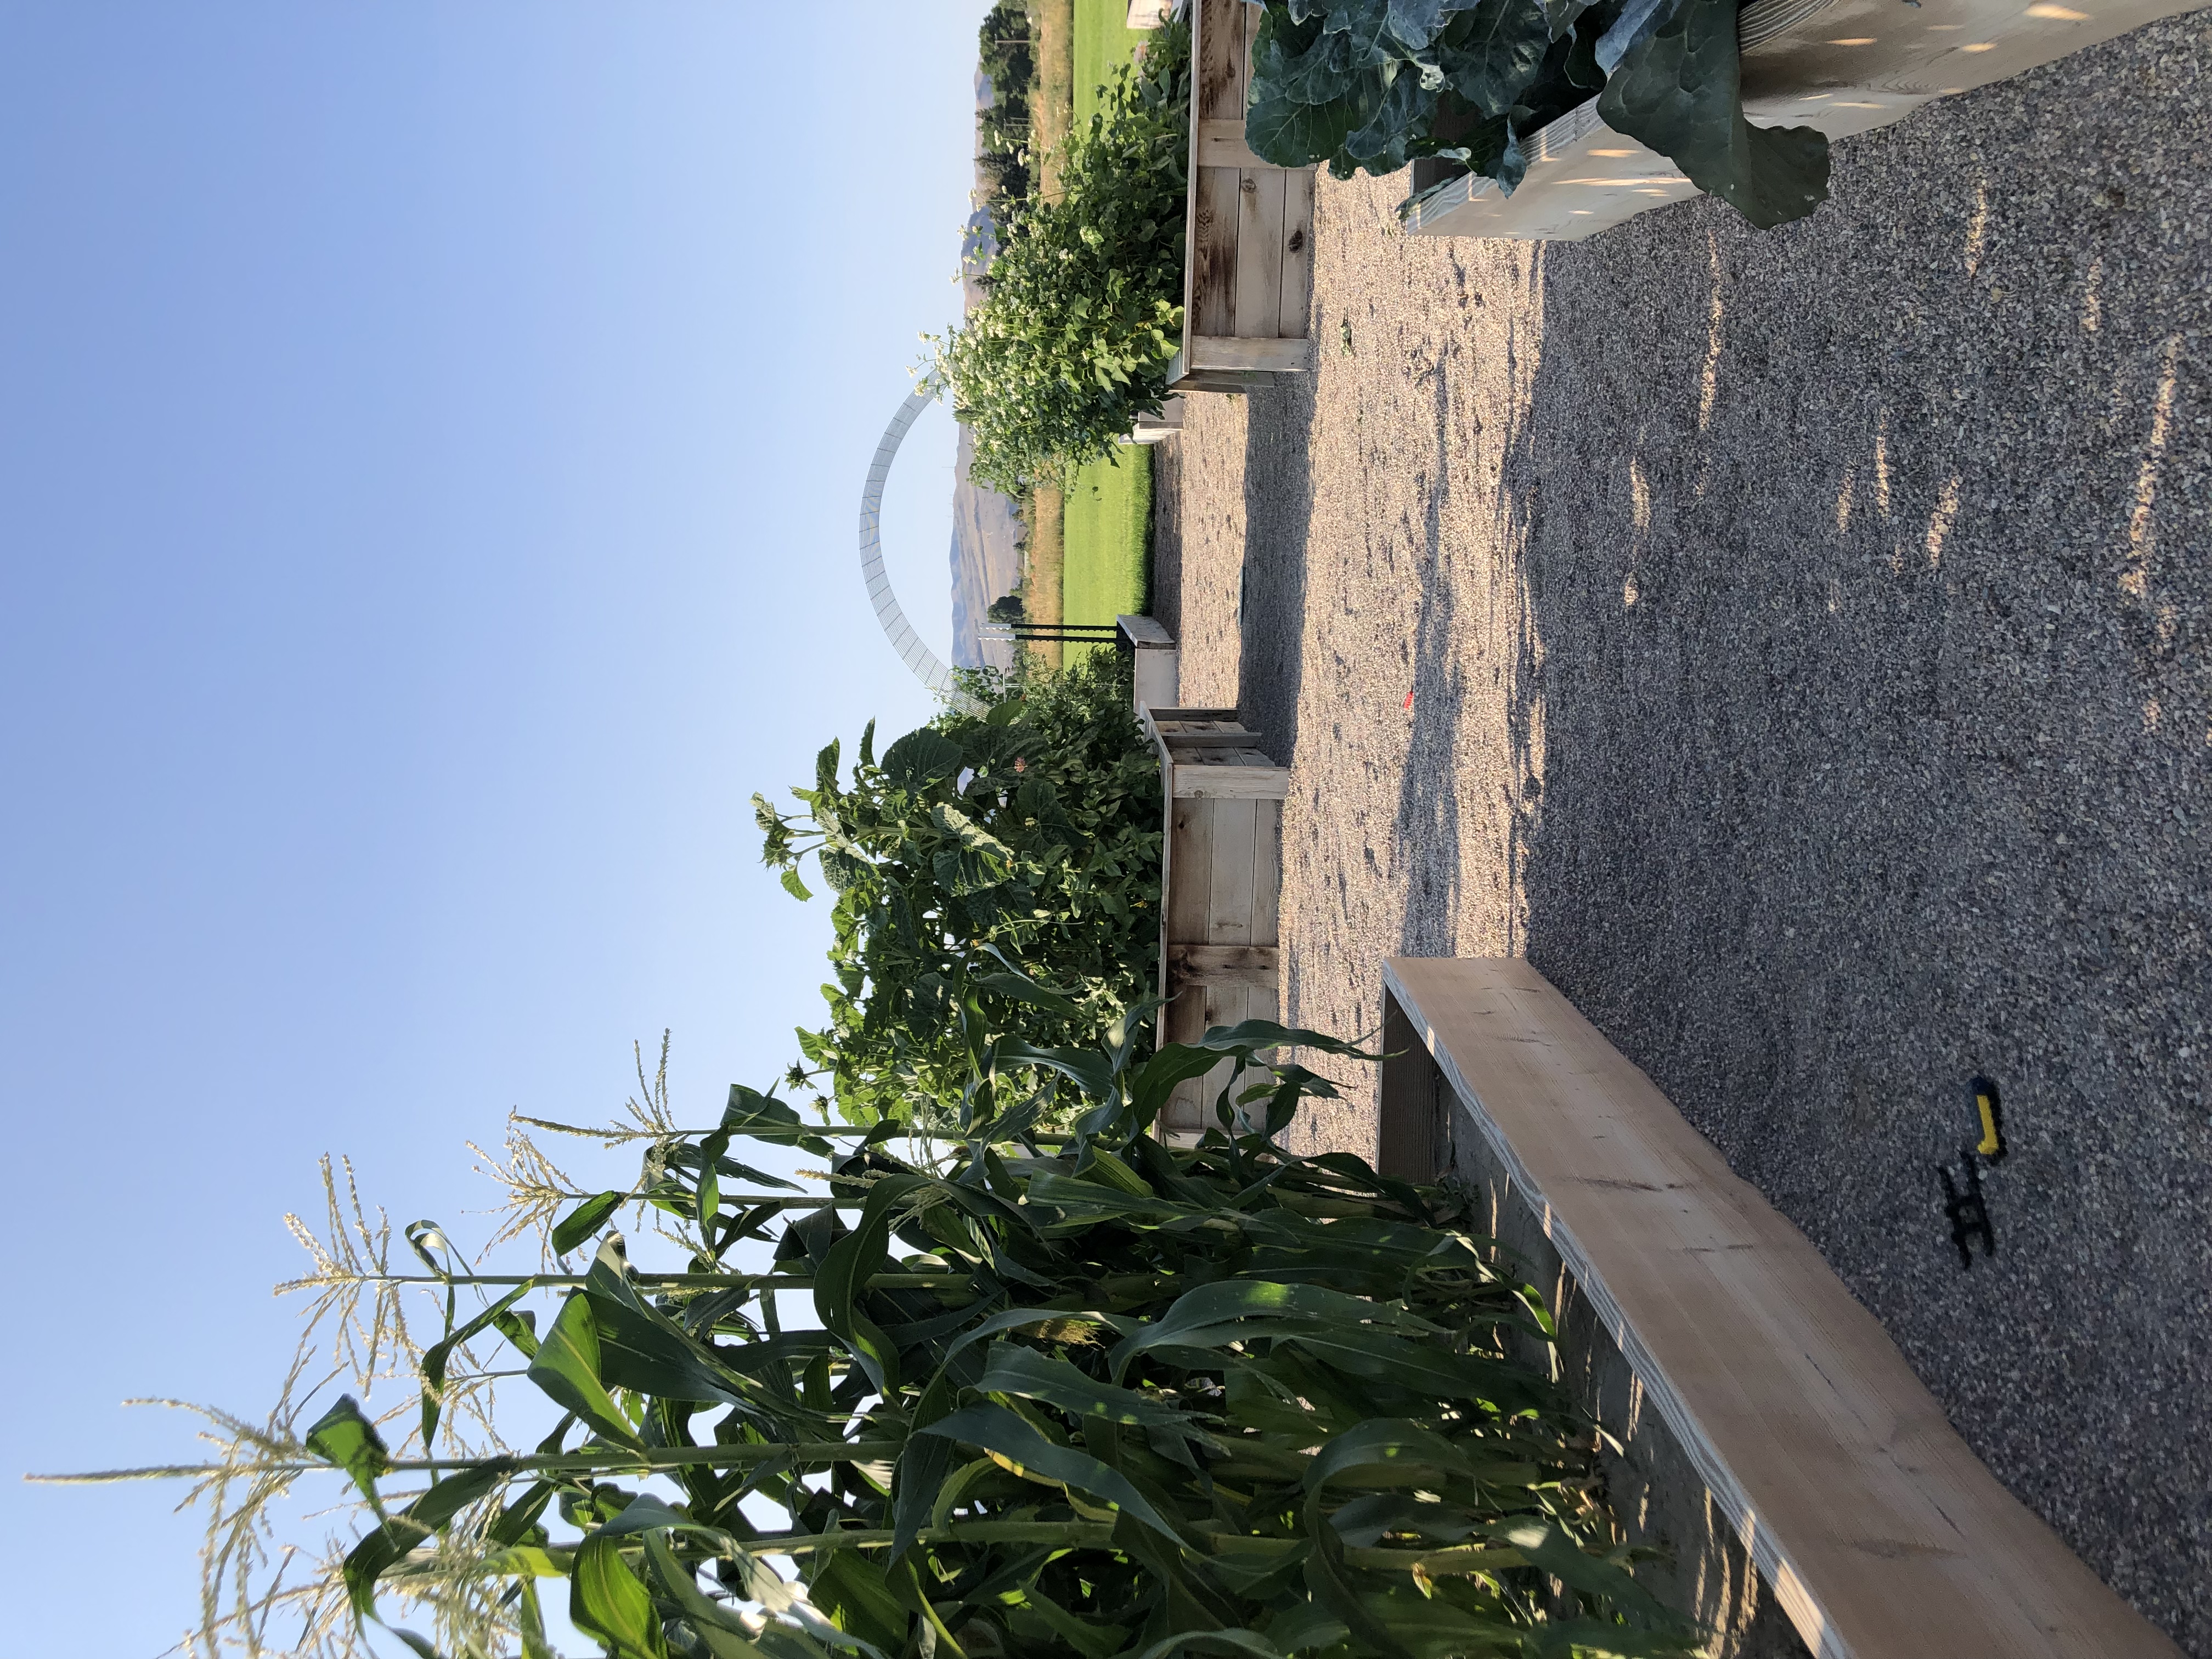
- corn (we like the honey and pearl variety)
- We love planting the rainbow/kaleidoscope carrots
- Blue lake bush green beans.
- Snap peas and sugar peas are both well-loved in our family.
- Early girl tomatoes are always my go-to, but I am eager to try out Brandywine, purple Cherokee and Black Krim heirloom tomatoes this year.
- I also adore baby boo pumpkins, as well as Jarrahdale (green) and Lumina (white).
If you are planting flowers, I would recommend trying some cosmos, teddy bear sunflowers, White lite and White nite sunflowers, zinnias (check out these queen lime) and some English lavender.
Shop Garden Favorites
Seed favorites:
Marketmore Cucumber (these are my very favorite climbing vine cucumber, excellent for a trellis!
Tendergreen Cucumber we love this one as a bush variety cucumber. They are sweet and can be eaten with the skin on.
Rainbow carrots my kids adore digging up these gorgeous rainbow carrots all summer! They are sweet and have the most incredible flavor!
Rainbow Beets I would highly recommend this mix of Detroit dark red, chioggia, bull’s blood and golden beets. They are sweet, delicious and beautiful!
Blue Lake bush green beans year after year the blue lake bush beans produce ample amounts of delicious snacking and storing beans! We adore them!
Summer crookneck squash last year was our first year trying these. We ate them daily! They are absolutely delicious chopped up and pan sautéed in a little oil or butter, seasoned with garlic and a dash of onion powder and salt. Blackened and topped with grated parmesan. They grow in a very large bush.
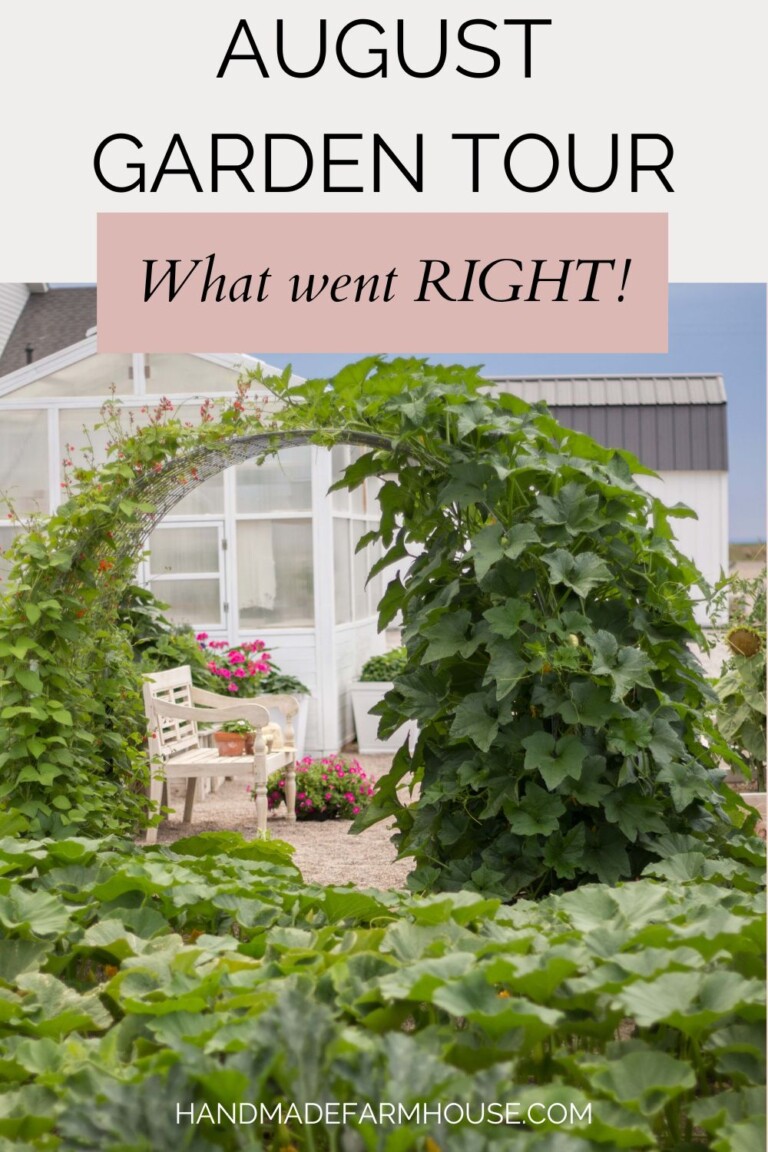
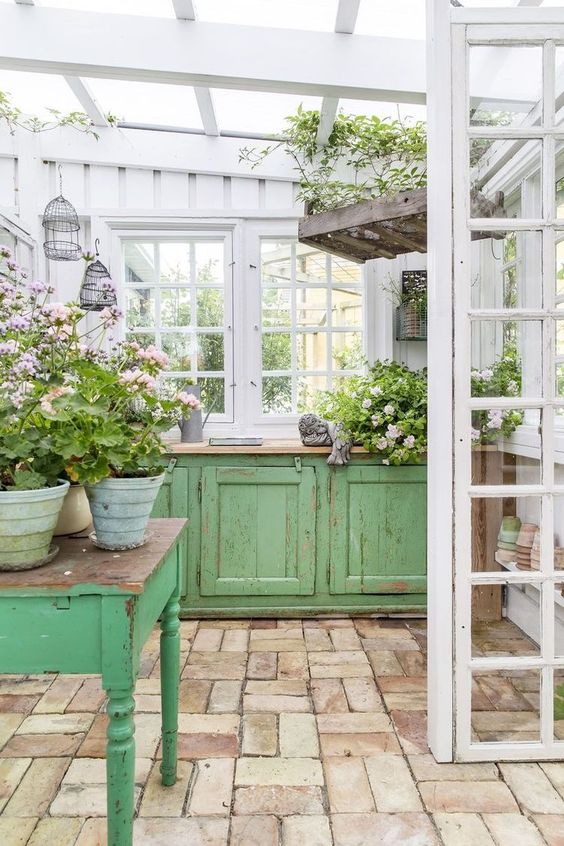
UPDATE: You can now see our finished Greenhouse in this post as well as my 2022 garden tour. You can also check out this post with inspiration from my favorite greenhouse/potting sheds and how ours turned out too!
Love this post packed with gardening basics Q and A? PIN IT!
