


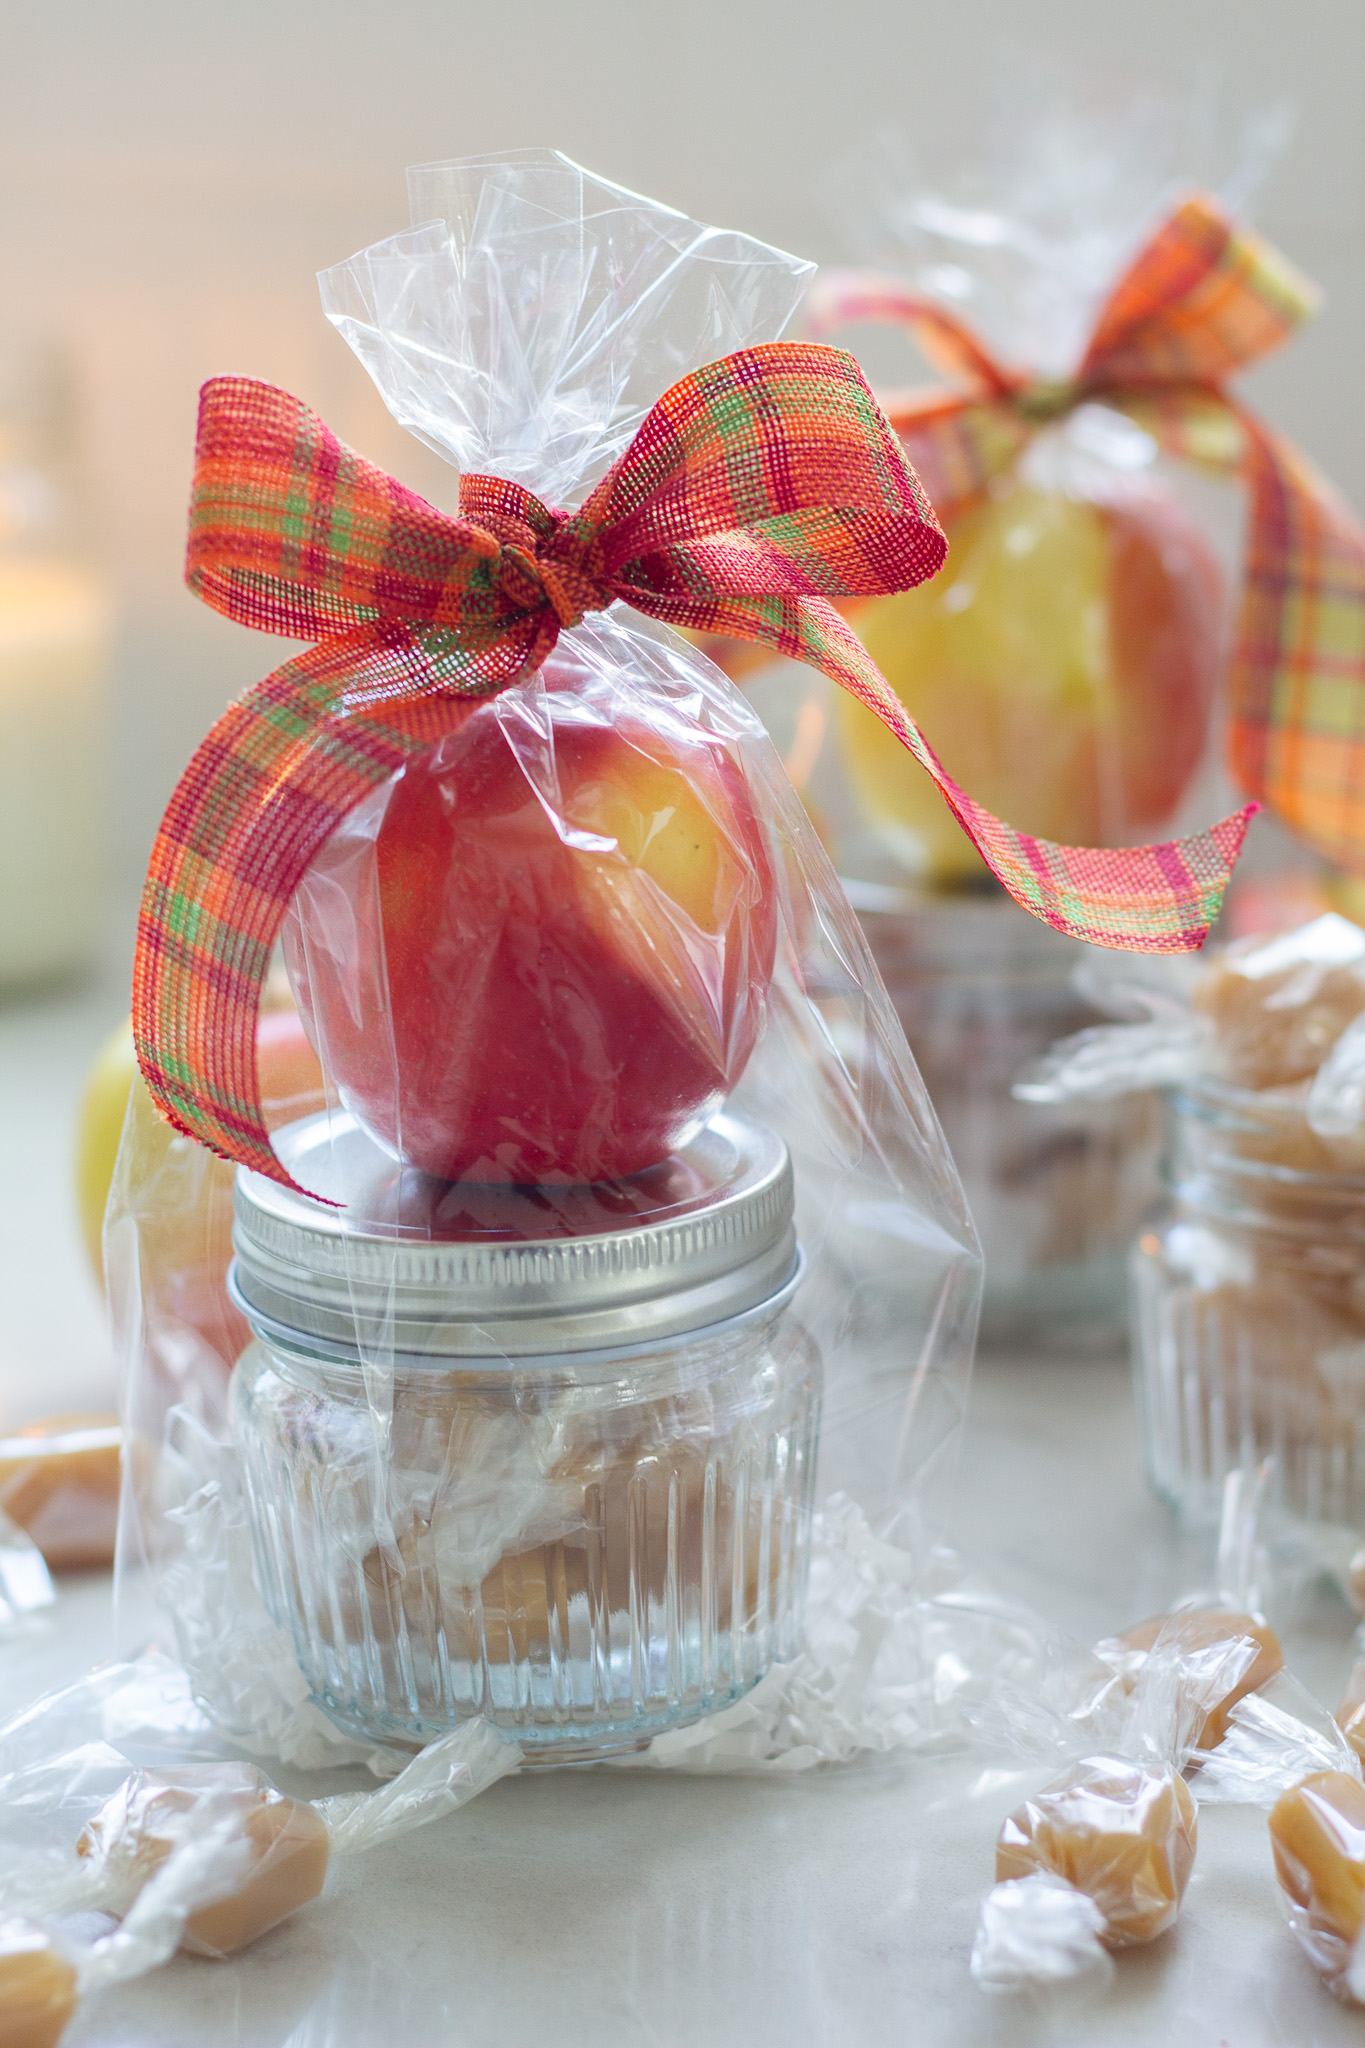
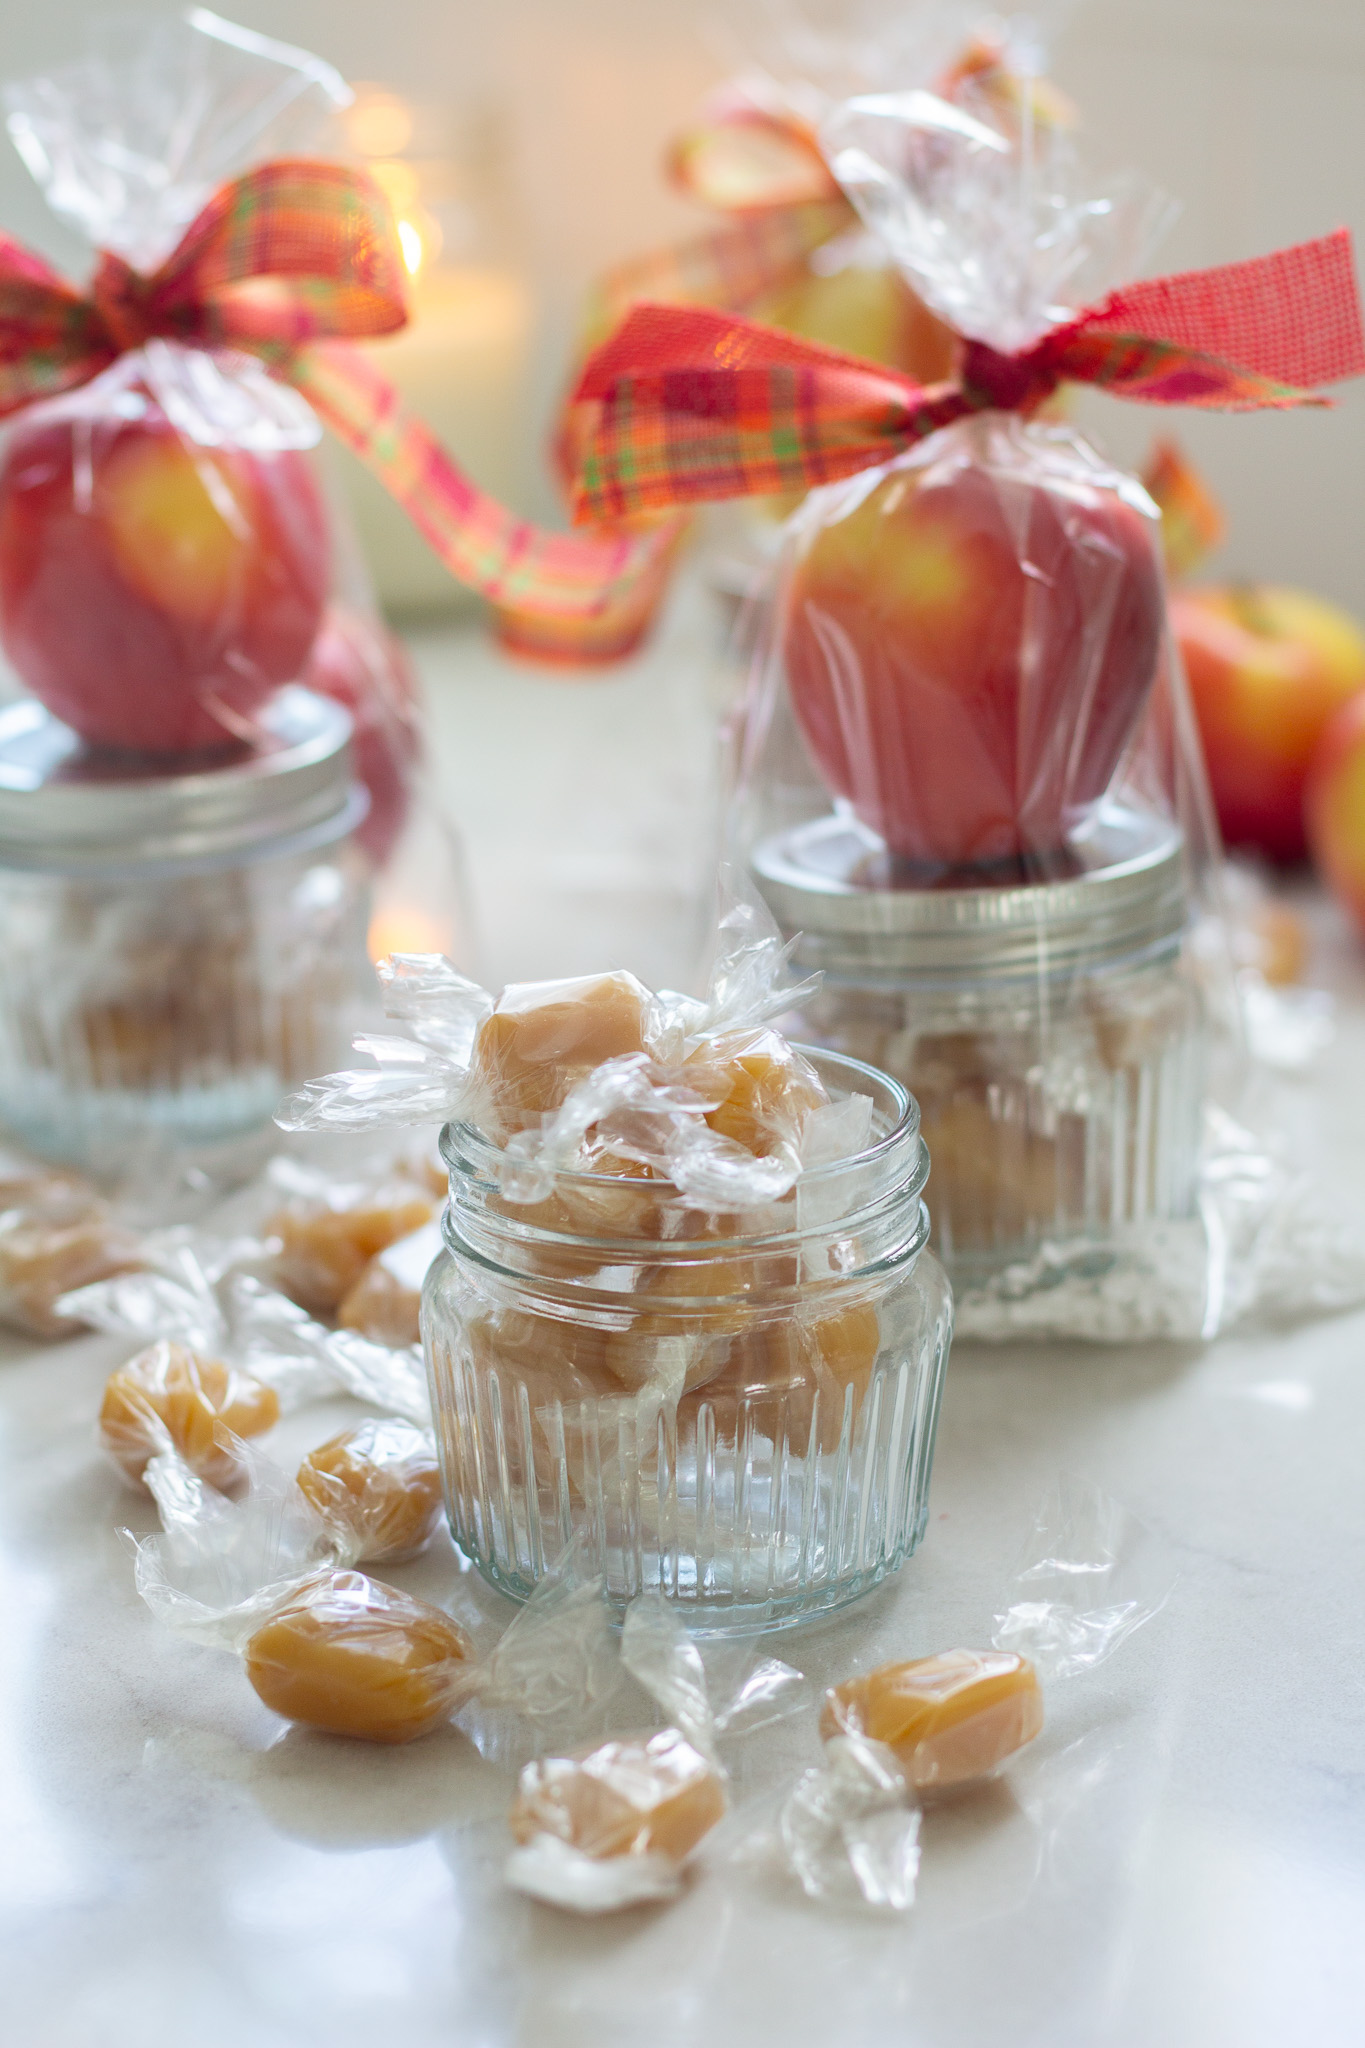
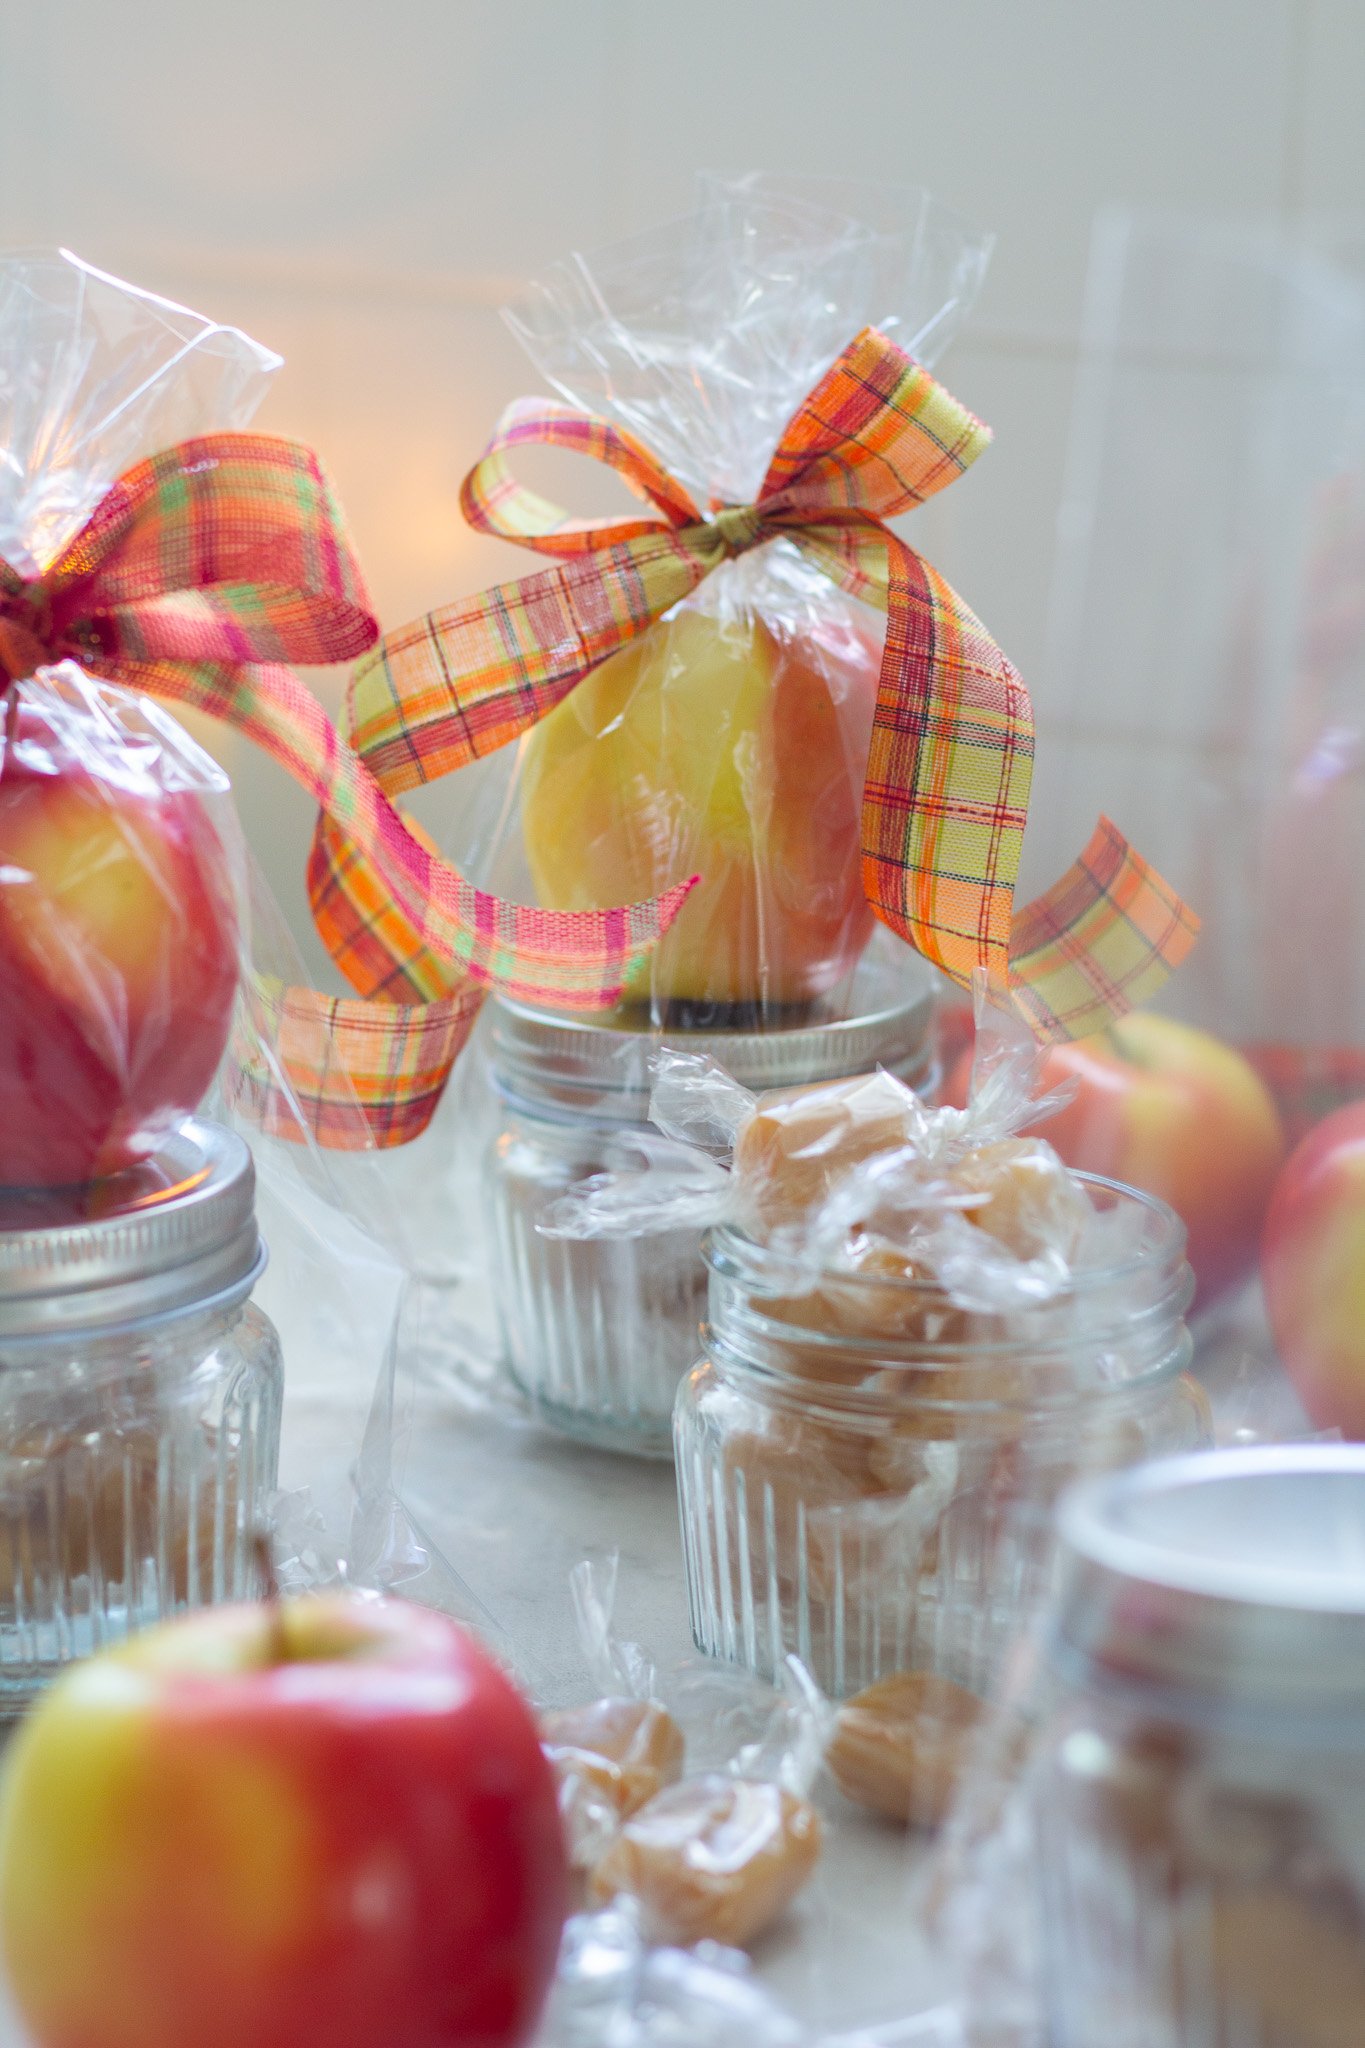
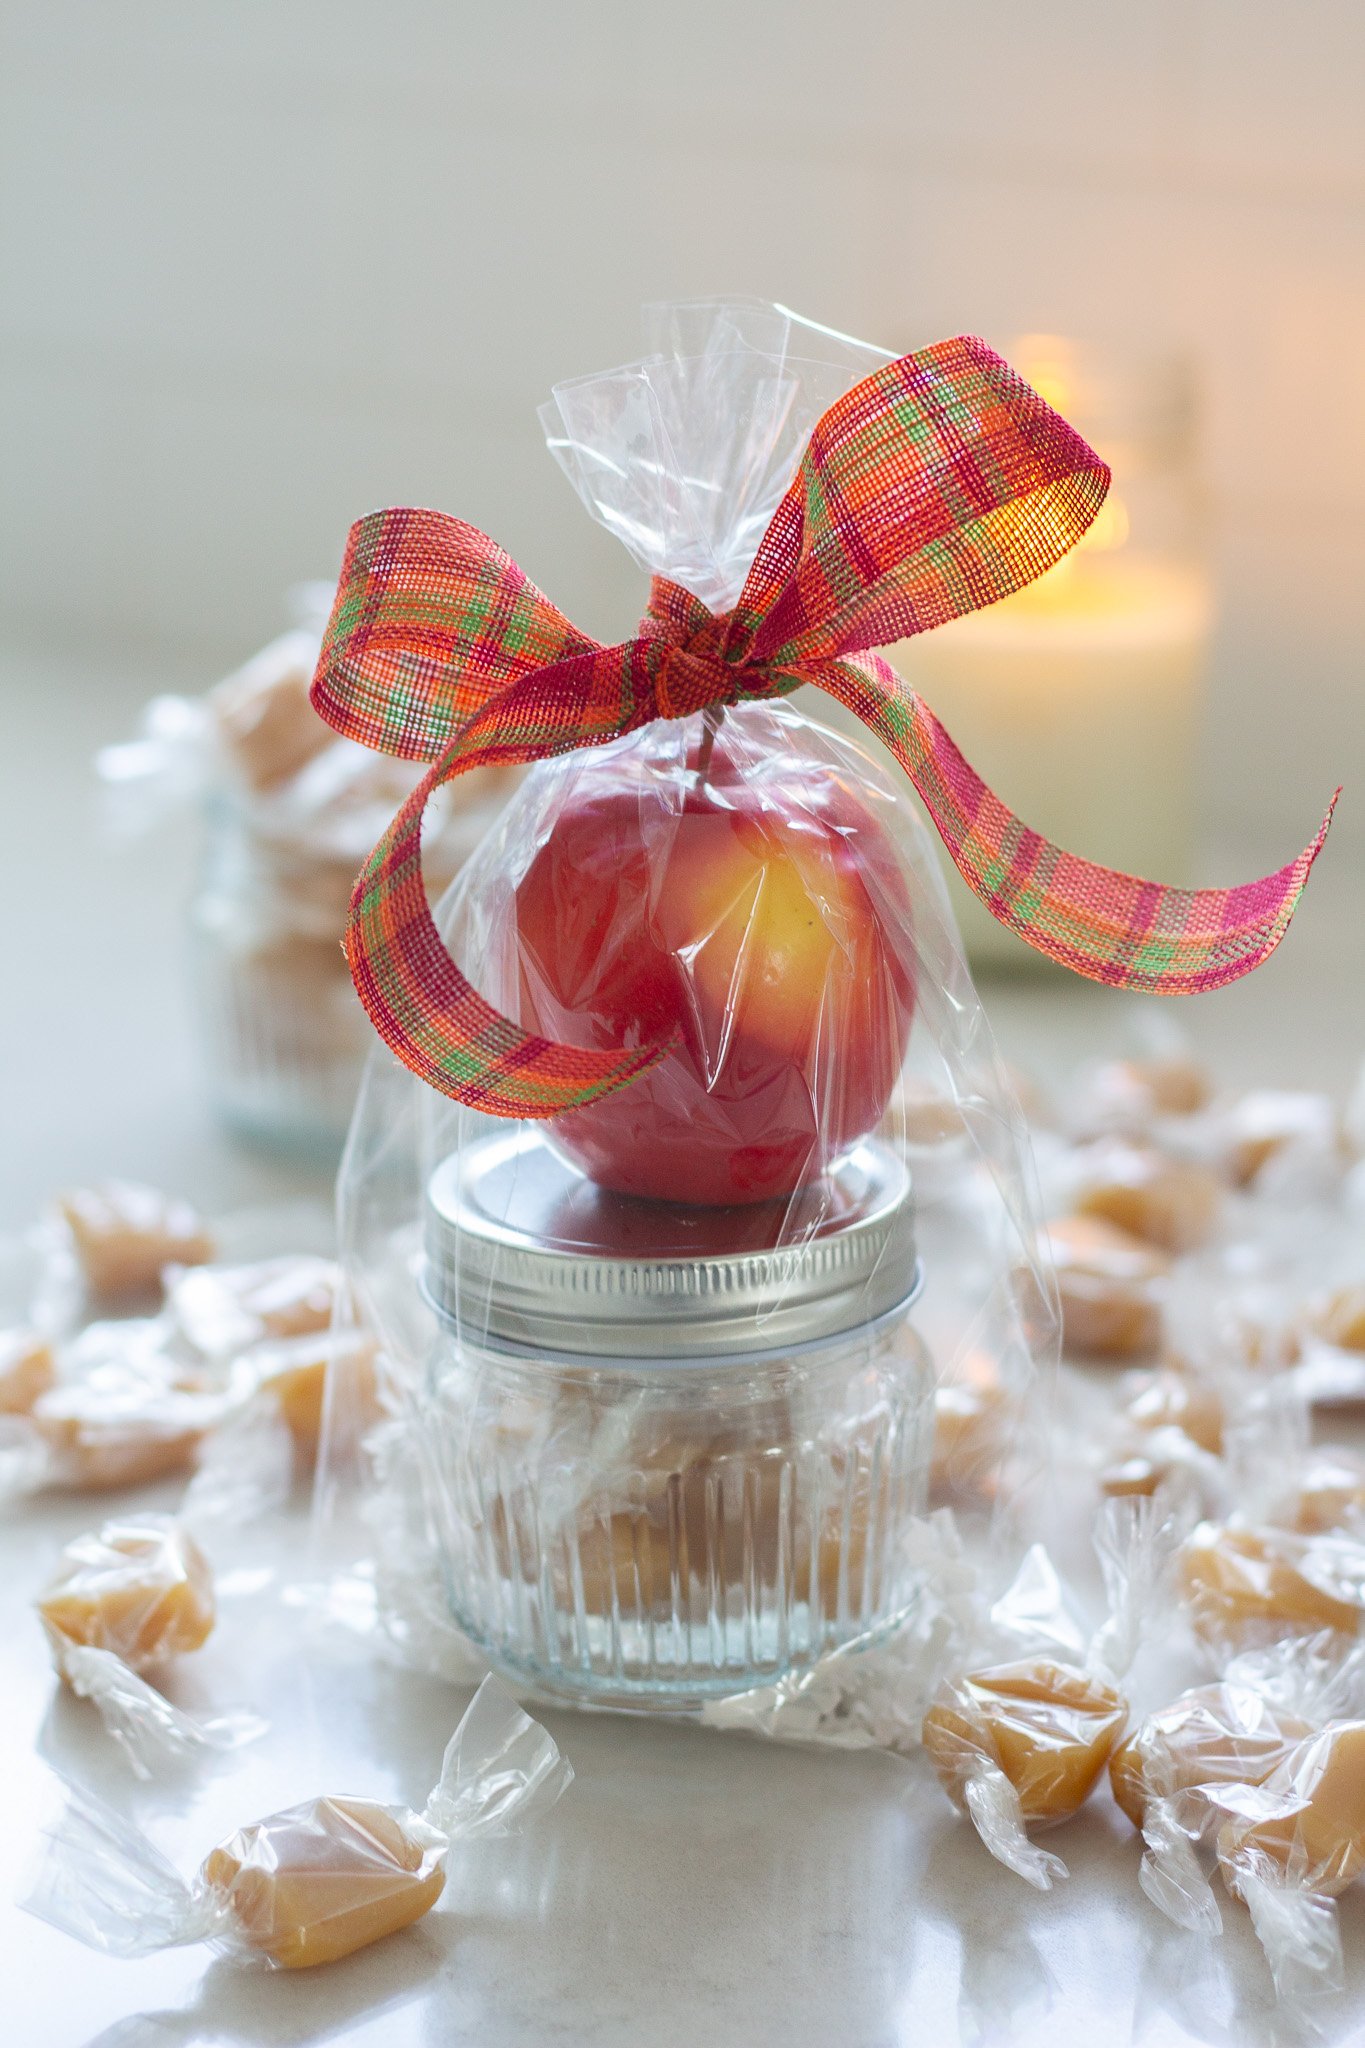
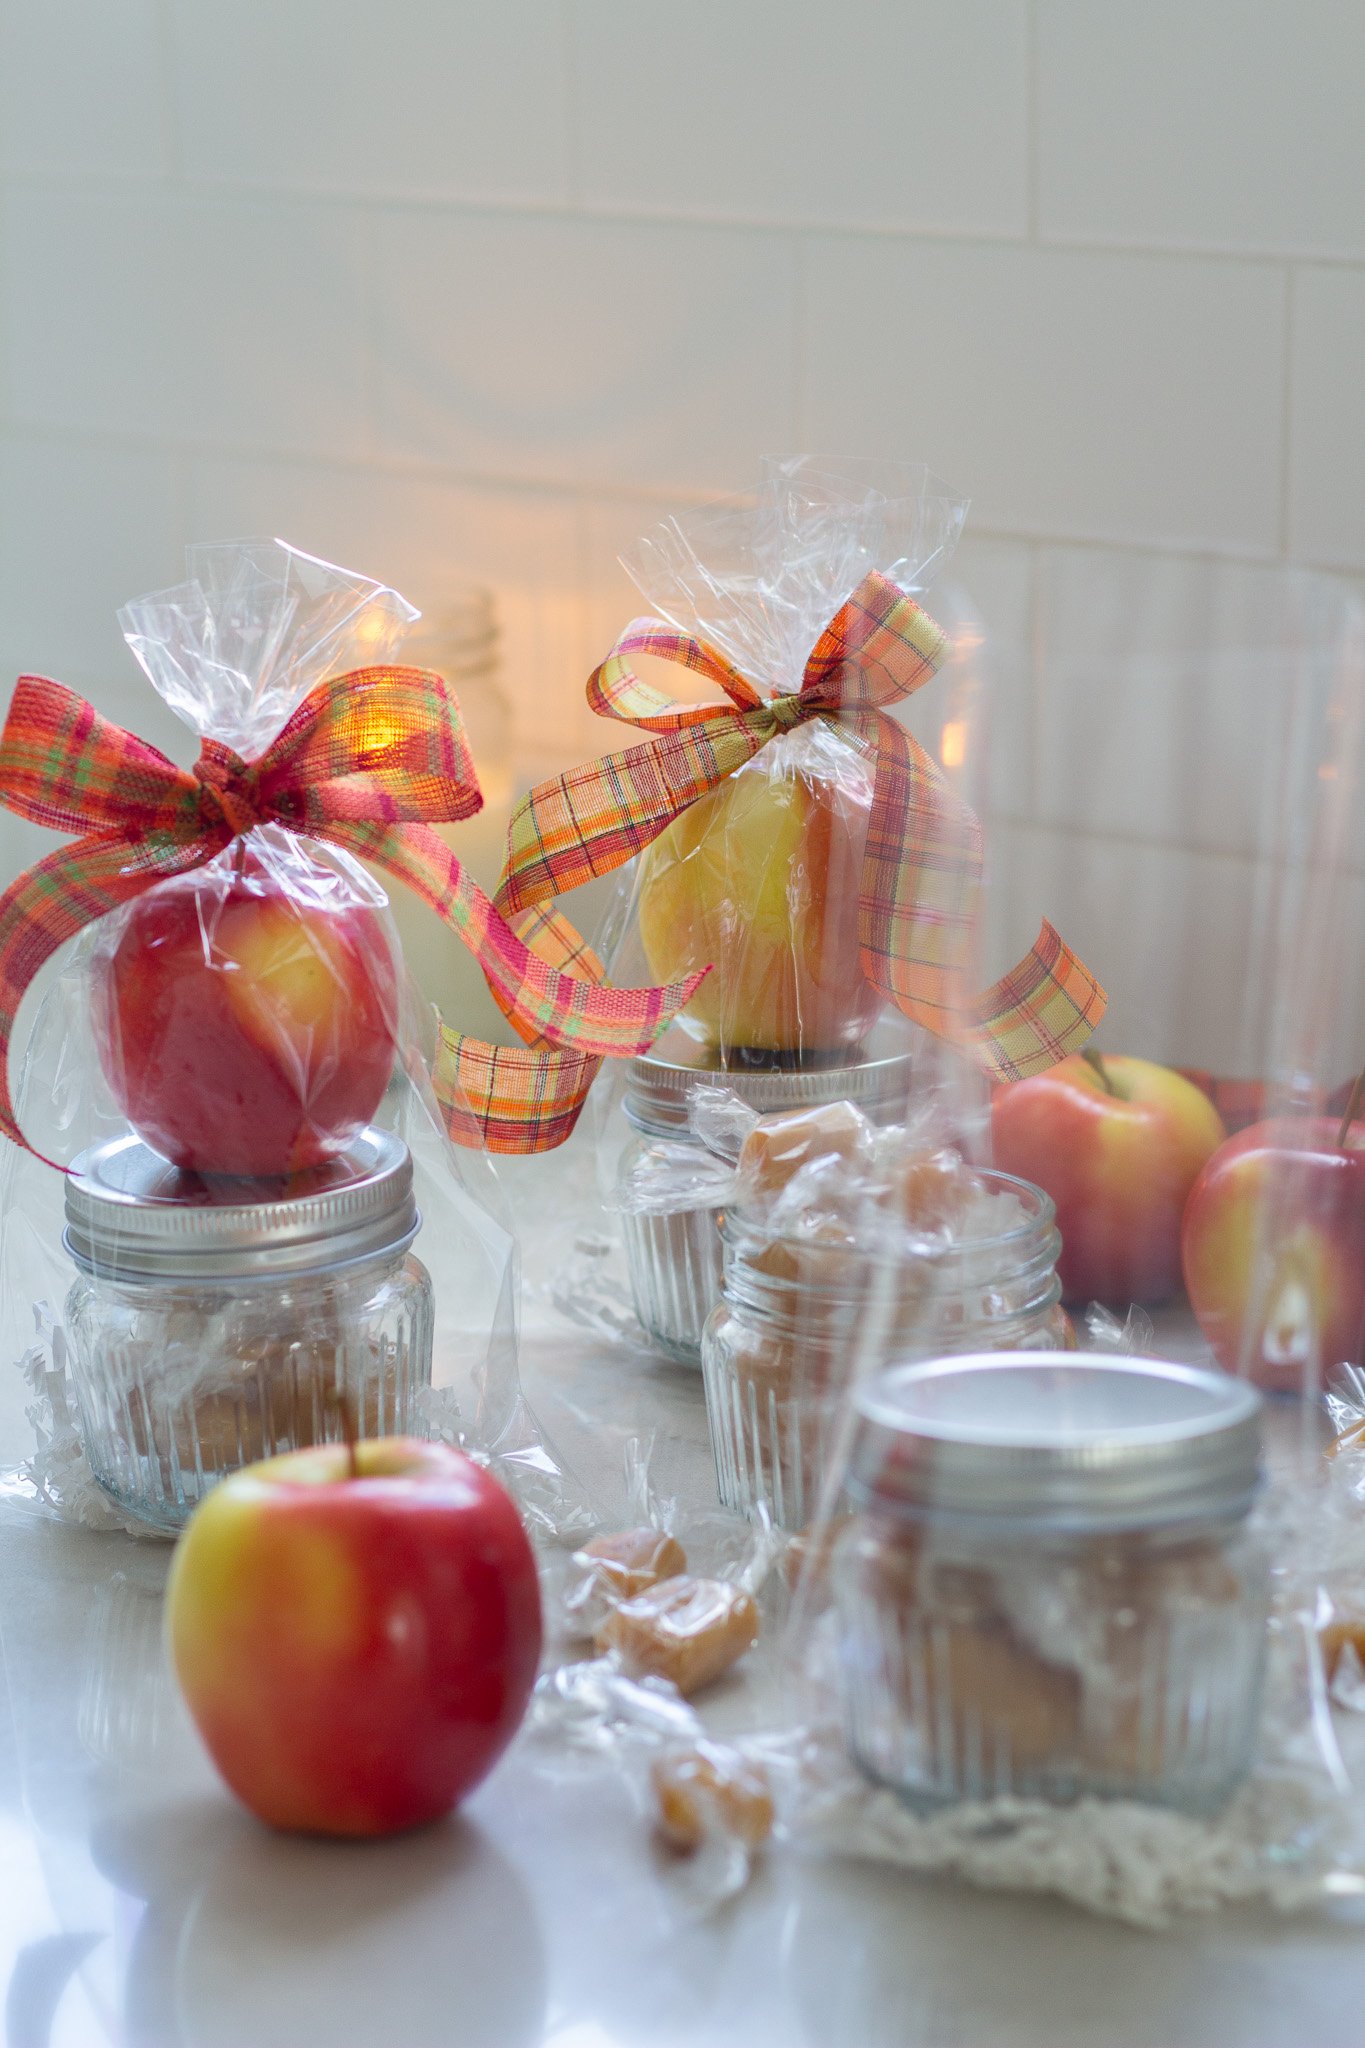
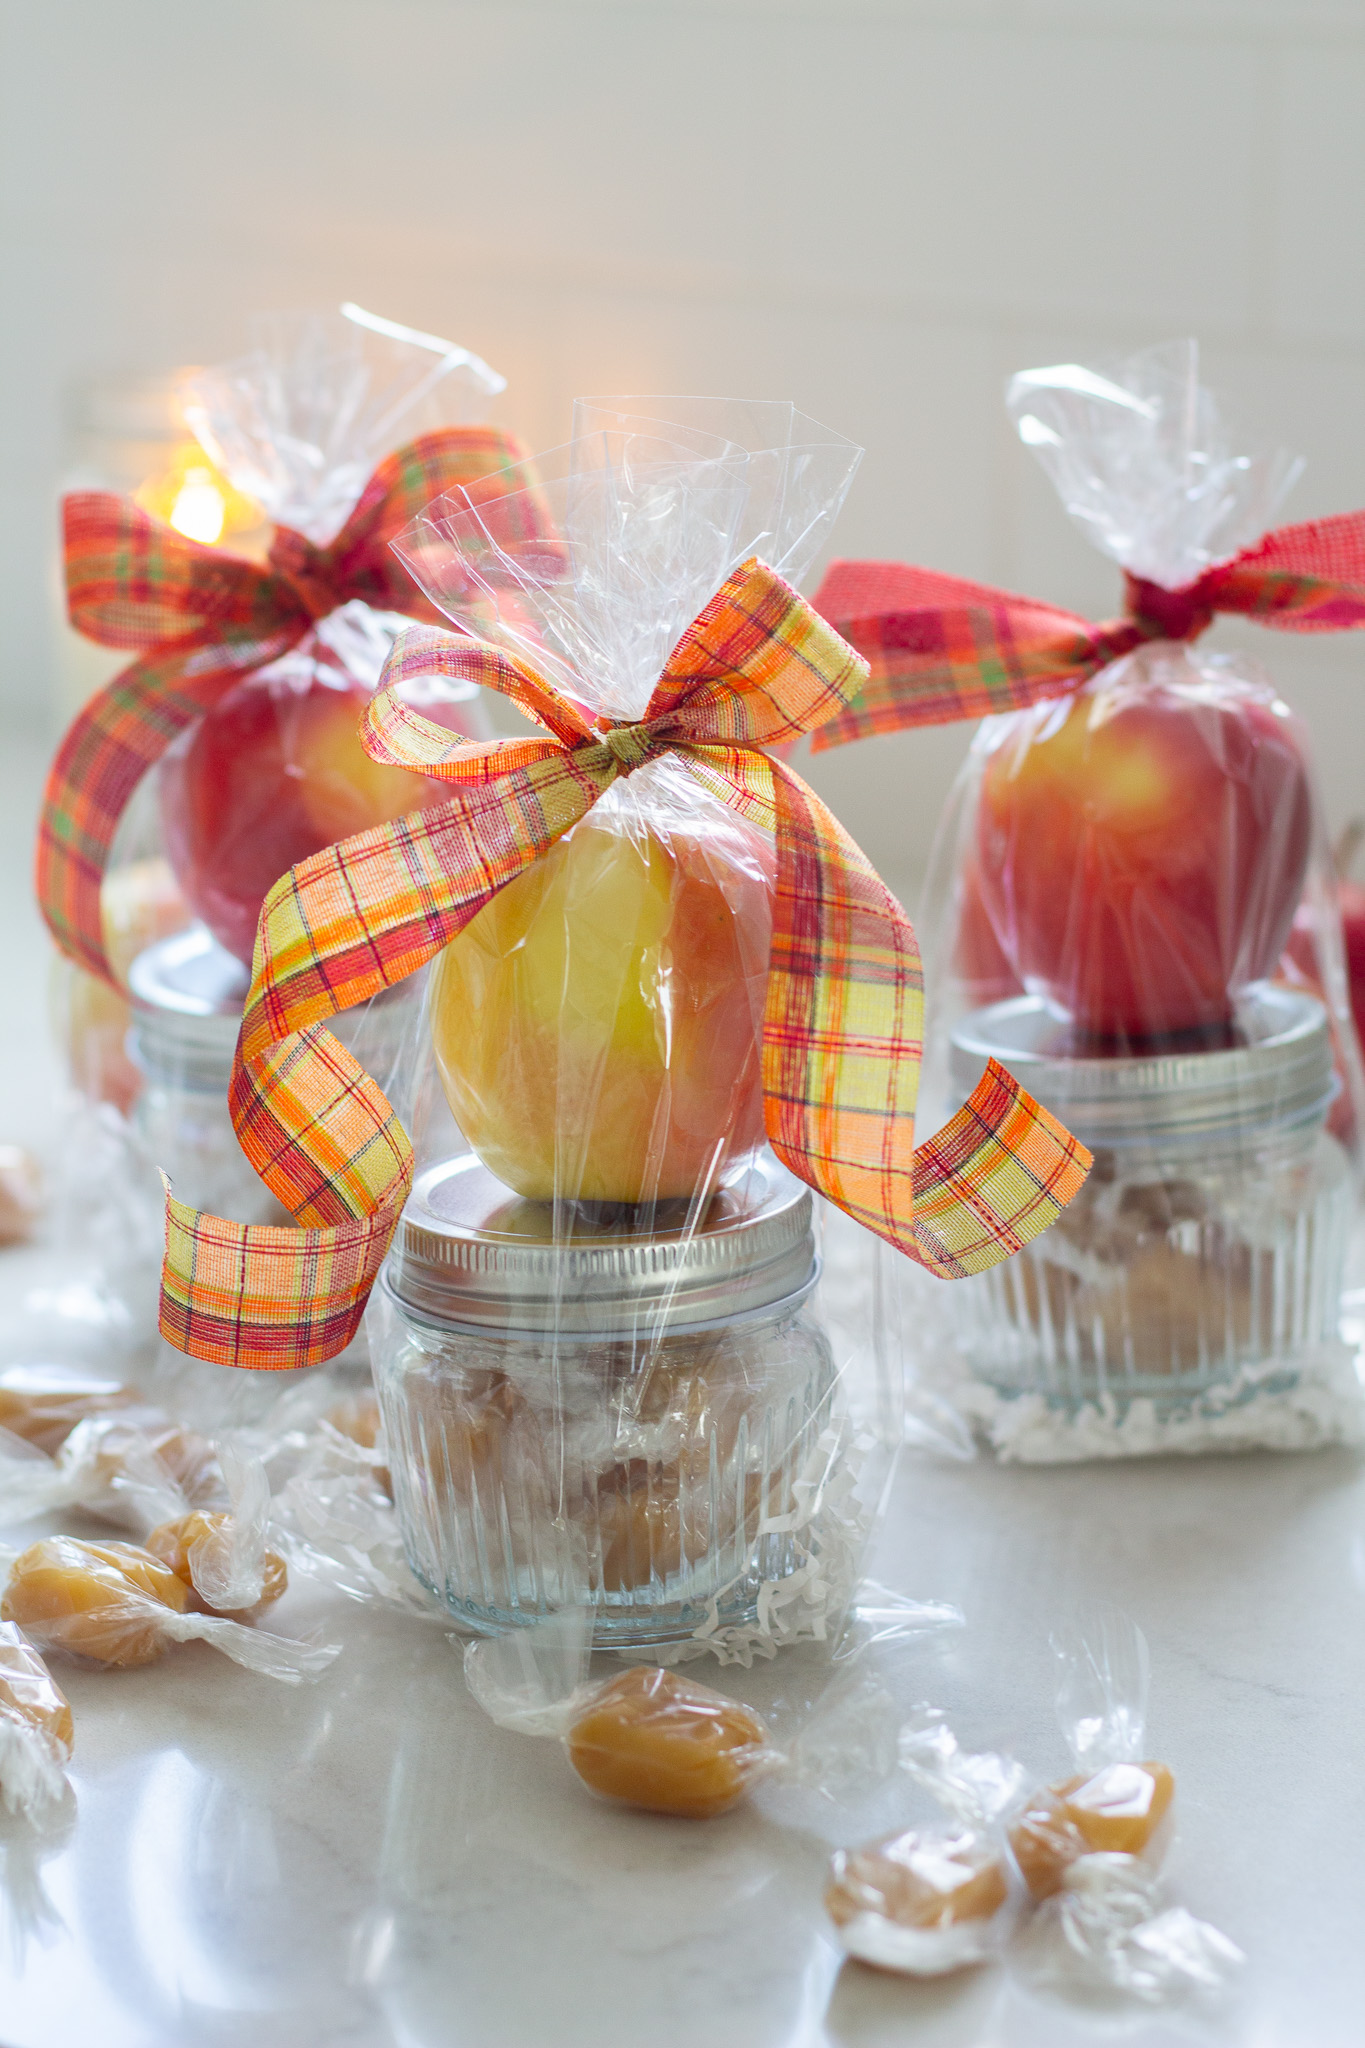
Make an easy Fall teacher gift with homemade caramels and a mini rocket apple, the perfect little treat and pick-me-up for your child’s teacher on their first day of school! We love our teachers so much and I always enjoy coming up with ideas for thank you’s and appreciation gifts.
You could easily add a gift card for Starbucks or Amazon, or even a handwritten note from your child about how excited they are to have this teacher. If you love homemade gift ideas, you might also like this easy sugar scrub, these handmade bath bombs or these cute soap bars!
Microwave Caramels
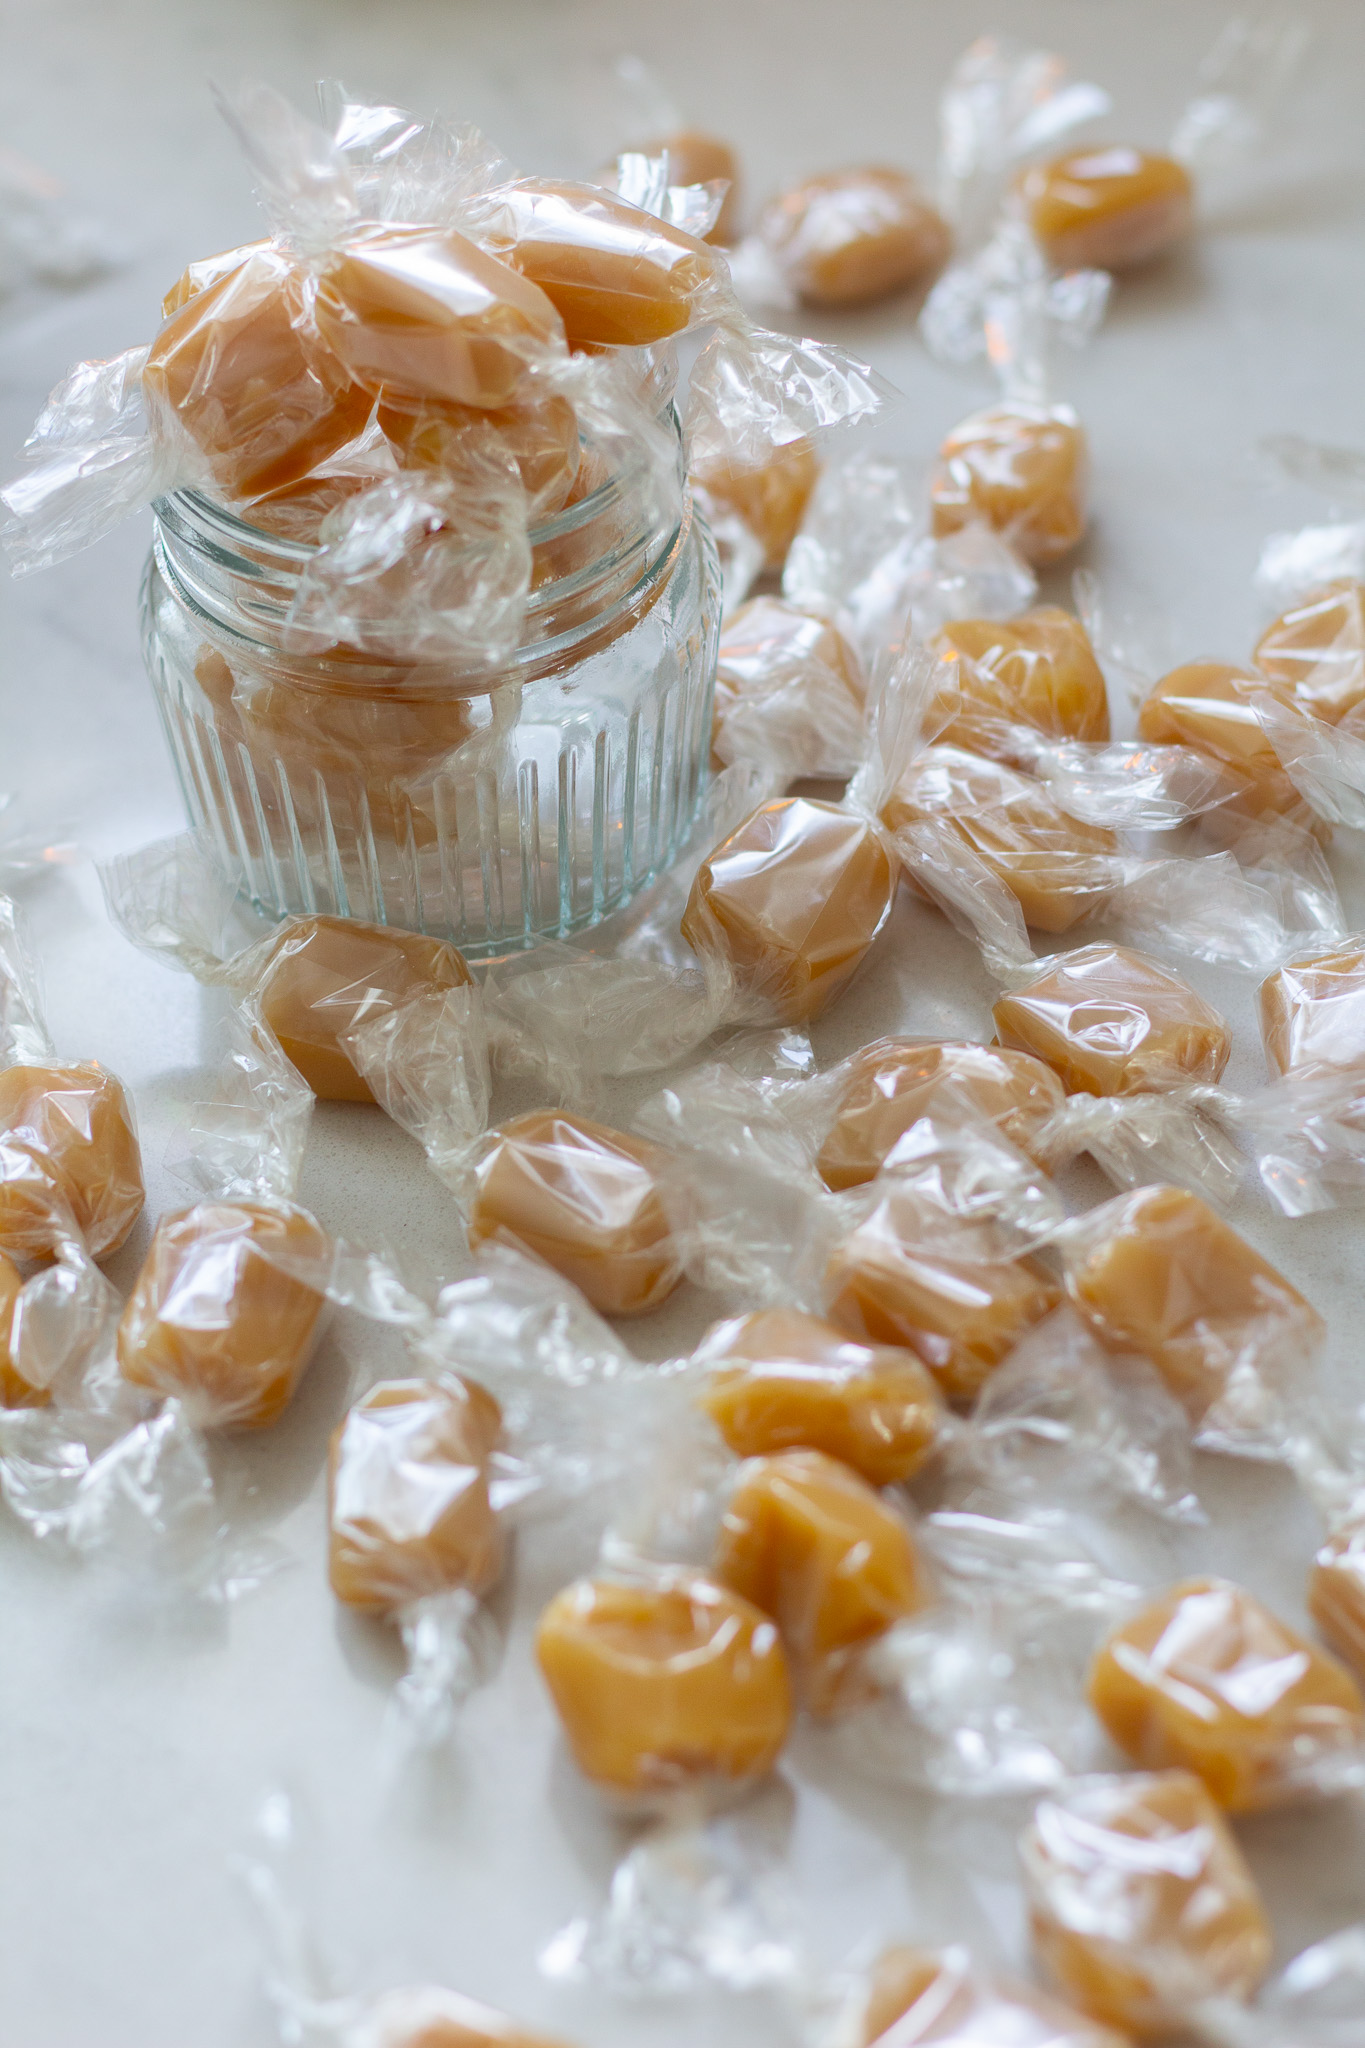
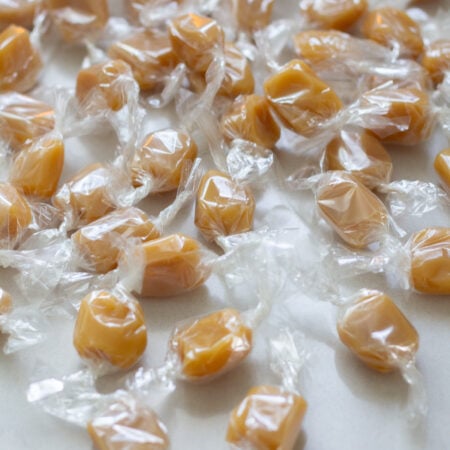
These easy caramels have been an absolute favorite of ours over the years. I used to stand over the stove with a candy thermometer, trying to get the perfect consistency on handmade caramels. NOT ANY MORE! This recipe literally takes 5 minutes to mix, and only 6 minutes 30 seconds to make in the microwave. I love that the recipe is so dependable, the caramels turn out perfect every time. We usually wrap them in cute wax papers for the holidays, but I just tested these clear wraps which were pre-cut to size, and I LOVE THEM! They look so beautiful and the clear sheets stay closed after twisting.
Supply list for Fall Teacher Gift with Homemade Caramels
- 1 batch of homemade microwave caramels (recipe below) in clear wraps
- Mini jars (I found this cute 4oz set here)
- Fall colored ribbon (my burlap set is here)
- Rocket apples or any small apples
- Cellophane Baggies
- Crinkle paper for gift wrapping
- Gift card (optional)

How to assemble Fall Teacher Gift with Homemade Caramels
Assembling this gift is fun and easy! Drop a small bit of crinkle paper to the bottom of your cellophane bag. Add caramels to your little jar and close with the lid. Place the jar inside the bag on top of the crinkle paper. Set a rocket apple (or any smaller apple) on top. Use the gold tie to close the bag. Tie a cute Fall ribbon bow and add a card, tag or gift card if desired.
- To make caramel cutting easy and quick, chill caramels in the fridge before slicing. When they are cold they are much easier to cut. Use a paper towel and rub a little bit of butter on each side of your very sharp knife. This will also help make cutting easier.
- I cut my caramel squares small to make more, but these clear wraps work amazingly if you want to cut rectangular pieces and make them a little bigger!
- If you cut smaller squares like the pieces in this post, you can trim the ends of the wraps a bit so they’re not so long. Easily trim them after you have twisted the candy.
- Use the gold twist tie to close the cellophane bags before tying a ribbon on, it makes it much easier! The bags come with the ties.
6-minute Microwave Caramels
Ingredients
- 1/2 cup salted butter (one stick, 8 Tablespoons) melted in a large glass or microwave-safe bowl
- 1/2 cup light corn syrup (Karo works great)
- 1/2 cup granulated sugar
- 1/2 cup light brown sugar
- 1/2 cup sweetened condensed milk
- 1 teaspoon vanilla bean paste (Costco's Nielsen Massey or Amoretti are both great!) vanilla extract is fine, too
- 1/4 teaspoon table salt Use this in the mix if you do not want to add sea salt as a garnish on your caramels
- SEA SALT GARNISH If you would like to add sea salts to your caramels, omit the 1/4 teaspoon salt in the regular mix.
Instructions
- Butter an 8×8 baking dish, or line with parchment paper (this is my preferred method!) Melt butter in a large glass bowl in microwave. Add all other ingredients (EXCEPT VANILLA) and stir until combined. (Decide if you want to add sea salt as a garnish, if not, then add 1/4 teaspoon table salt to the mix).Return to microwave for 6 minutes 30 seconds. All microwaves are different, but this time works perfect for me. For some, 6 minutes is perfect. You can know by doing an ice water test.Add some ice cubes to a glass of cold water. Drop a small spoonful of caramel into the ice water and test the consistency. If it is too soft, allow it to cook 30 seconds longer. If it seems just right, 6 minutes is enough!Carefully (using hot pads) remove bowl stir. Add vanilla. Carefully pour caramel into prepared baking dish. Allow to set on top slightly, then sprinkle with sea salt if you didn't add salt to the mix. Allow to fully cool before you slice them. I always place my pan in the fridge and slice the caramels when they are cold. It helps so much! If the caramels are set but room temp, you can spray a pizza cutter with pam spray and easily slice them that way, too!Caramels do not require refrigeration. I like to slice and wrap in wax paper (see post for my favorite holiday wax).
Did You Love This Recipe?
Share a picture with me on Instagram and Facebook, I would love to see your creation!
Pin this recipe for later so you can easily find it + follow me on Pinterest for more.
Subscribe to my newsletter to get more recipes just like this one!


These caramels are amazing! I will never go back to the old way using a candy thermometer! Perfect every time I make them and they are so popular!