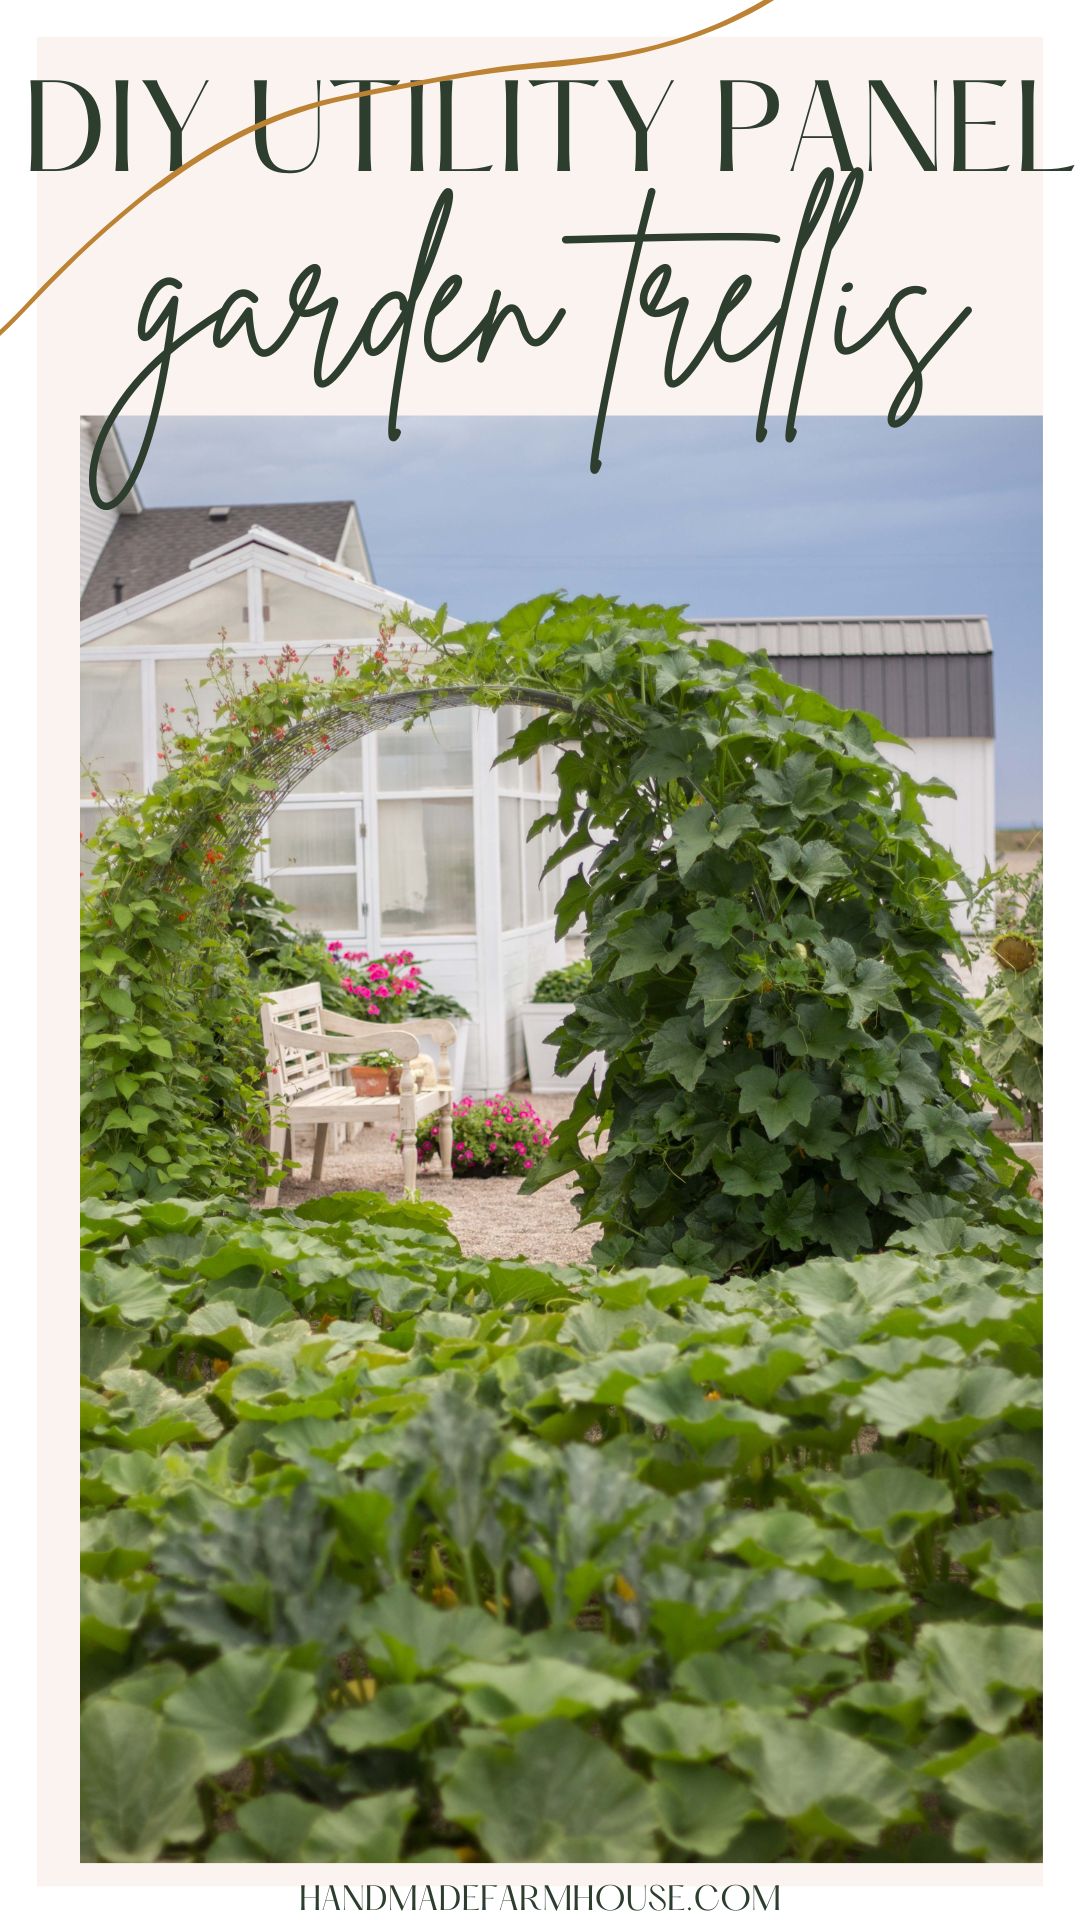
Today I will show you how to create an easy DIY utility panel garden arch trellis to add the opportunity for vertical vegetable or flower growing in your garden!
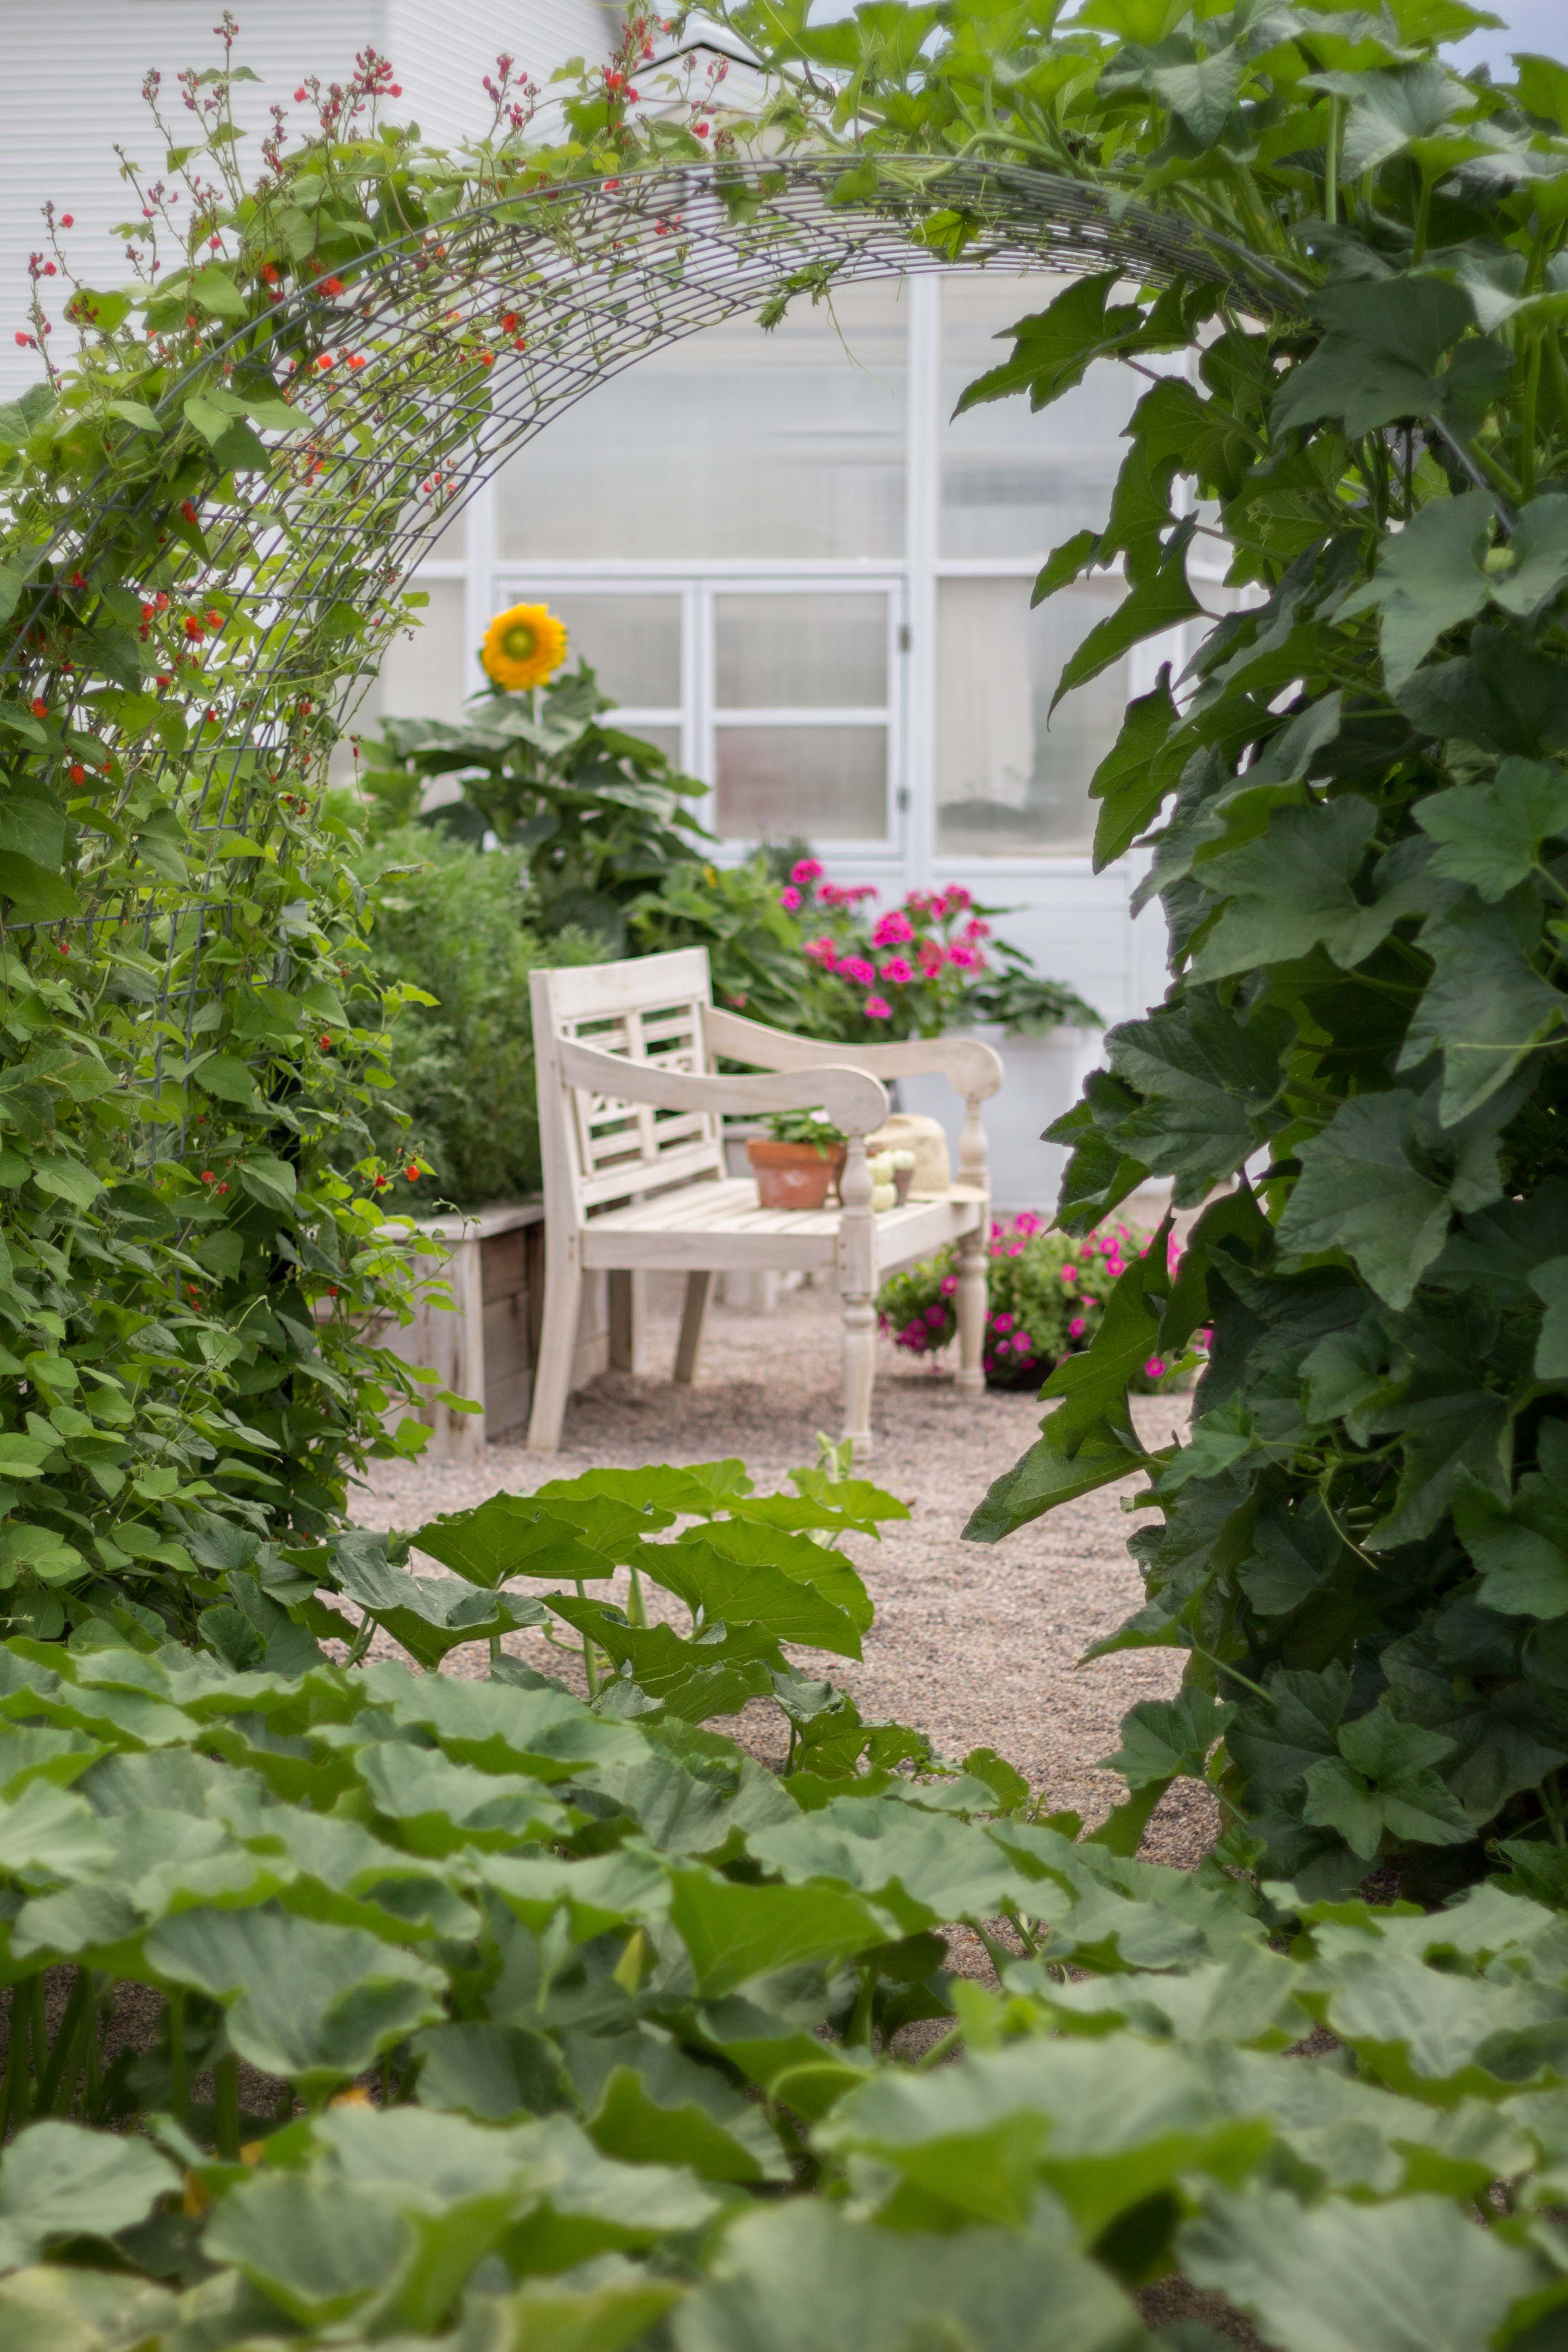
Garden season is finally here after a nearly six month long winter. I am absolutely thrilled to get my hands in the soil once again! One of my most requested garden tutorials and FAQ’s is what we used to create the lush covered arches in our garden, the one in the pumpkin patch being the most popular.
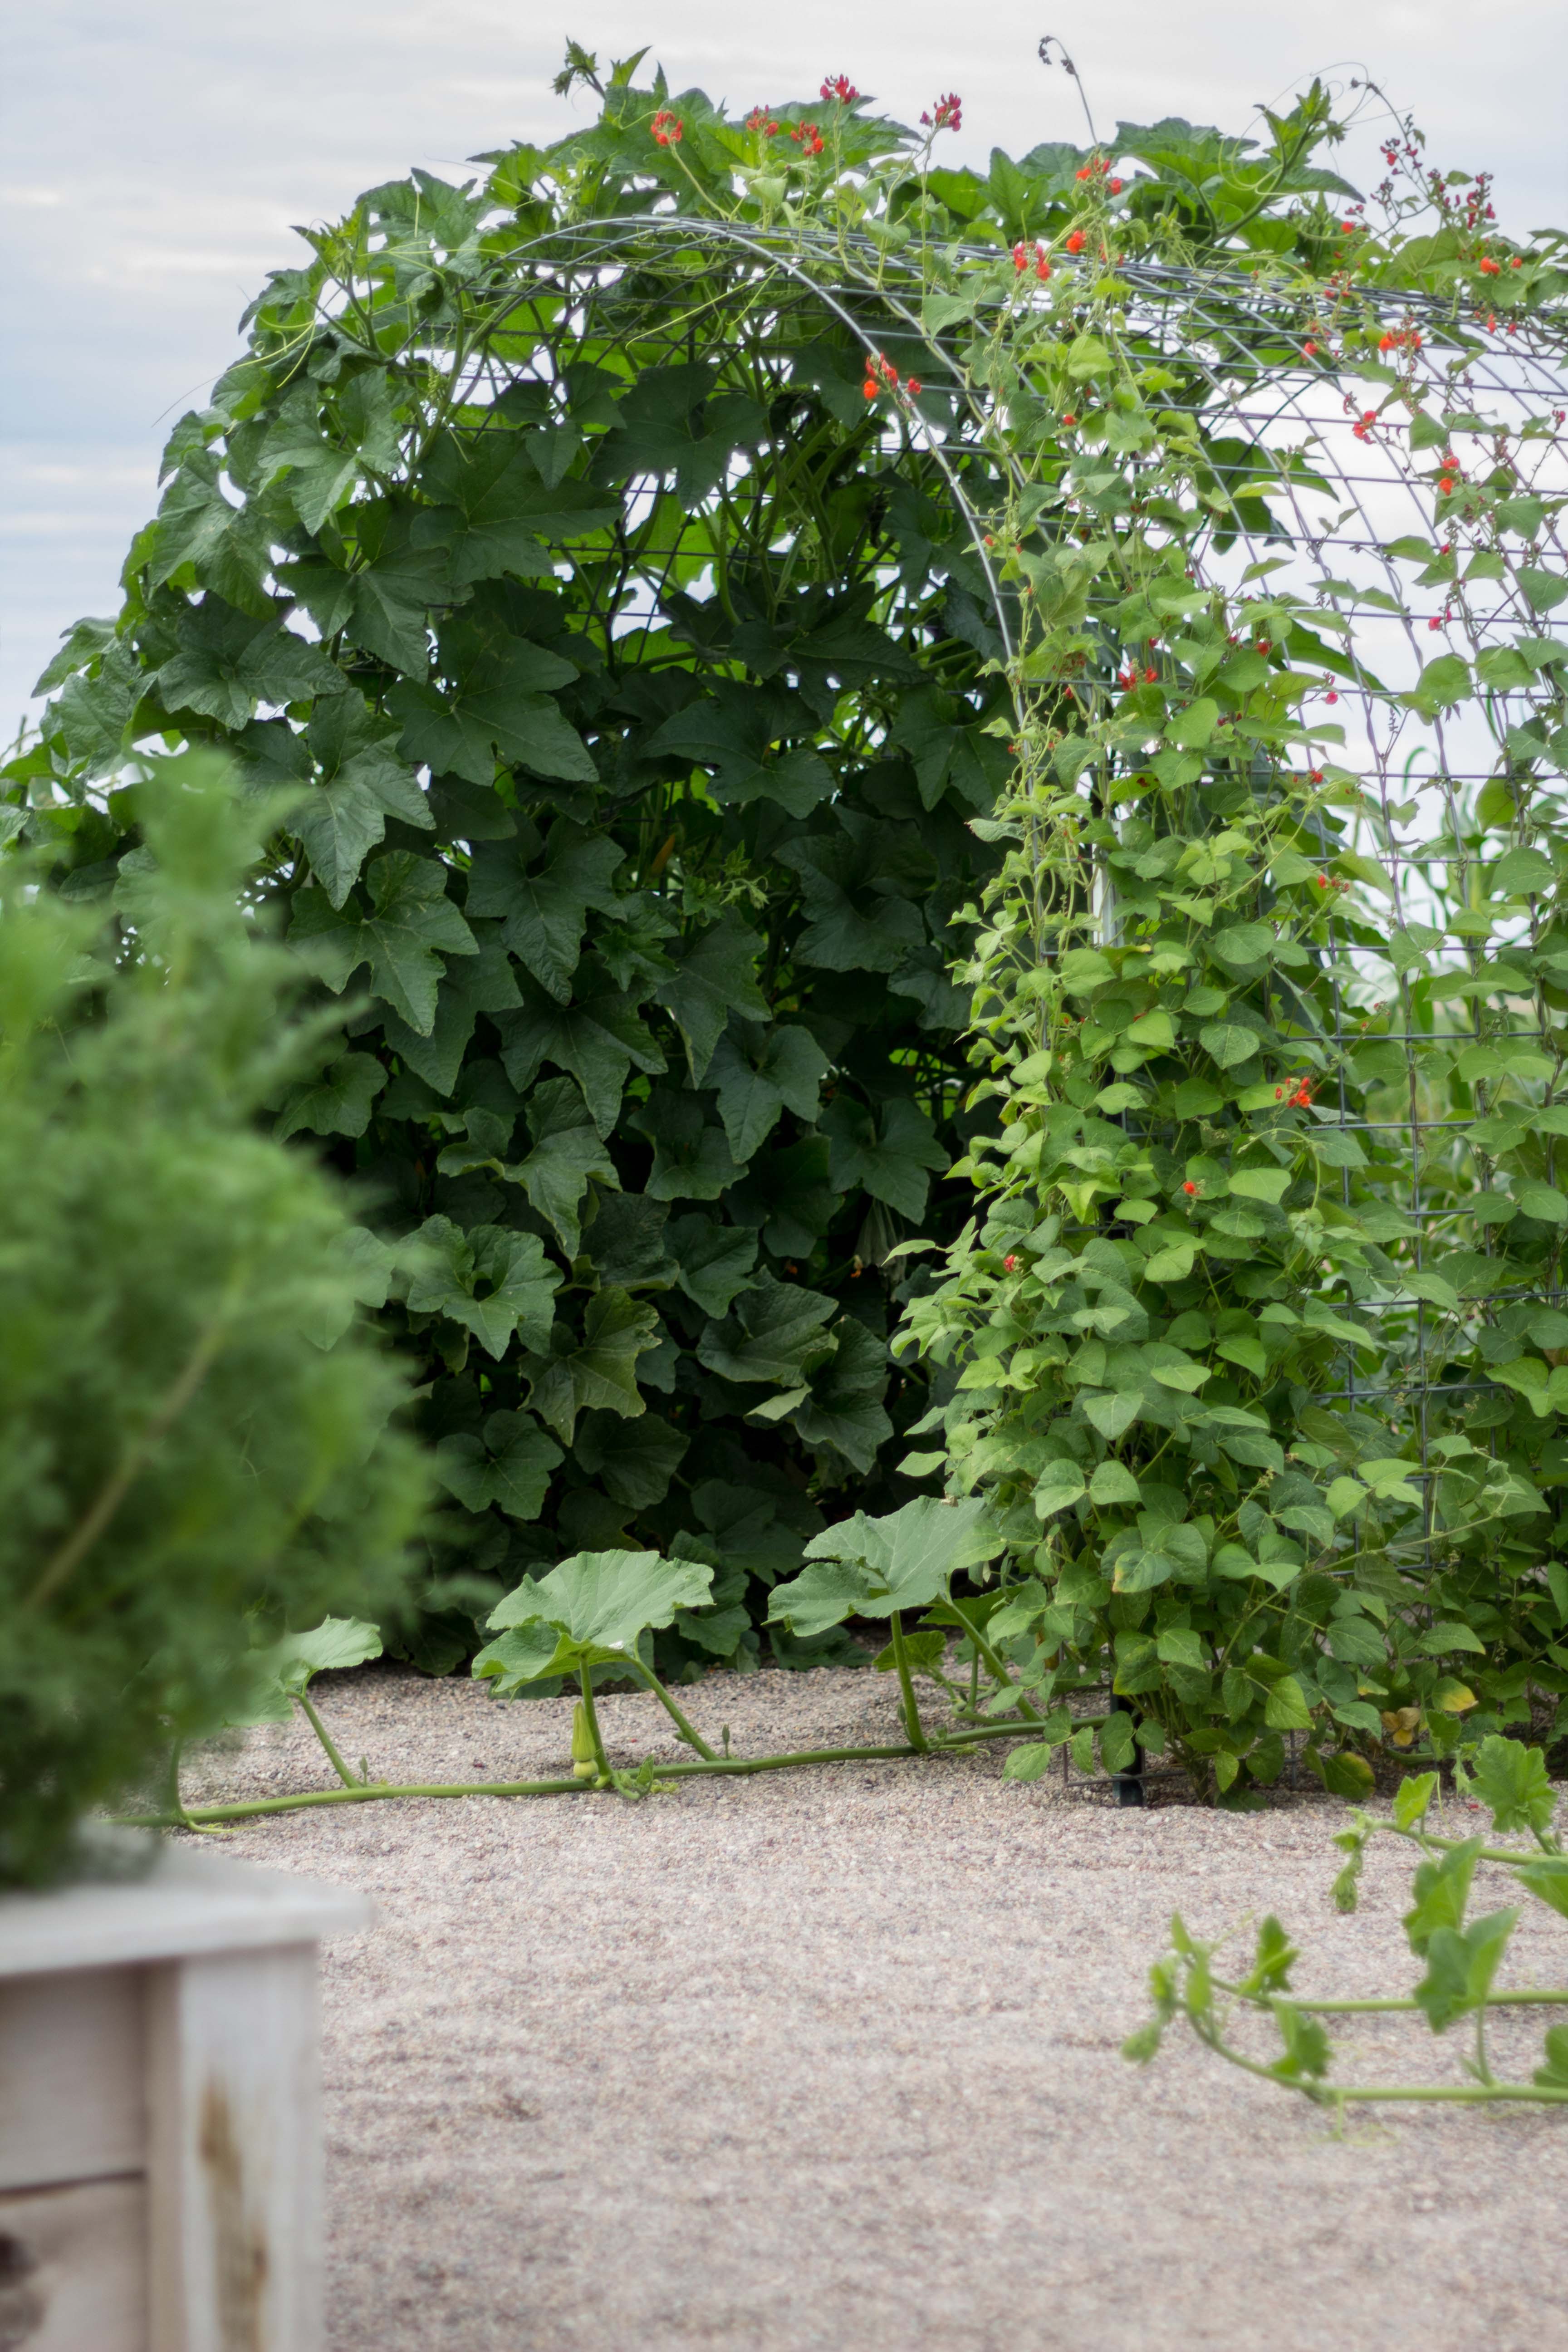
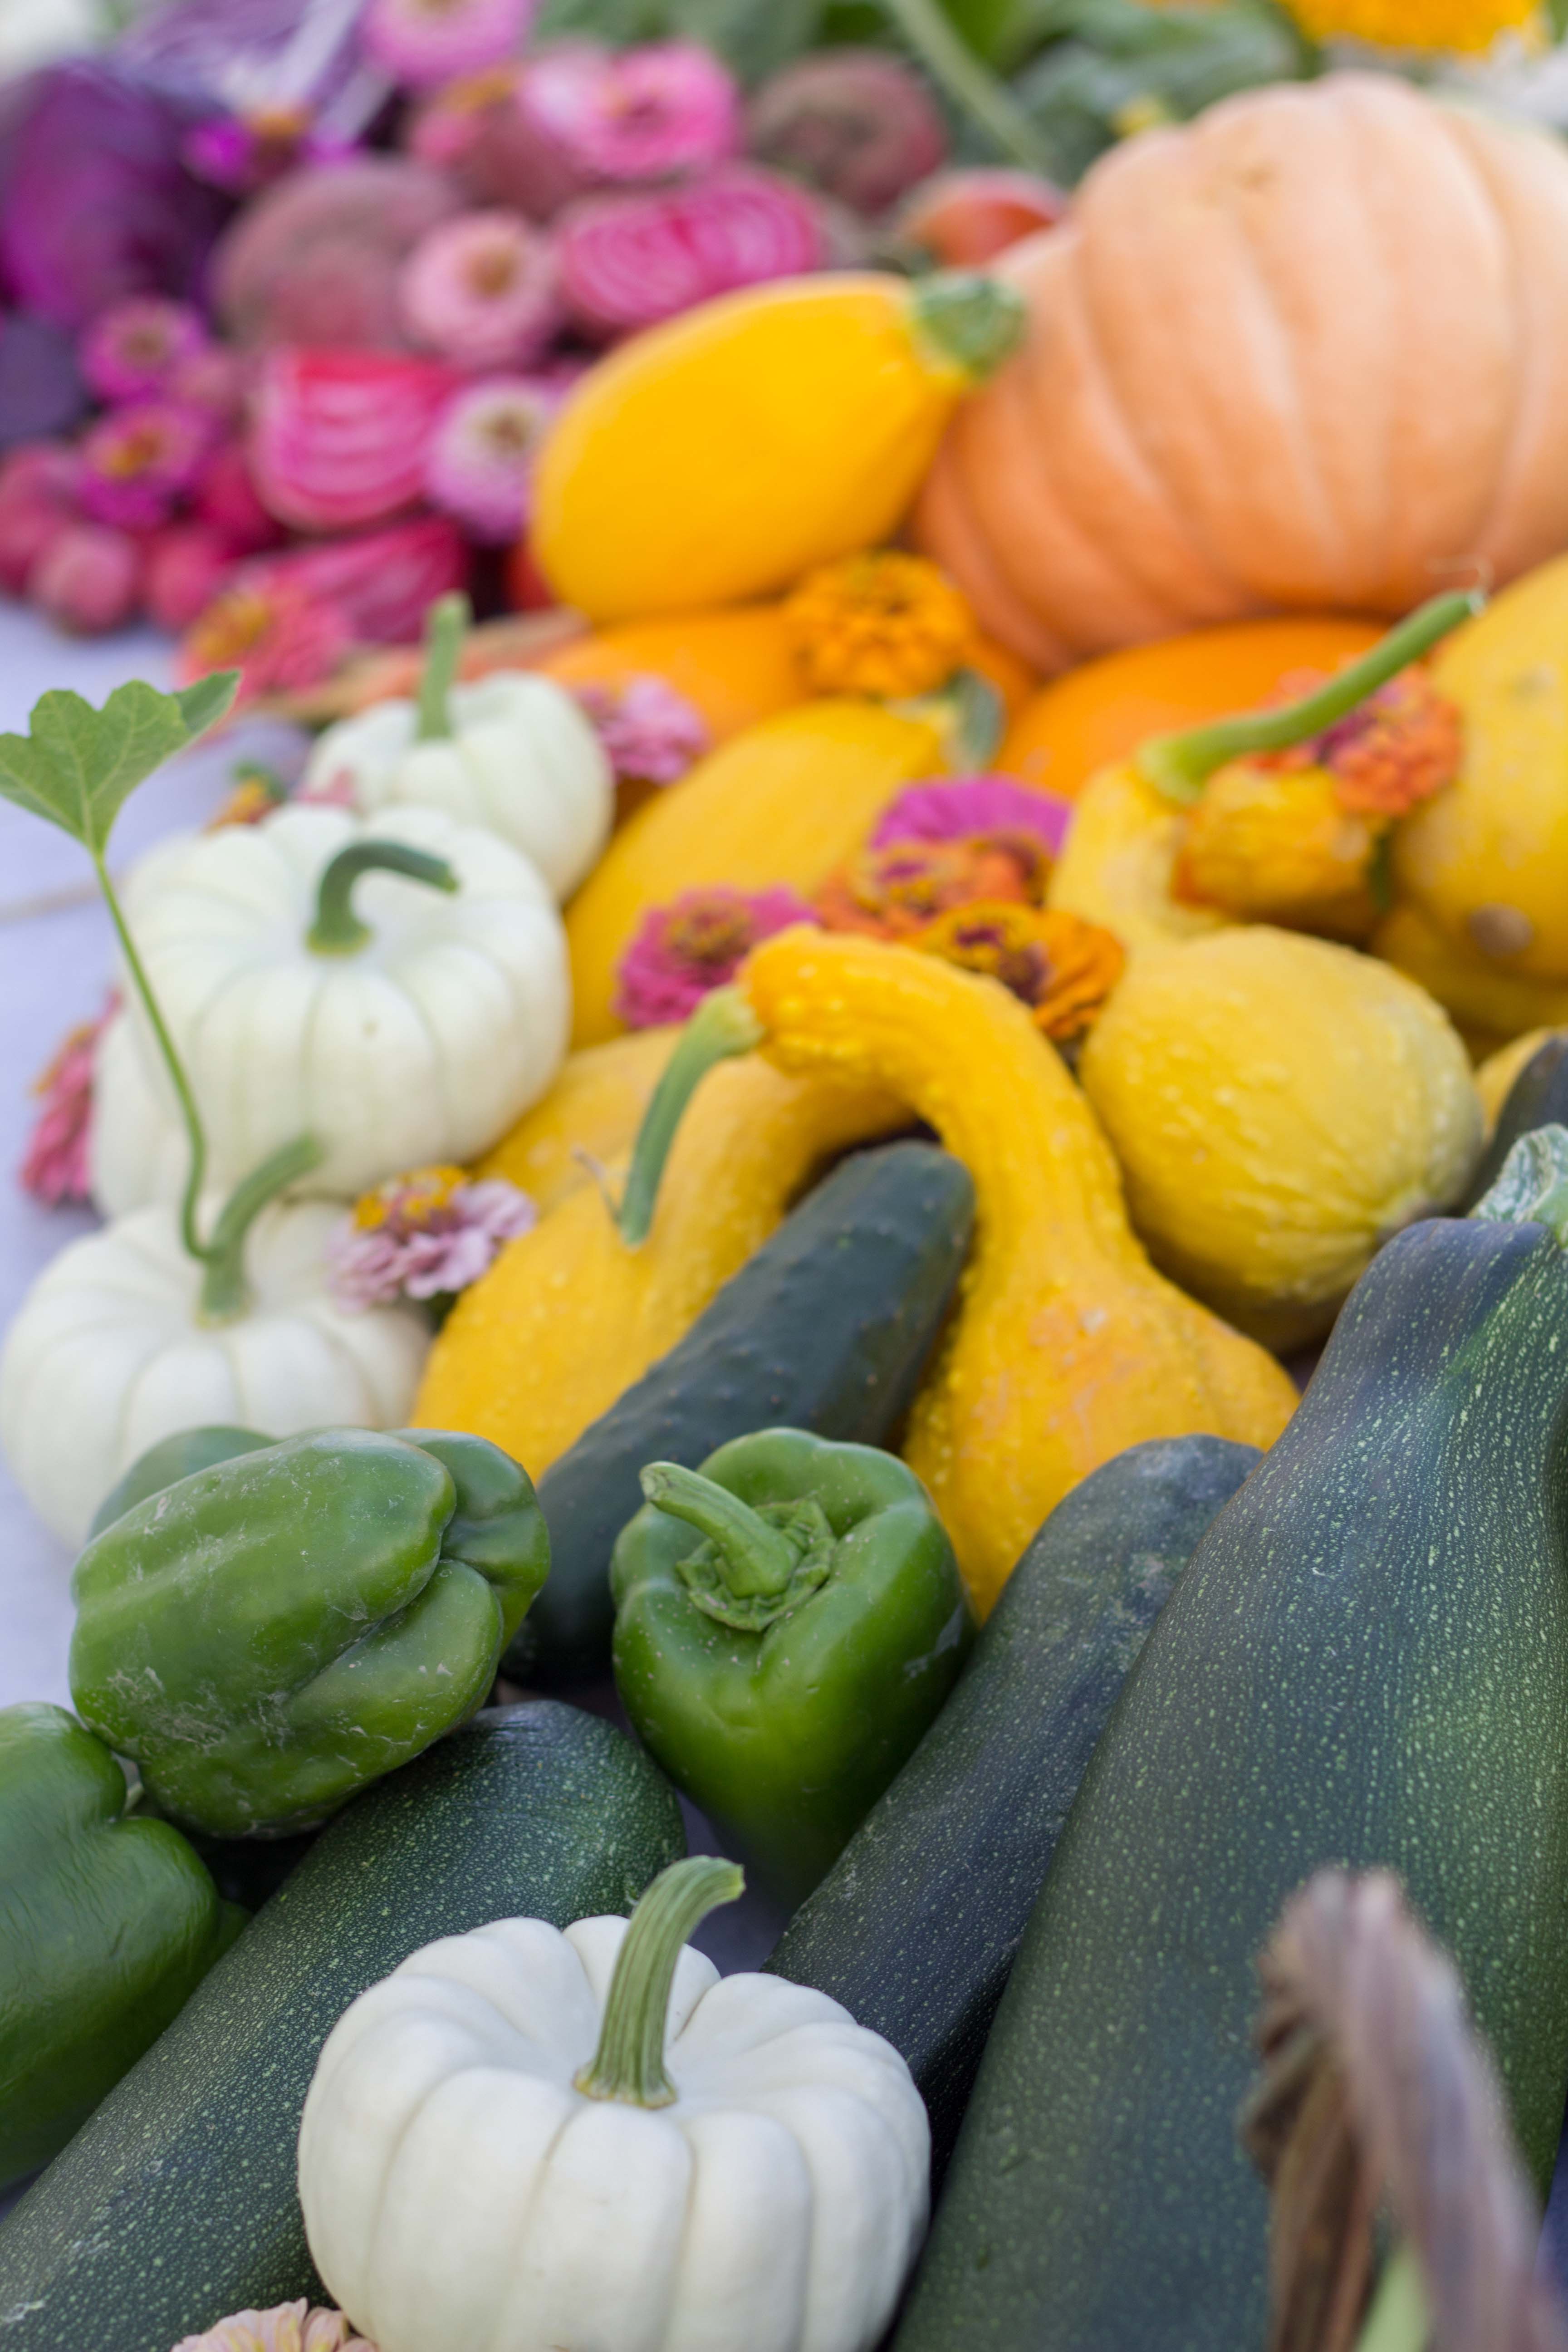
Over time I have slowly expanded my garden and we now have 10 raised beds to plant in. Our garden season is short, but our family devours the fresh vegetables we are able to grow from June-September each year.
Teaching my kids about gardening, planting seeds, self reliance and the joy that tending to plants can bring, has truly turned gardening into a passion and form of therapy for me. The kids’ favorite crops are peas, carrots, cucumbers, berries and tending to their pumpkins.
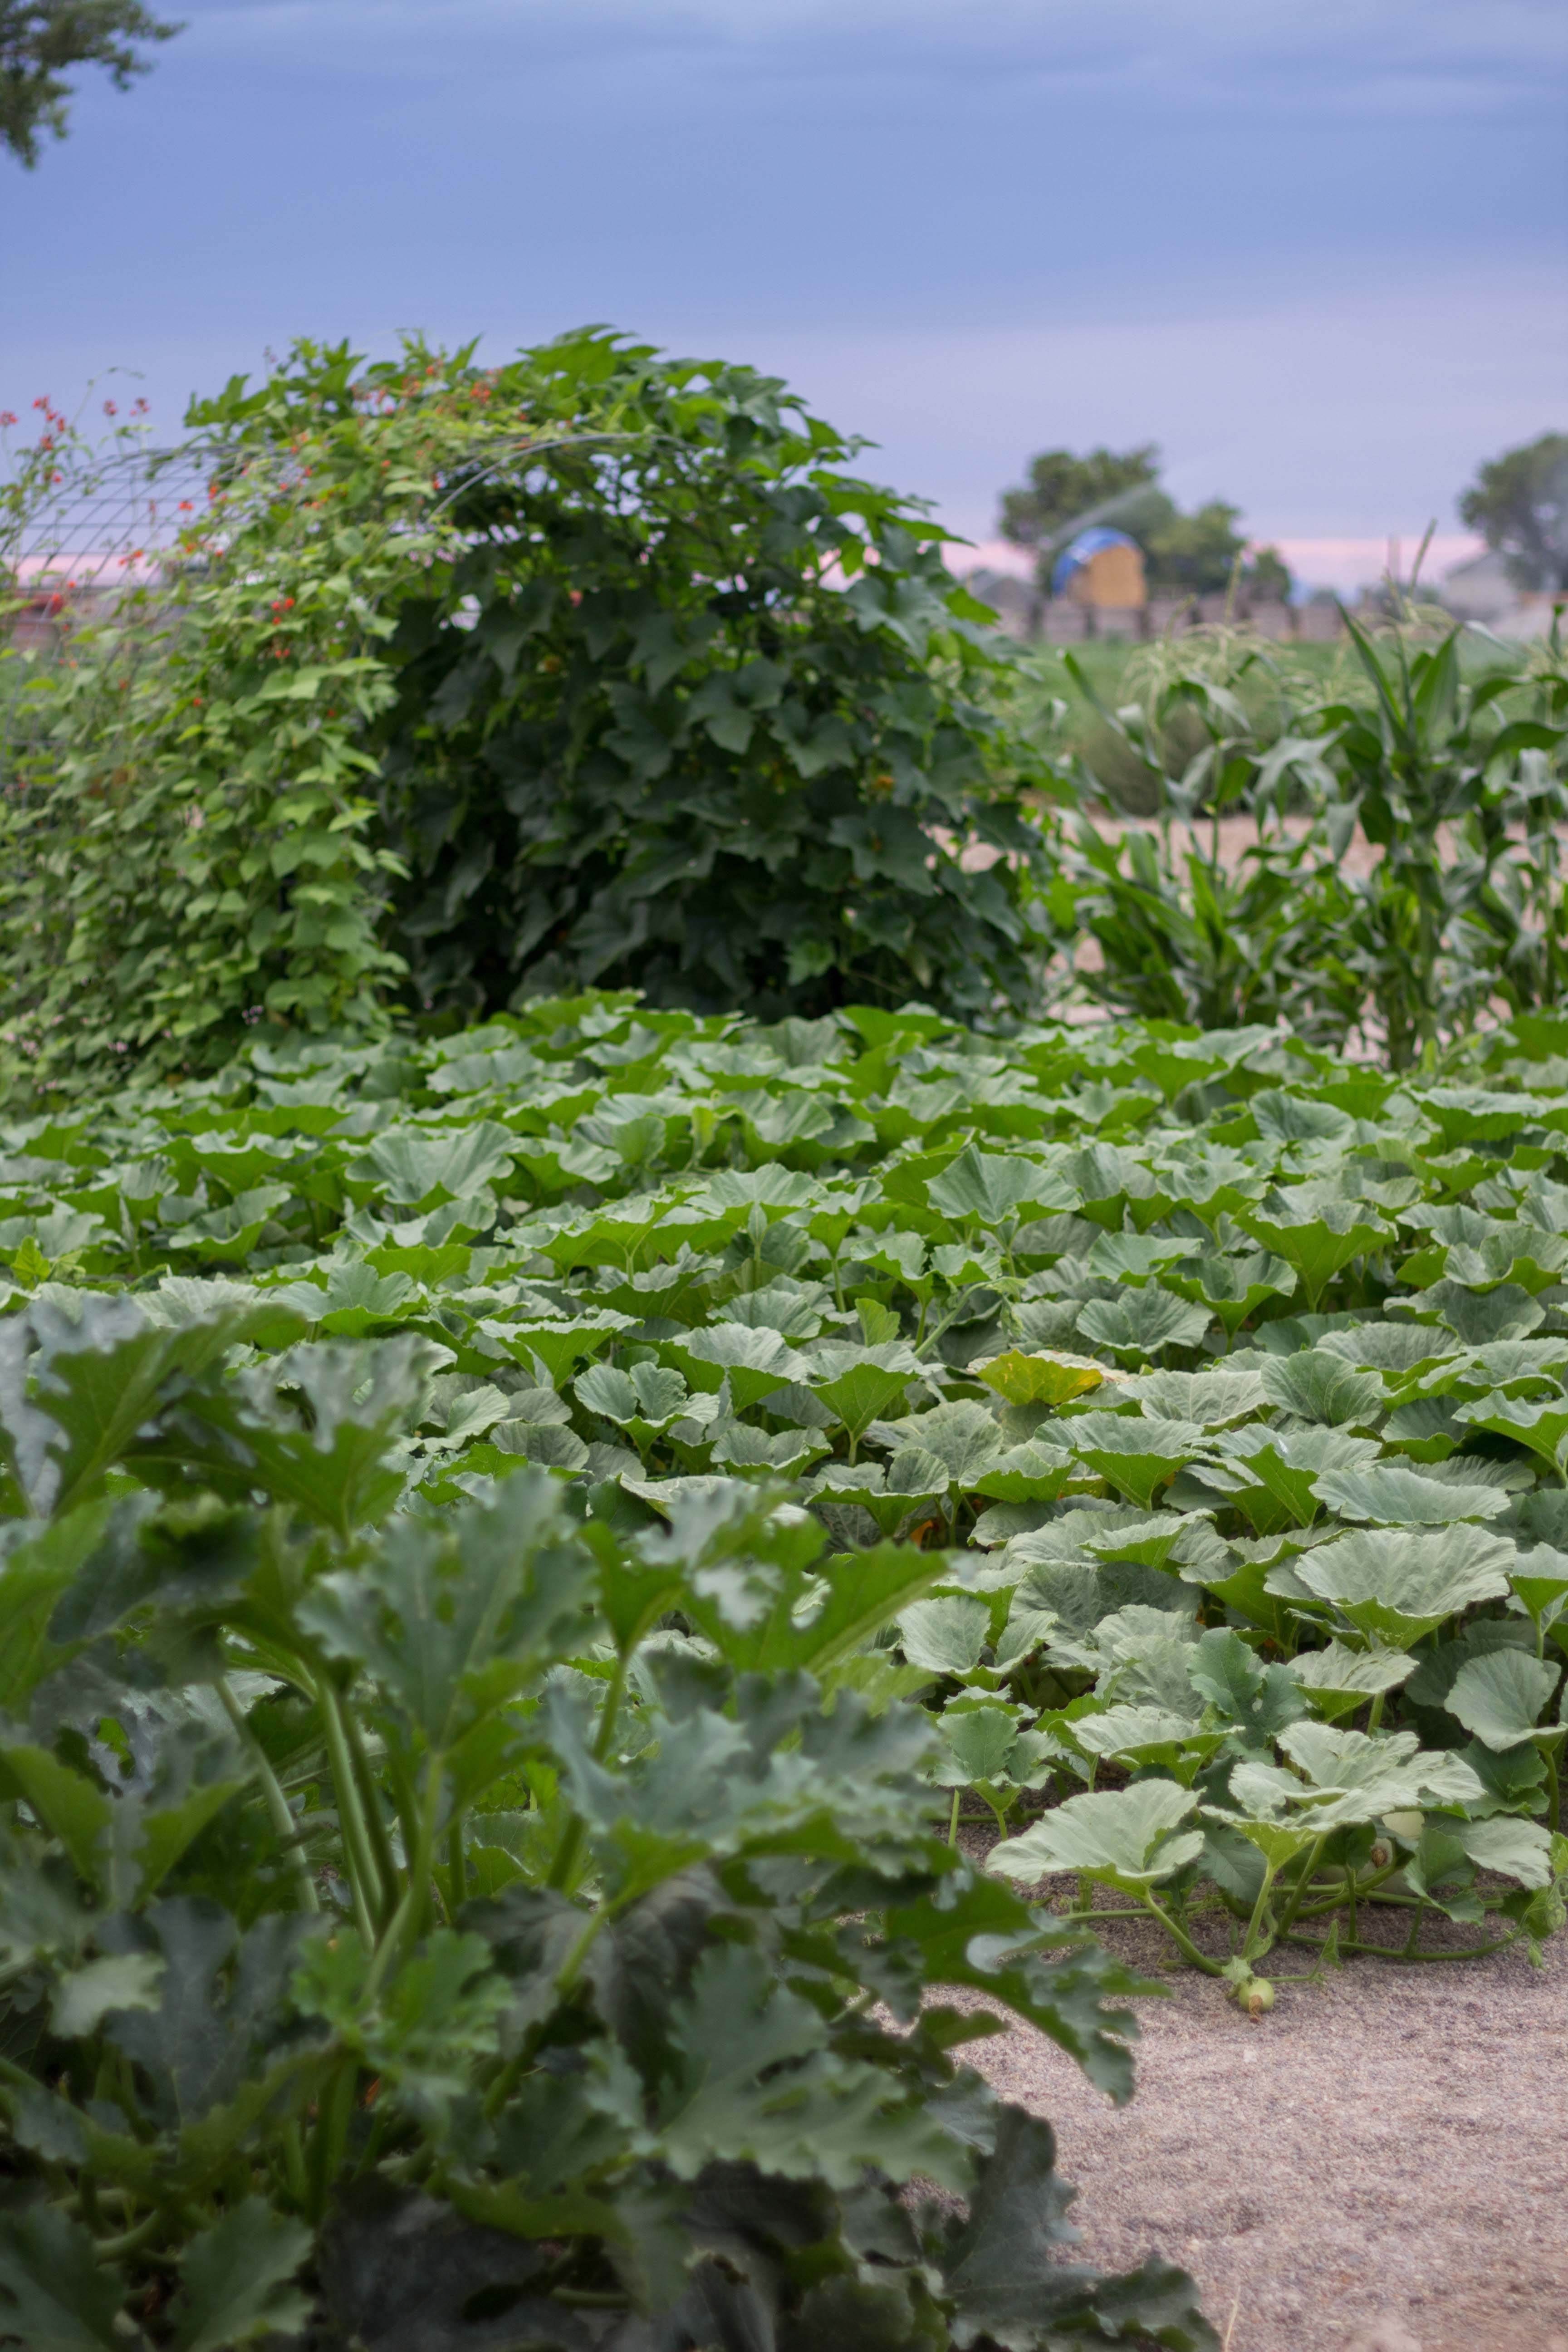
My kids have developed their own love of gardening and I will often find them in the garden on early summer mornings playing or watching for insects like praying mantises, butterflies and hummingbirds. It truly is a magical place, and for me, a place of grief healing.
Did you know that there is a natural antidepressant in soil? It’s true! Mycobacterium Vaccae has been found to mirror the effect on neurons that drugs for depression and anxiety treat. The bacterium is found in soil and can stimulate serotonin production which makes you feel relaxed and happier. IT WORKS FOR ME!
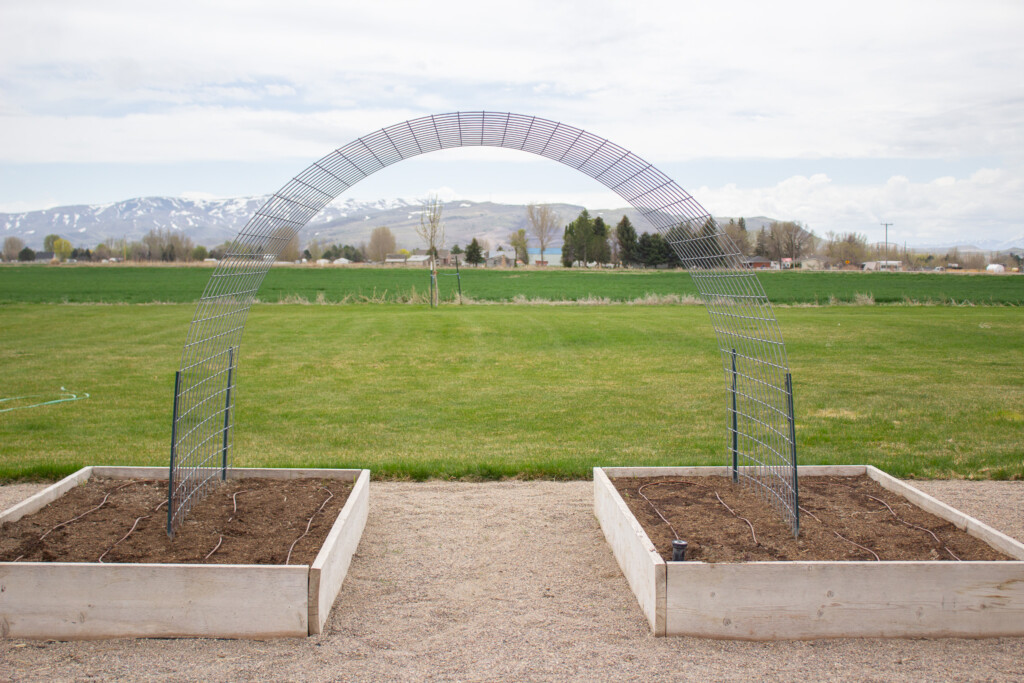
Growing vertically with an Easy DIY Utility Panel Garden Arch Trellis
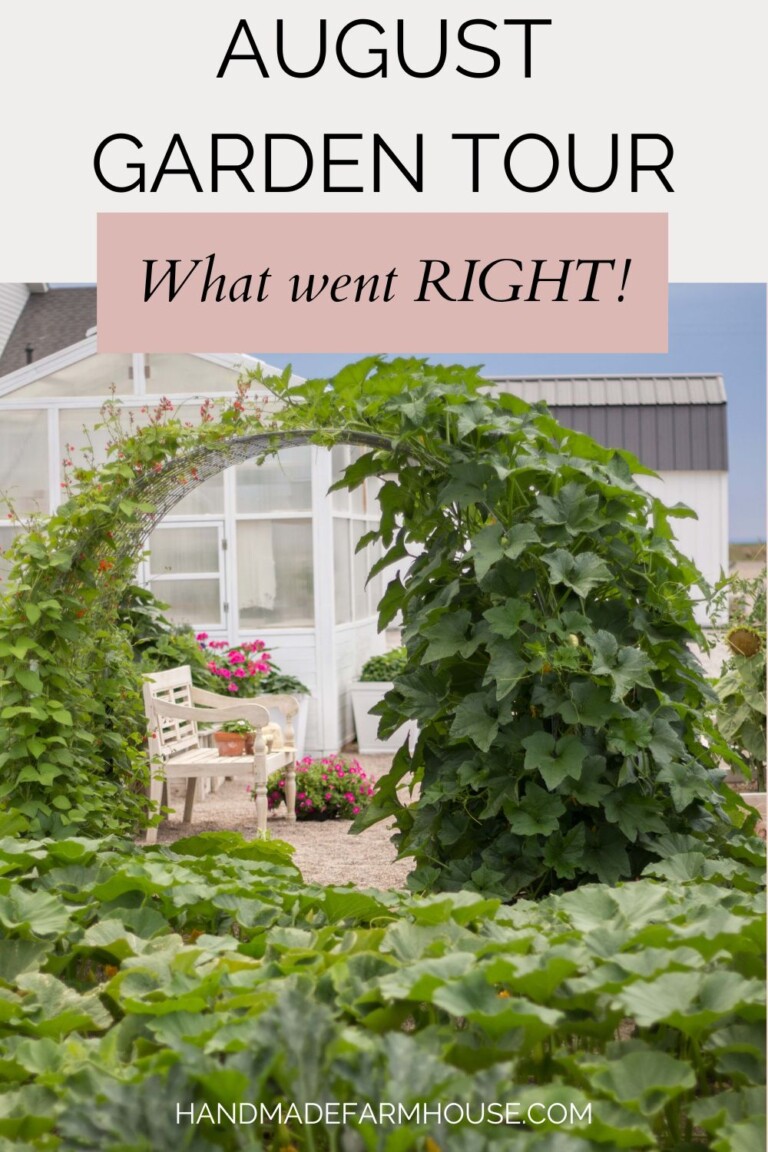
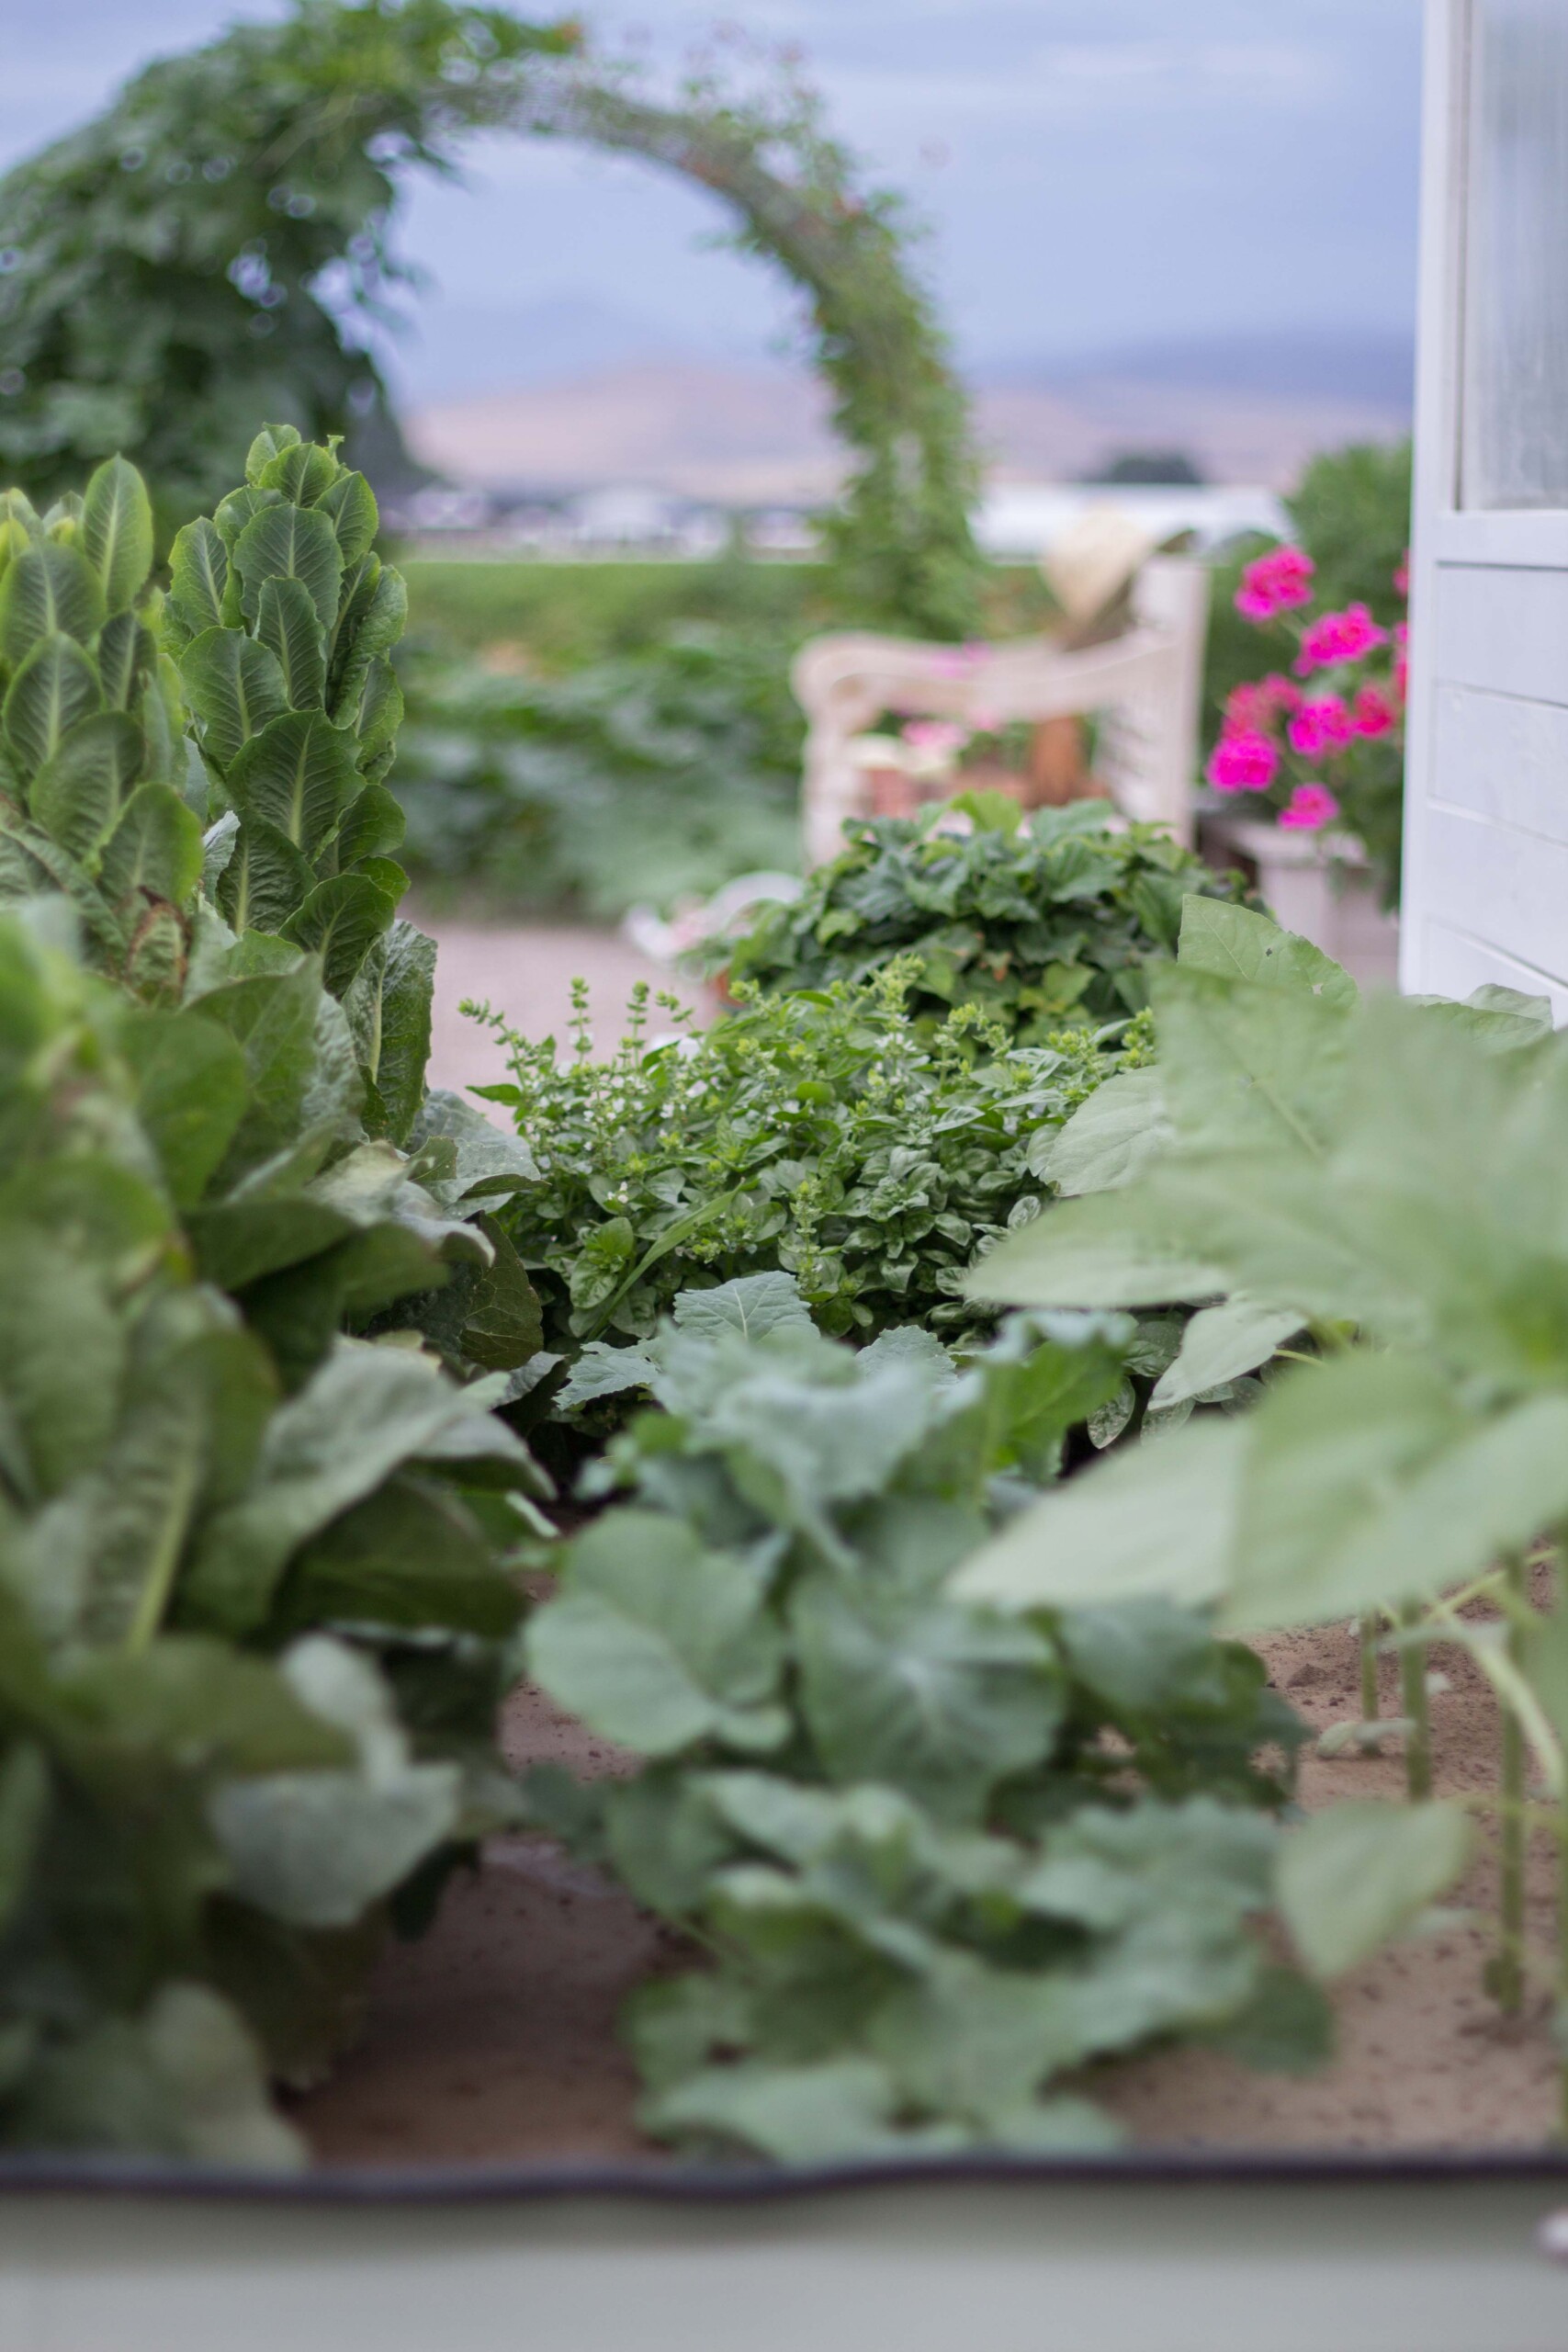
2 years ago we added two utility panel trellis arches to our garden. We added one in our raised bed and one out in the pumpkin patch. I was curious to learn about vertical growing and felt the arches covered in green would add such a beautiful addition to our garden. It has been so amazing!
We placed the arch just over 2′ from the inside edge of the bed so I could plant a row of something under each side of the arch.
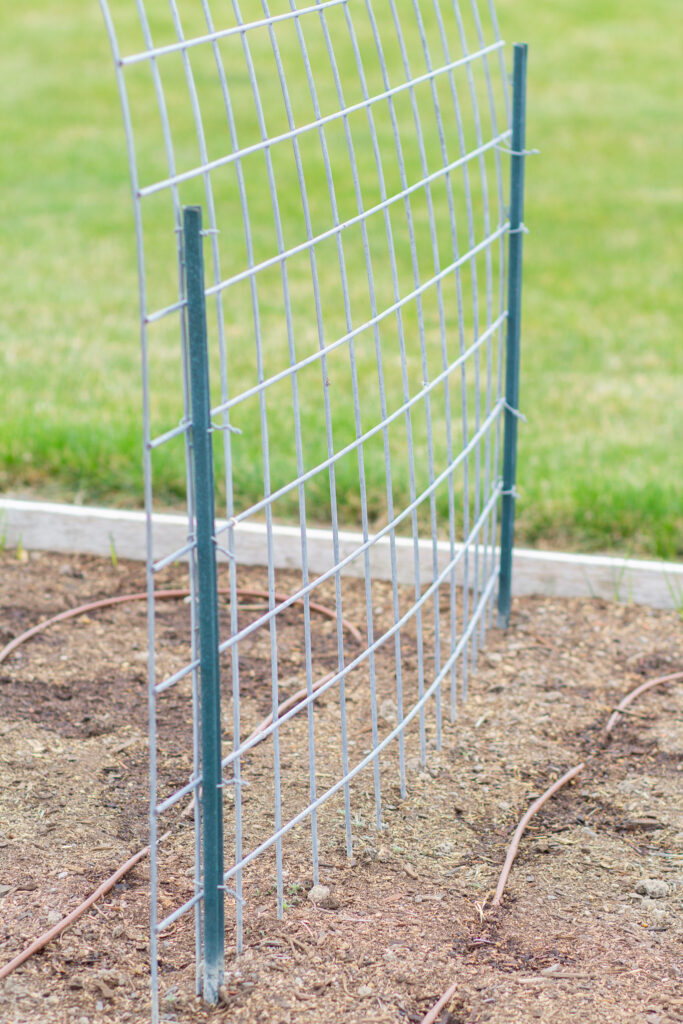
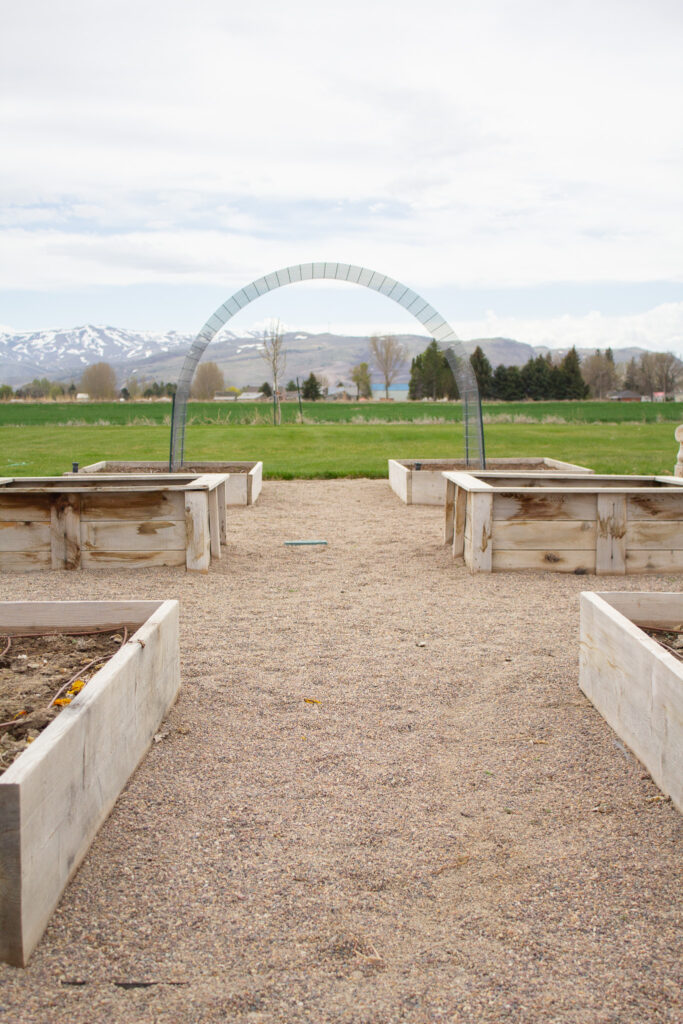
We purchased supplies from our local Tractor Supply store. Here’s what we used.
Supplies we used to build our Easy DIY Utility Panel Garden Arch Trellis:
- 1- 16 foot long by 60 inch utility panel with a 4×4 mesh size. These worked perfect for us as I wanted something really heavy duty that wouldn’t budge with wind or weight. If you are looking for a cheaper option, I have seen people use cattle panels (16′ long by 50″) with a larger mesh size.
- 4- 4 foot tall U posts. You will need to rent or borrow a post pounder to hit these into the ground. T posts will also work but they are more expensive and take longer to pound in.
- Zip ties or galvanized wire to secure the panel to the U posts. We used wire but I would suggest using zip ties as I feel the wire makes for sharp ends that I worry might scratch little ones.
Instructions:
Lay your panel across the beds so you can see where you want it oriented. Dig a small trench in the spot the base of it will be so it can set down in a bit into the soil.
Mark spots for your U posts. Keep in mind that your U post will need to be pounded in at least one foot below ground level (NOT INCLUDING THE RAISED BED SOIL). Once the U posts are in, secure one side of the paneling by using zip ties or galvanized wire.
This projects takes 2 people minimum! The hardest part is after you secure one side of the panel and have to bend it over to the other side. If you can have 3 people for this project that would be great! Do not try to do it alone.
Bend the arch and secure the other side. Check to make sure the arch is safely secured to the U posts.
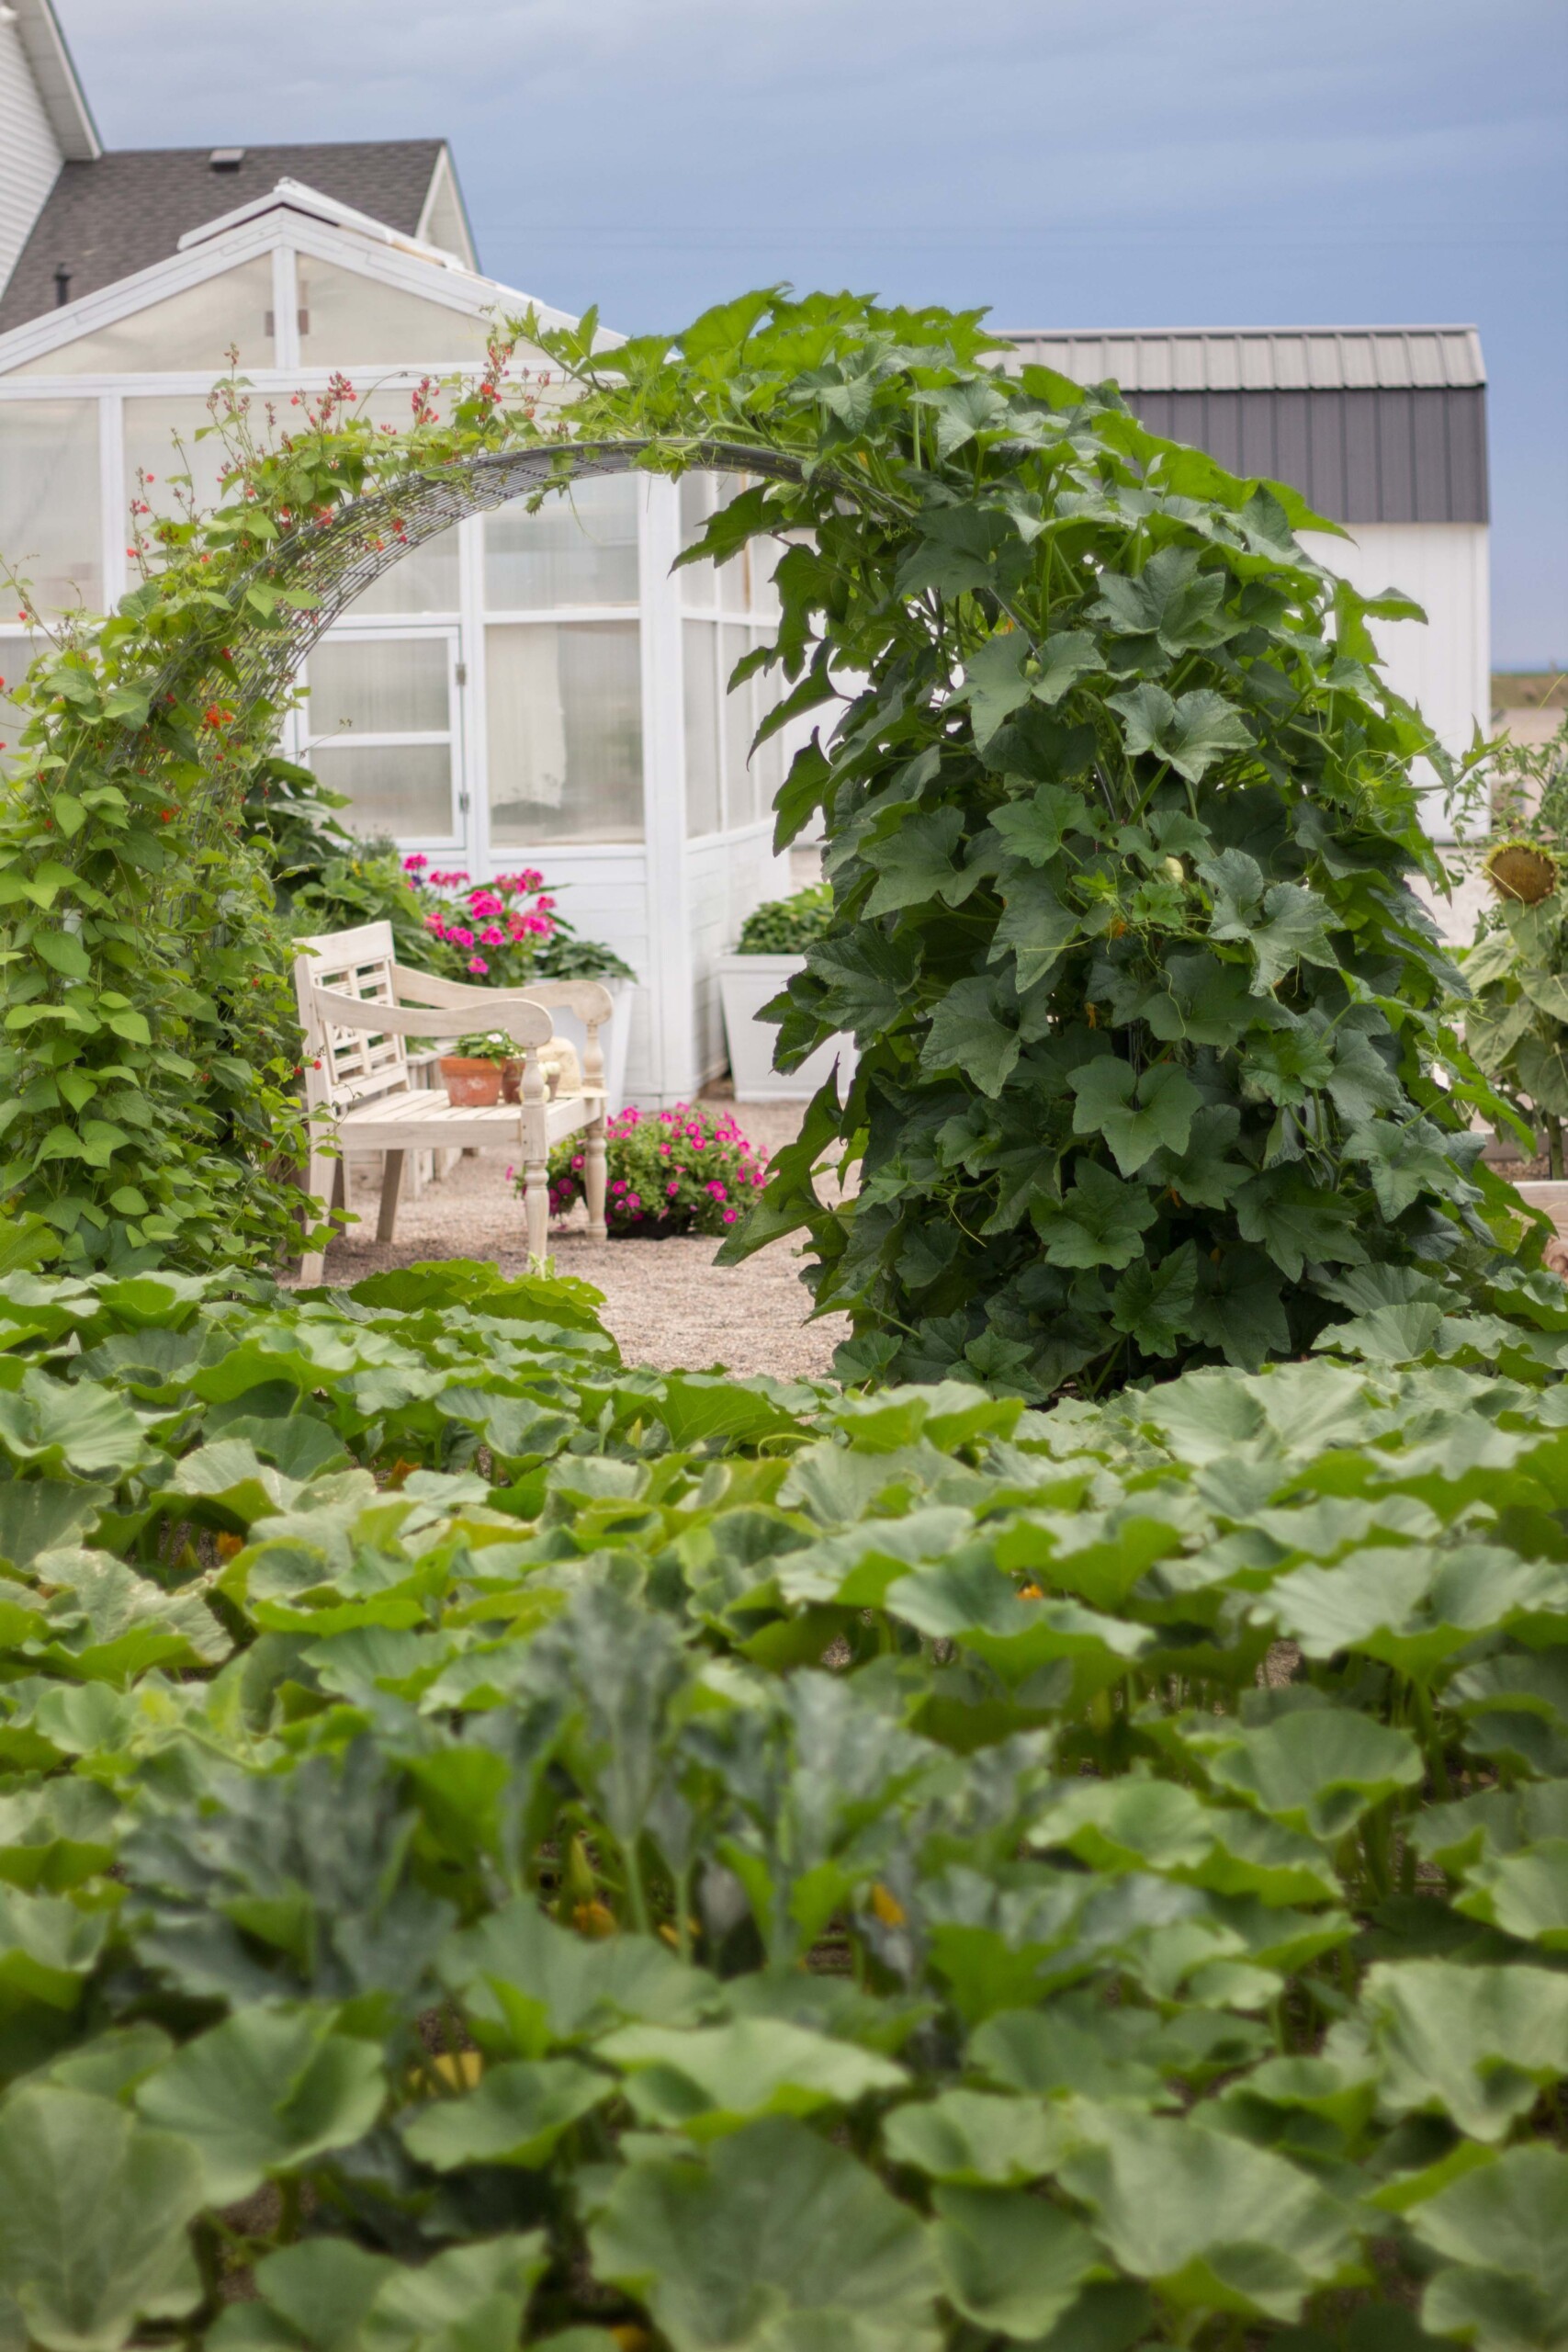
Pro’s to vertical growing:
Based on our experience, here are the pro’s and con’s to vertical growing.
PRO: Adding an arched trellis to a smaller garden (of any size!) can create an opportunity for 2 extra crops to grow. Be sure not to over-crowd the seeds you plant to grow on your trellis. You want it to have nice air flow to prevent disease.
PRO: Adding an arch trellis to our garden added instant whimsy and character! I had no idea how much my kids would love playing under them. They hide, use their imaginations and spend more time outside having fun. The filled-in arches were always a conversation piece with our guests!
PRO: There are so many fun things you can grow vertically! I personally have had great success with Market more cucumbers, Baby boo pumpkins and Scarlett Runner beans. This year we will be adding mini watermelons, vertical summer squash, butternut squash, and possibly testing out some tomatoes!
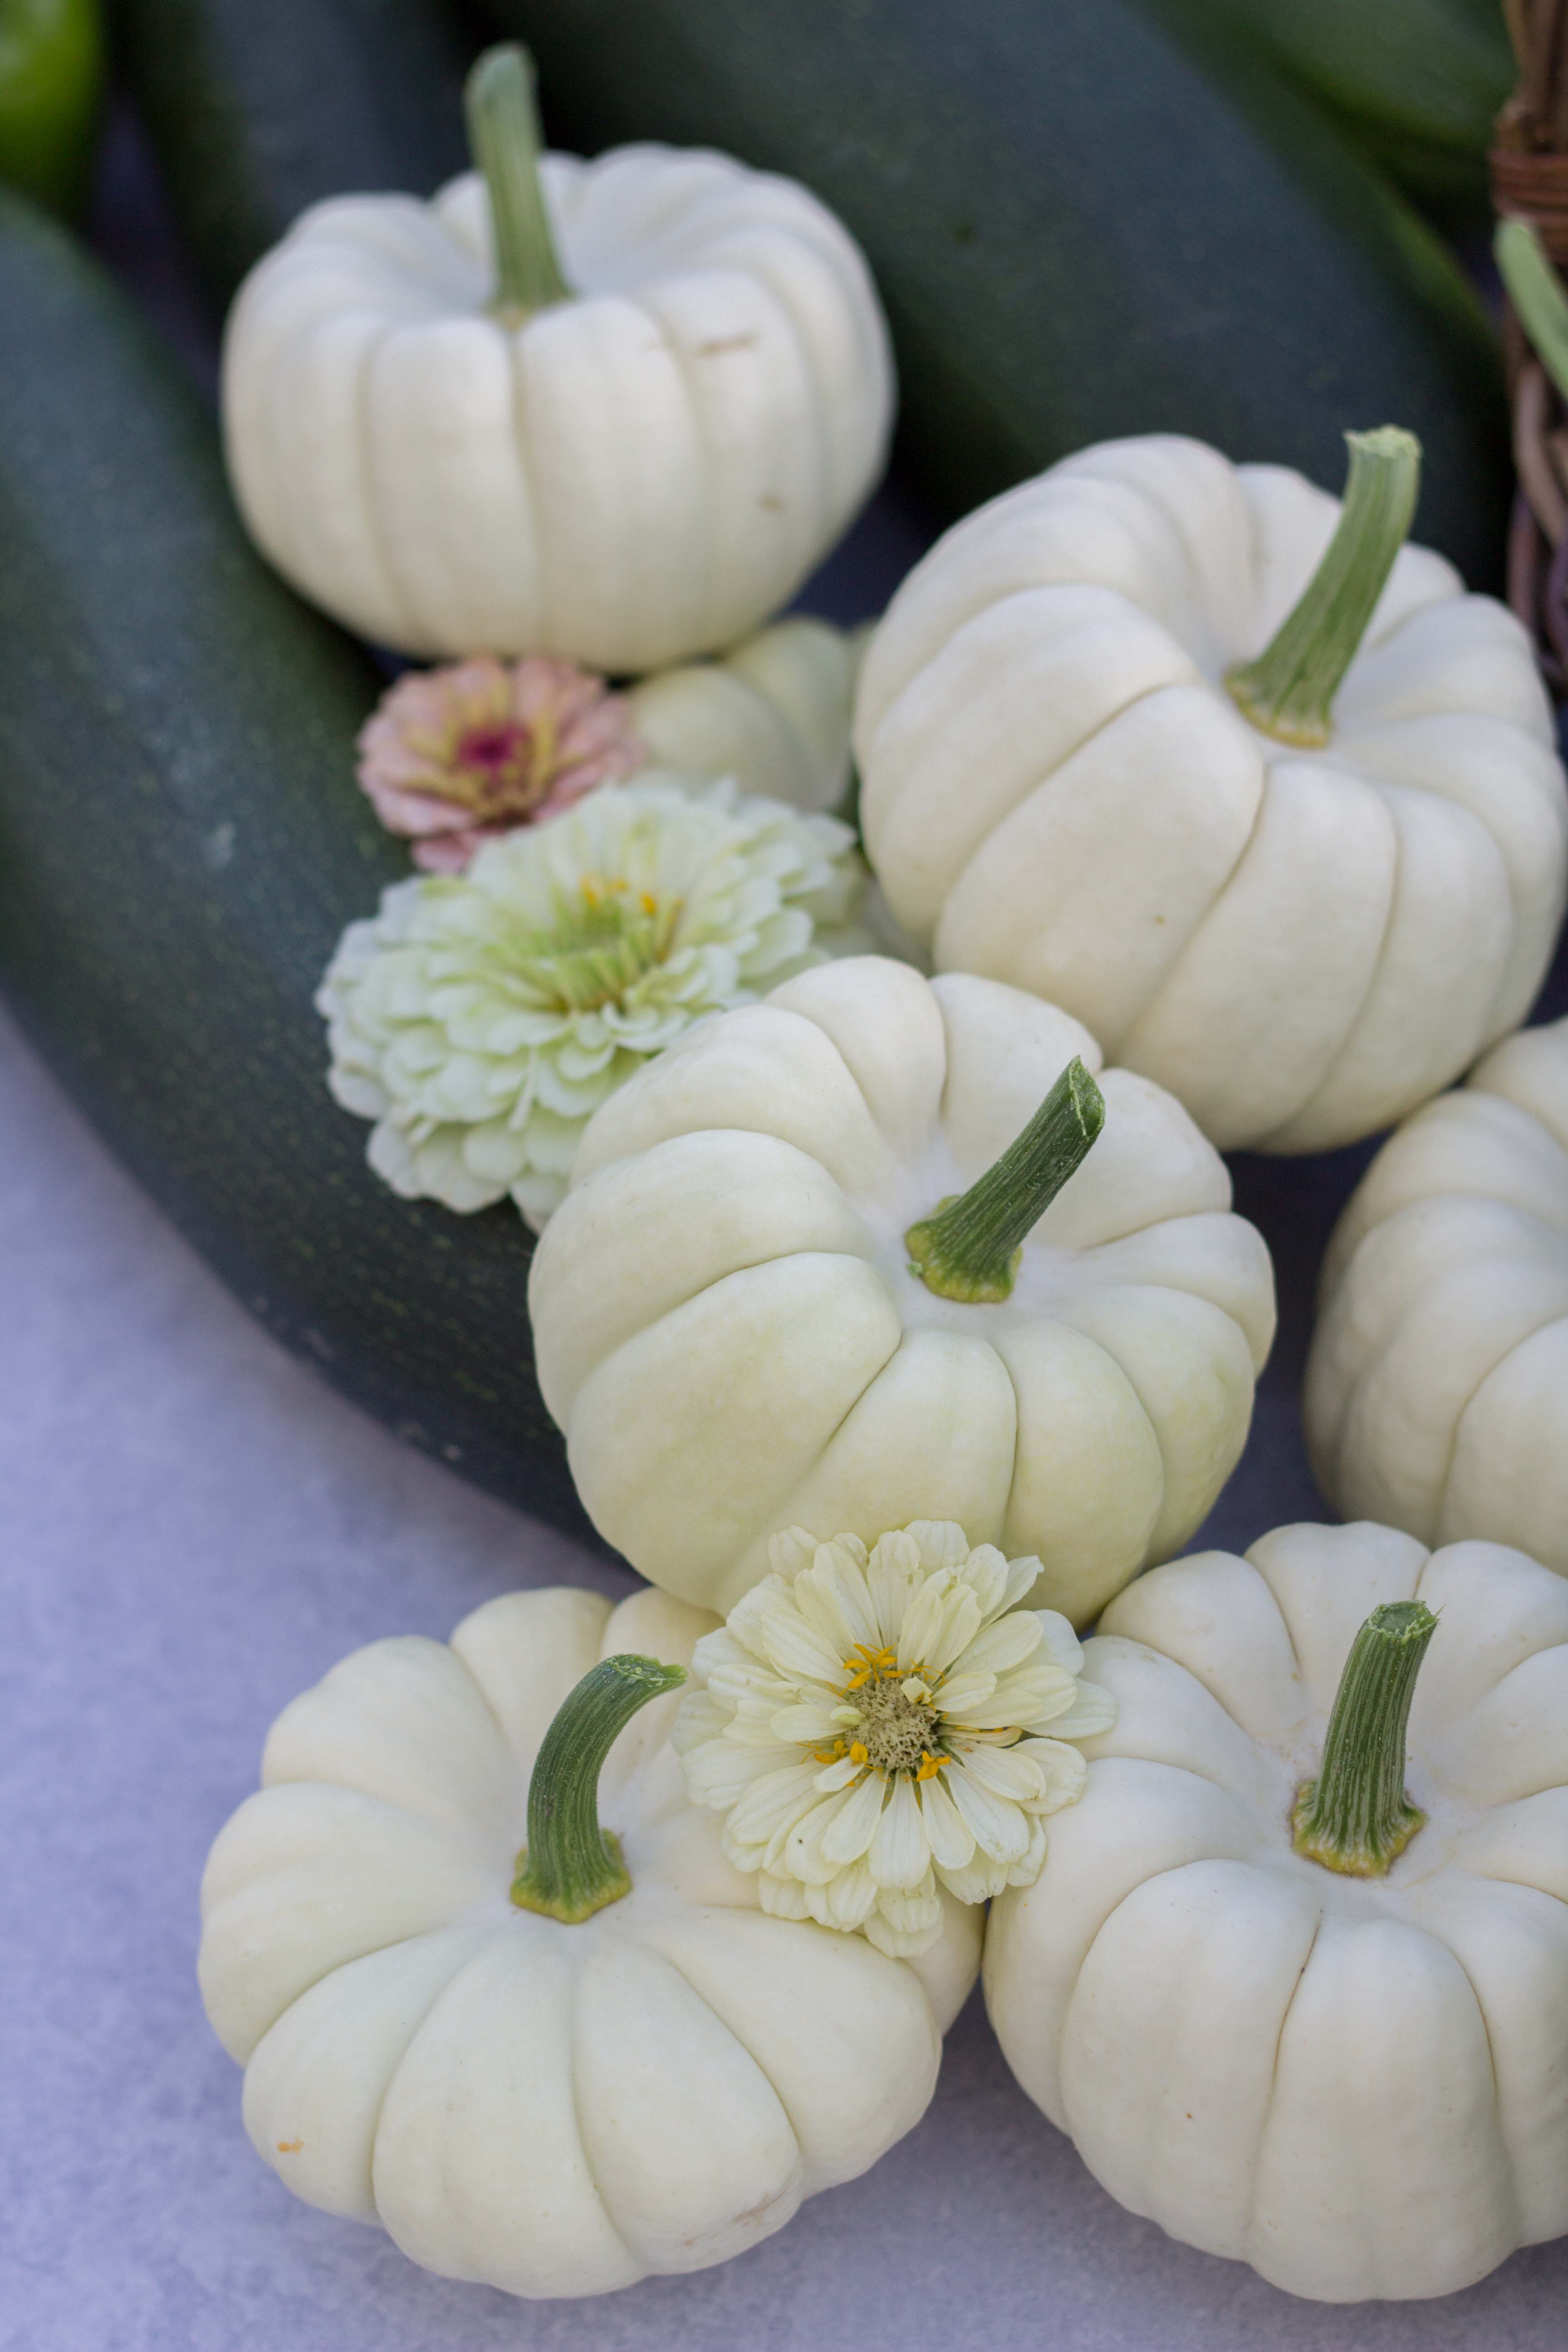
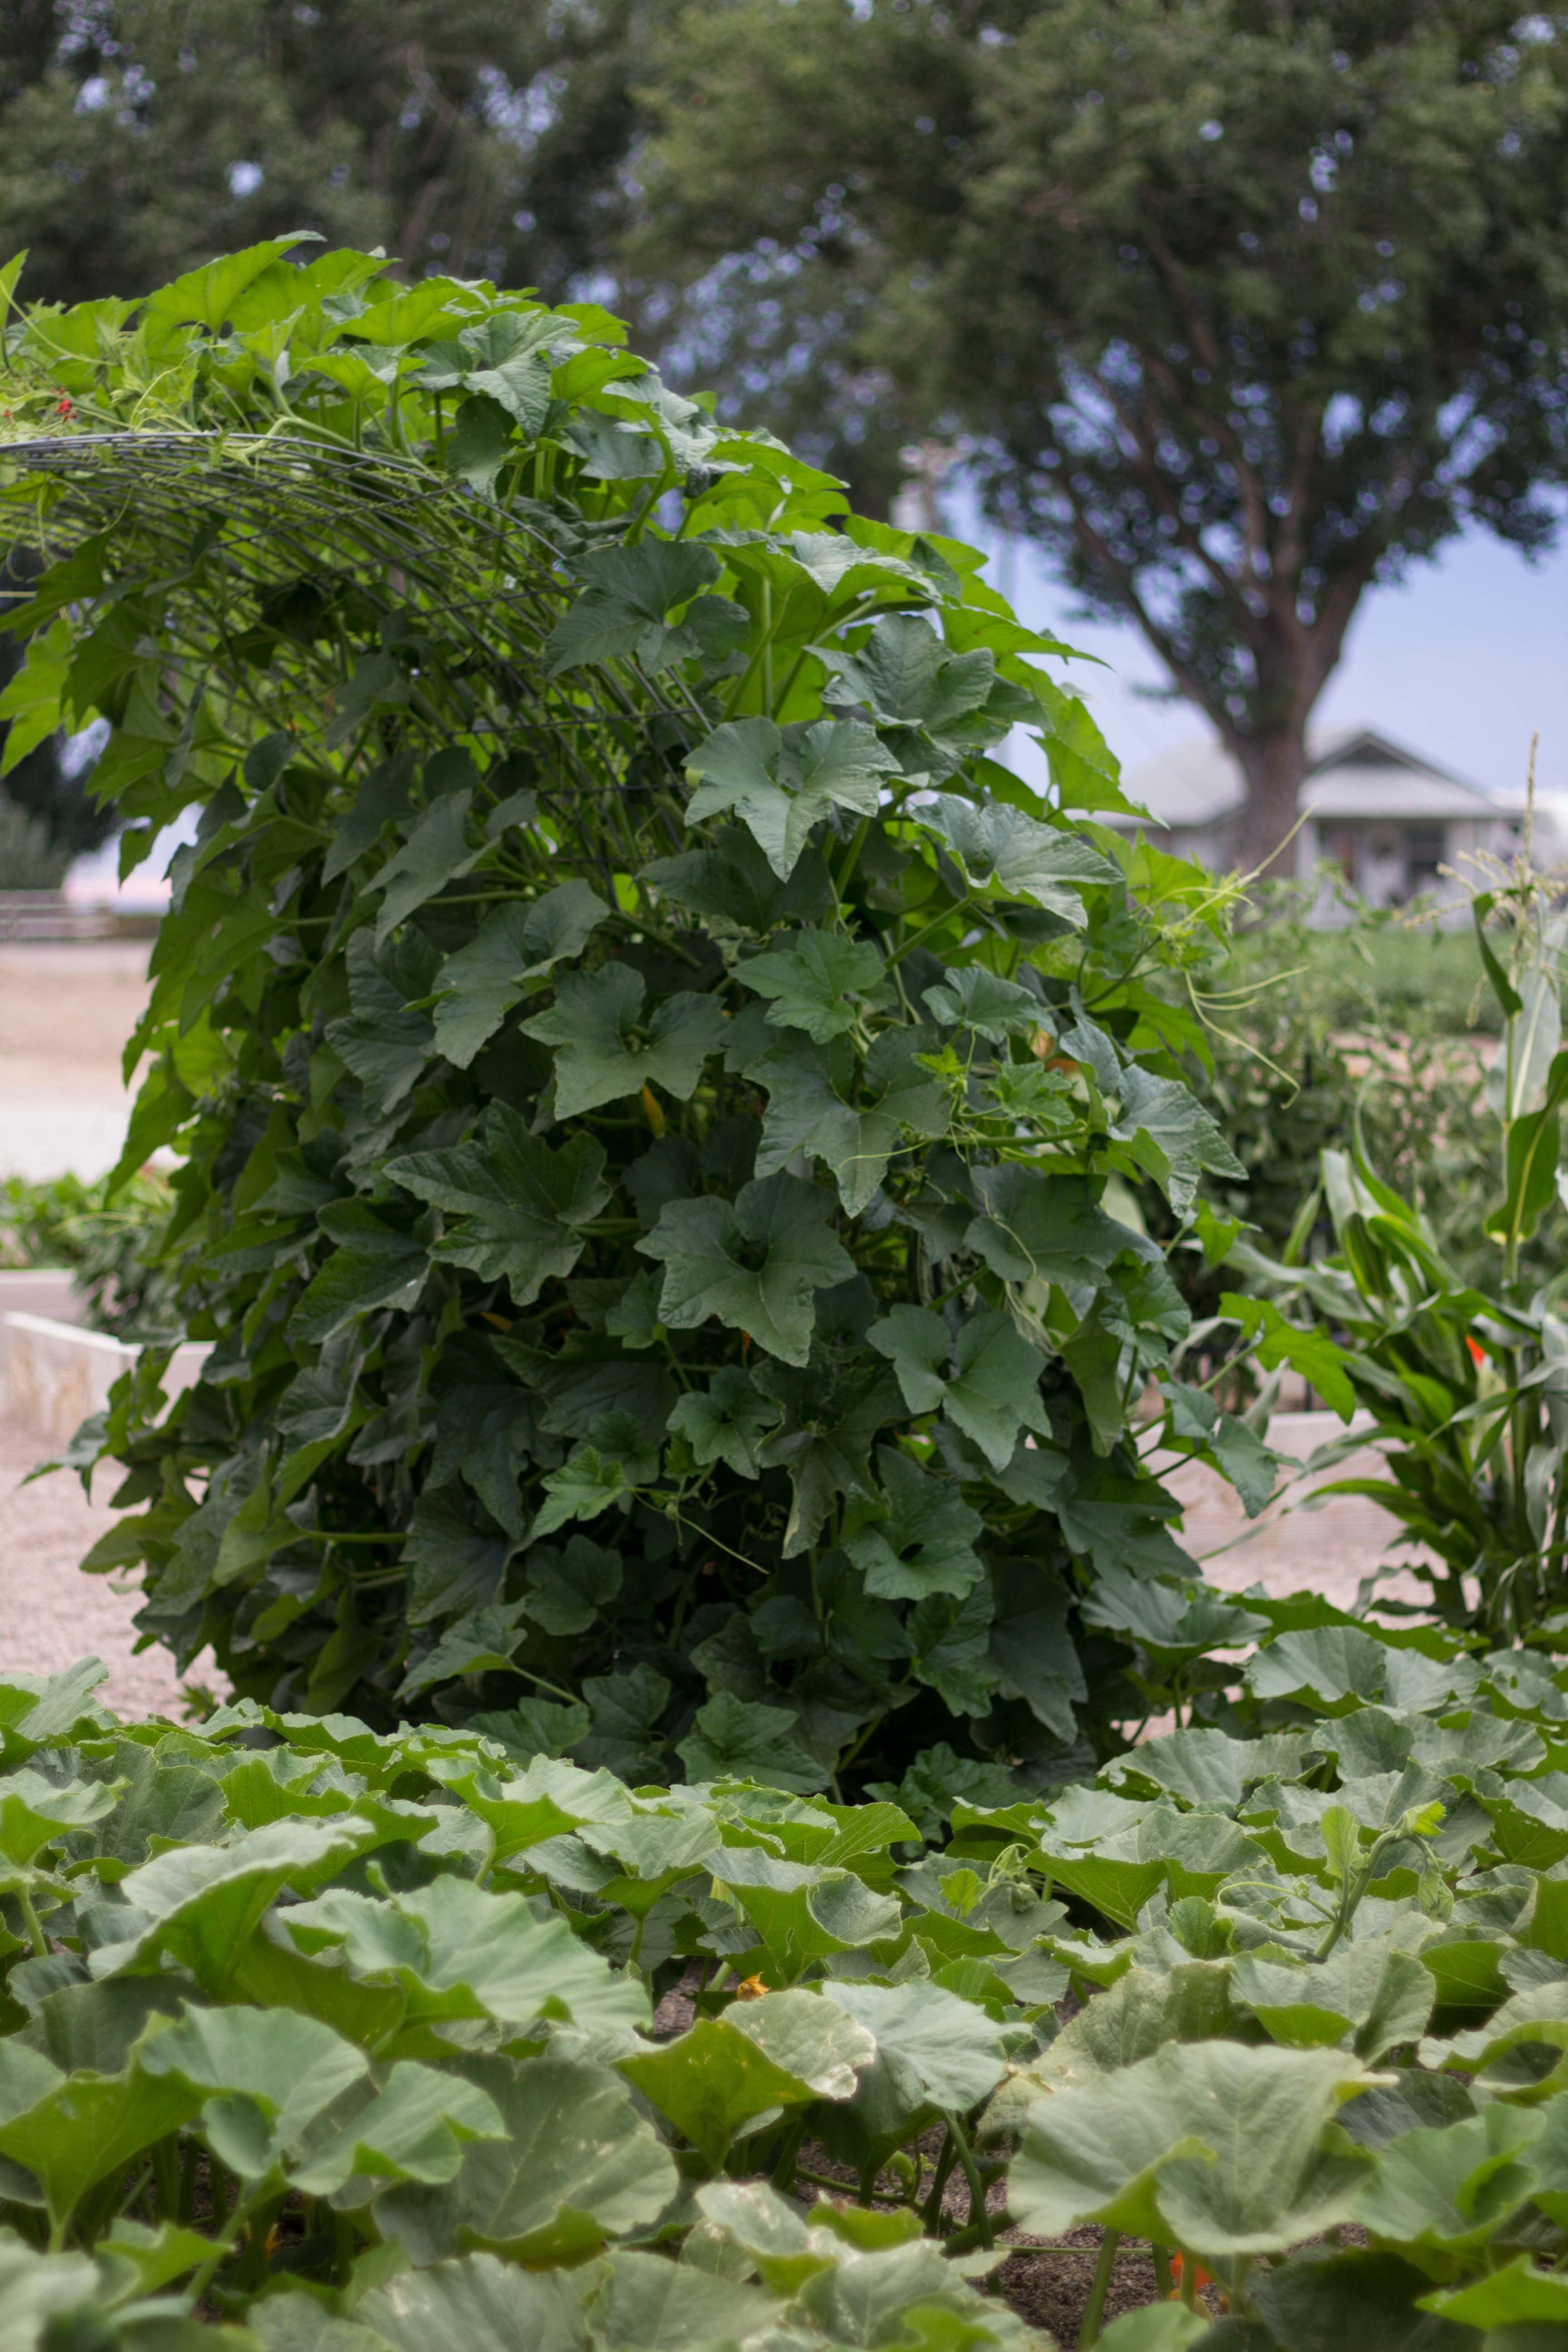
My number one favorite vertical grower? BABY BOO PUMPKINS! I only planted 4 seeds and they quickly covered one whole side of the trellis in lush, beautiful leaves. These are also incredibly prolific and produce a TON of tiny white pumpkins. So magical.
Con’s to vertical growing
CON: Upfront fees. Adding arches is an investment! You have to include the panel, T or U posts, zip ties and renting a post pounder. Borrow one if you can! In my opinion, the investment is well worth it for years and years of vertical growing with no maintenance.
The good news is, they are extremely strong, weather resistant and work beautifully for growing crops on. It is a one time fee for years and years of benefit. If you can’t afford more than one, just add more when you can down the road.
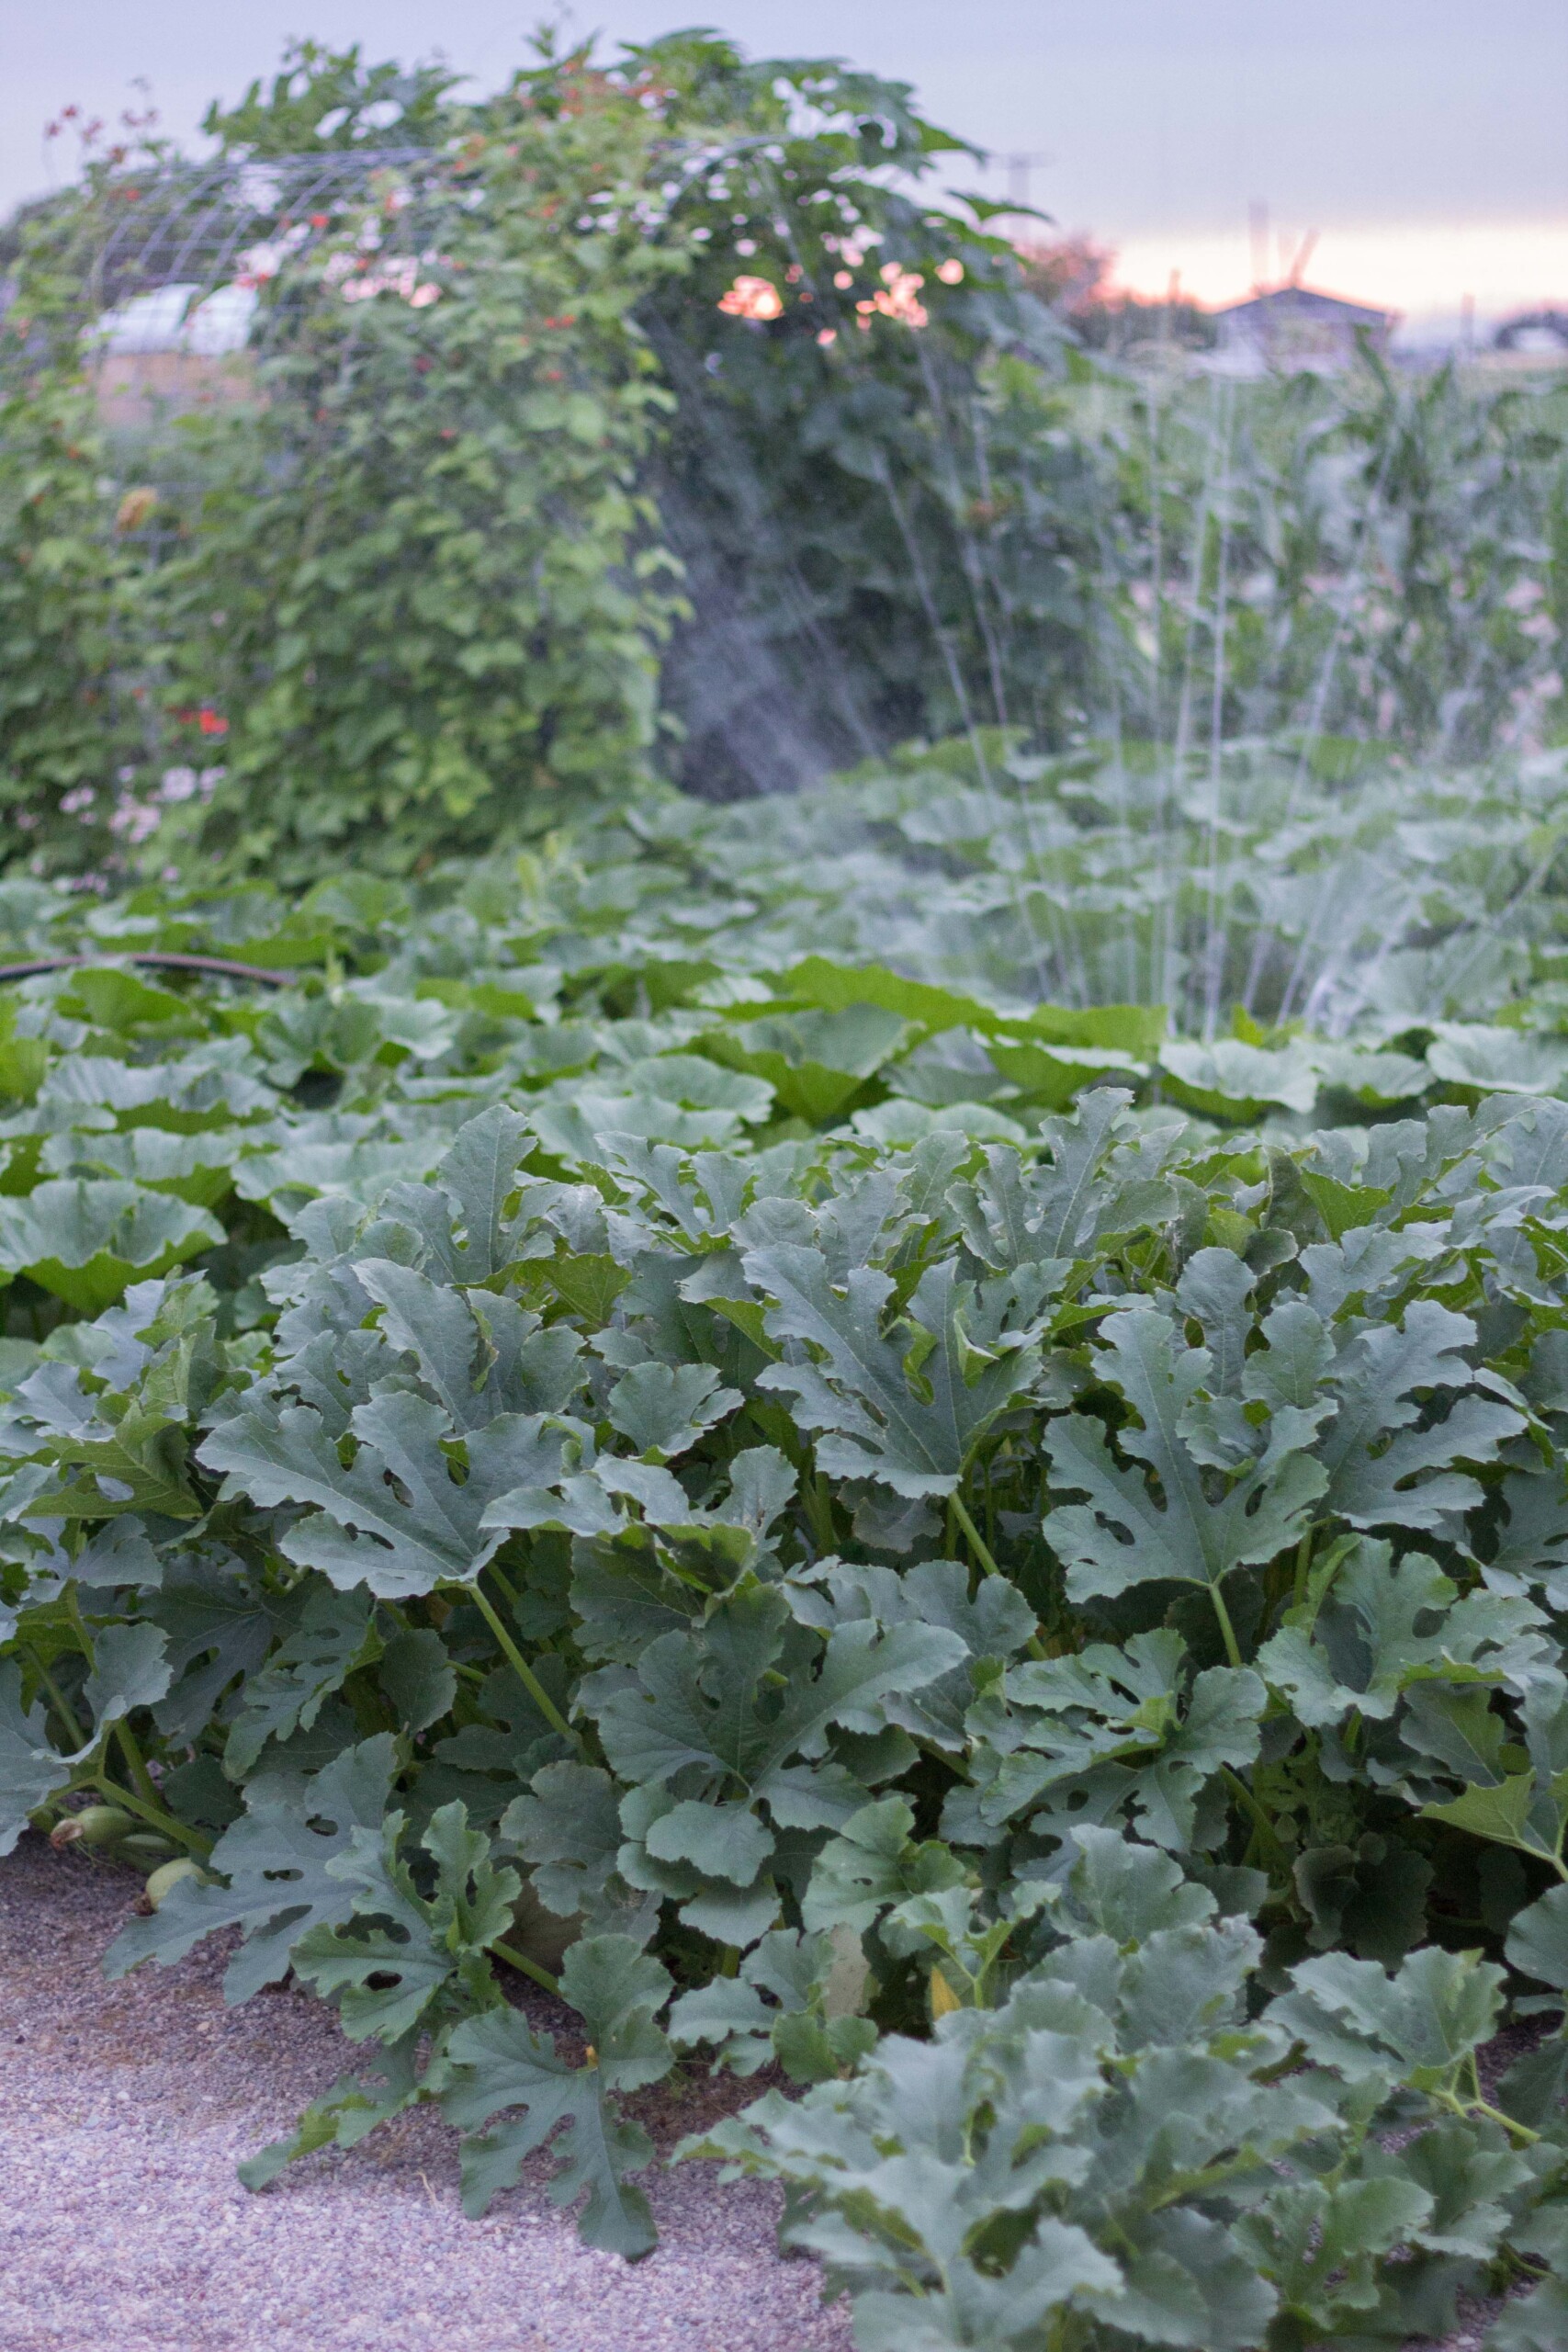
CON: Because the plants are growing vertically, they are more exposed to wind. This can lead to dryer leaves that are susceptible to damage from storms. Make sure to check the soil to see if your plants growing on the arch need extra water at the base.
Other garden posts you may love:
Thank you so much for stopping by today. I love sharing my favorite things with you and growing vertically is most definitely one of them! If you found this post inspiring or informative, I would love if you would PIN this post! THANK YOU!
Love this post for Easy DIY Utility Panel Garden Arch Trellis? PIN IT!
