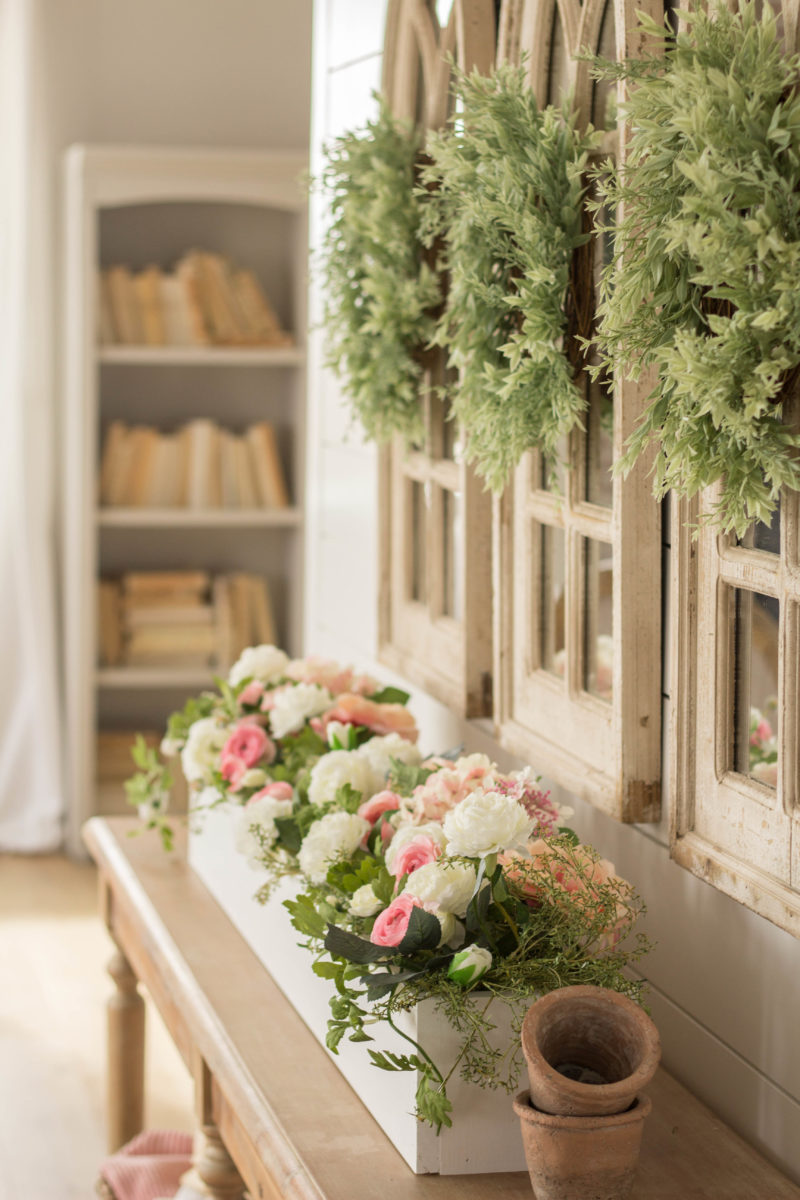
Create your own DIY Wood Planter Box Centerpiece with these easy instructions and you’ll have a great décor DIY Wood Planter Box Centerpiece to last through each season!
Intentional décor for me, means only decorating my home with items that I truly love, and that I can use through the seasons. This not only saves space in your home, but it saves money because you’re able to use those same classic pieces over and over again instead of buying new.
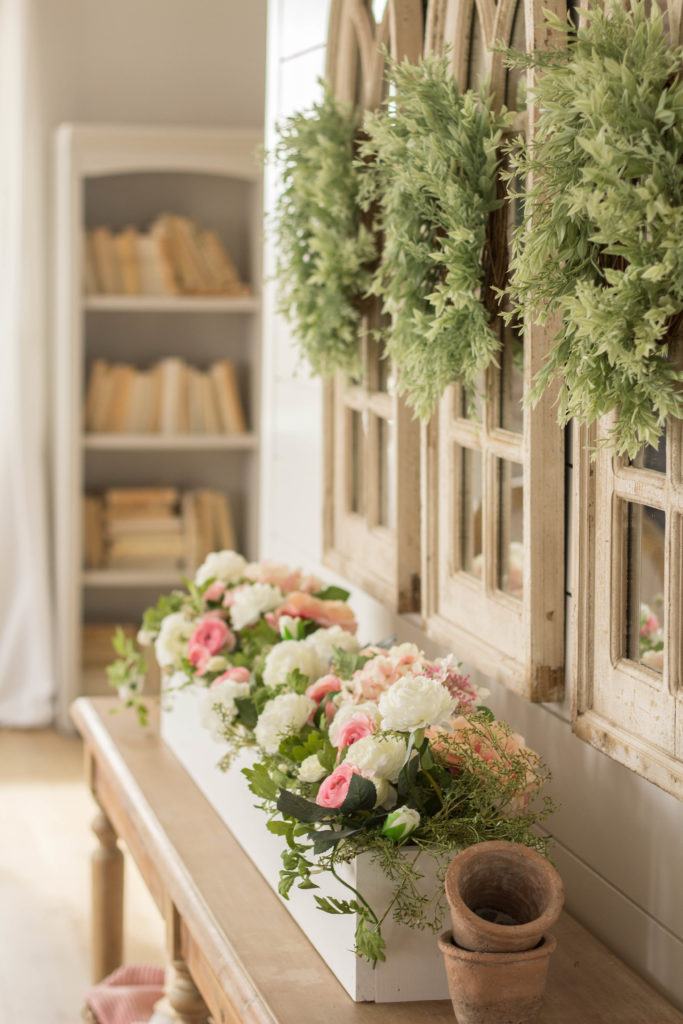
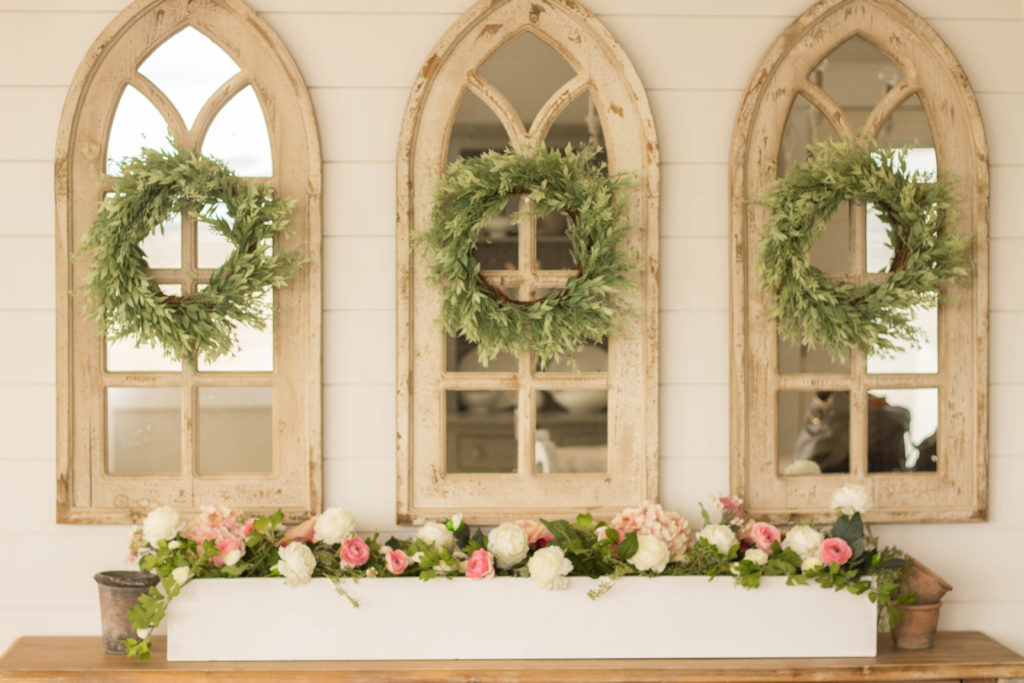
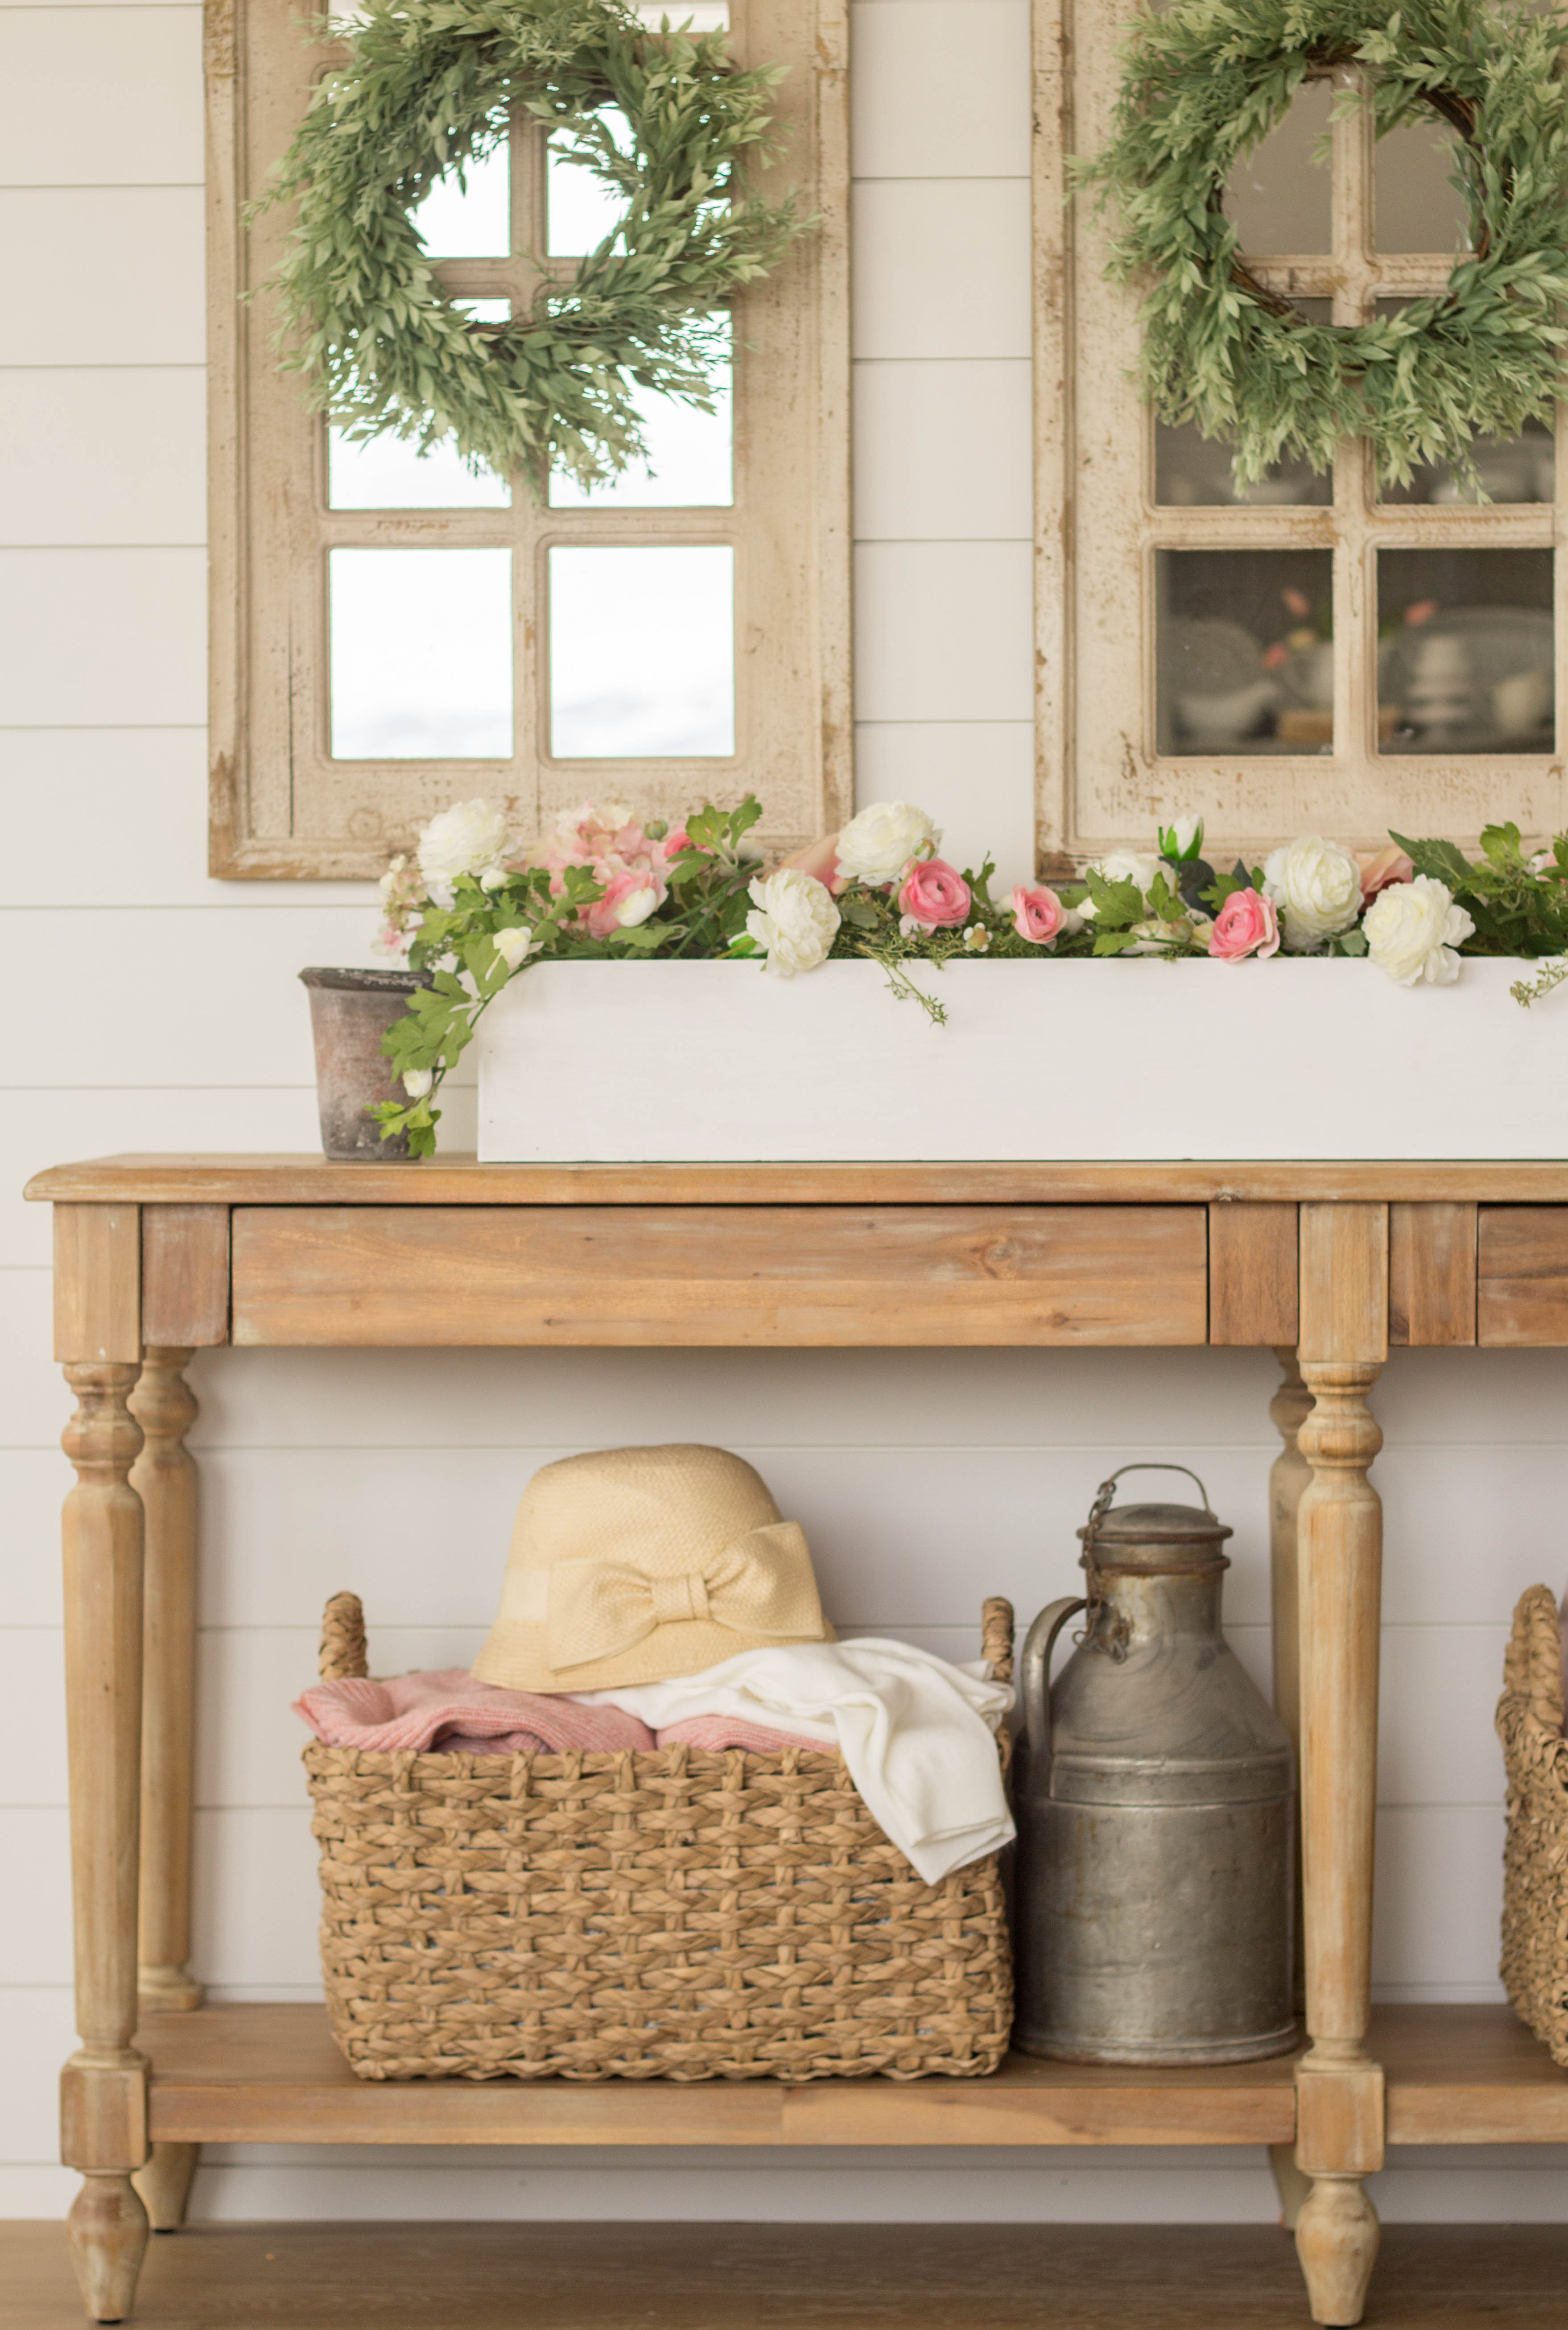
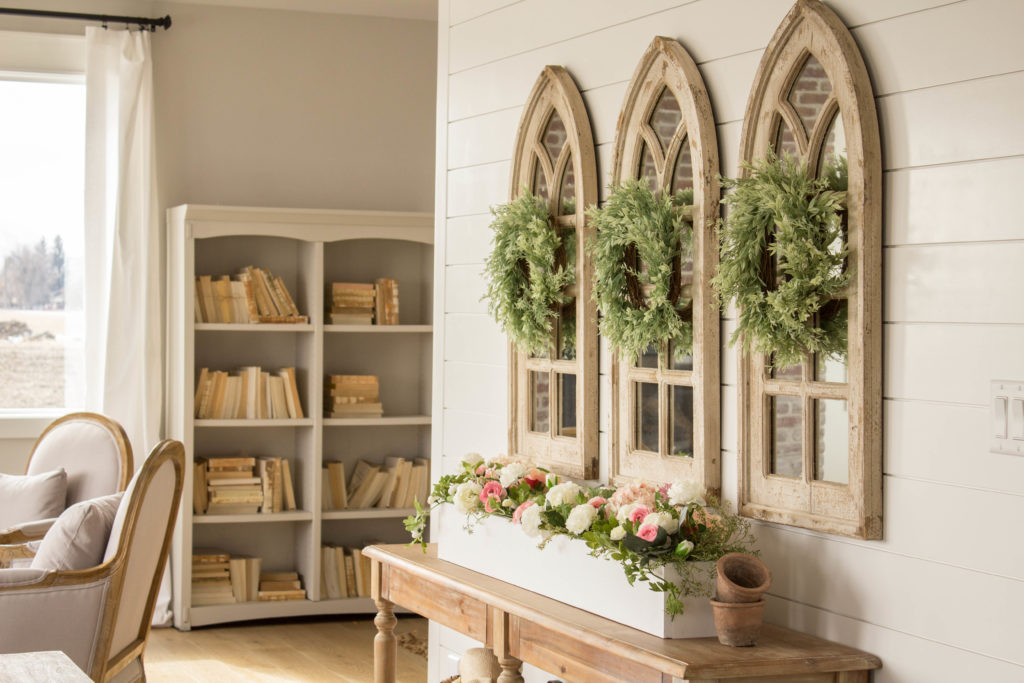
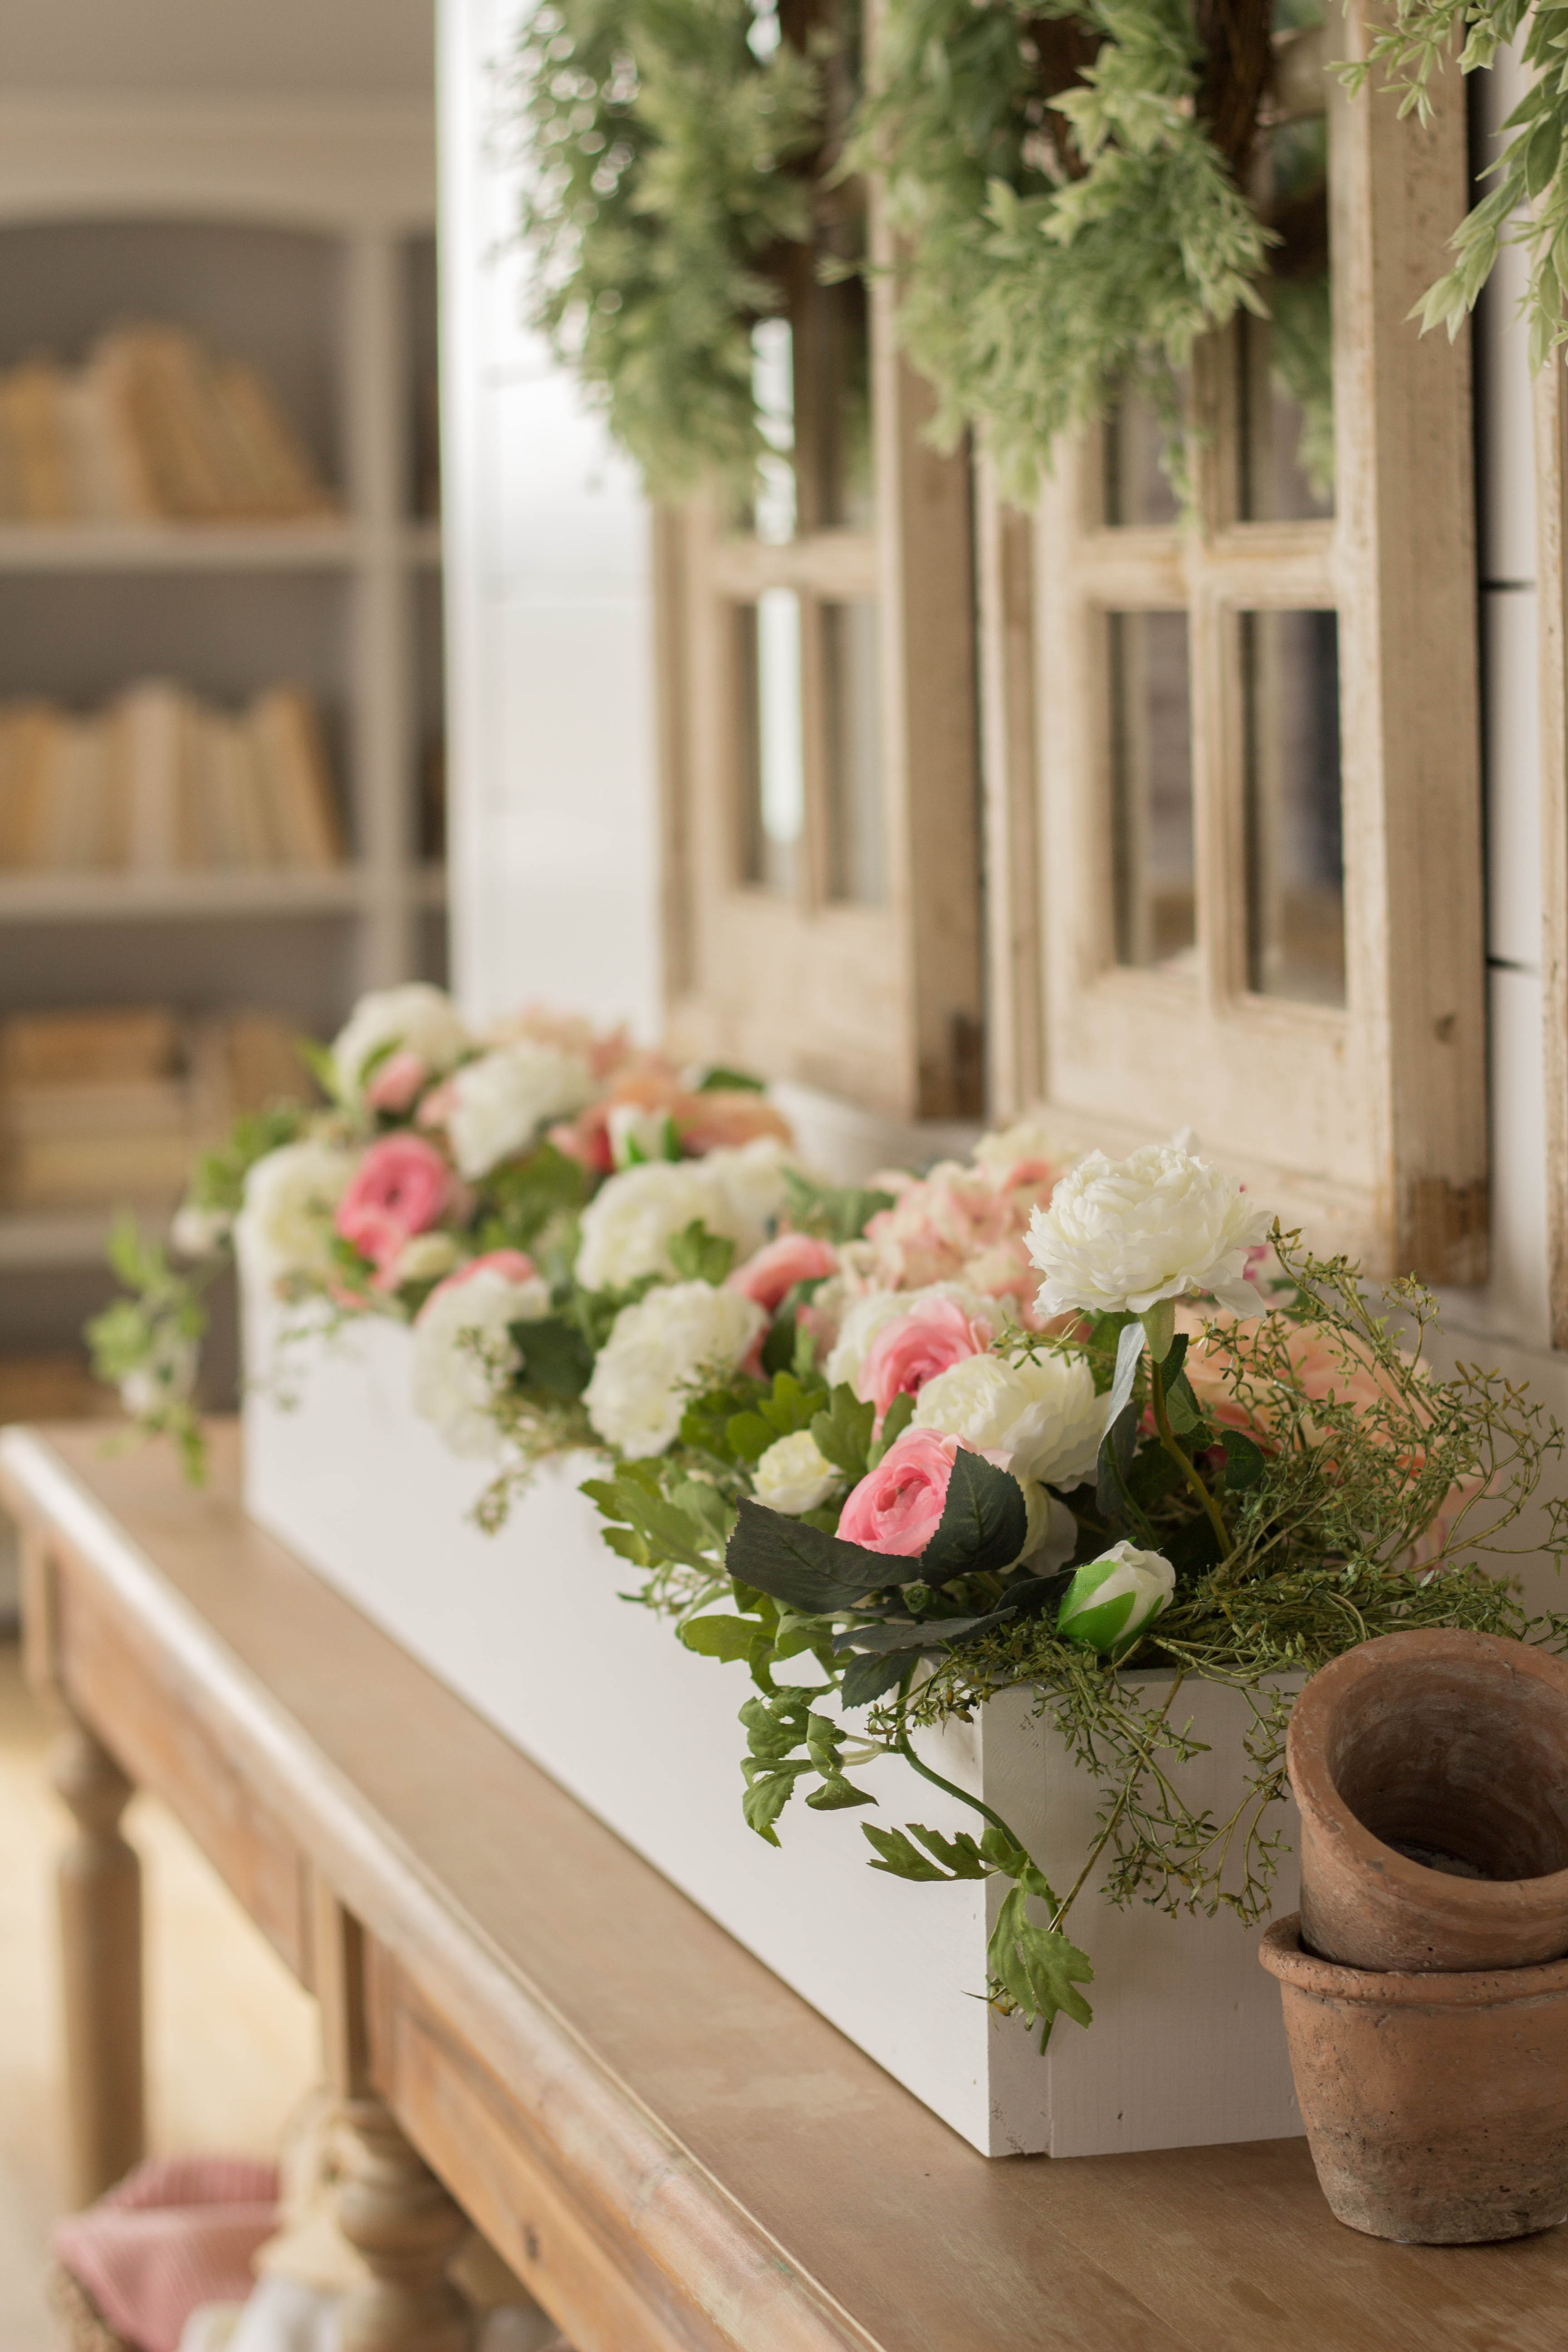
As I started to set out some spring decor, I had an idea to build a simple wood planter box as a centerpiece for my table. I knew it would be a beautiful place to display my spring florals, as well as being a decor piece I can use for many different holidays or events.
Over the weekend we enjoyed our first couple of days without snow in months! I’m noticing green wheat awakening in the farm fields, and brand new calves running in the pasture across the road.
Early springtime is such an uplifting and refreshing time of year! I’ve been really eager to update my winter decor with spring touches. What better combination than pale, textured greens and a variety of pink florals?
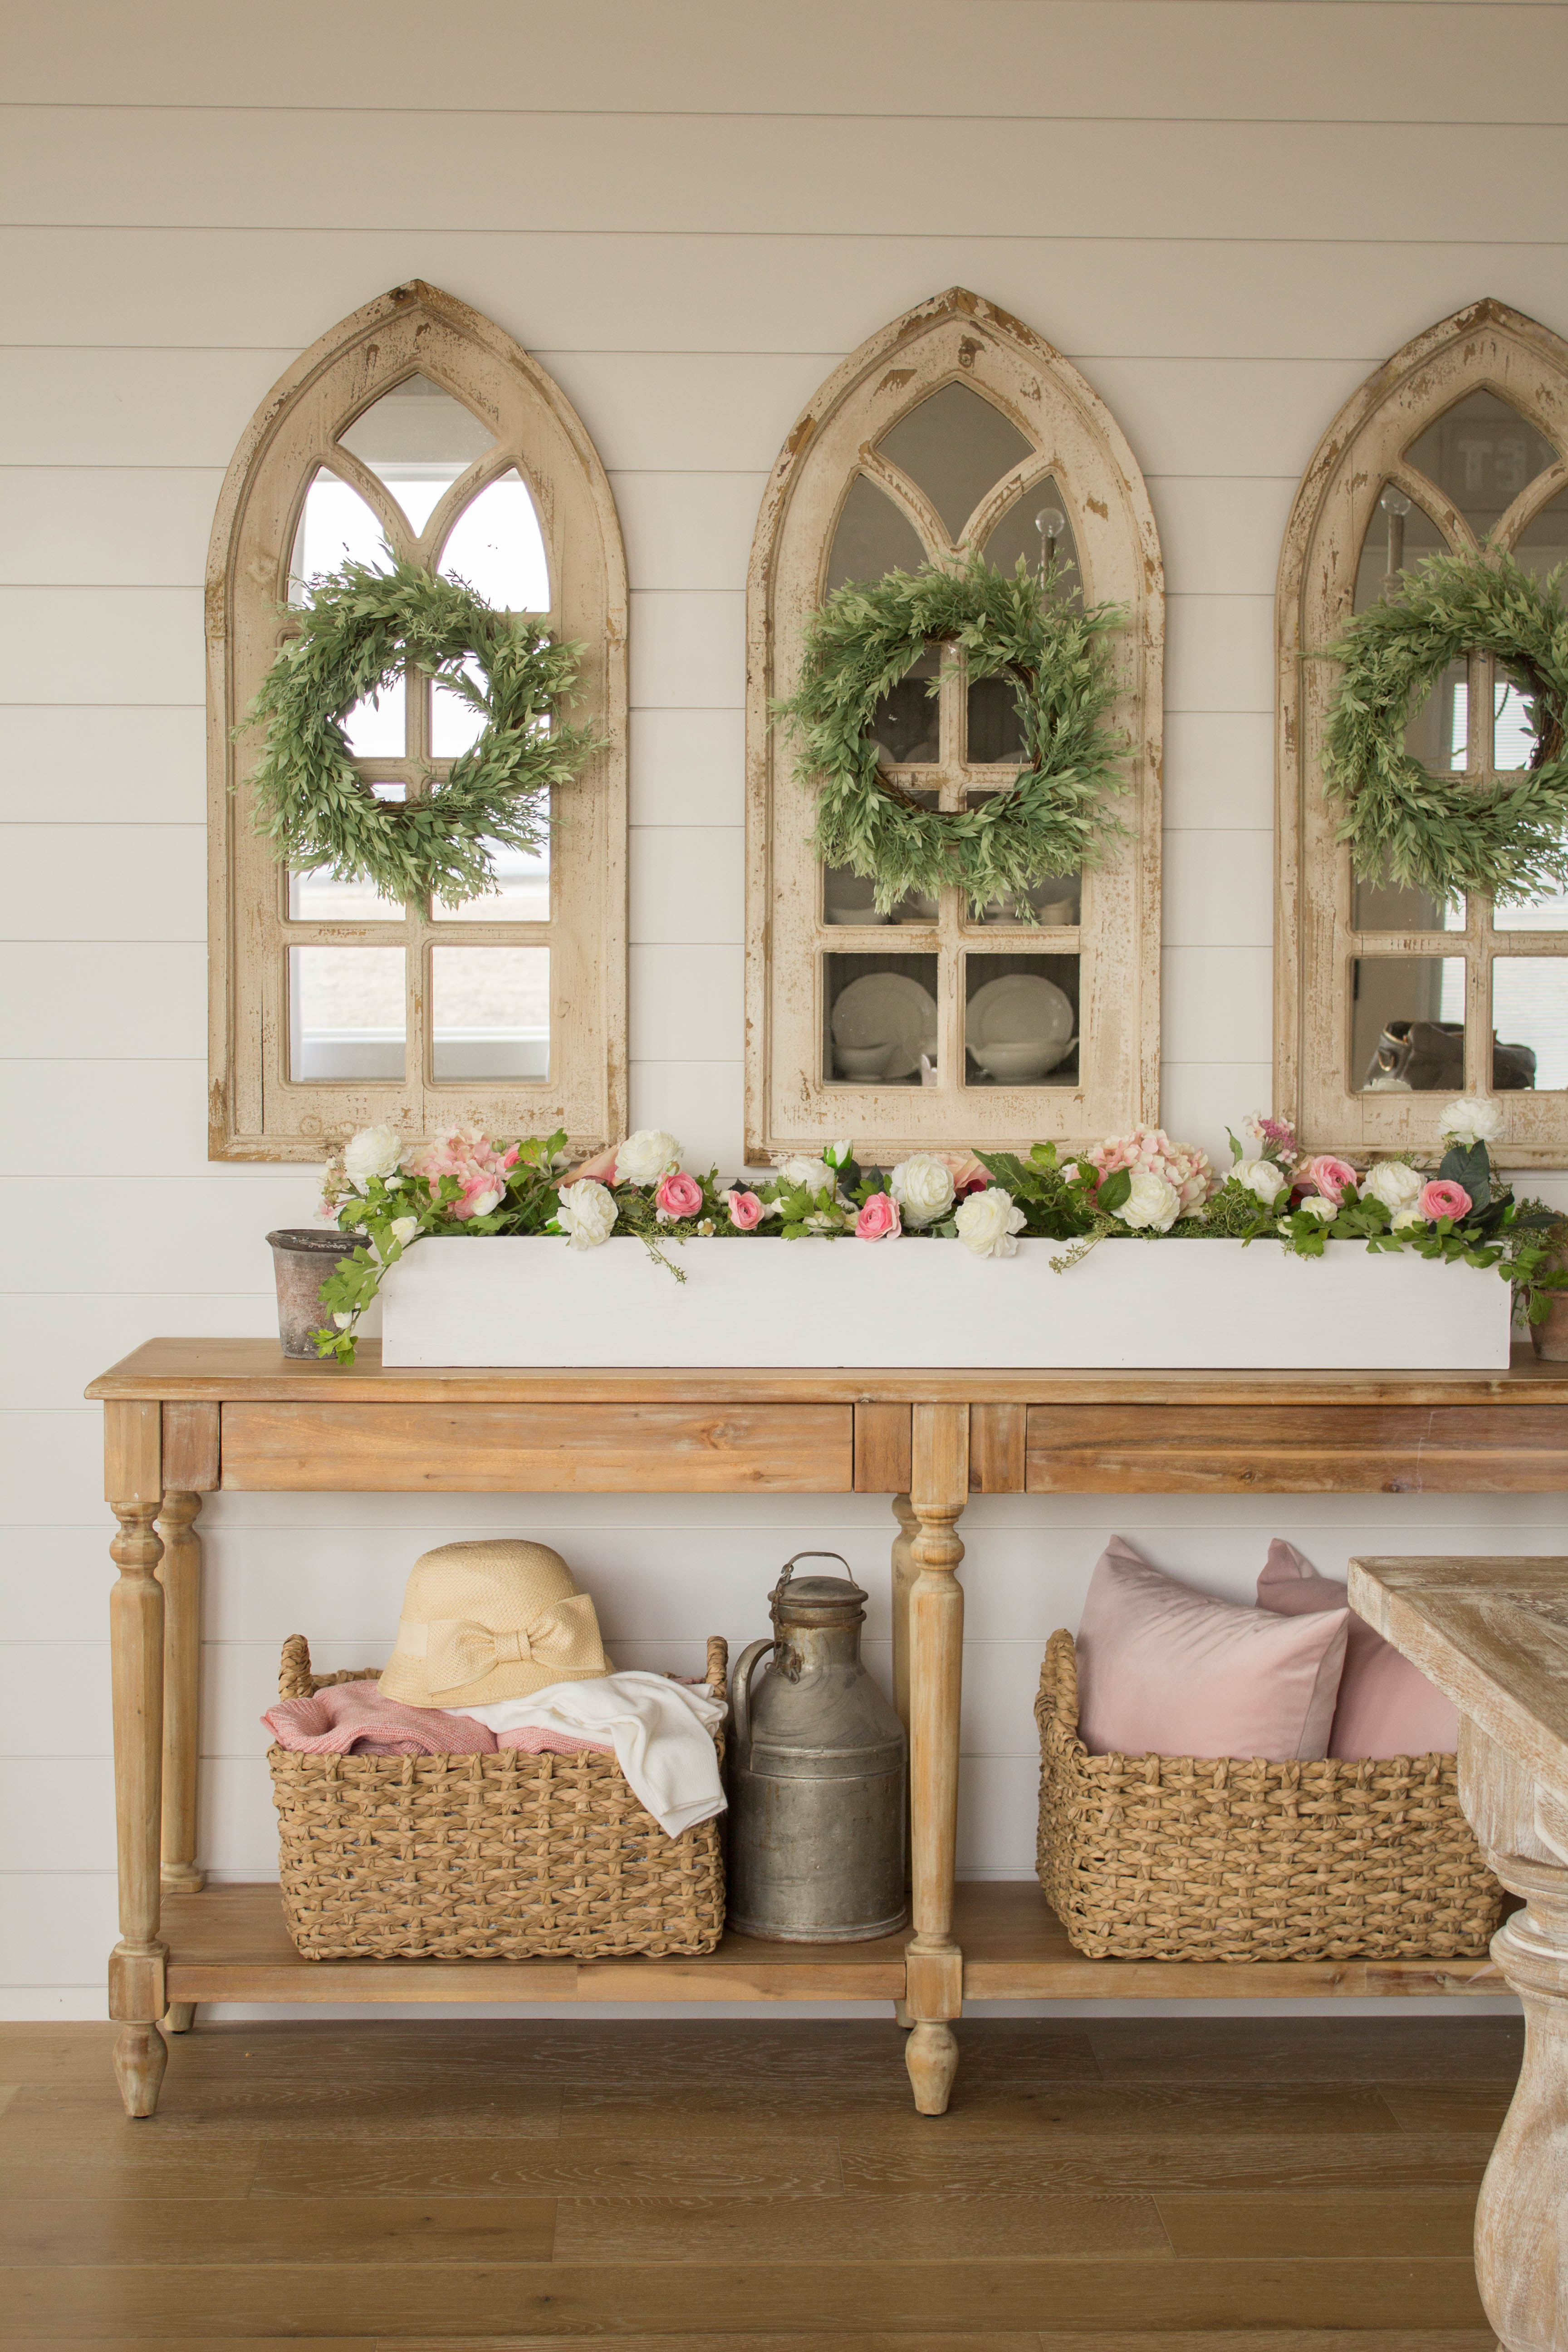
The instructions for this wood box planter centerpiece are simple. In fact, I drew up a basic picture for my husband and he had it whipped up in no time flat.
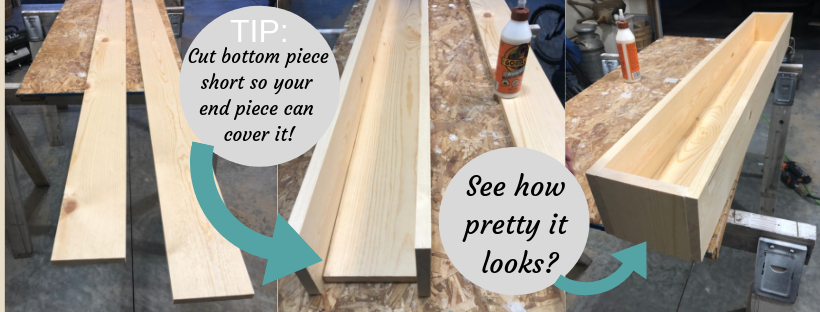
Materials you’ll need:
- 1x6x8 board
- 1x6x6 board
- Gorilla glue
- Nail gun (finish nails would work but a nail gun is preferred)
- Paint or stain
I wanted my wood centerpiece box to measure 4 feet long by 6″ deep. From Home Depot we purchased a 1x6x8 board and cut it in half. We then used our 1x6x6 for the bottom and sides of the box. I wanted to set the bottom board in slightly so that the end caps would cover everything and hide the bottom board.
My husband glued the box together with gorilla glue, and then secured it with his nail gun. I let the box dry over night before I painted it with some left-over paint in my attic. The boards for this project will cost you around $10. What a great deal for such a fun piece!
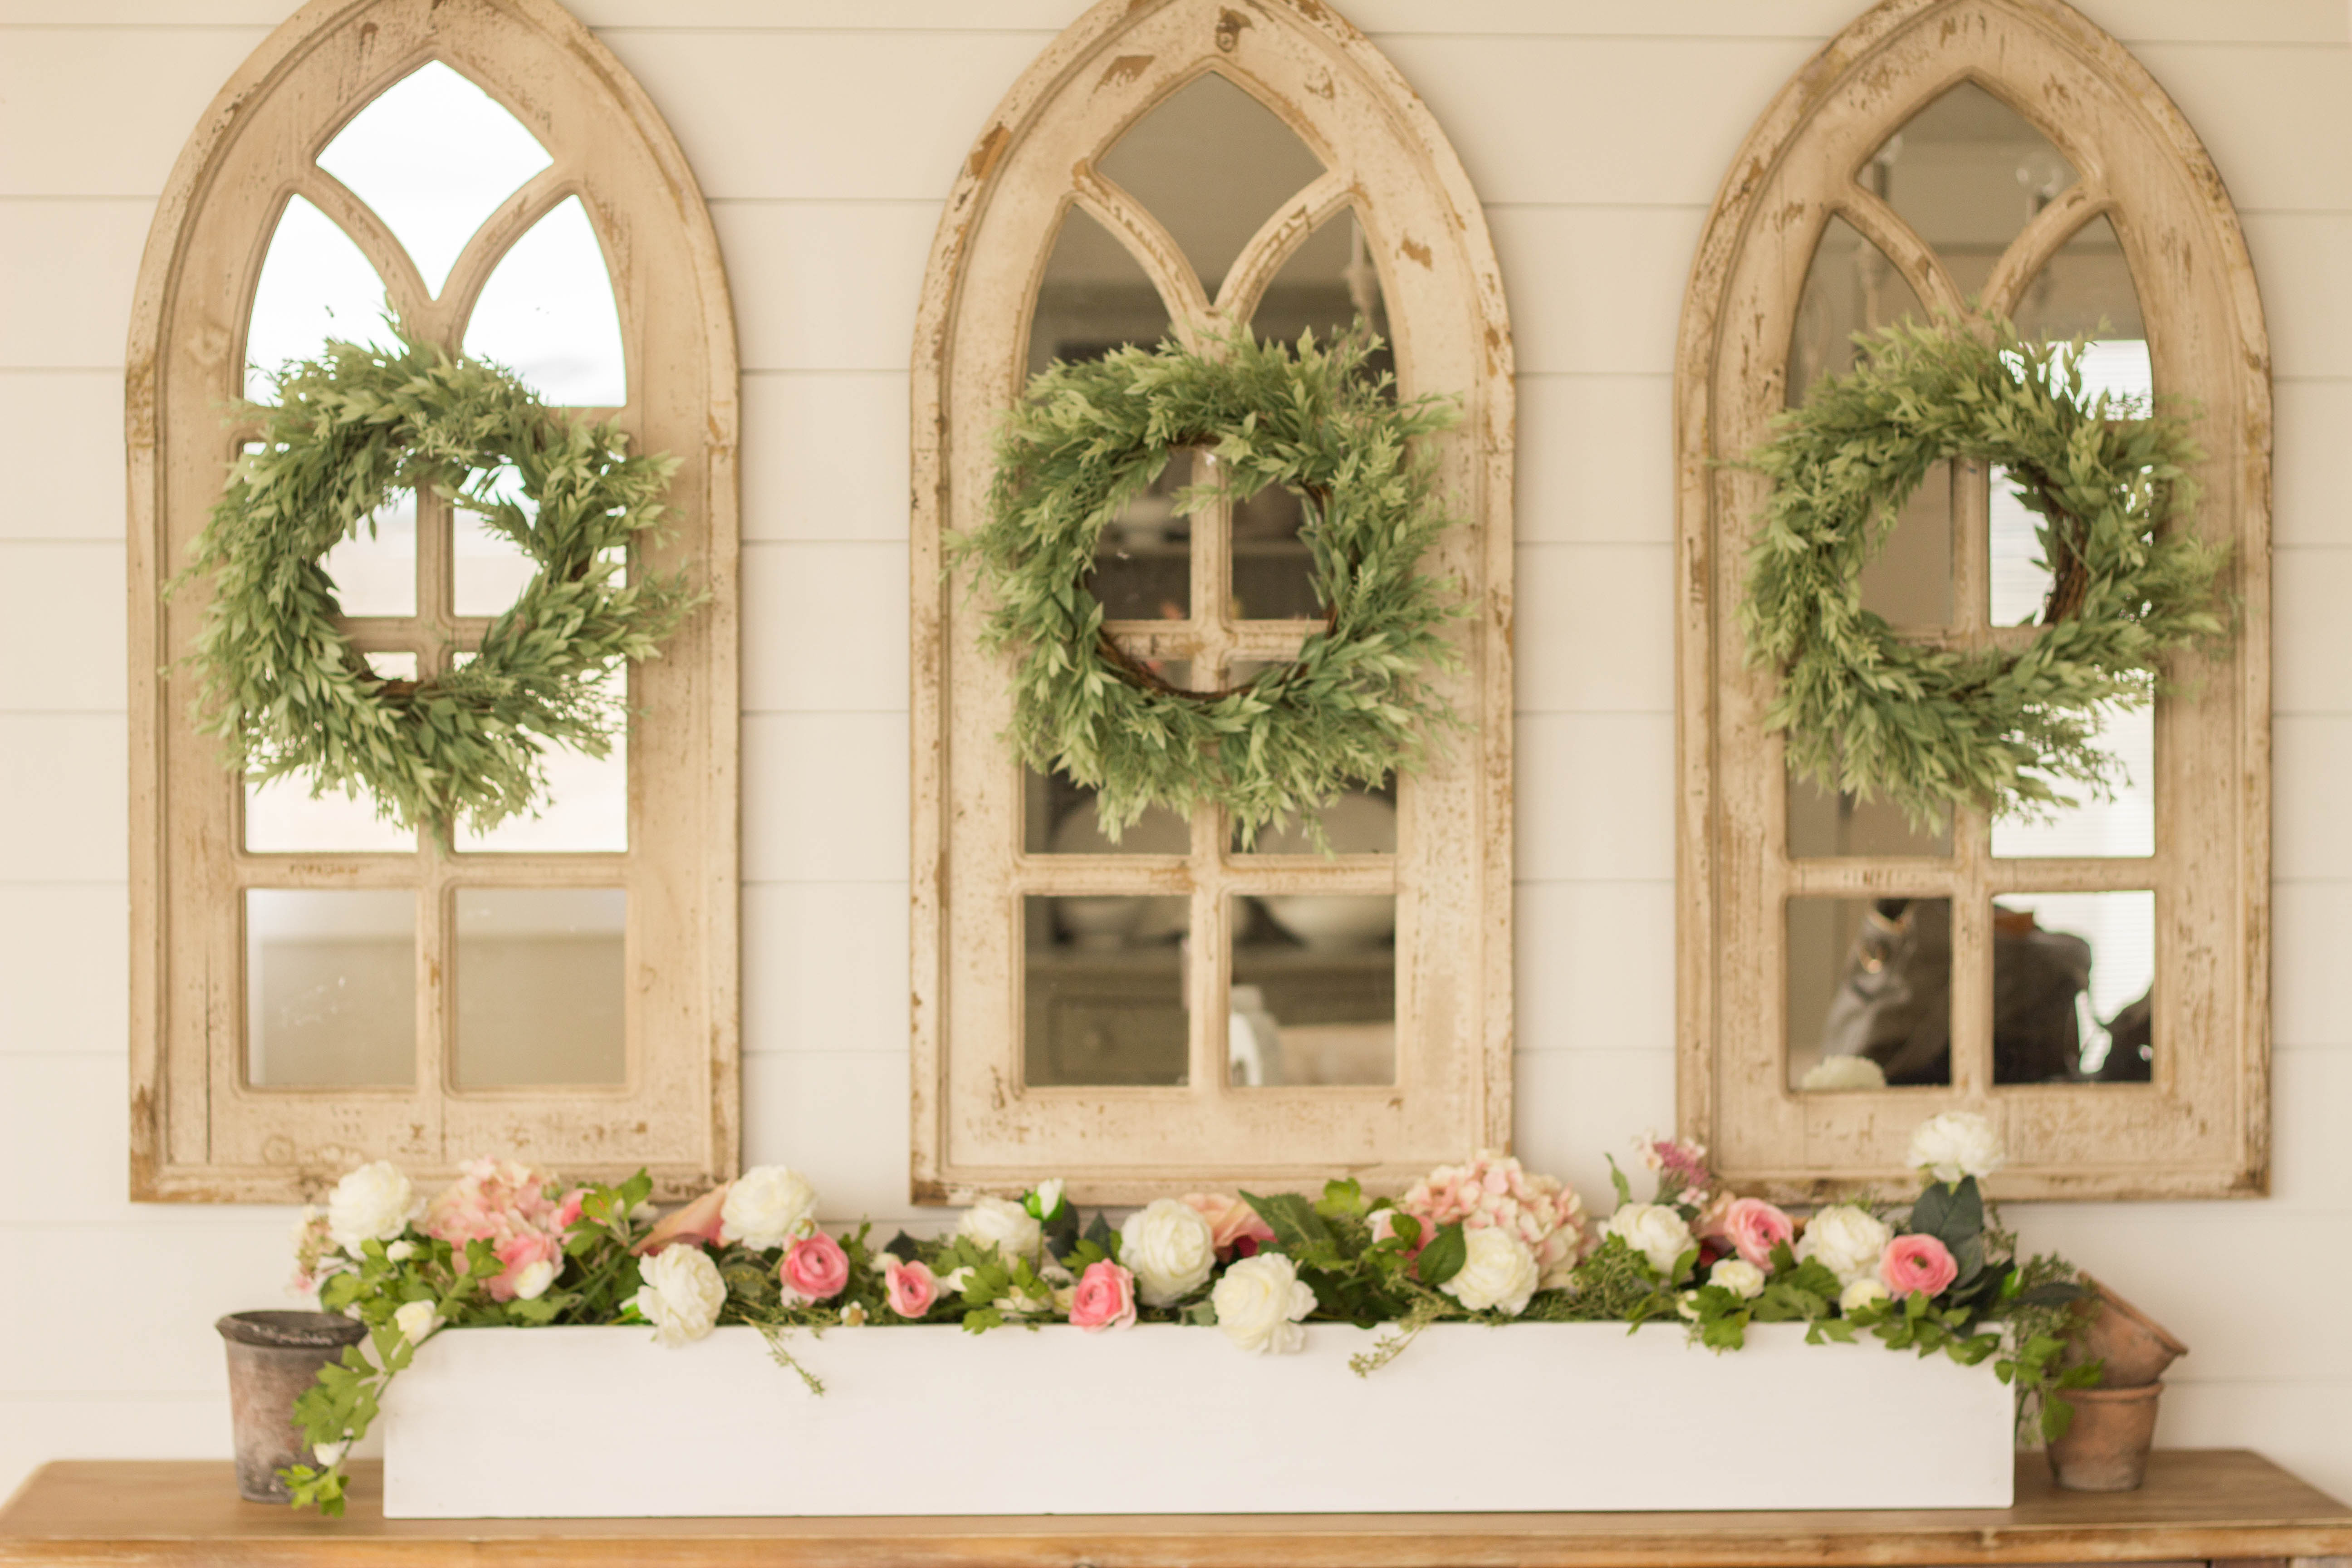
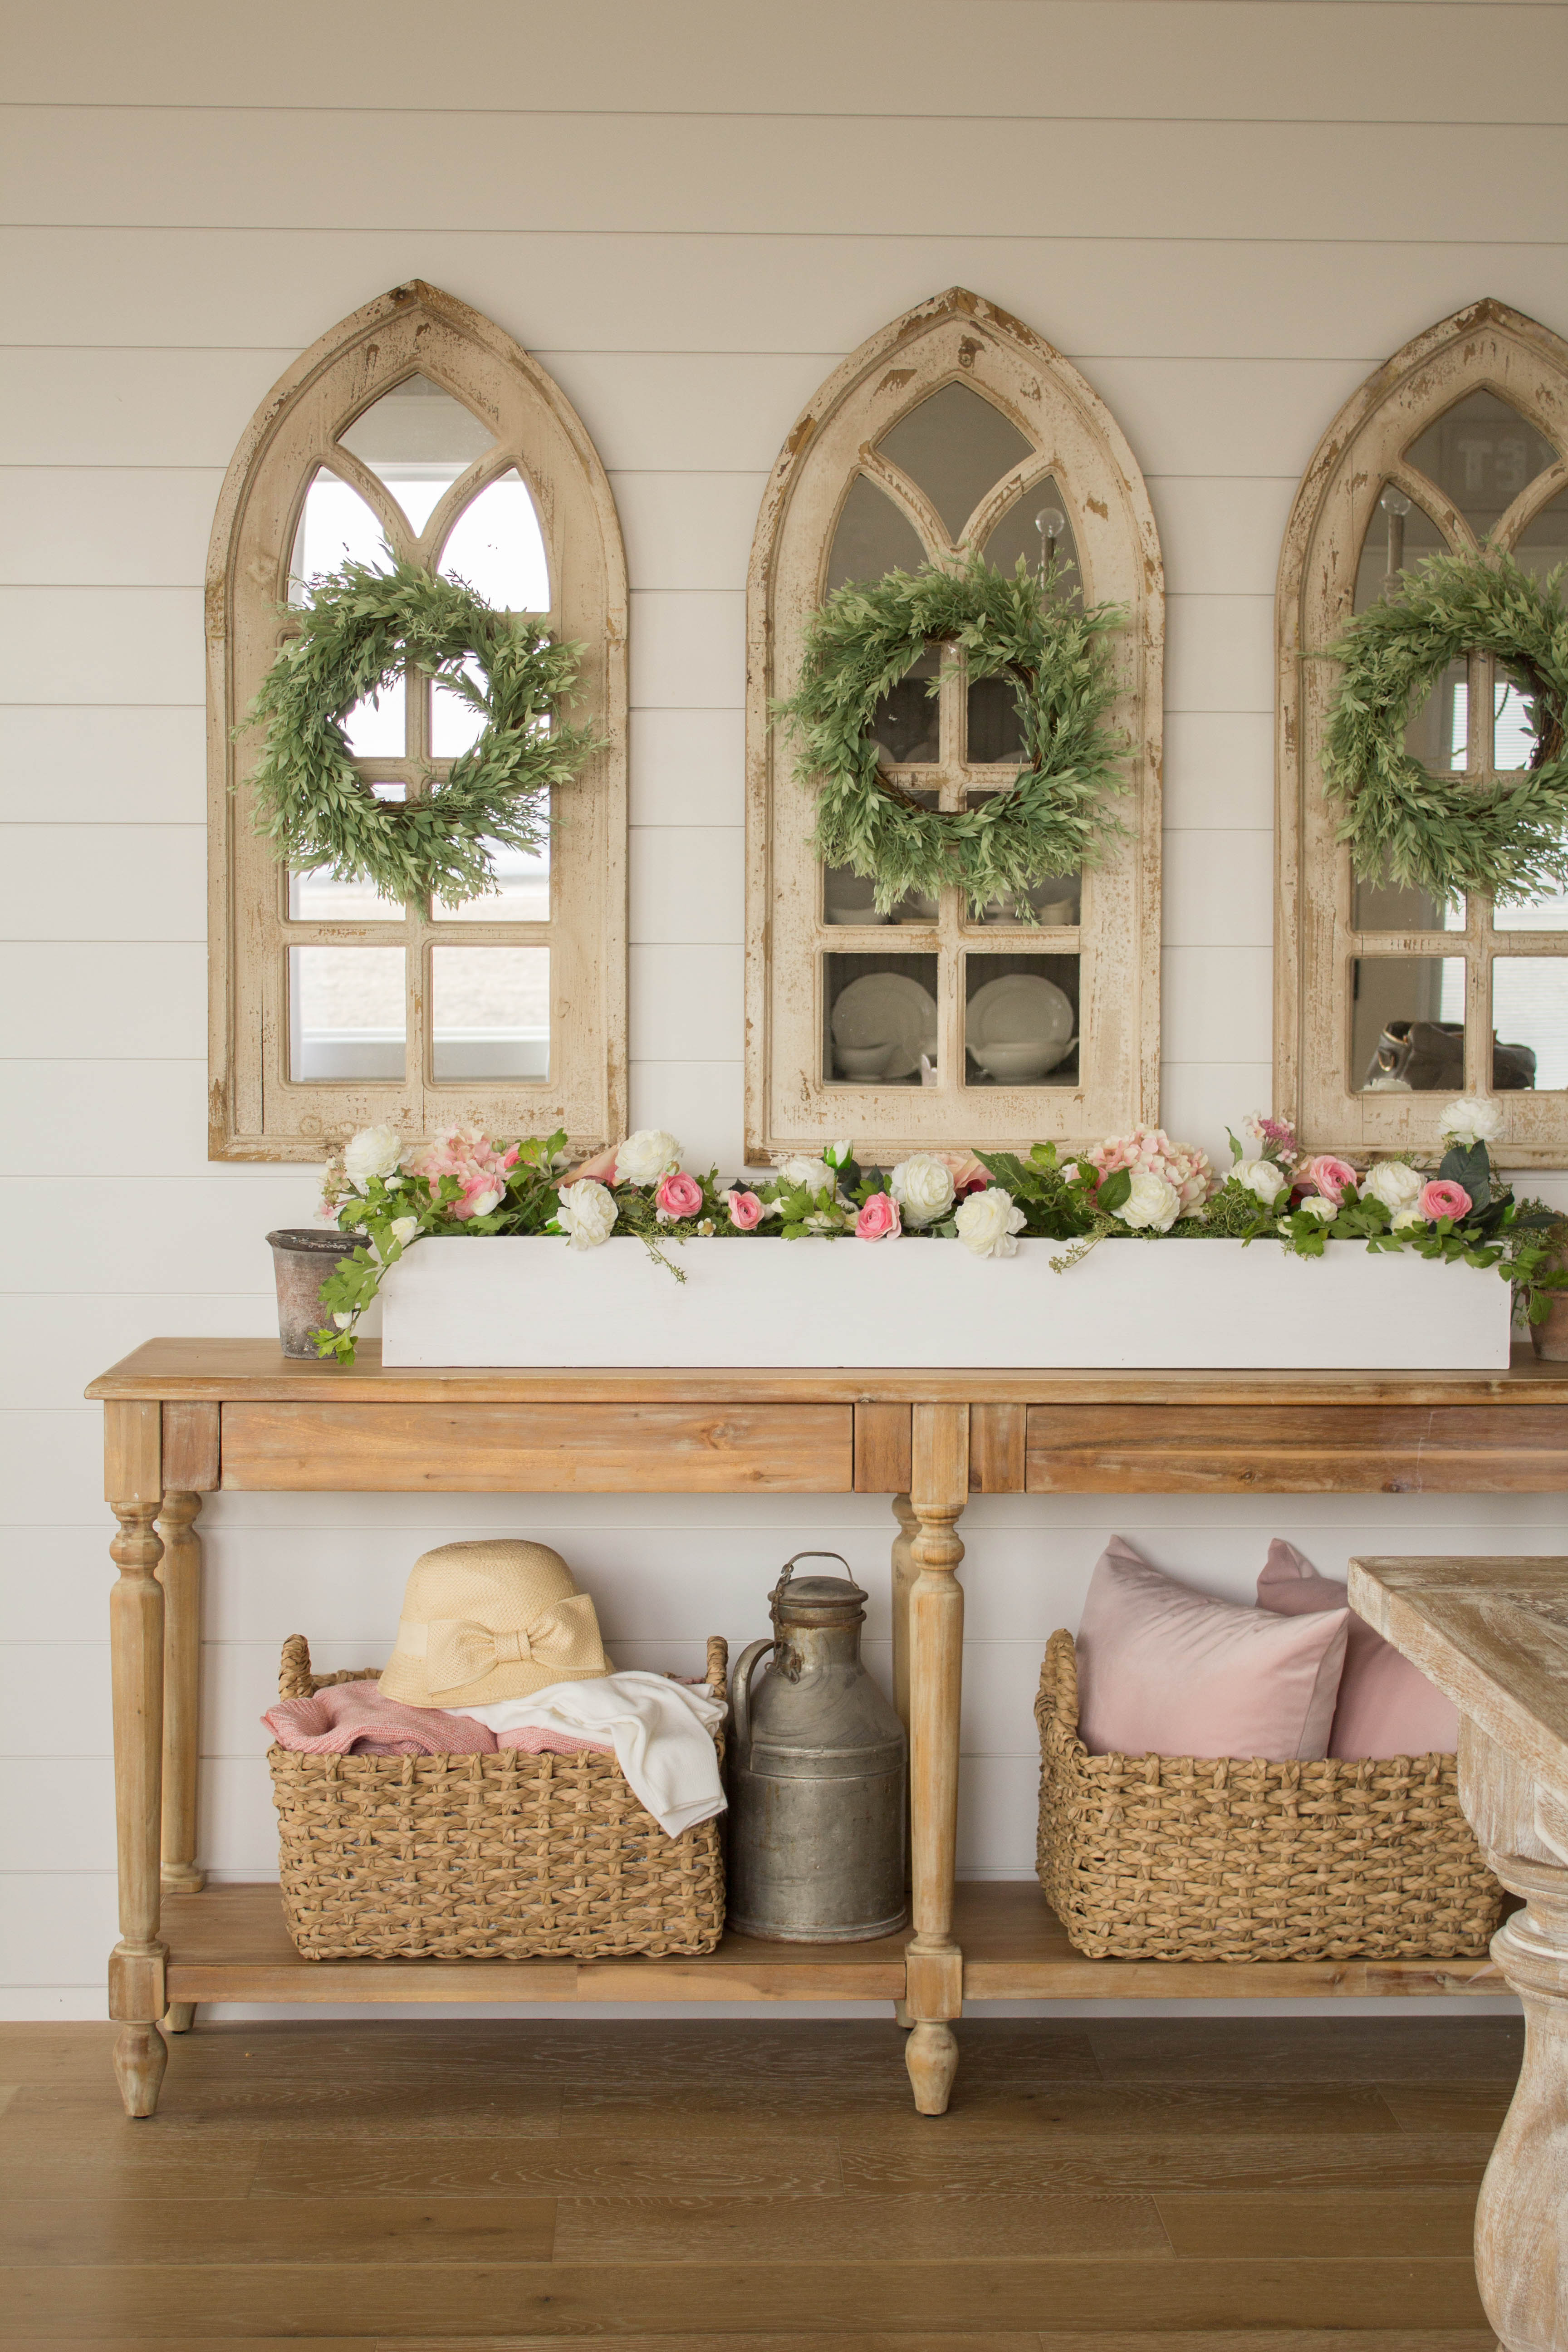
How can I use my DIY Wood Planter Box Centerpiece?
- This centerpiece box would be so pretty distressed or even stained with an antique walnut color.
- You cold add some basic florals on the front of the box or even vinyl lettering.
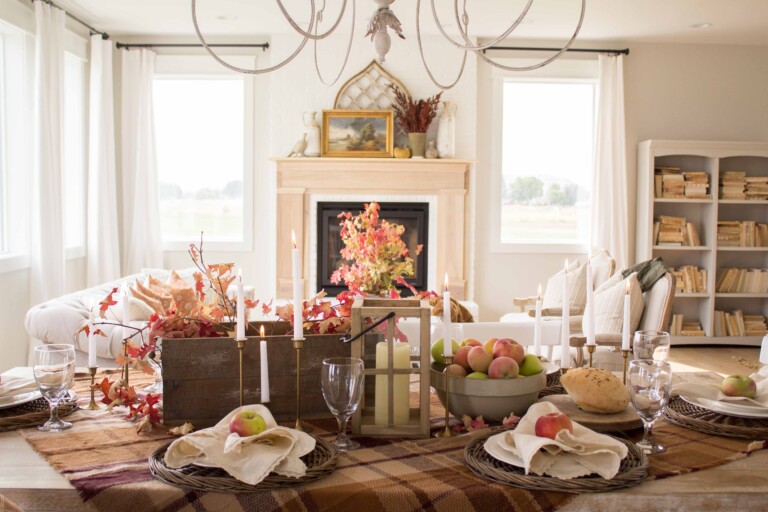
- Wouldn’t it be pretty with pumpkins and wheat during fall or evergreens and bulbs for Christmas time? I kept mine simple for this purpose.
- This box could be filled with items to display for a baby or bridal shower.
- This box can be used as a centerpiece for: dining tables, coffee tables, serving tables, an entry table or displayed on a shelf. It can be filled with all kinds of seasonal decor!
- Hardware could be added to the ends of the box for added character.
Where can I buy good faux florals?
These pretty stems and florals, as well as my mini wreaths were purchased from Hobby Lobby during their 50% off sale. I loved the mix of white and pink ranunculus, hydrangeas, pink roses and textured greens.
The beautiful white cabbage roses can be found HERE.
I love THESE pink peonies.
I also adore THESE beautiful pink peonies! Don’t they look real?
The velvet pink pillows can be found HERE.
My Arched Mirrors were found HERE.
My wood table was found second hand but it can be purchased HERE.
If you make your own planter box centerpiece, be sure to post a picture and tag me @handmade.farmhouse on INSTAGRAM so I can see your creativity and how you’re using it!
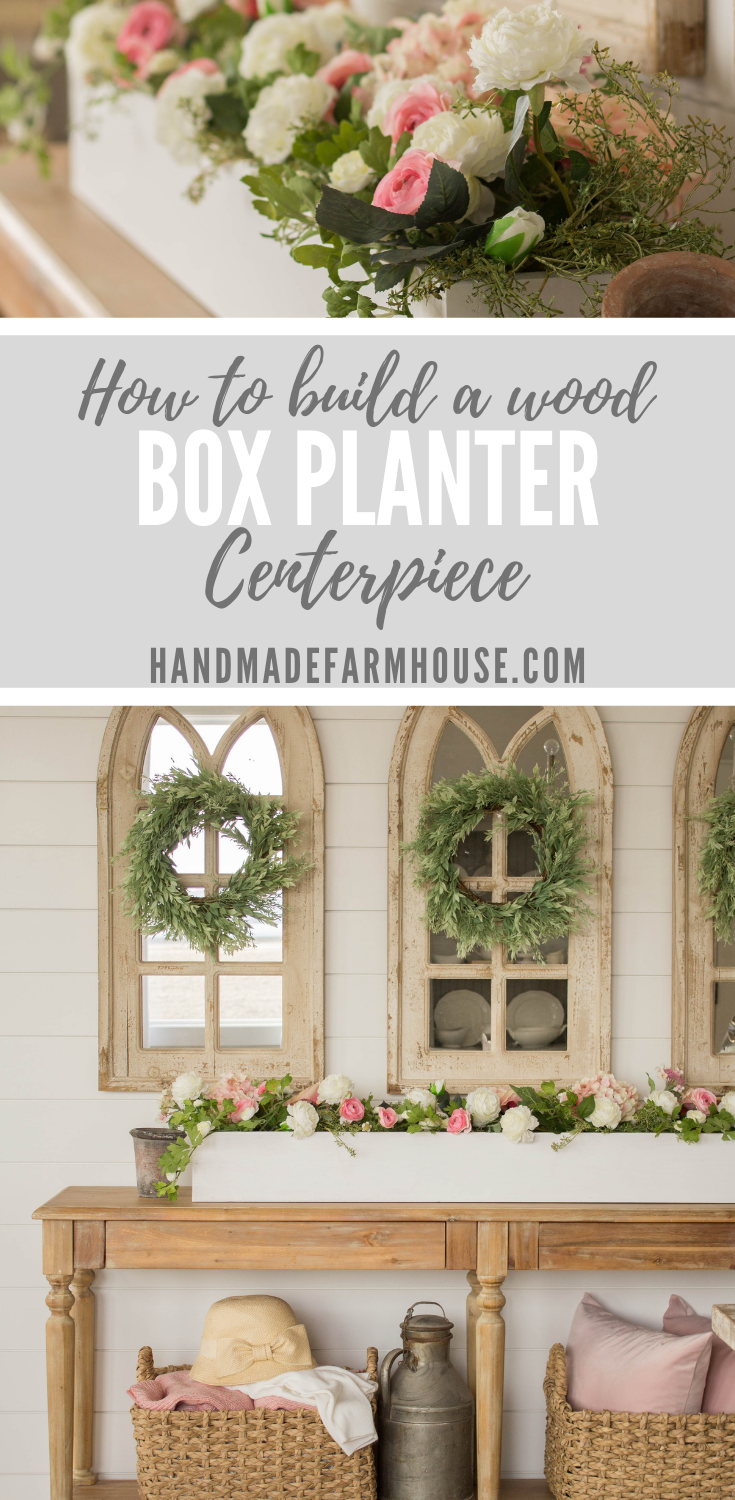
Want to remember this project to build later? PIN IT!
Check out these other DIY posts from my friends!

Just click on the links below the photos, and pop around to visit the girls and check out their projects!
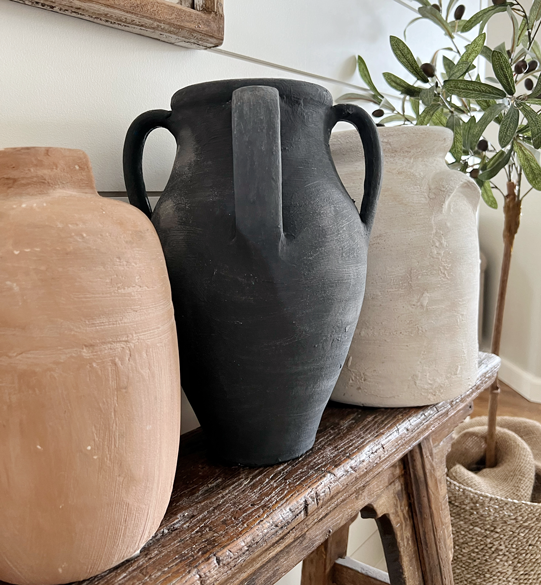
DIY VINTAGE ARTISAN POTTERY
DIY WOOD PLANTER BOX CENTERPEICE

DIY MERCURY GLASS CANDLE HOLDERS
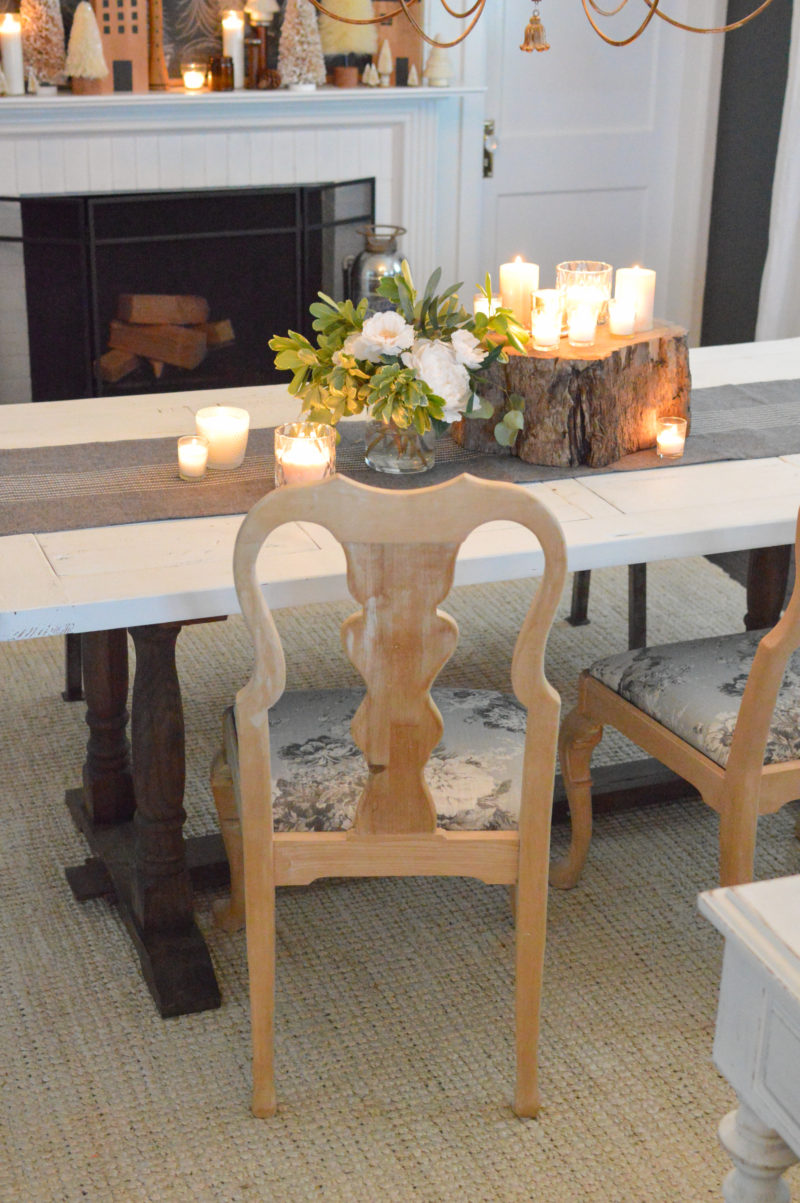
HOW TO STRIP AND REUPHOLSTER A WOOD DINING CHAIR
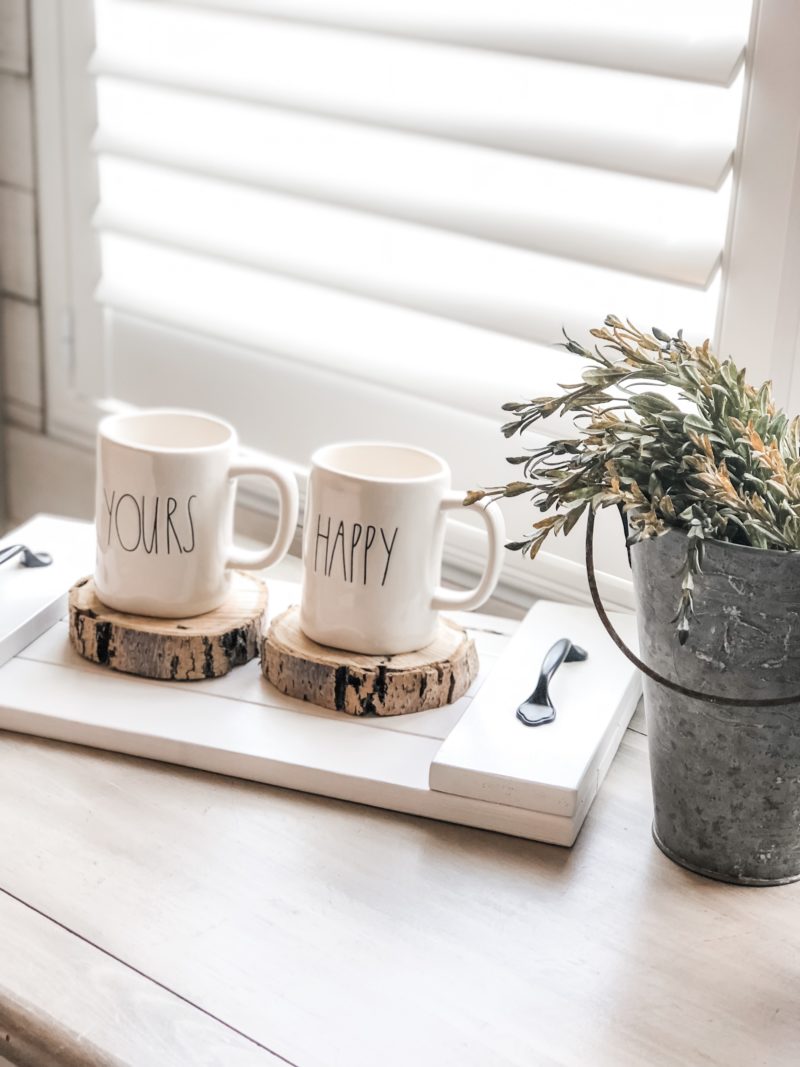
DIY WOOD TRAY
Would you like to see other ways I’ve styled this area of my home?
Check out THIS POST with my Halloween Decor.
Check out THIS POST for my Christmas decor.
Catch up on RECENT POSTS
- Easy Homemade Char Siu Pork
- Easy Homemade Crockpot Wassail
- Holiday Toy Deals at Walmart
- Personalized Acrylic Christmas Ornaments
- Easy Coconut Almond Chex Mix
Categories:
DIY + Handmade, Interiors, Our home, Seasonal, Seasonal Decor Ideas, Spring, Summer, Tablescapes,