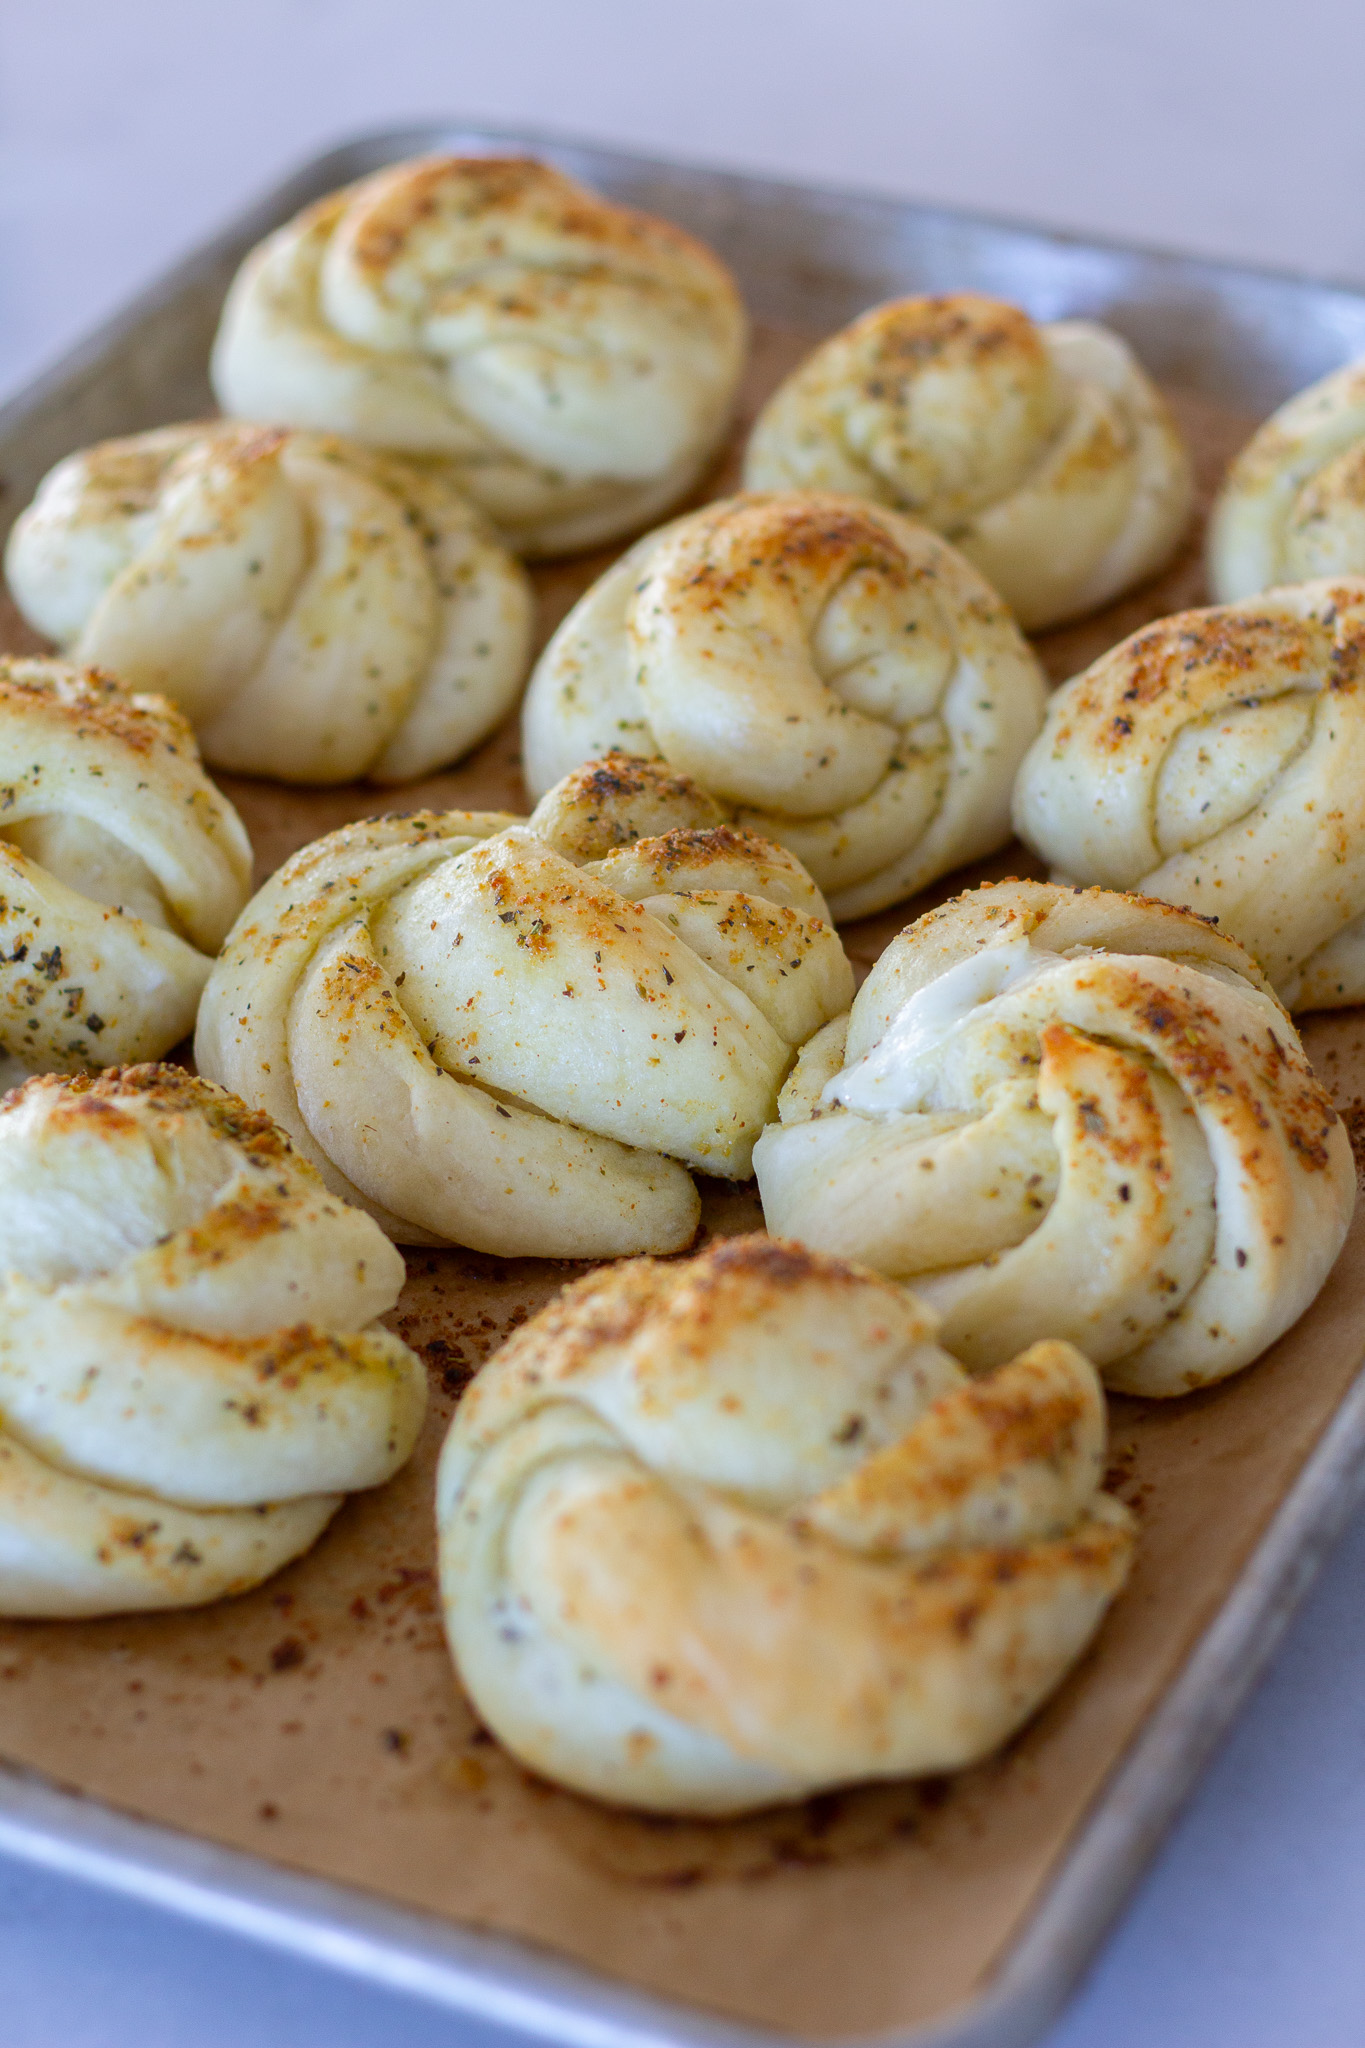
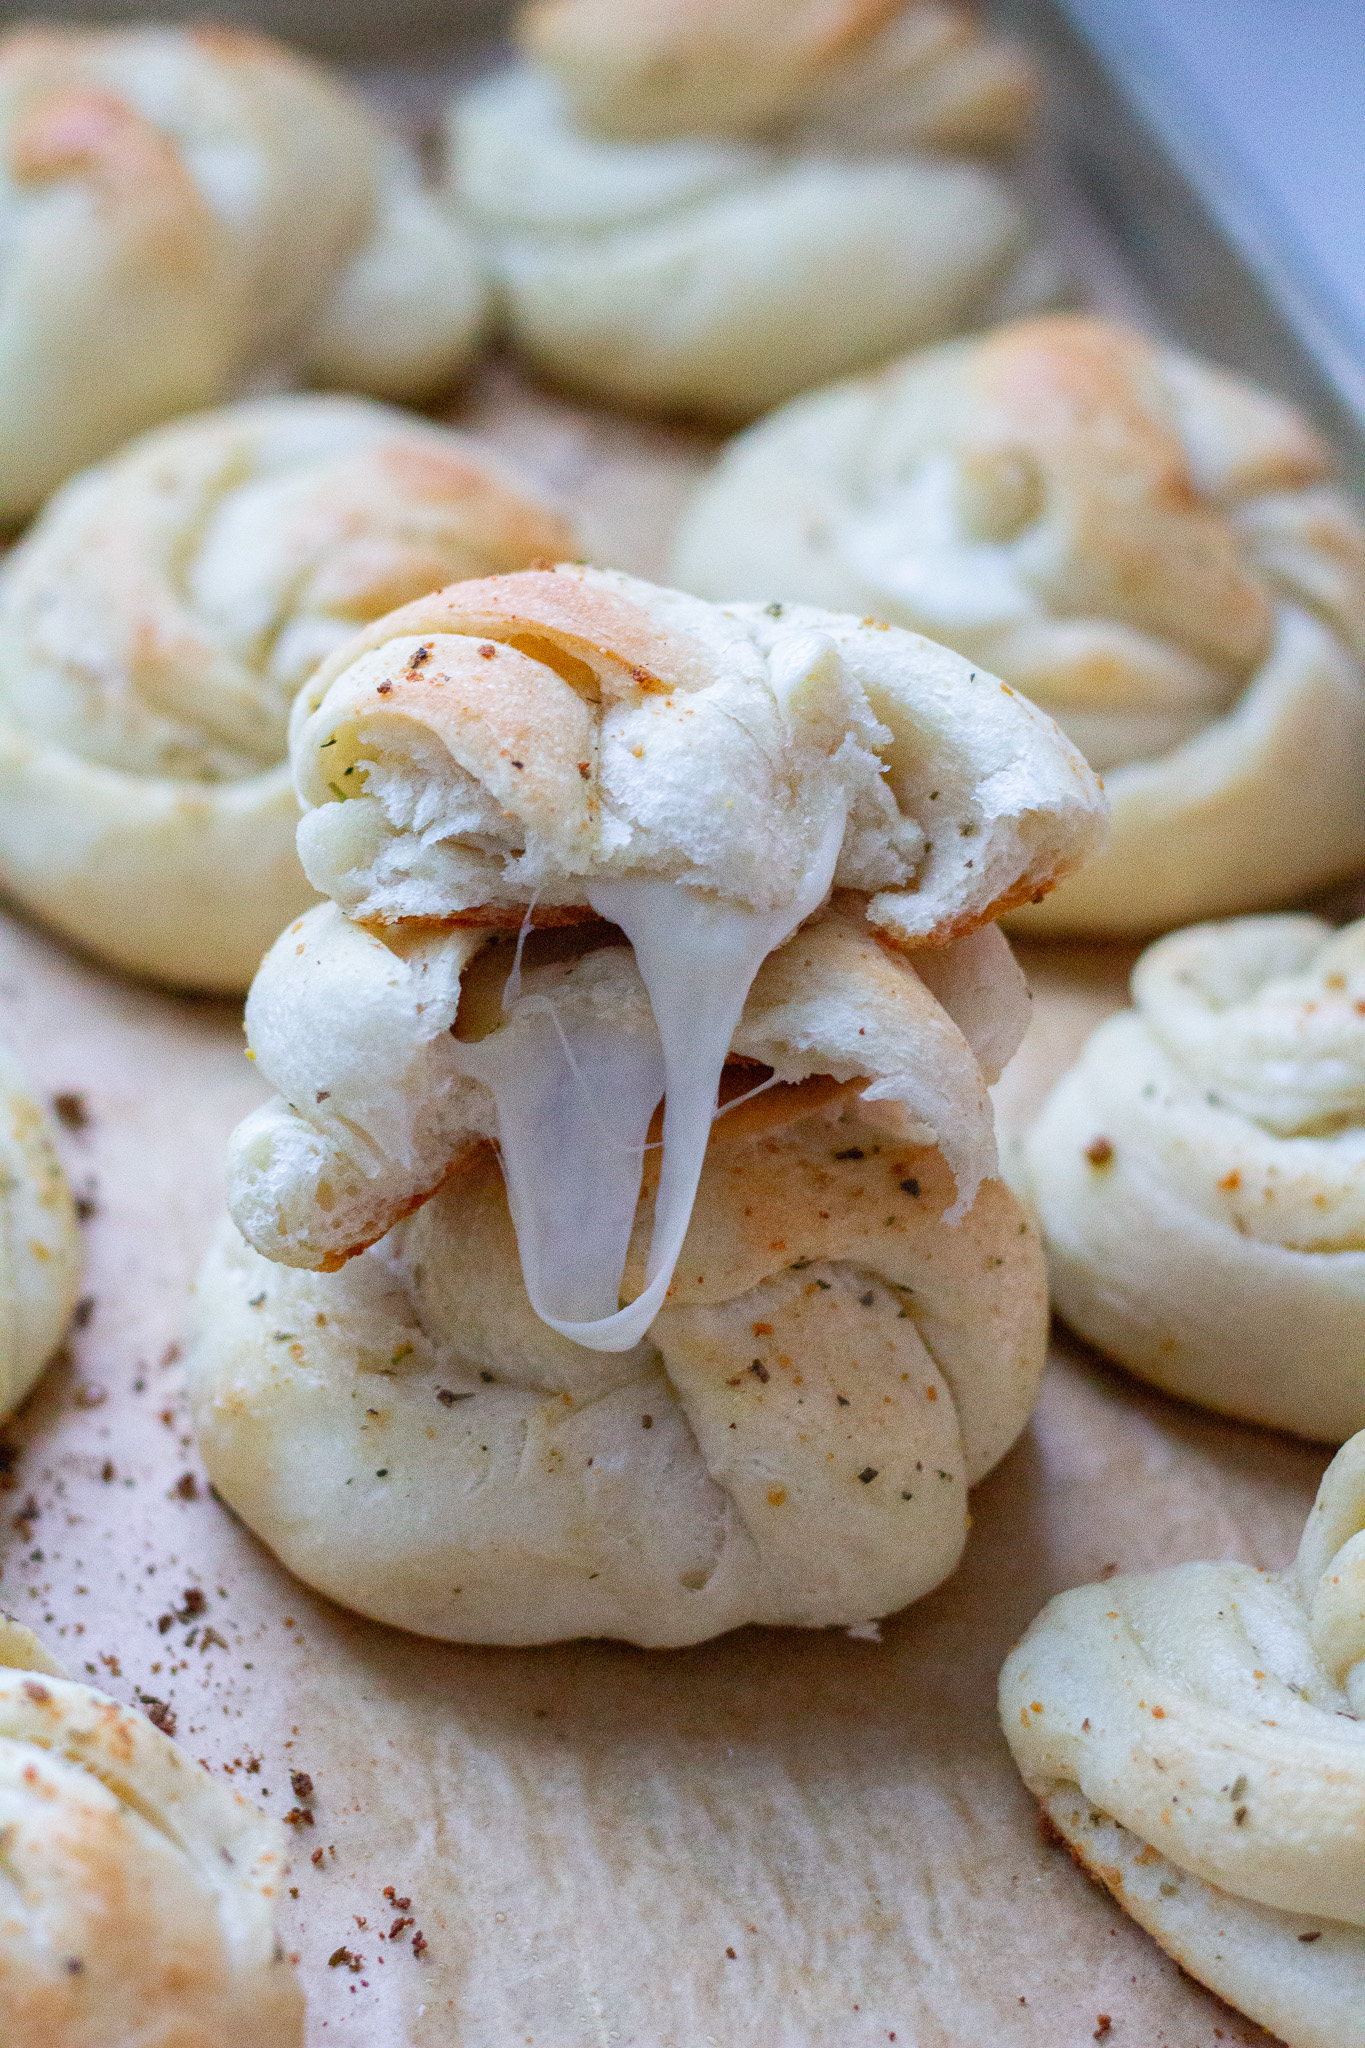
These cheesy garlic and herb knots are smothered in butter, parmesan and herb seasoning, stuffed with soft melted cheese and perfect as any appetizer or side dish! I love to serve them hot with a side of marinara dipping sauce.
Our family loves appetizers and bread side dishes like these yummy homemade pretzels, breadsticks and these 10 other fun appetizers are our favorites for parties and game nights. If you are new to bread-making and yeast makes you nervous, you might enjoy this post I wrote on getting bread yeast right every time.
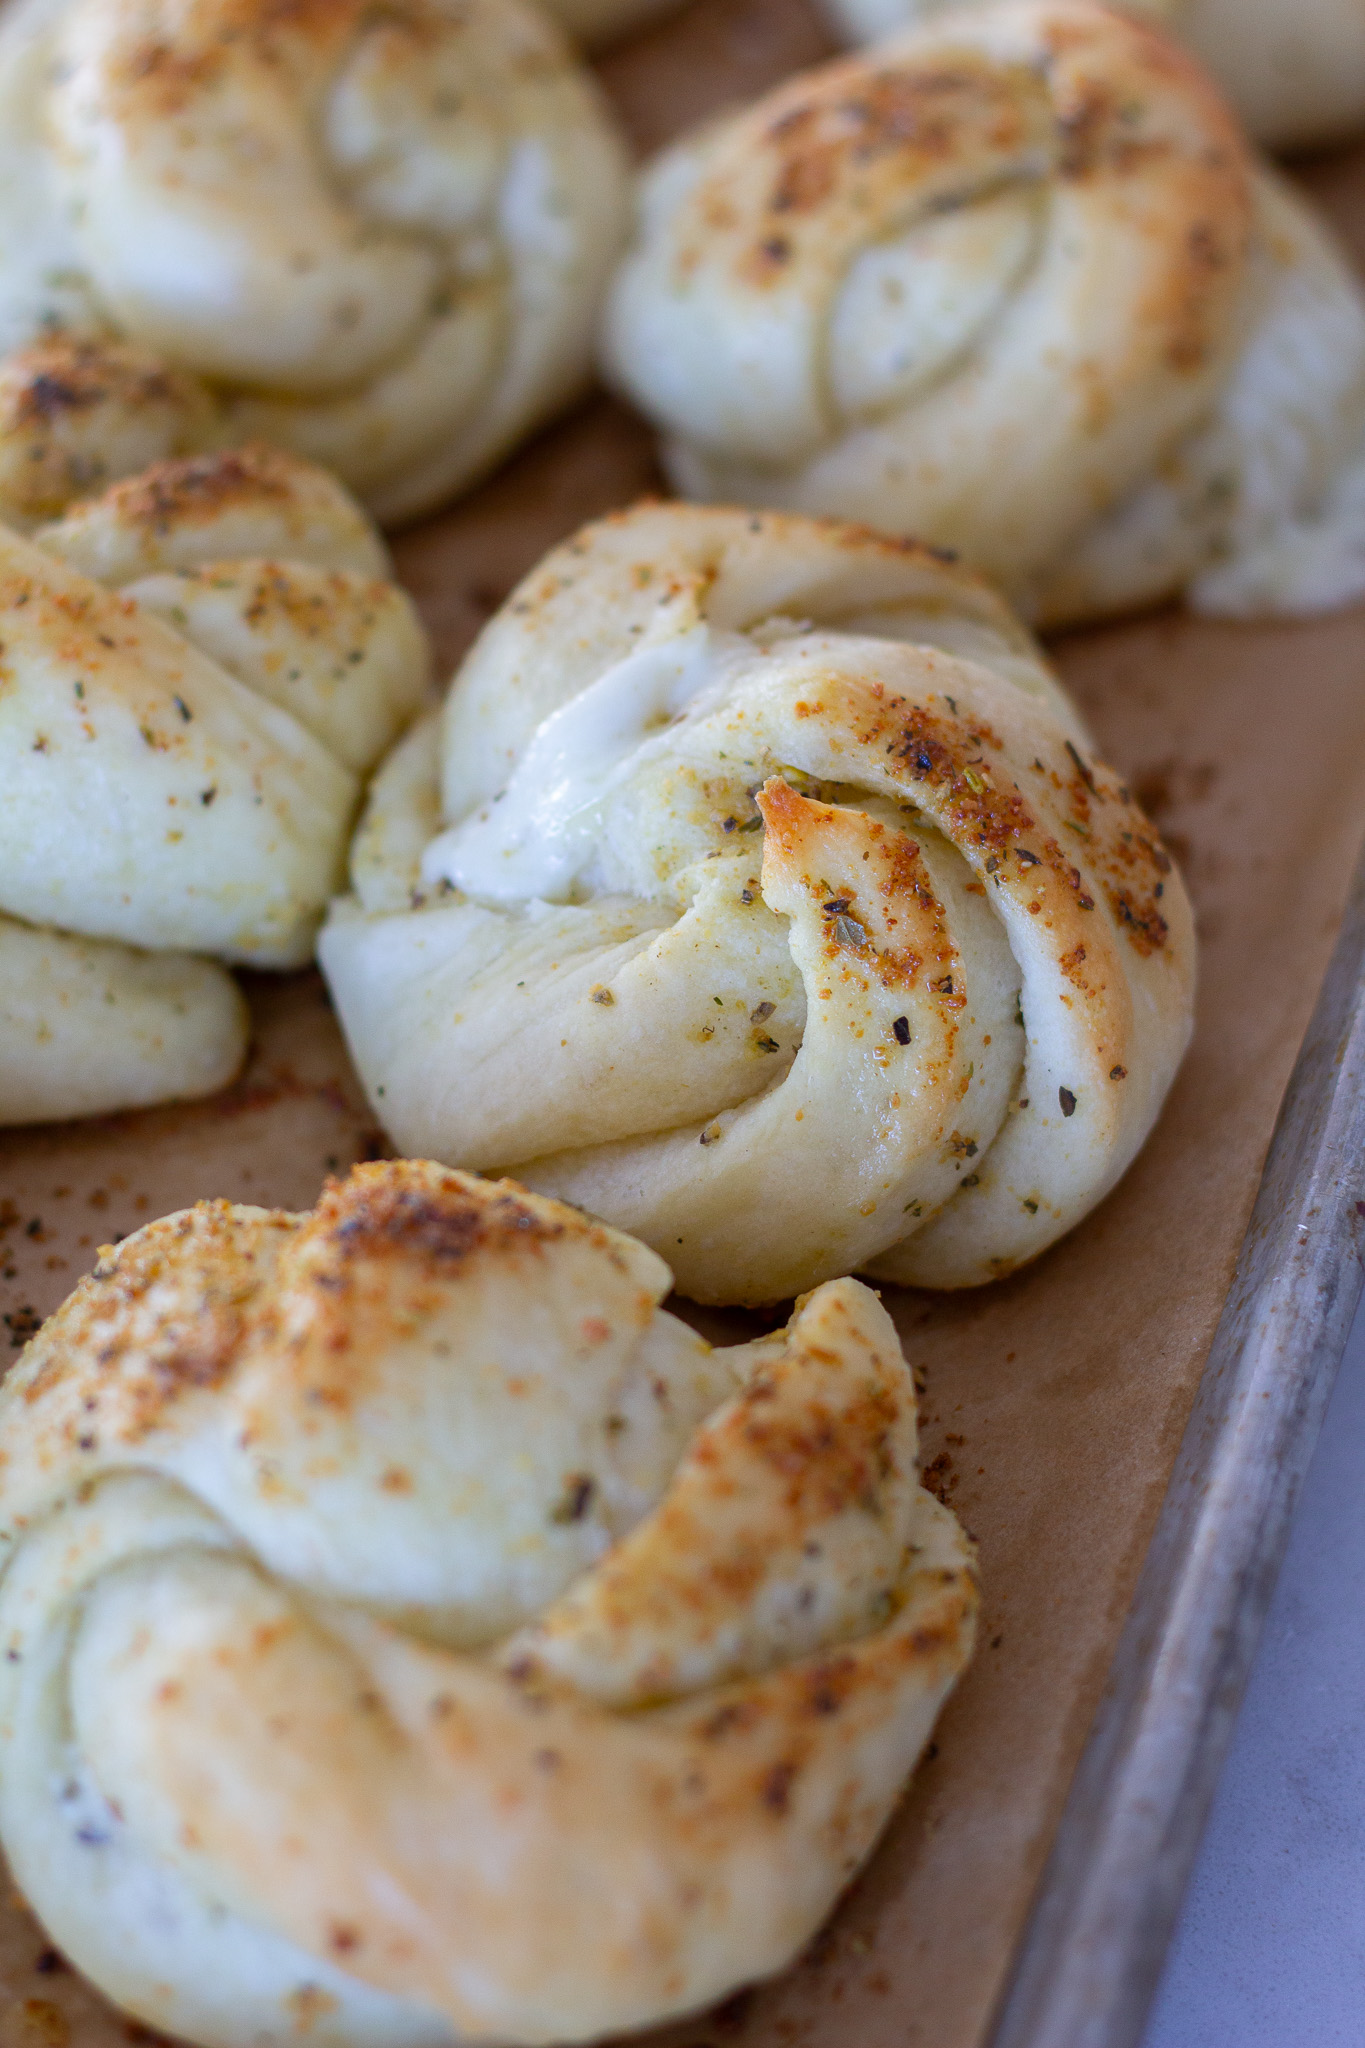
String cheese quartered into chunks makes the perfect-sized little chunk of cheese to add to these knots! This tasty side dish or appetizer is irresistible smothered in buttery seasoned goodness with warm melty cheese in the center. Marinara makes the perfect dipping sauce!
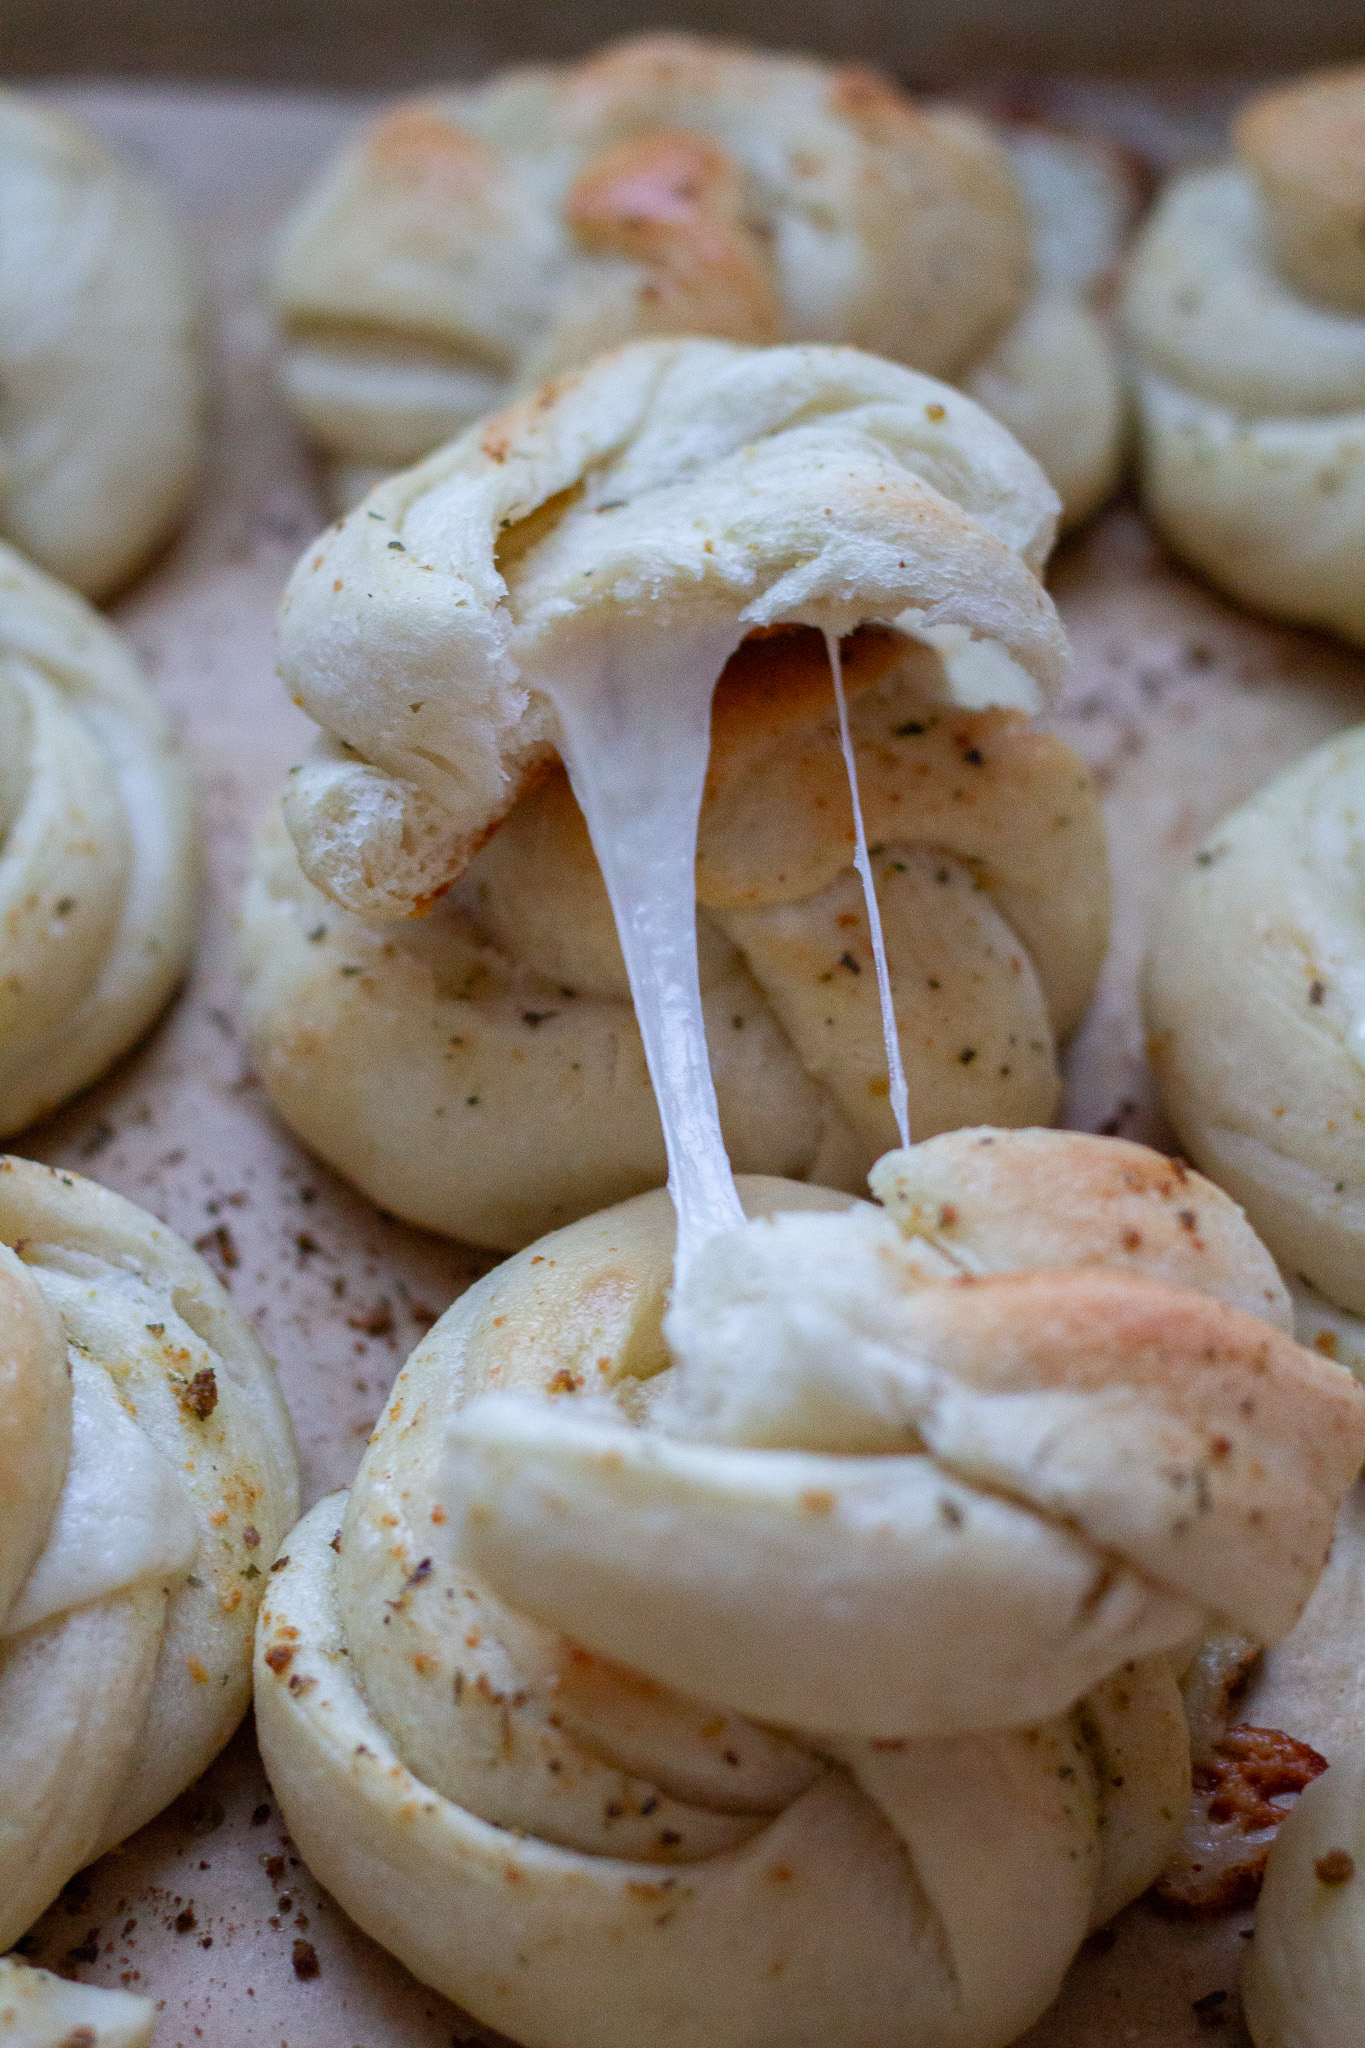
Cheesy Garlic and Herb Knots ingredient list:
- Water
- Yeast
- Sugar
- Flour
- Salt
- Salted butter
- Parmesan cheese or Dan-O Cheesoning
- Marinara sauce
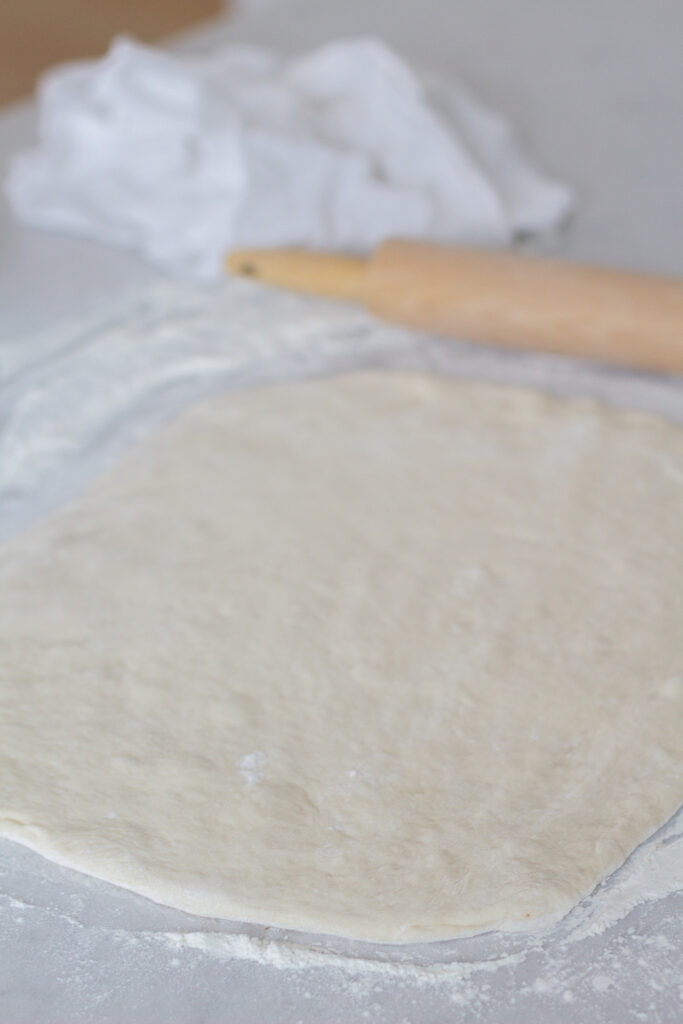
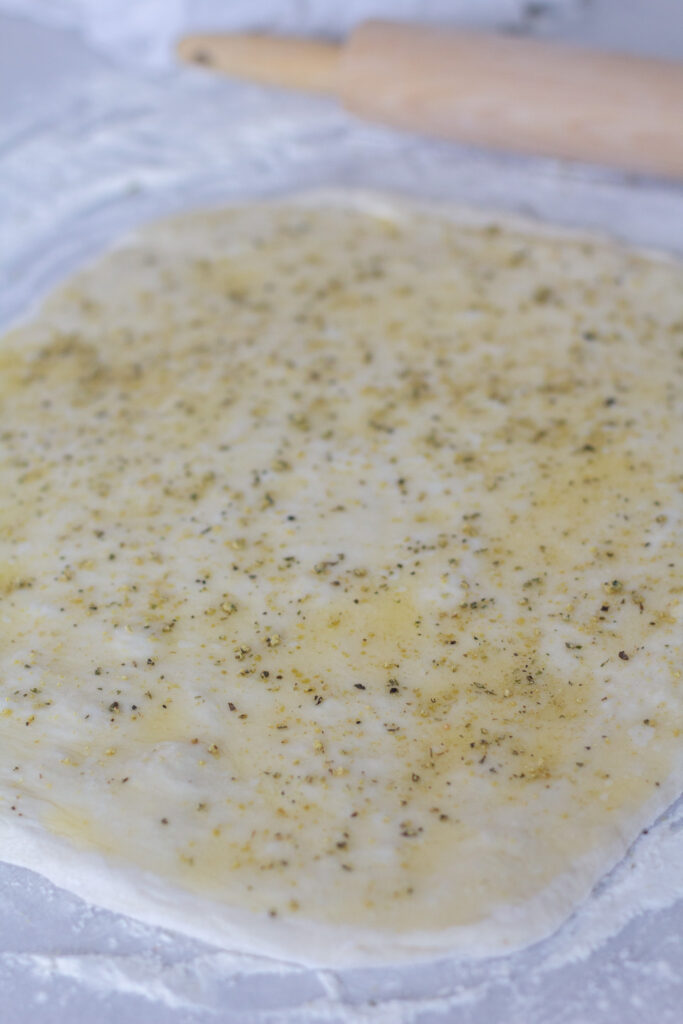
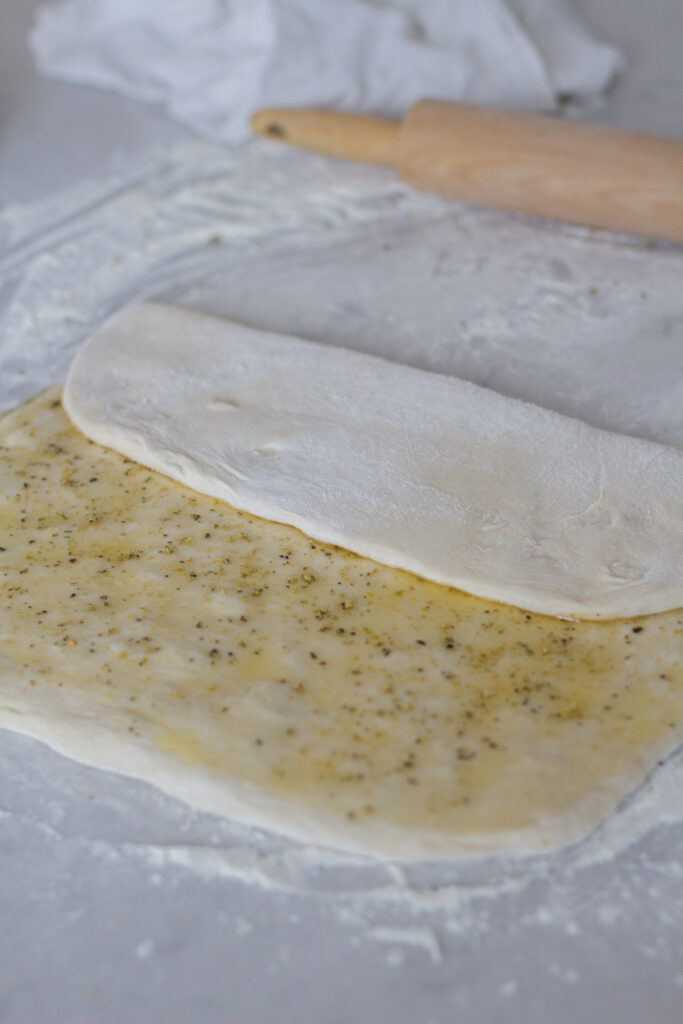
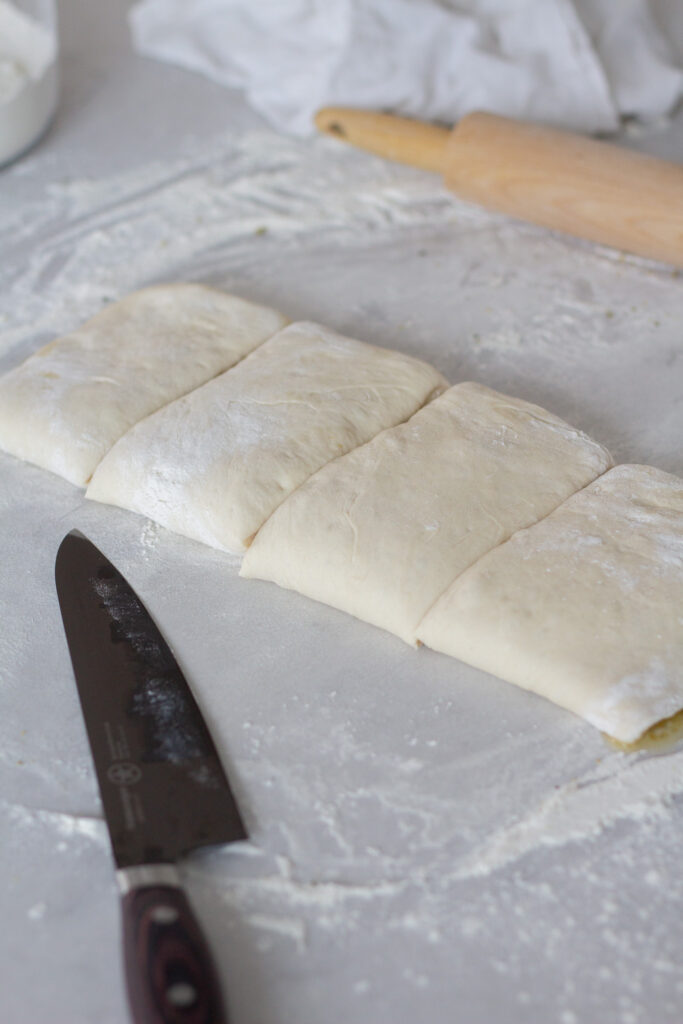
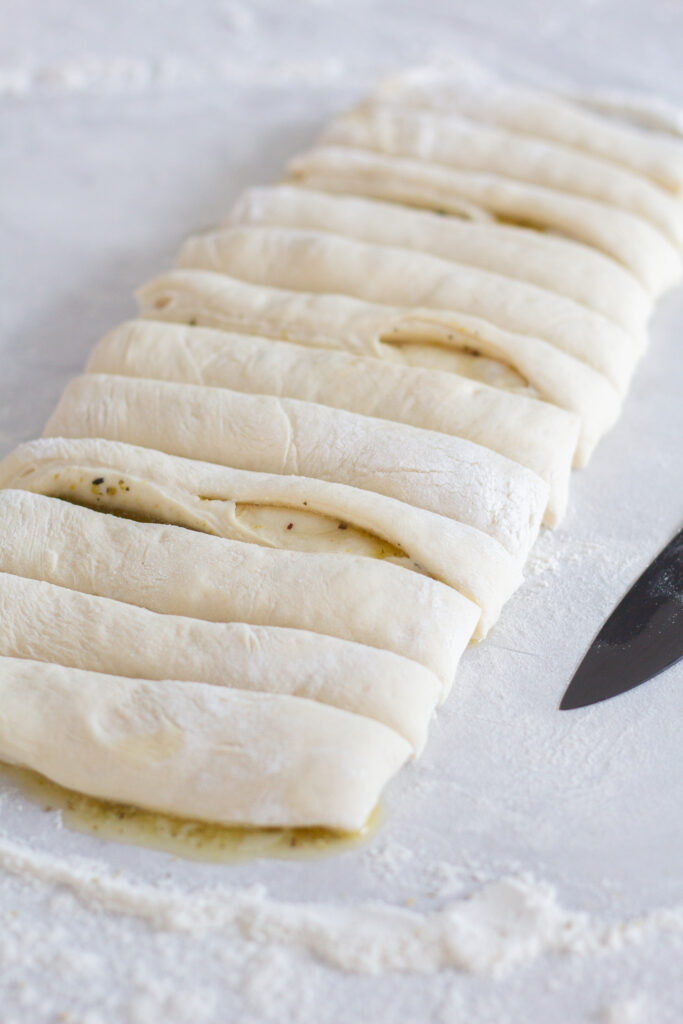
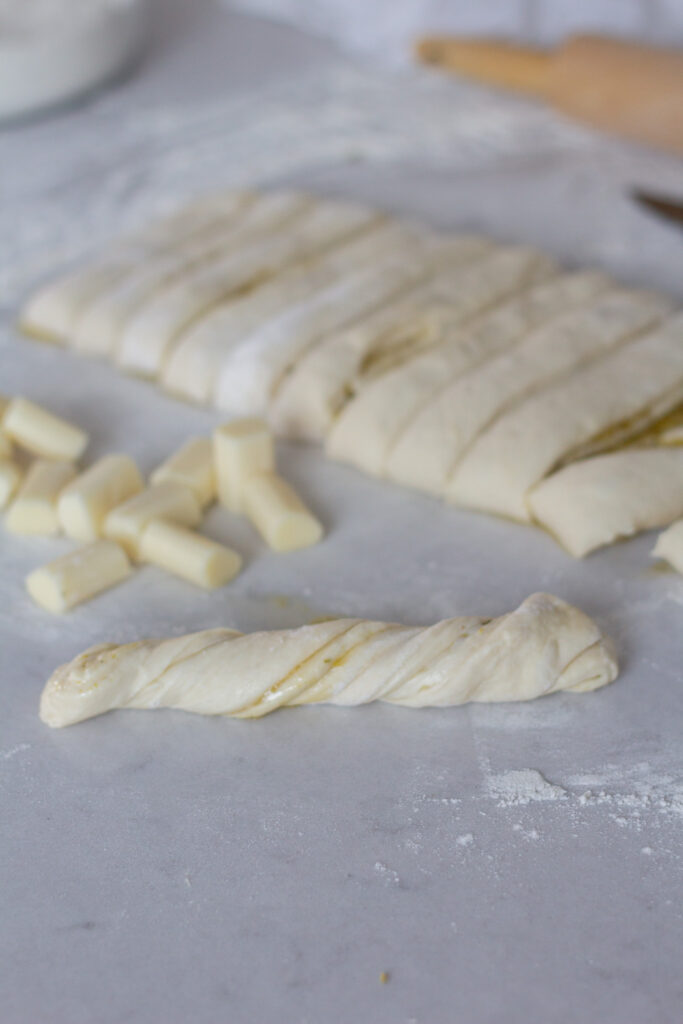
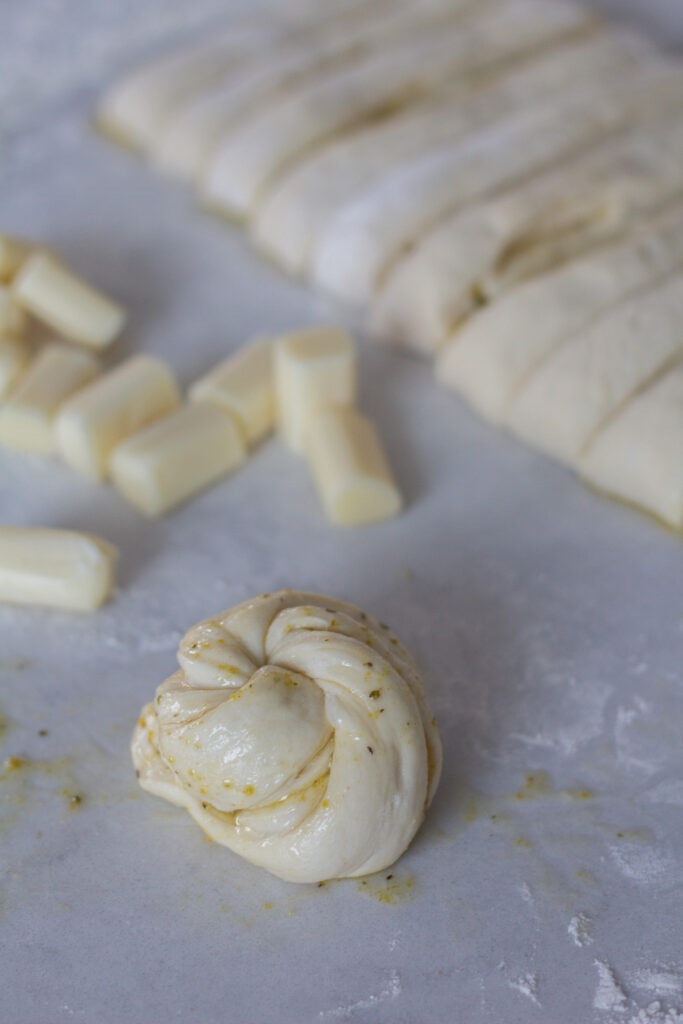
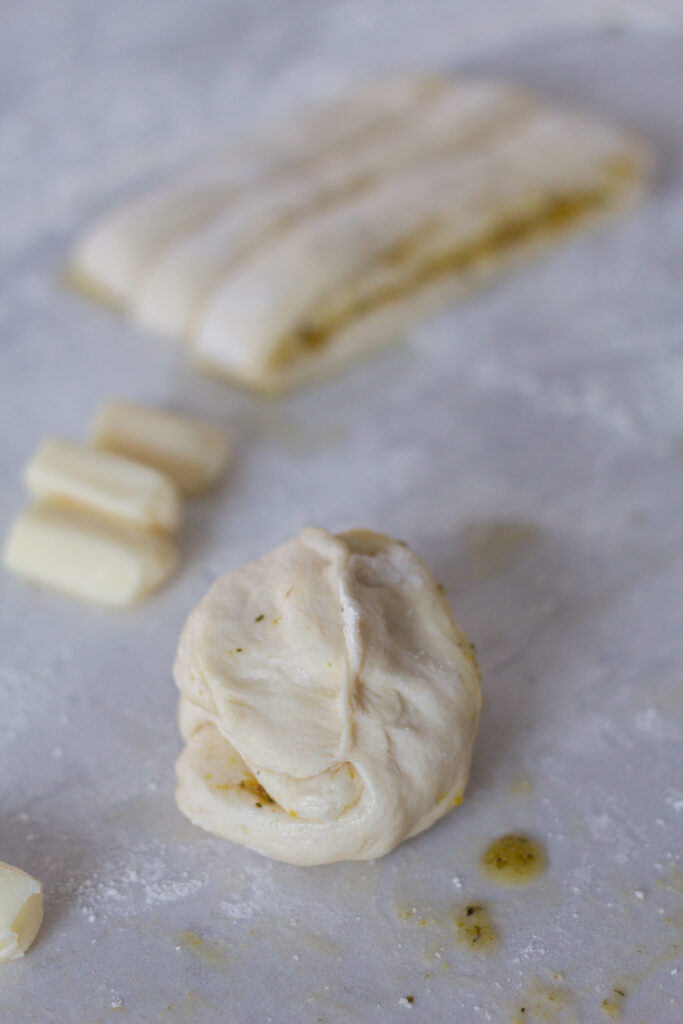
Tips for folding and stuffing cheesy garlic and herb knots
While twisting the strips of dough, fold the twist upward (not flat like a cinnamon roll is rolled up) and then fold the end down toward the bottom of the twist and underneath. Turn the knot over in your hand and stuff a small piece of the cheese up into the knot. Take your fingers and pinch the dough around the cheese to seal it.
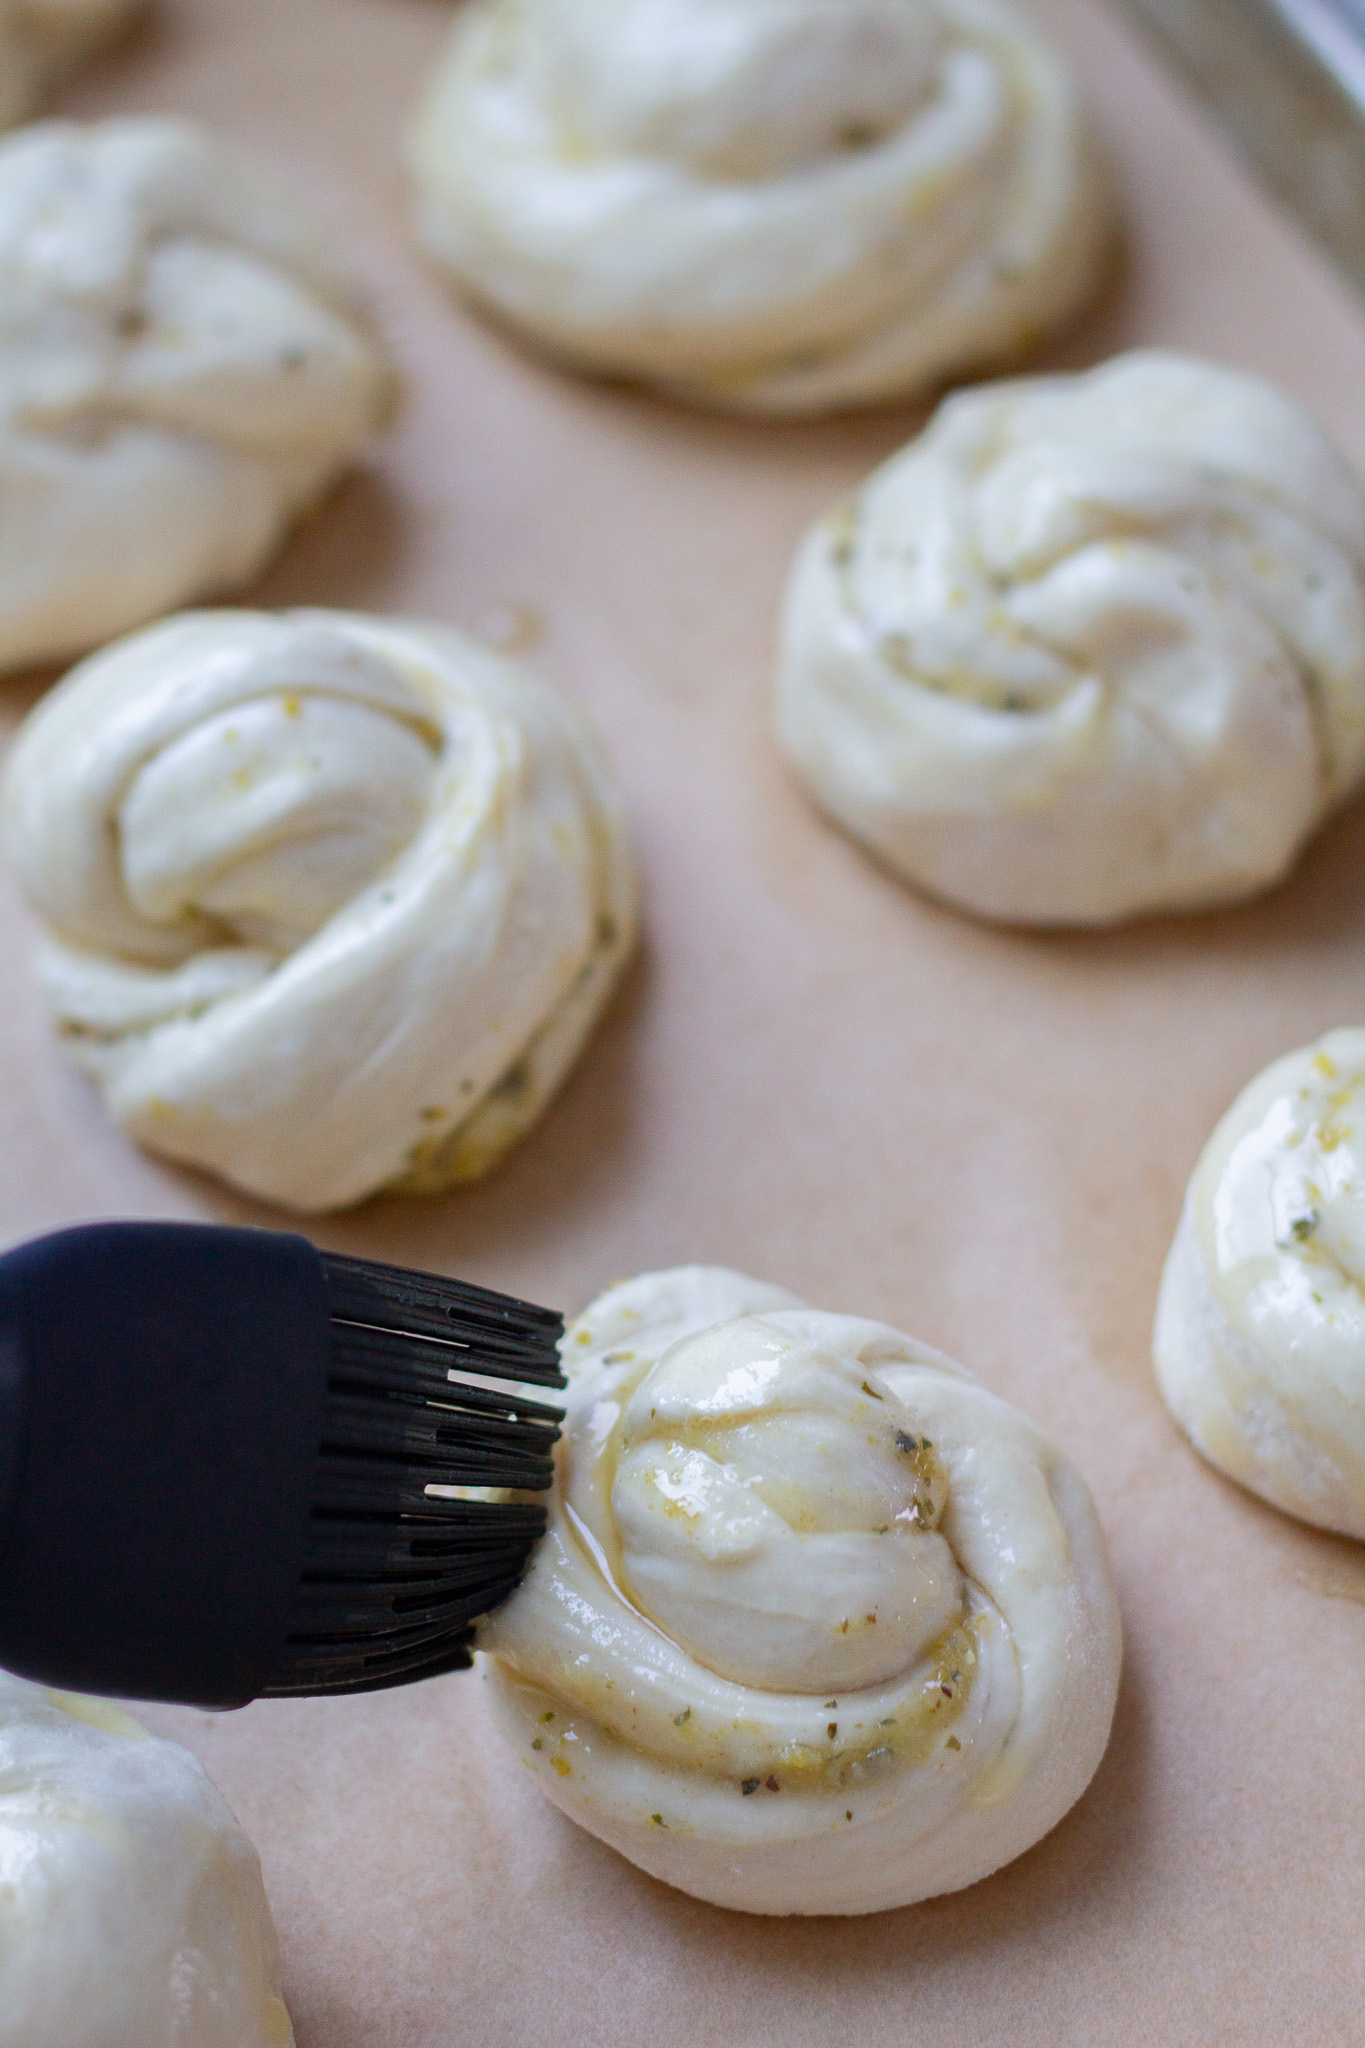
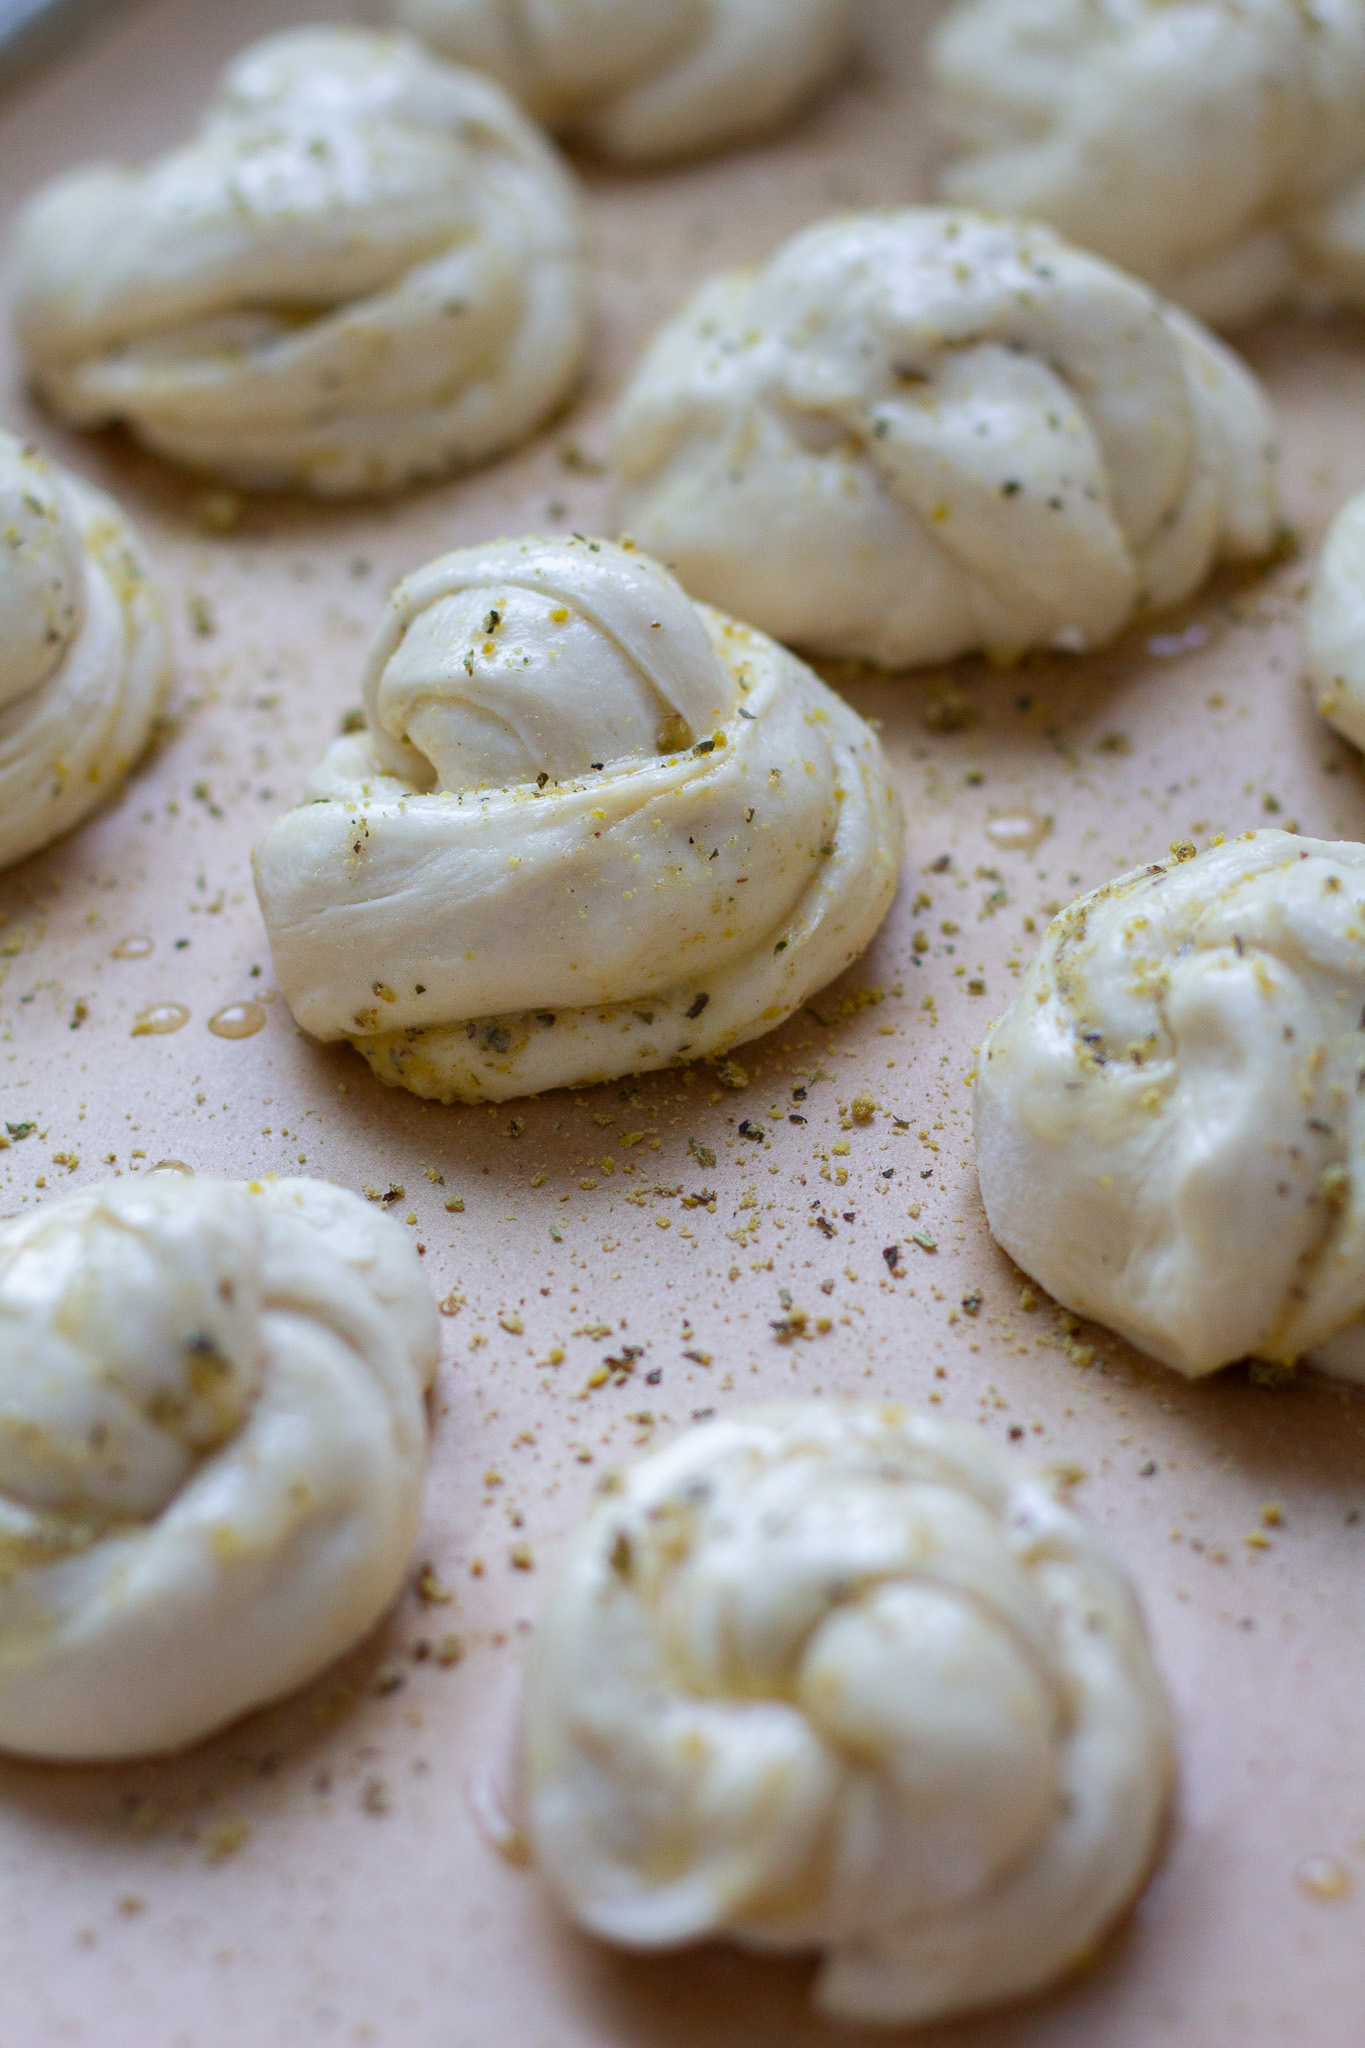
Flip the knot back over and place them on the baking sheet 3×4. Brush with additional butter and sprinkle with a little more of the parmesan or herb cheese seasoning (Dan-O’s).
Cheesy Garlic and Herb Knots
PrintIngredients
- 1 1/2 Cups Warm water
- 1 Tablespoon Dry Active Yeast I use SAF yeast
- 2 Tablespoons Sugar
- 3 1/2 Cups All-purpose flour
- 1 Teaspoon salt
- 4 Cheese sticks Quartered into 4 pieces each
- 4 oz 1/2 stick salted butter I use another tablespoon of melted butter to brush on the knots before baking.
- garlic powder
- Parmesan cheese or Dan-O's Cheesoning
Instructions
- In a mixer combine warm water and yeast with a pinch of sugar. Mix and allow to proof (active and bloom) for about 5-7 minutes or until foamy.2. Add 2 tablespoons sugar, 1 teaspoon salt and 3 1/2 cups flour. Let mix on medium speed until well combined. Switch to dough hook attachment and allow dough to knead for an additional 5 minutes. 3. If working by hand, make sure you knead the dough until it is smooth and elastic. Sprinkle counter with flour and remove dough from the bowl. Allow to rest on the counter covered with a flour sack towel for about 10 minutes. Roll dough into a 12×14 rectangle.4. Brush melted butter on dough. 5. Sprinkle lightly with garlic powder and a small amount of salt. I do not like to use garlic salt because contains too much salt to garlic powder. 6. Fold the dough into thirds from the top. Slice into 12 even strips. Twist the strips into a circle and add one of your chunks of string cheese to the bottom of the knot. Pinch dough around it to seal so the cheese won't melt out from the bottom. Brush knots with melted butter and sprinkle with Dan-O cheesoning or you can add parmesan. 7.Allow the bread knots to rise for 15 minutes while oven pre-heats to 400°8. Bake for 18-20 minutes or until golden brown. Enjoy while hot! We love to dip them in marinara sauce.
Variation for this recipe:
- If you are looking for a fun dinner idea, you could easily add pepperoni to the center of these cheesy garlic and herb knots for a pizza style dinner! Serve with a side of salad topped with olives, pepperoni, shredded cheese and chopped green peppers. Ranch for dressing.
- Allow knots to slightly cool and cut like sliders to use as a meatball sandwich!
- If you are looking to make a sweet version of this recipe, you might enjoy this easy and fast cinnamon twist loaf!



These look so yummy! I wonder if they’ll match with my pumpkin soup that we are having today for dinner <3
Sonja
Blue Tea Tile
http://www.blueteatile.com
Great recipe! The dough is so soft! The only difficult thing is figuring out how to twist the bread into the correct shape. I would love to see a short, slower-paced video explaining how to twist and shape the bread. I did the best I could, and they still turned out great! Highly recommend!