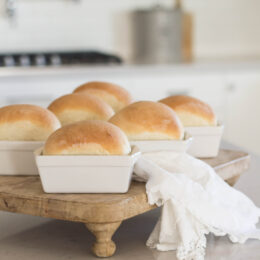
Is there anything better in the whole world than the smell of homemade bread fresh from the oven? You will love this easy homemade white bread for sandwiches, fresh toast, snacking or serving with soup! It makes 2 regular or 6 mini loaves.
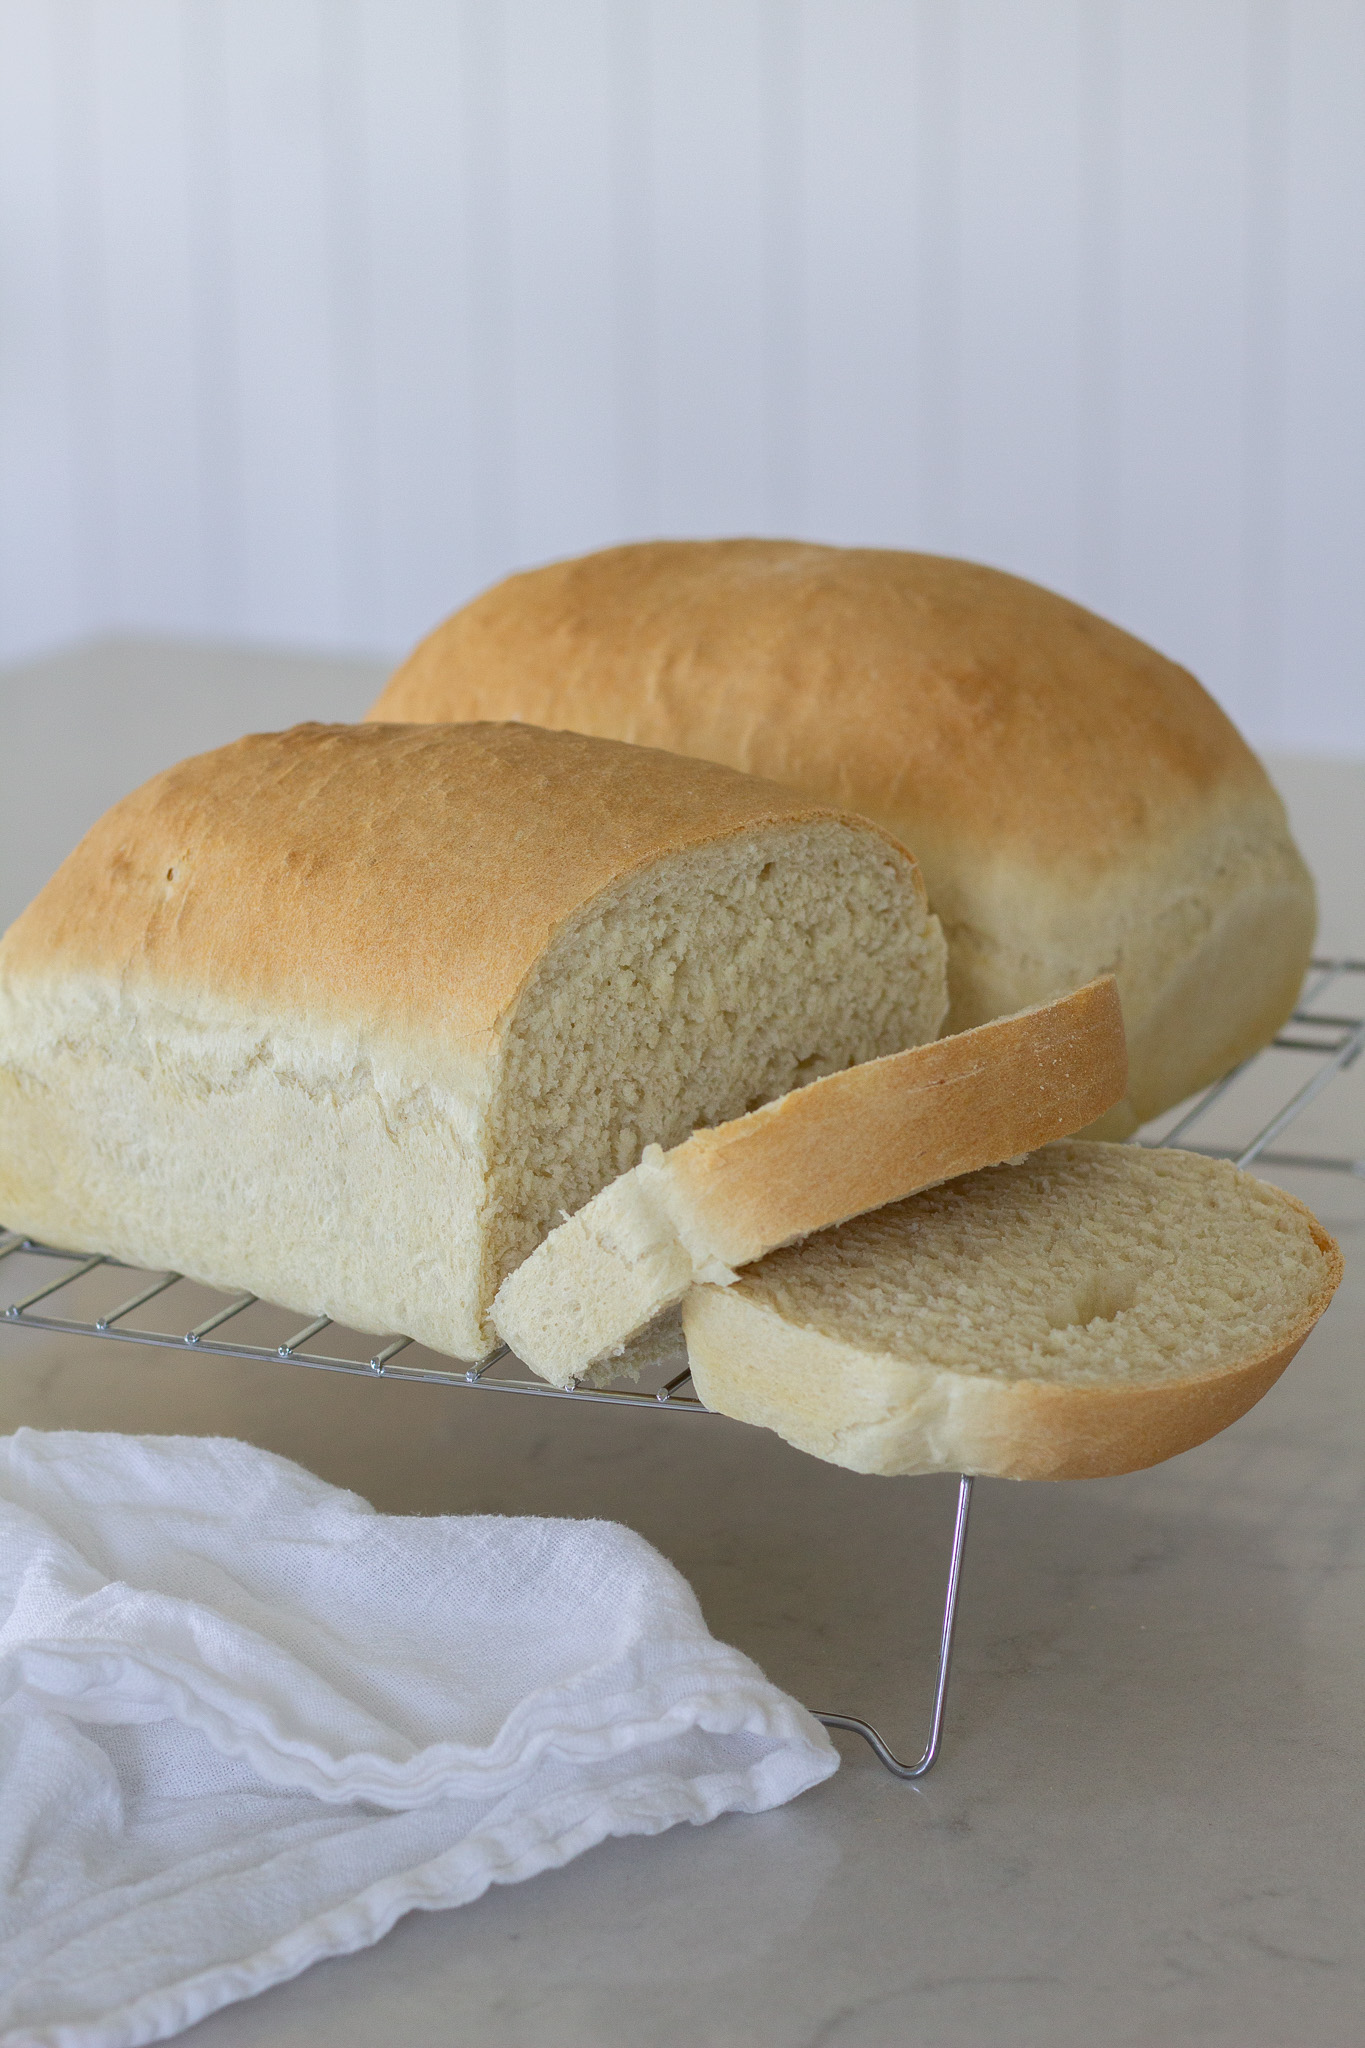
If you love homemade bread, you will definitely want to check out our favorite fool-proof artisan (crusty) bread, or this delicious recipe for Honey Whole Wheat, or maybe this one for my very favorite 2 loaf French bread!
One of my favorite childhood memories is visiting my grandma Hilvia’s kitchen. There was always a comforting, welcoming scent of pot roast and homemade bread. I shared many special moments visiting with her at the table.
My mom also had a love for baking and bread-making. Often times after school, my brother’s and I would run through the back door and hear mom’s wheat grinder working away in the kitchen. We knew within a few hours we’d be sinking our teeth into a soft slice of wheat bread with a crispy crust, smothered in butter and honey. I remember always asking, “mom, is this for us or someone else?” She has always served others by sharing her baked goodies.
Simple ingredients for this easy homemade white bread:
- 3 cups all purpose flour
- 3 cups bread flour
- 3 Tablespoons sugar
- 1 Tablespoon salt
- 2 Tablespoons lard (shortening can be subbed but lard is best!)
- 4 1/2 teaspoons regular or quick active dry yeast I use SAF-INSTANT
- 2 1/4 cups very warm water
Tips for success with yeast
- Make sure your yeast is active. This is so important and will make or break the success of your bread. When yeast doesn’t activate (or foam up), your bread will not rise or achieve that fluffy, chewy, soft texture that makes bread so wonderful. Check out this post with tips for bread yeast success!
- Hot water kills yeast. Be sure to test your water with your fingers or let the water run on your wrist to make sure you get it very warm, but not hot. I like to compare it to the bathwater temperature you would bathe a new baby in.
- Use a good brand. I love using SAF-INSTANT brand yeast. It is my tried and true, favorite yeast that I’ve used for over a decade. After opening a pack, store it in a ziplock bag and keep it in the freezer to help it stay fresh.
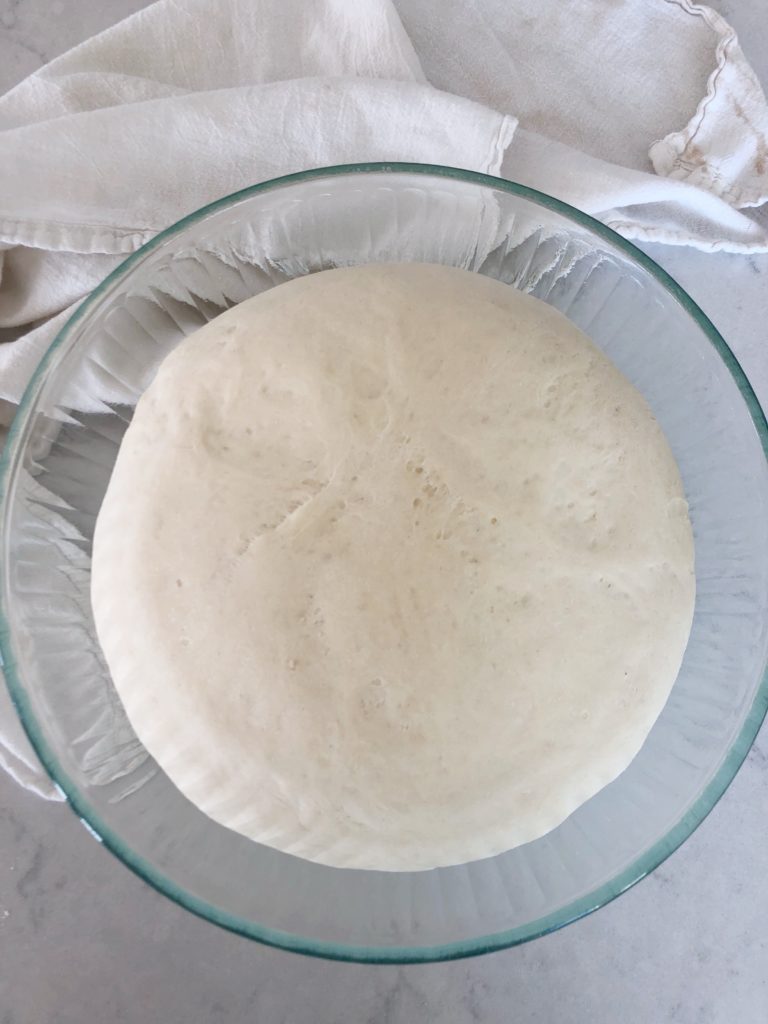
- Be sure to be patient and give your dough time to rise! I like to wait 60 minutes or more to ensure that my dough has doubled in size before I shape the loaves. Then, again, I give additional rise time so the bread becomes airy and light during baking.
How many loaves will this recipe make?
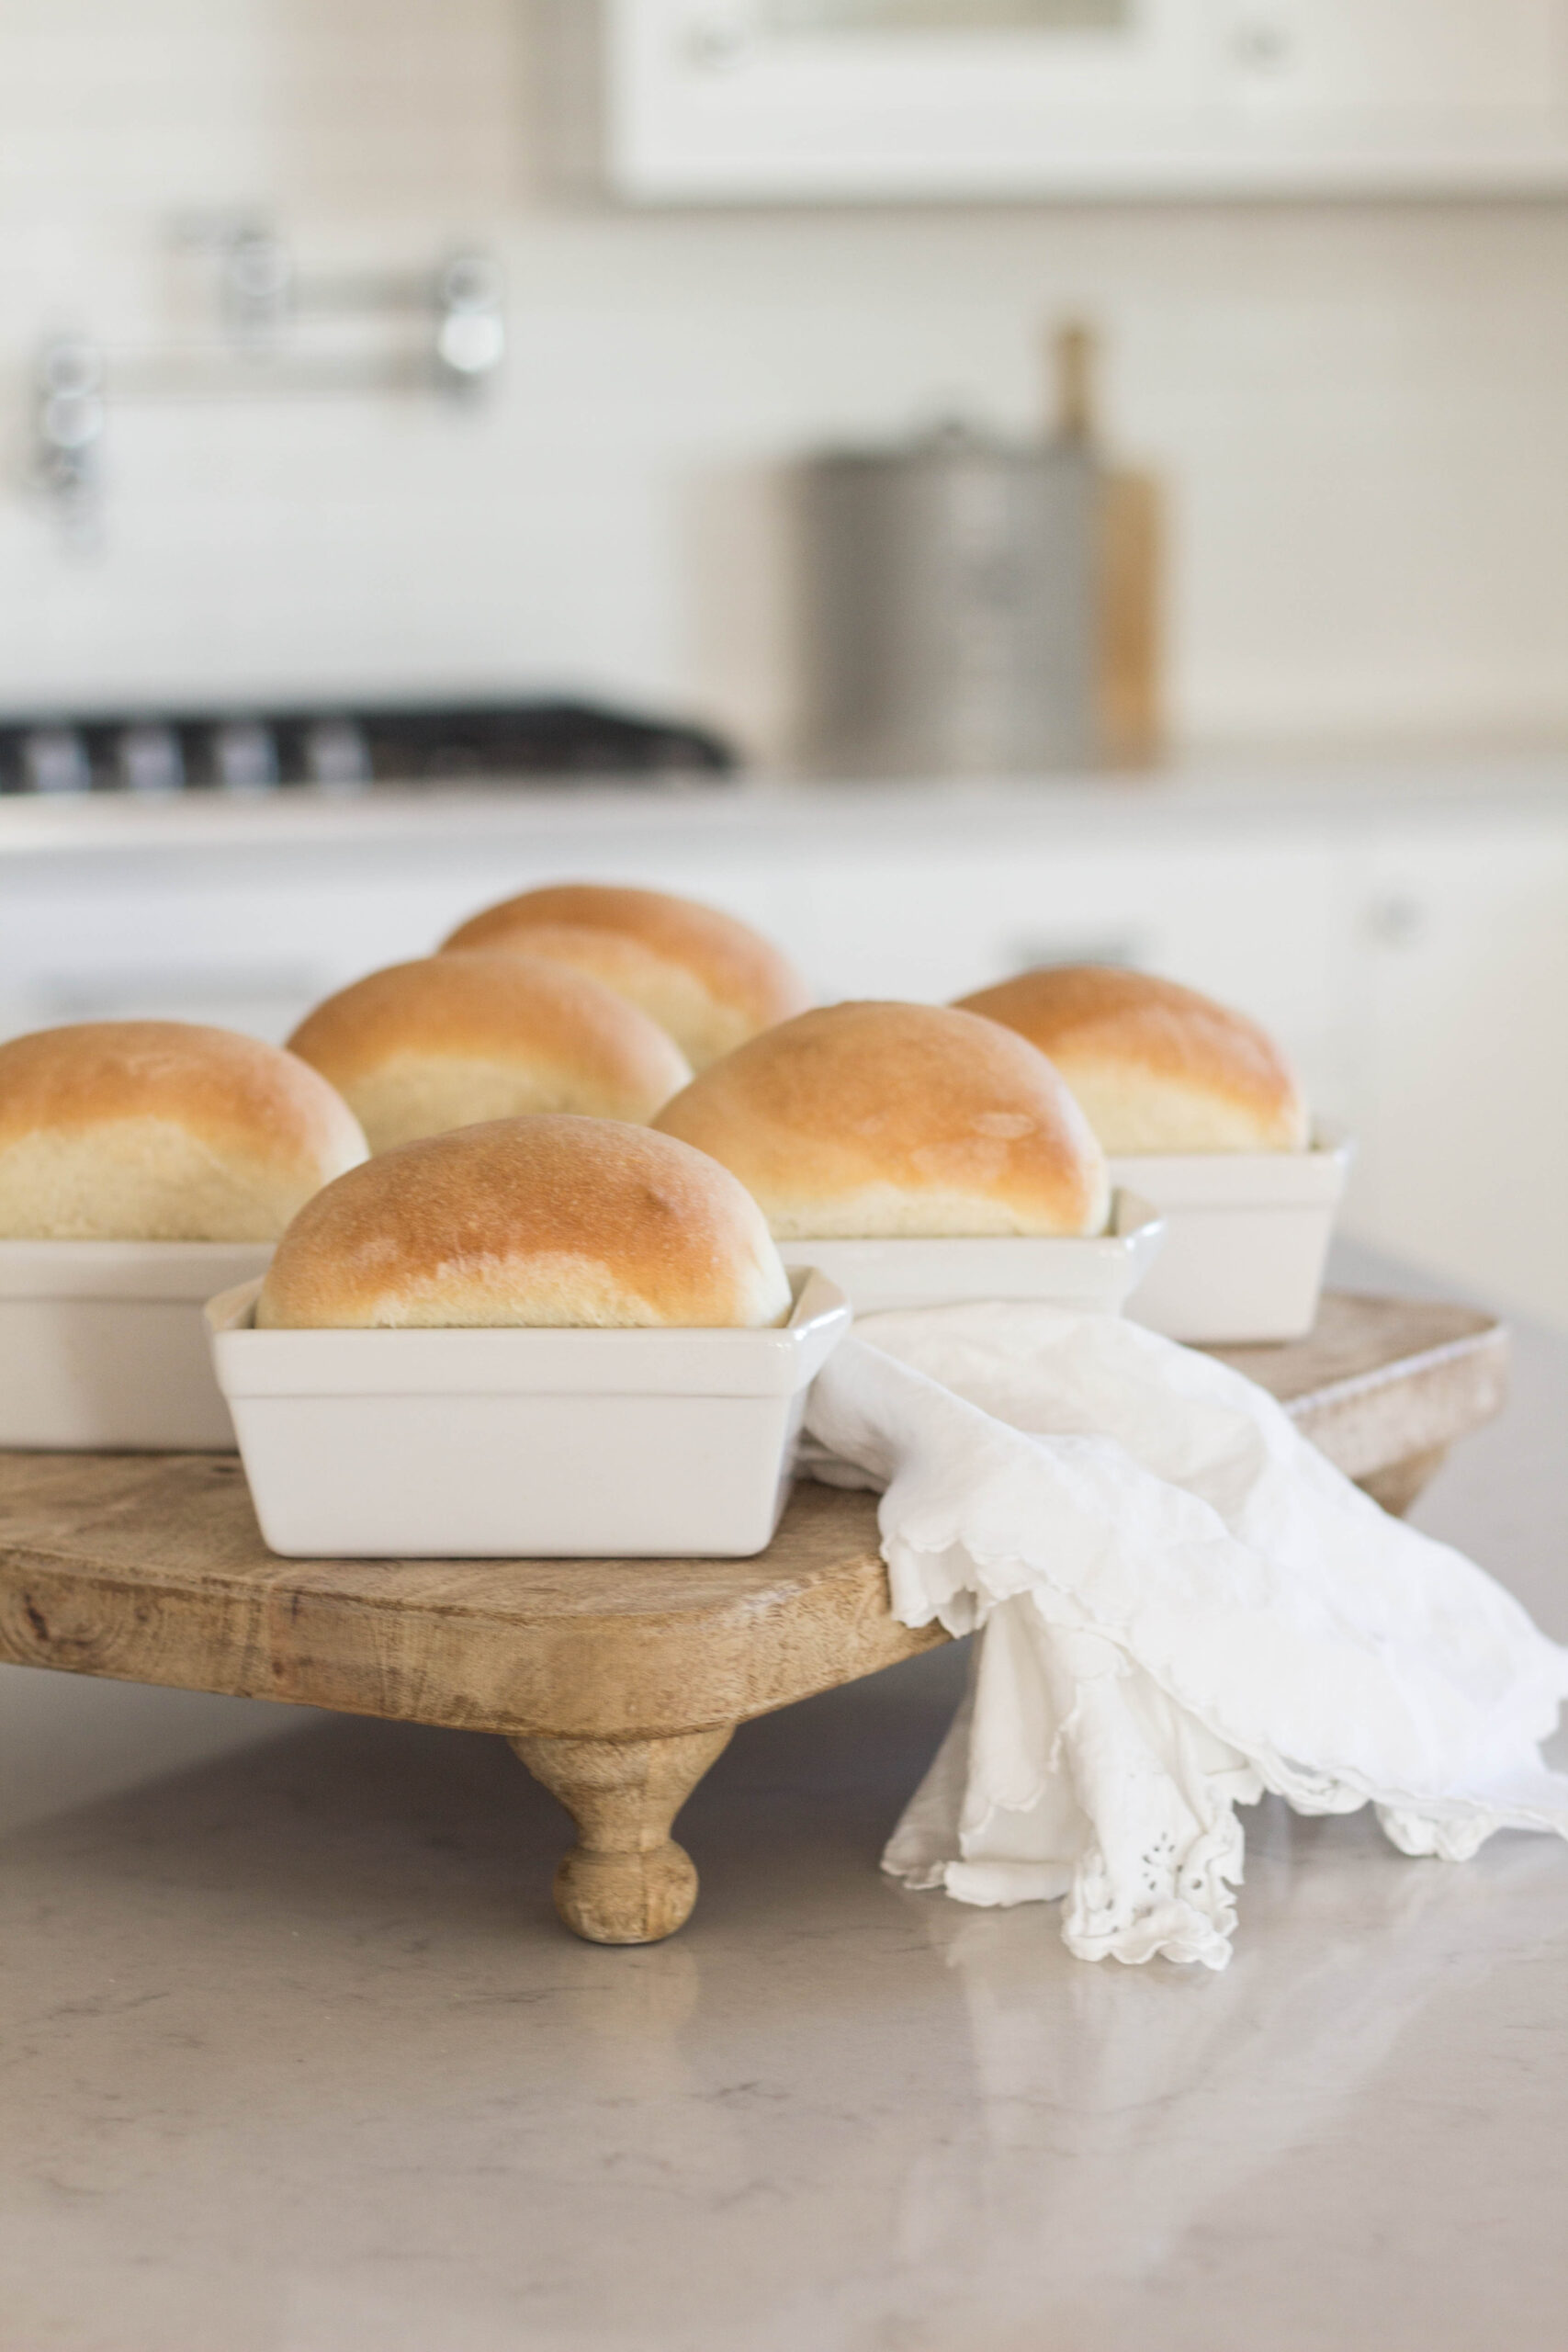
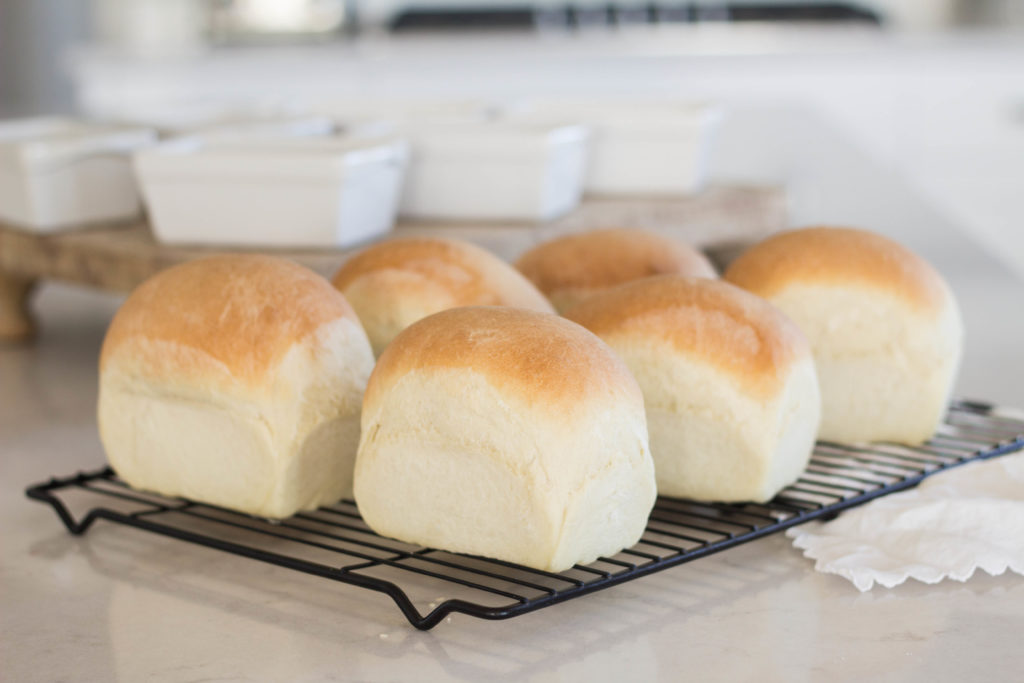
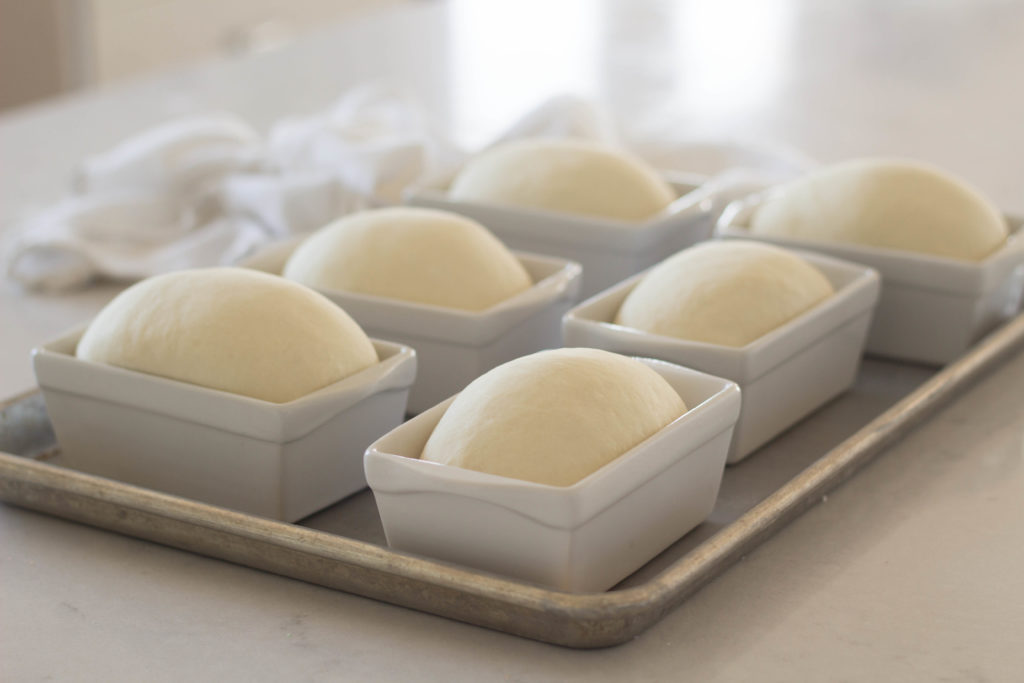
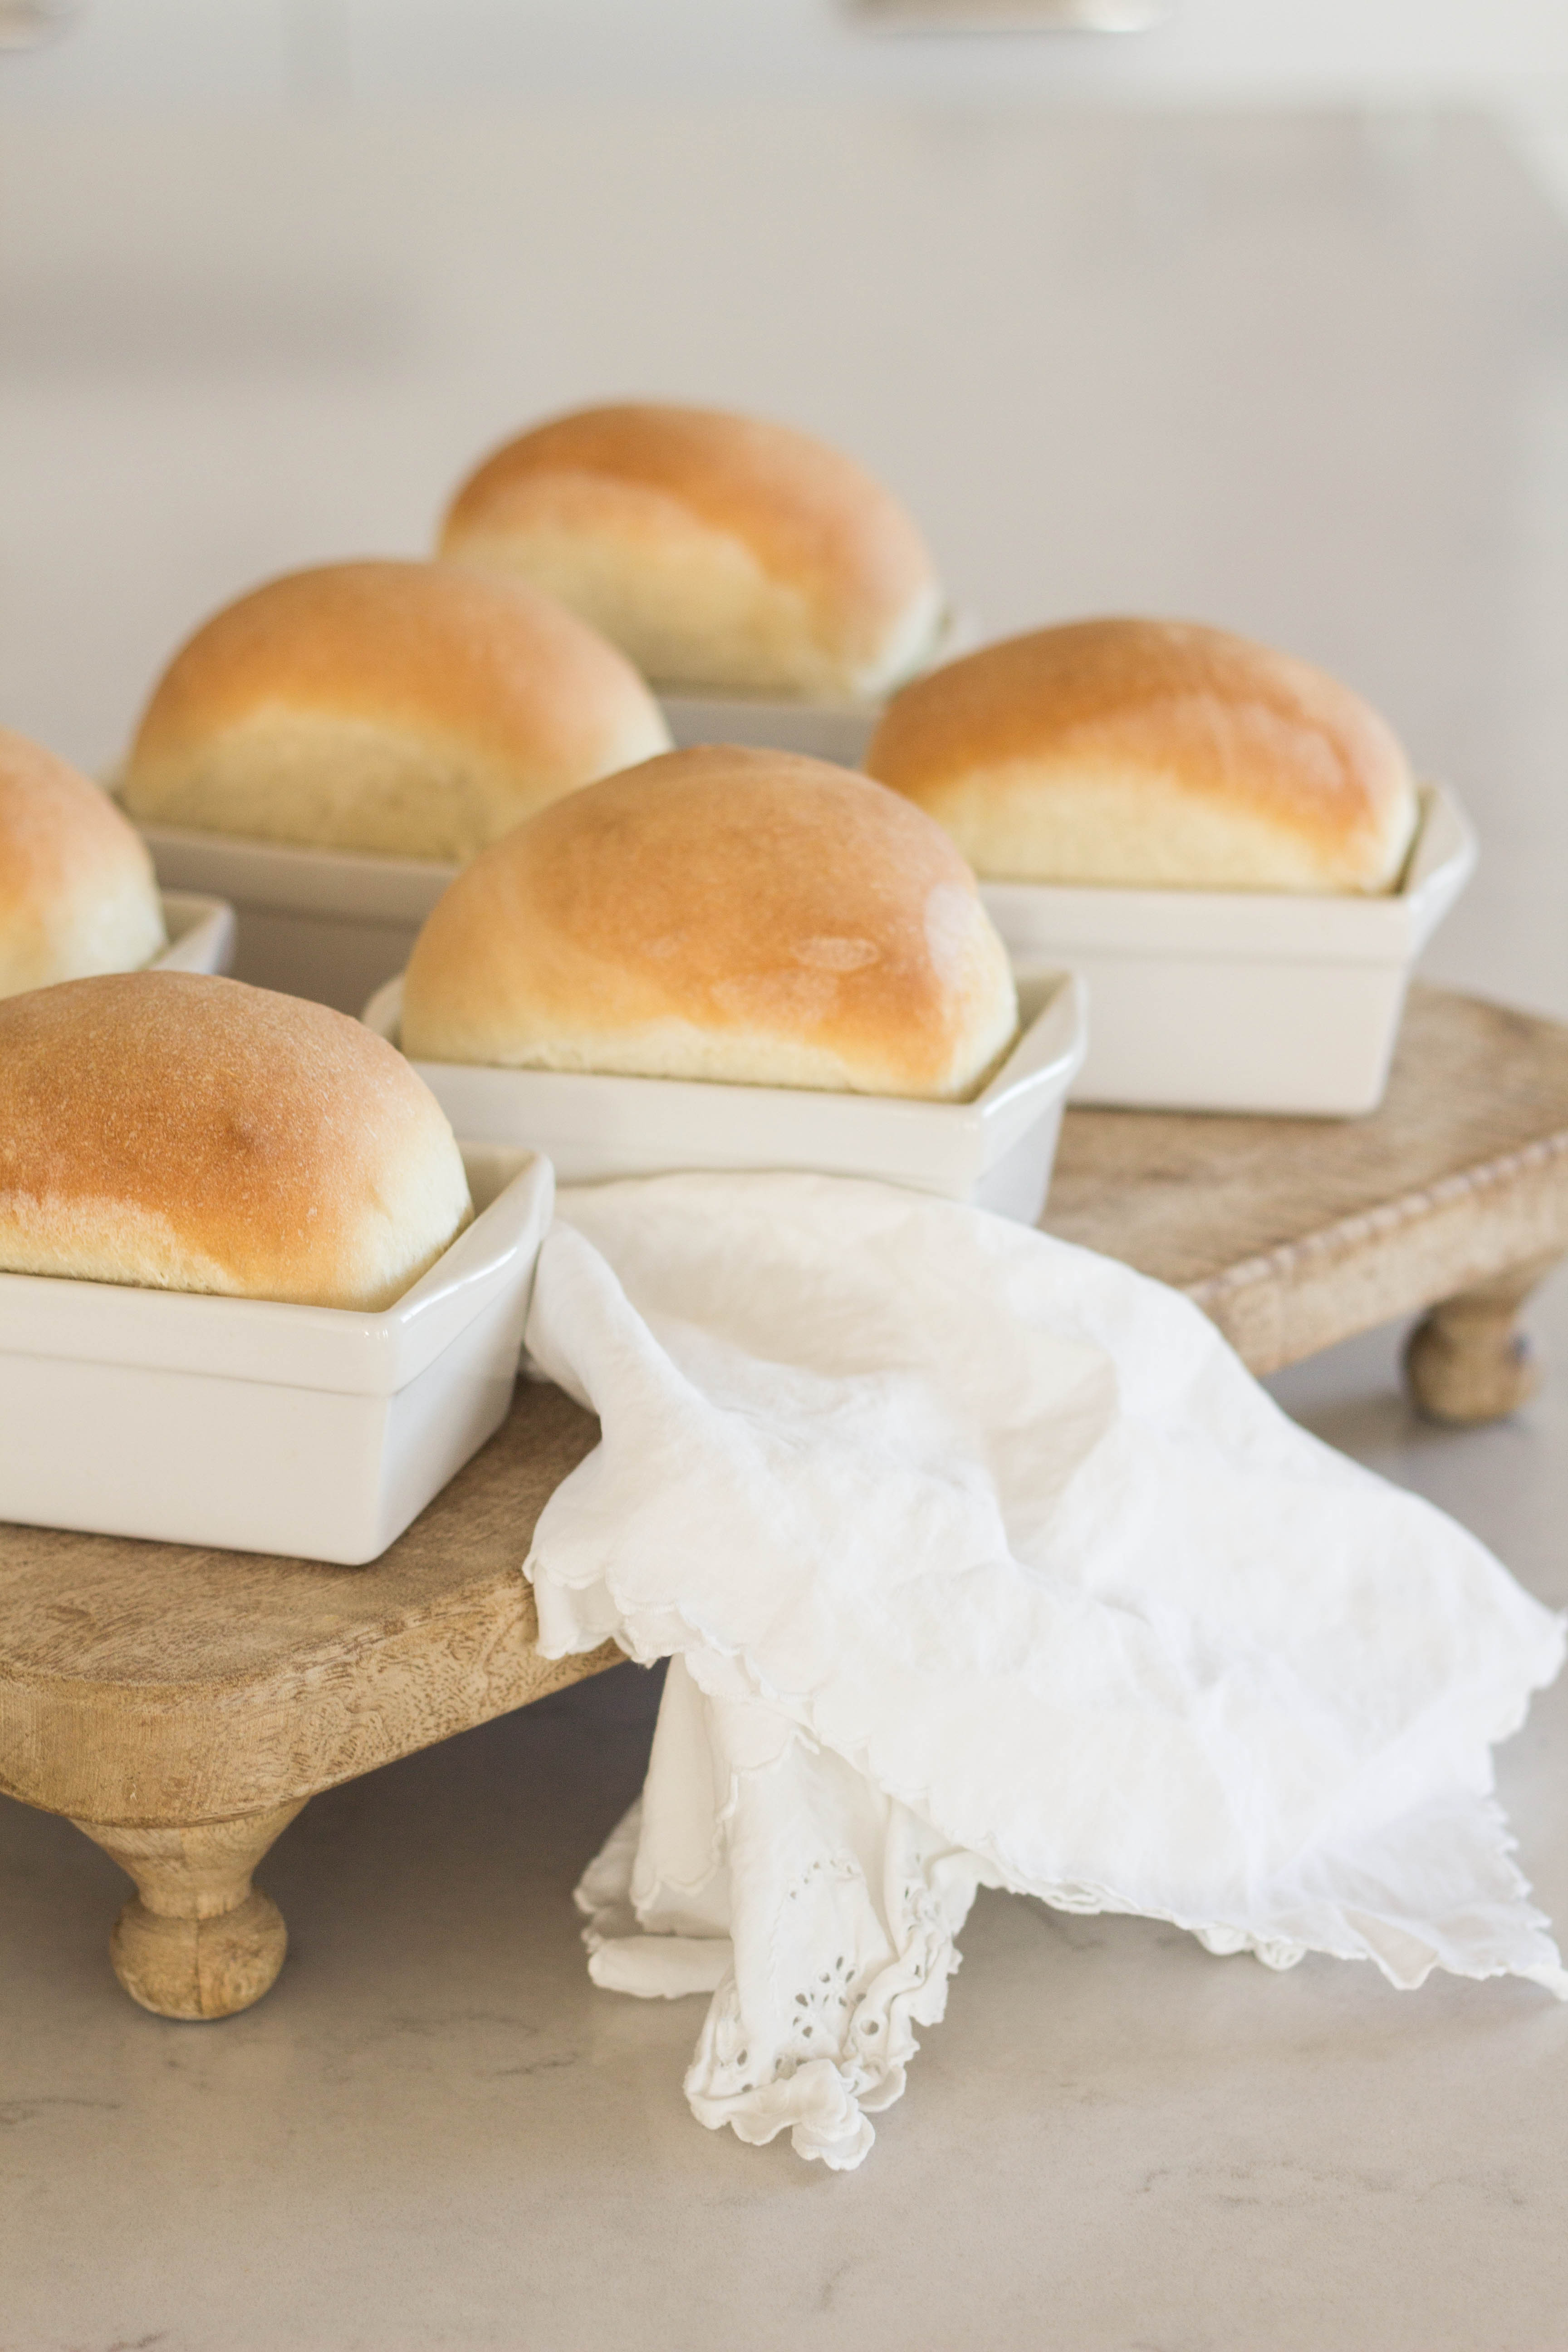
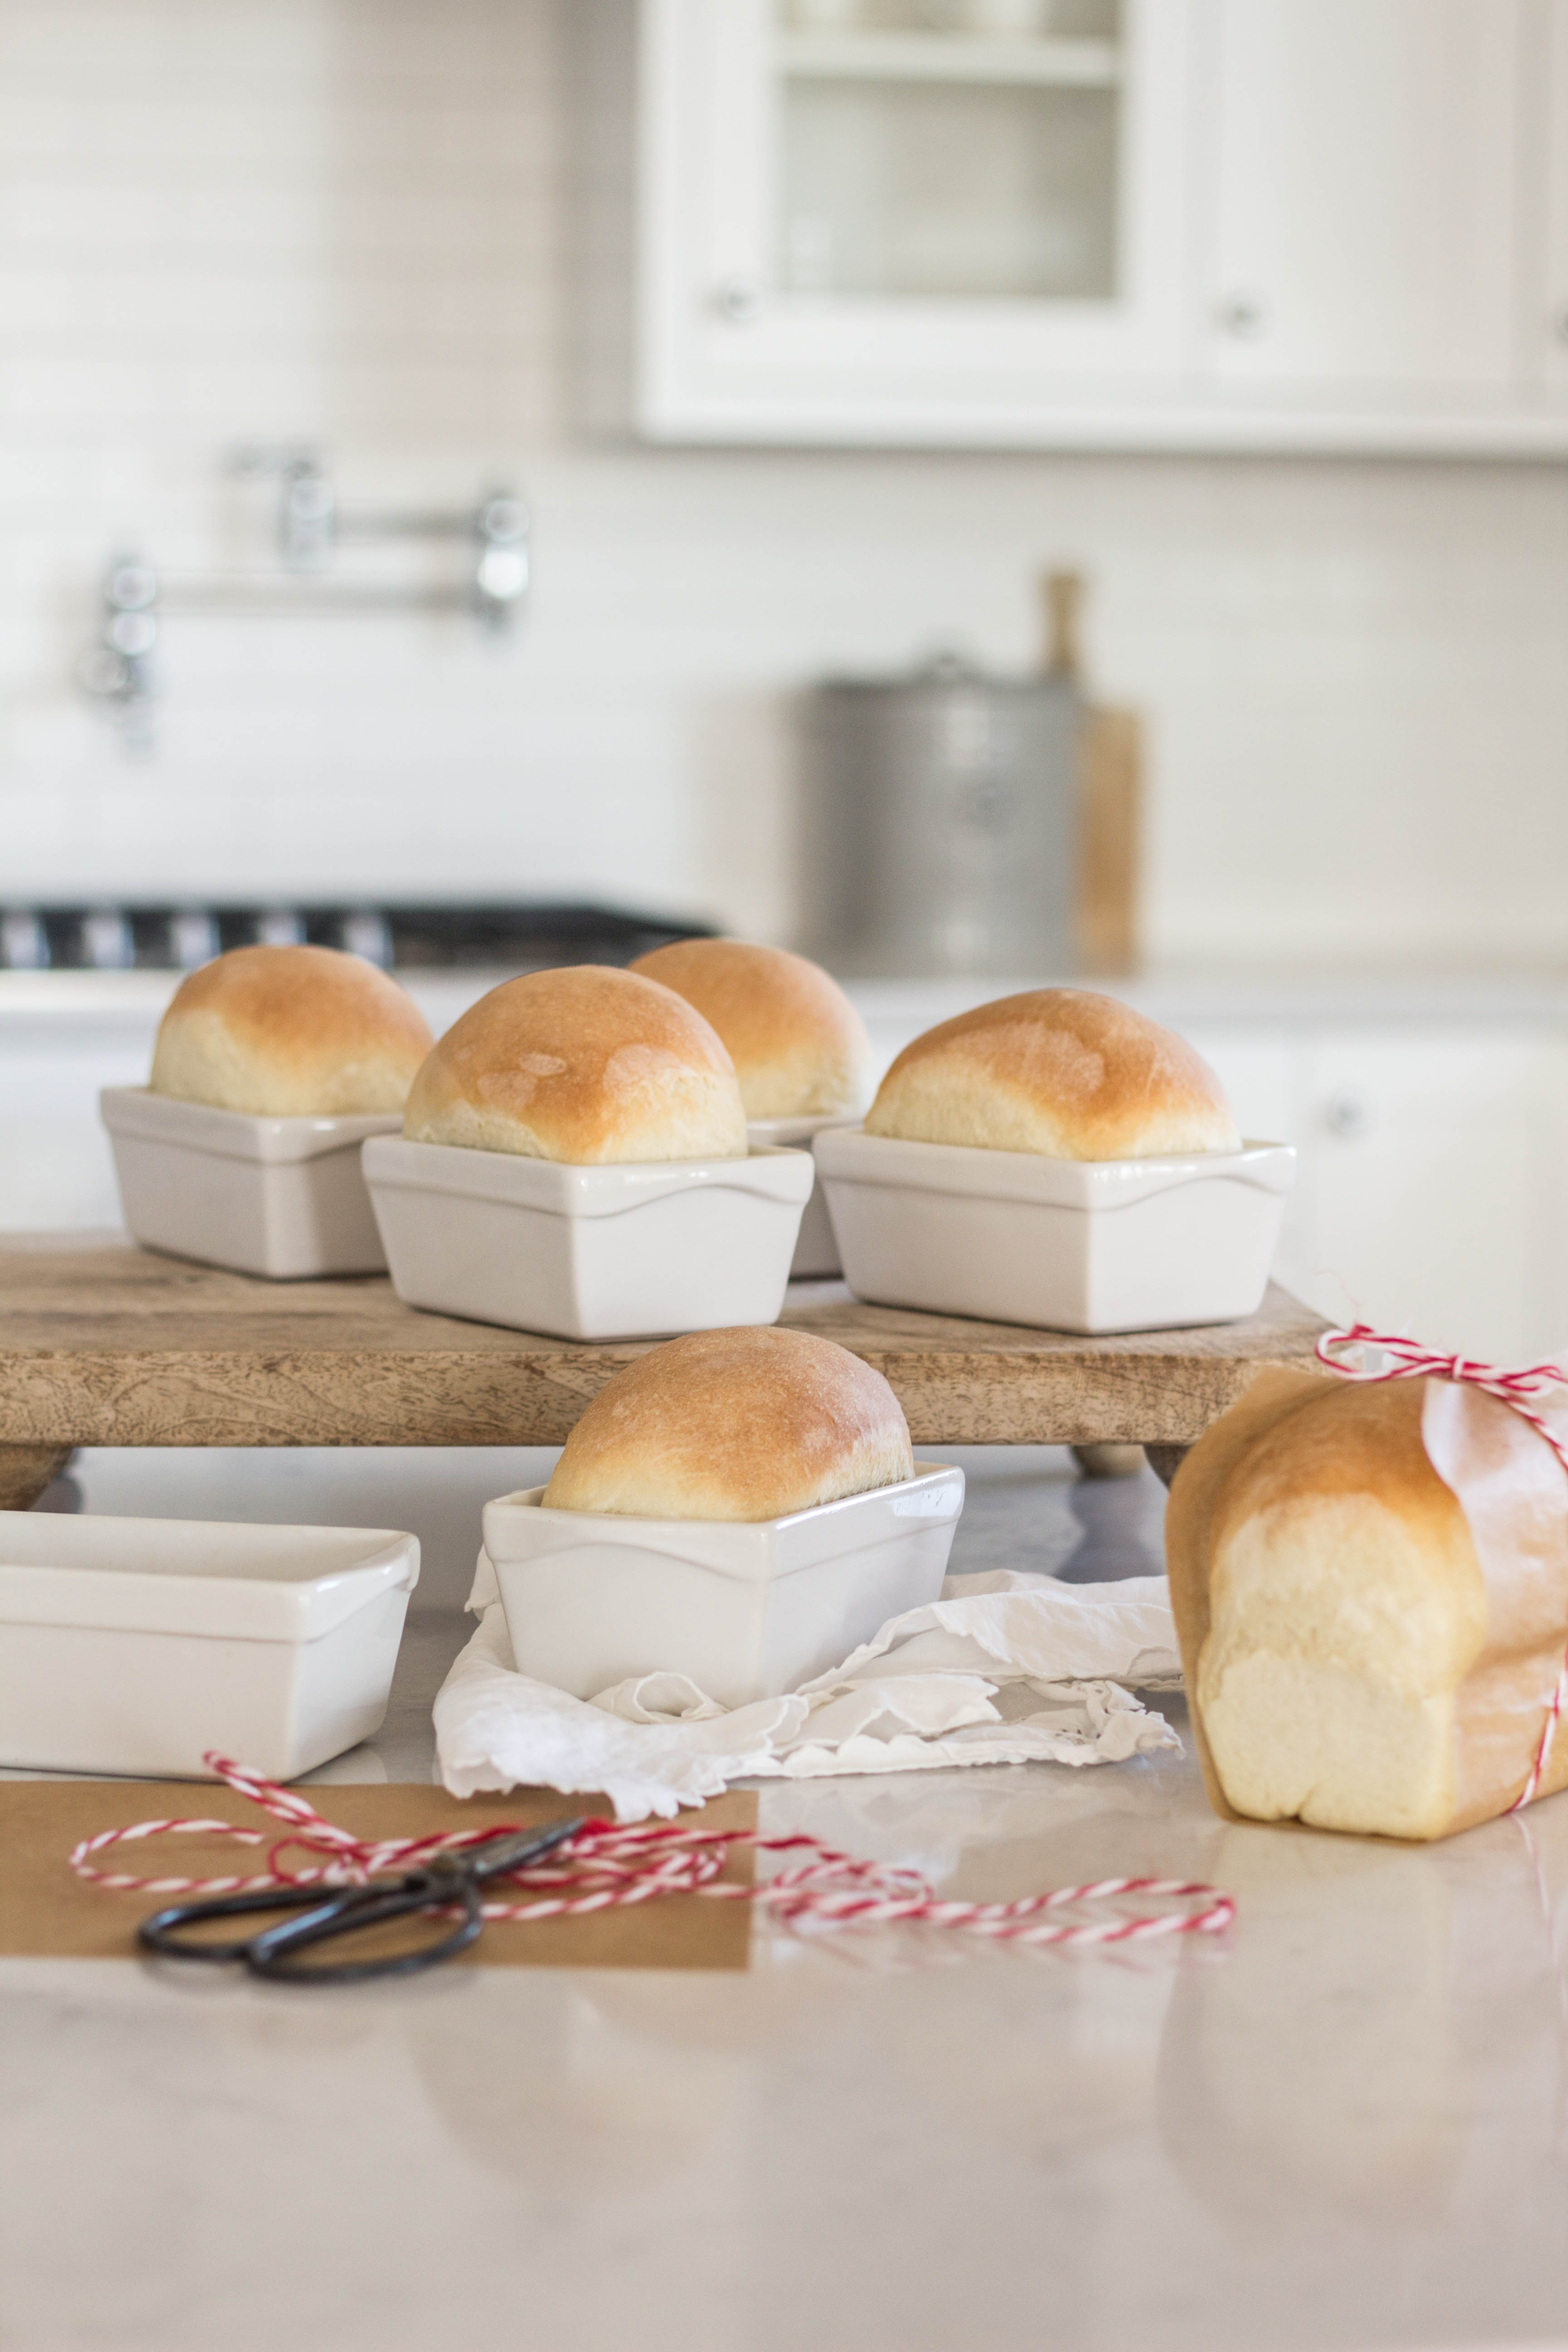
This recipe will make two regular bread loaves, or 6 mini loaves like shown in today’s post. If you’re making traditional loaves, THESE PANS are my absolute favorite I’ve ever had!
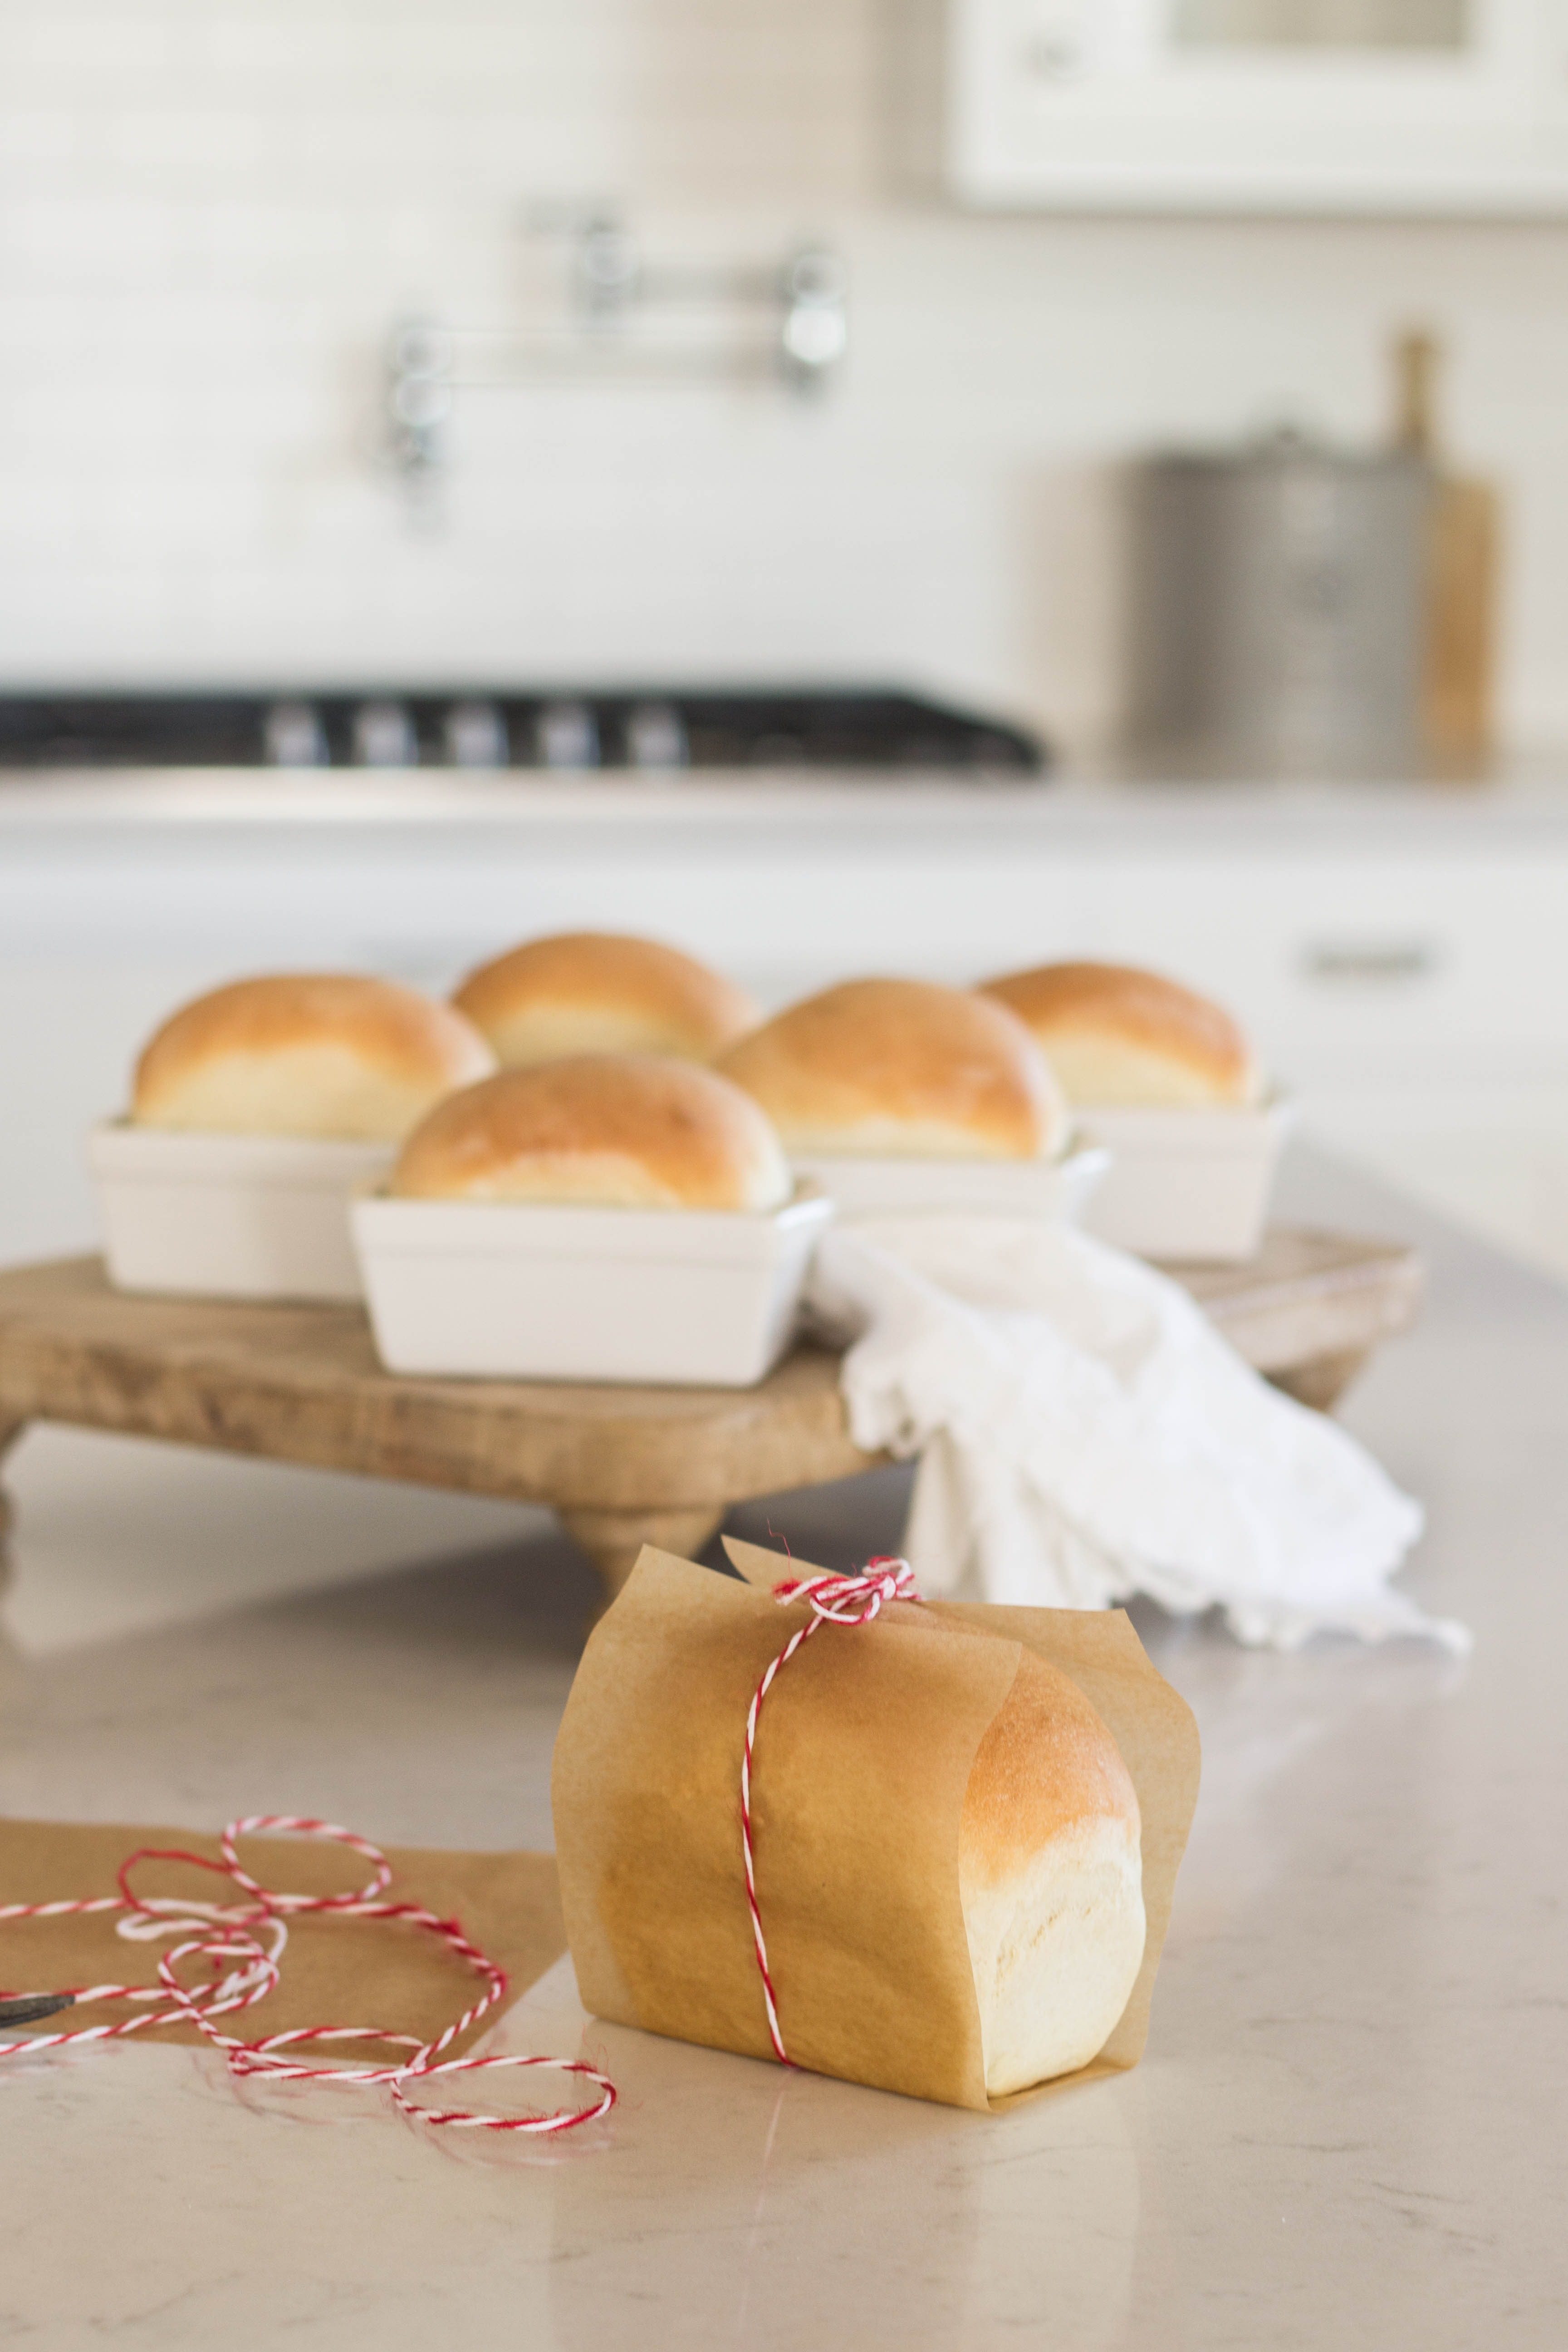
Mini loaves are the perfect gift for neighbors and friends with small families, or elderly people who can’t finish an entire loaf. I also love using these for “soup in a loaf” for family dinners or french toast.
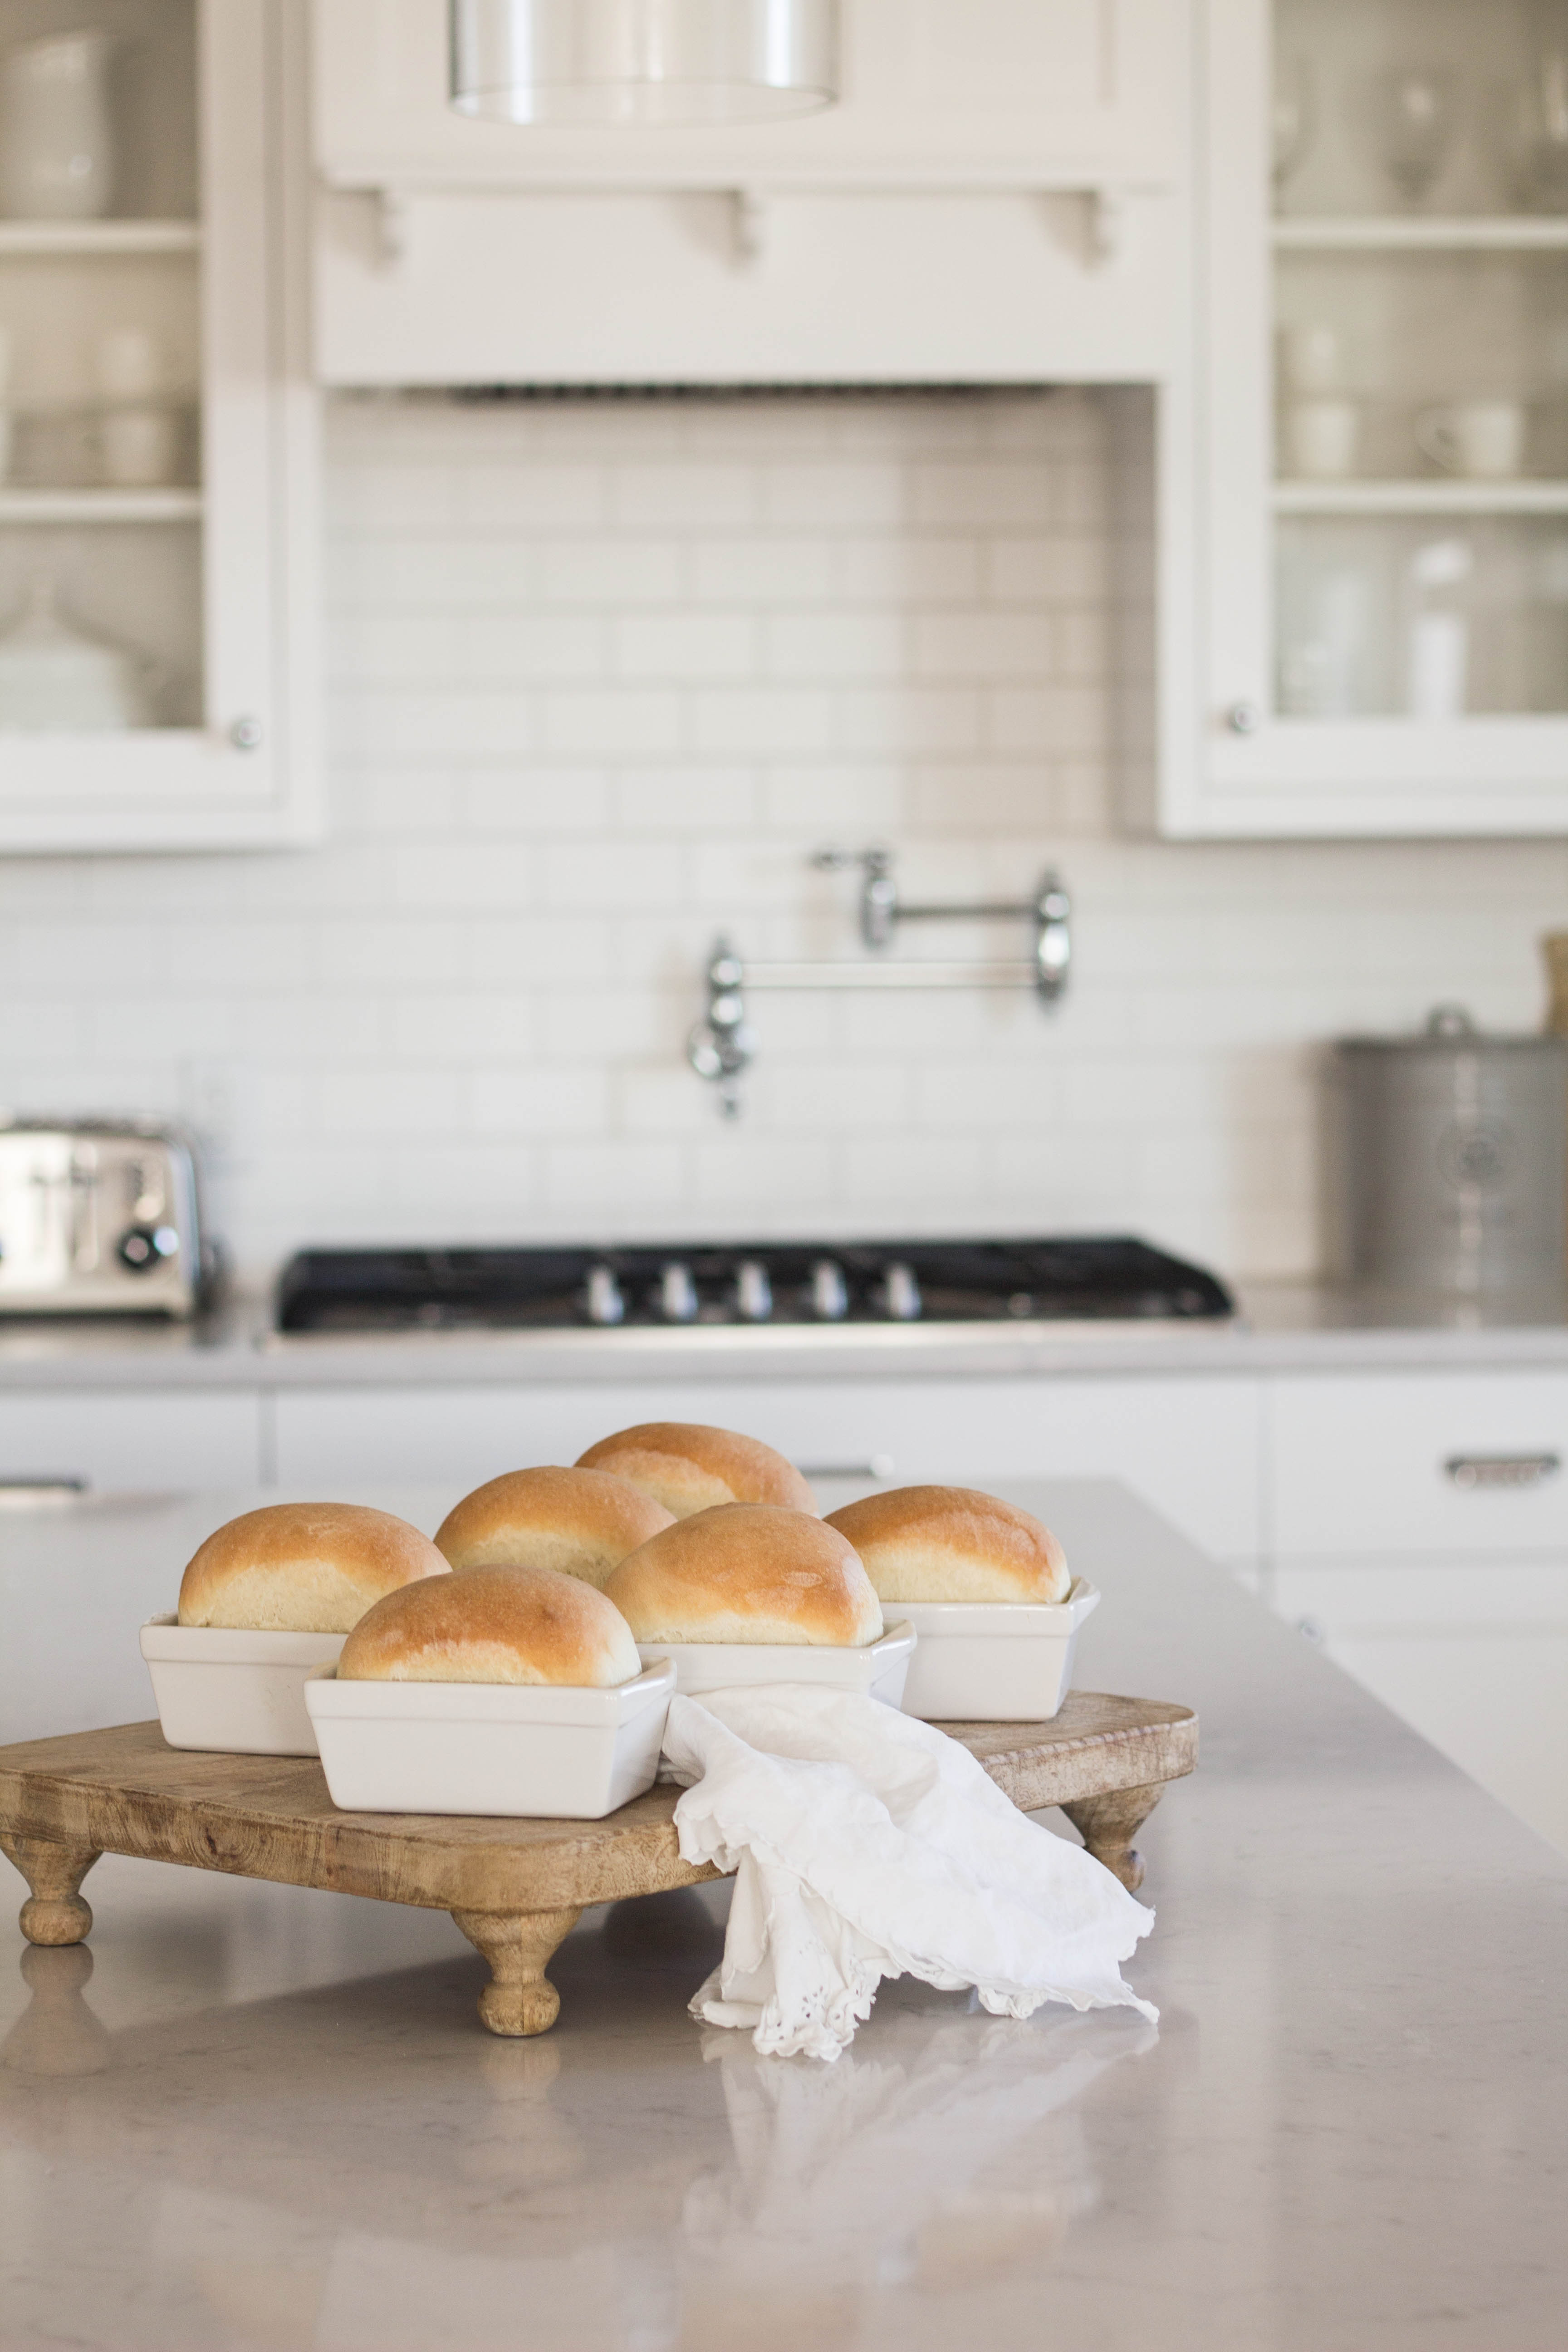
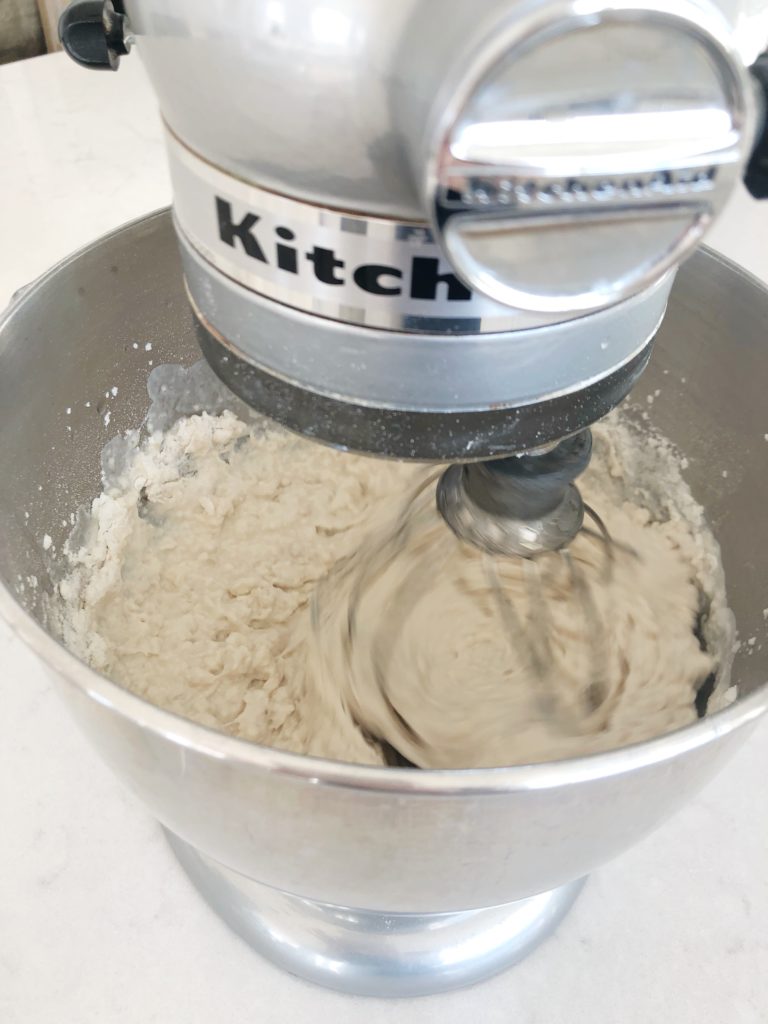
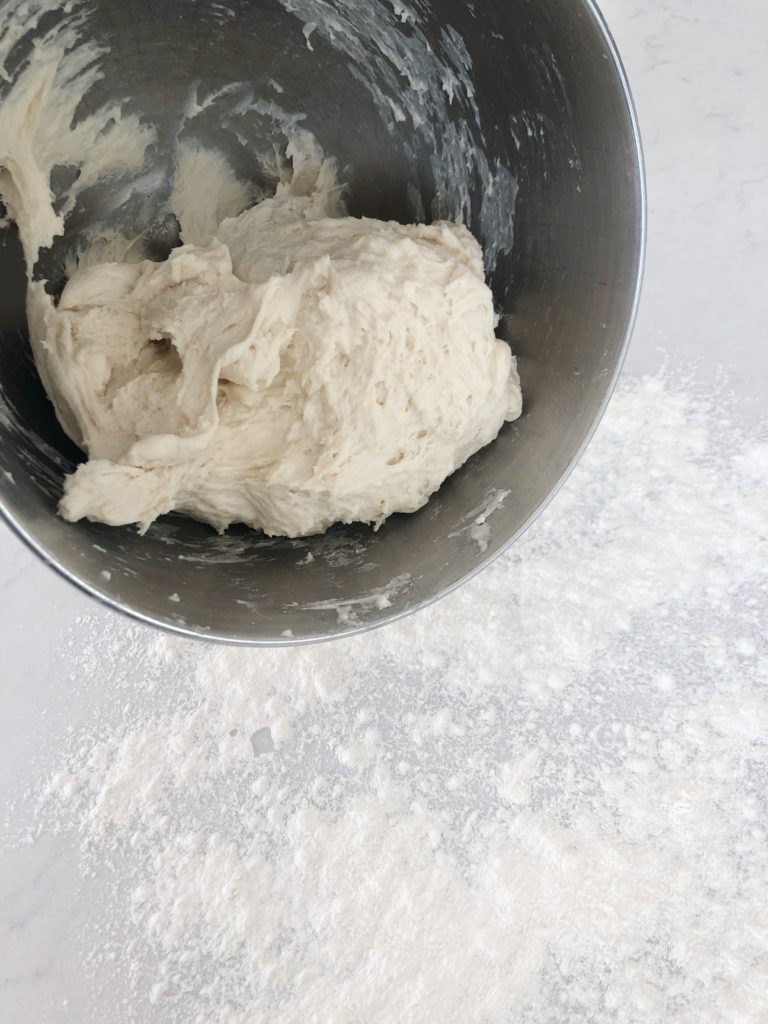
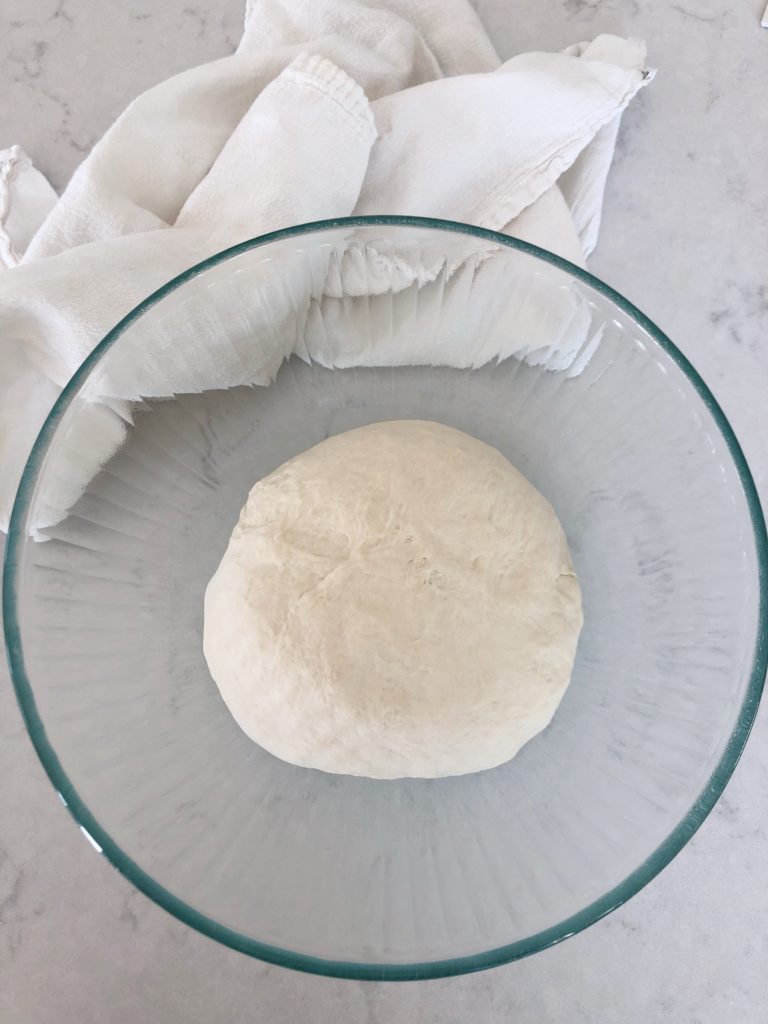
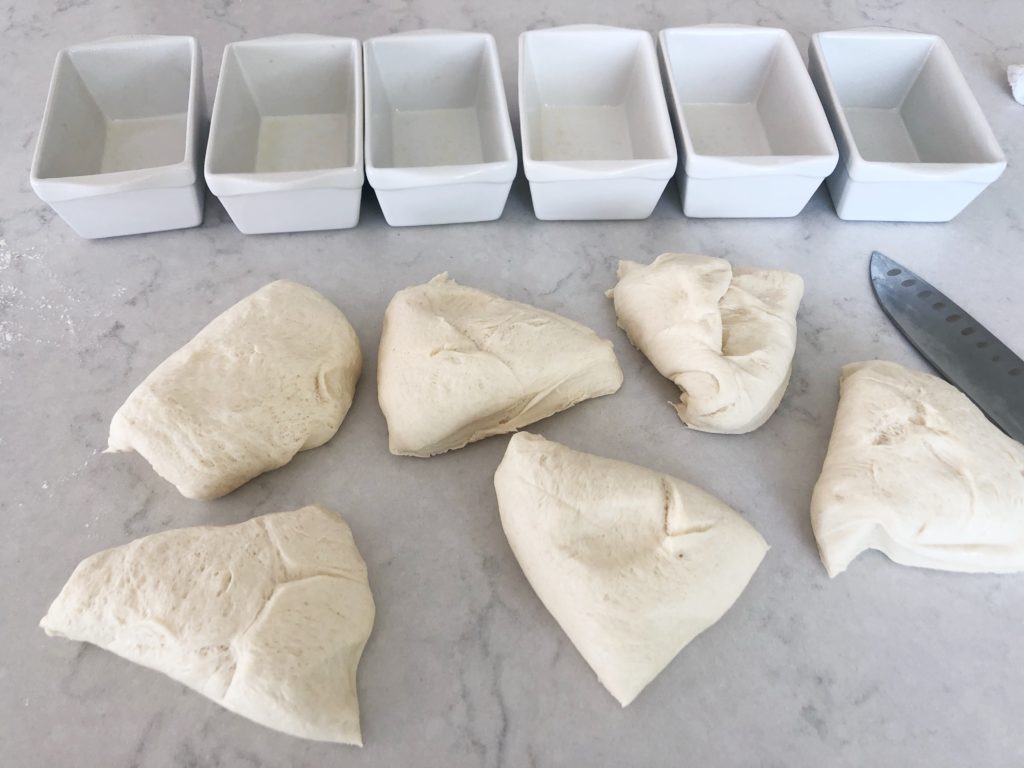
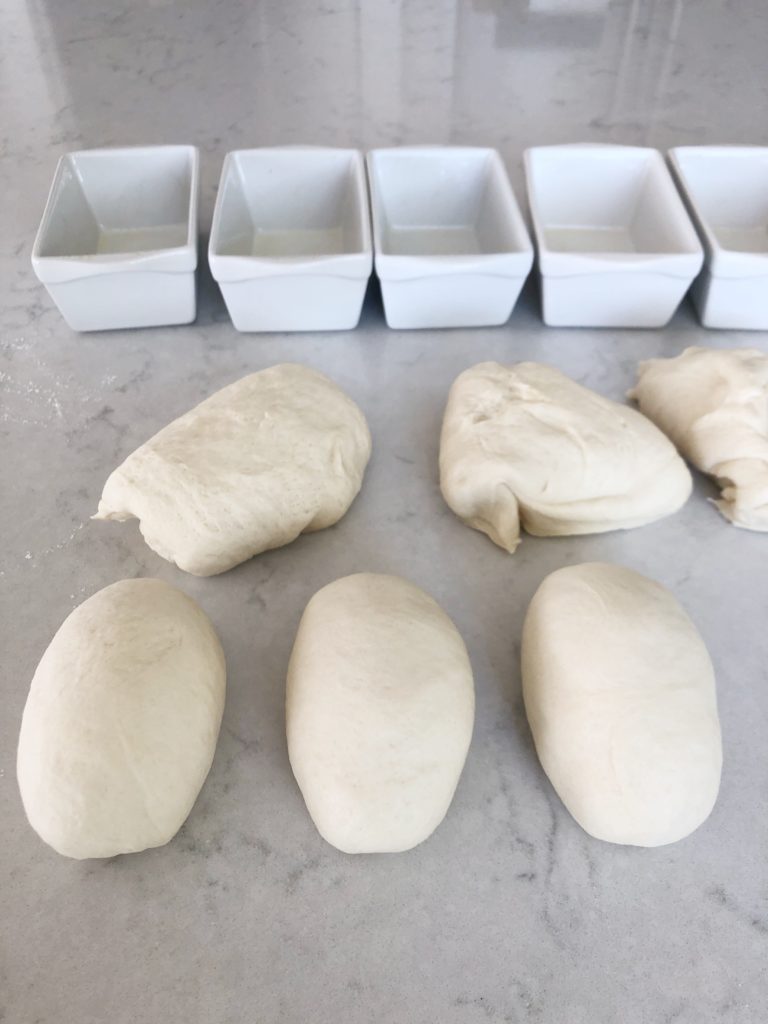
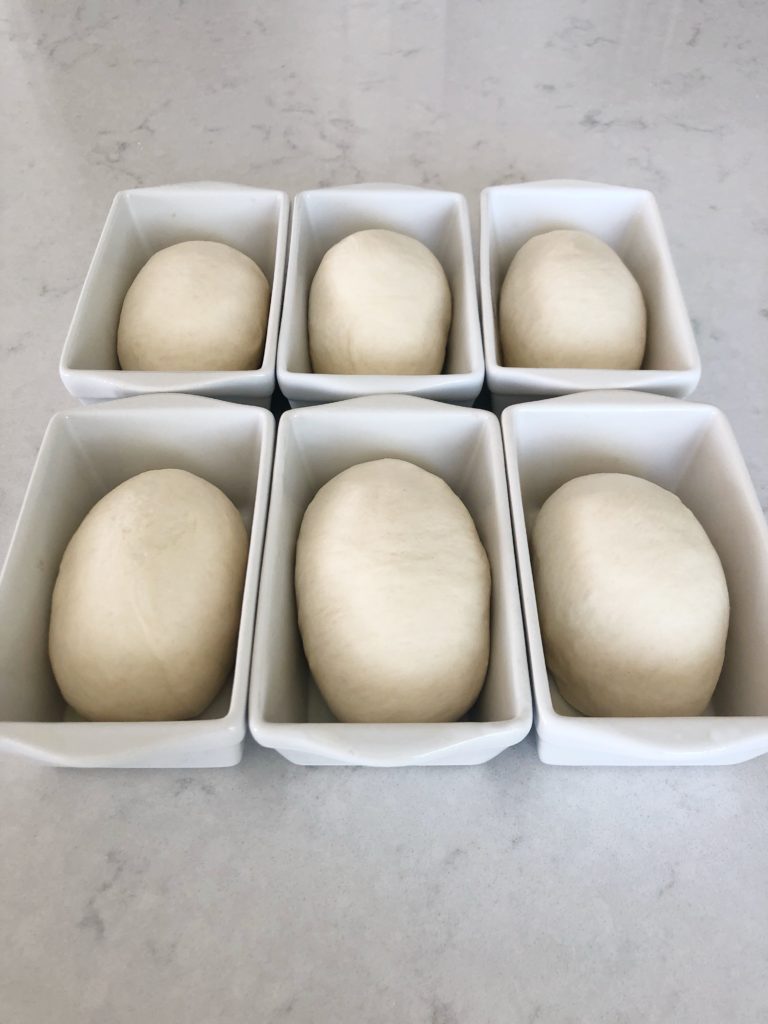
I’ve added a few images to show the visual process for how I make my mini-loaves.
Ingredients
- 3 Cups all purpose flour
- 3 Cups Bread flour
- 3 Tablespoons sugar
- 1 Tablespoon salt
- 2 Tablespoons Lard Shortening can be substituted
- 4 1/2 teaspoons regular or quick active dry yeast I use SAF-INSTANT
- 2 1/4 cups very warm water If water is too hot, it will kill yeast. See tips
Instructions
- 1. Mix together sugar, lard, warm water and yeast. Add 3 cups of flour and salt. Beat with a mixer on low speed for 2 minutes, scraping bowl for chunks. Switch to dough hook attachment and add remaining flour. Mix with a dough hook for 5 minutes or until dough is smooth and elastic. If mixing by hand, knead for 5-7 minutes until smooth. 2. Place dough in a large bowl. Allow to rise for 1 hour (covered with a tea towel or lightly with plastic wrap) so that dough is doubled in size. 3. Grease bottoms and sides of 2 loaf pans or 6 mini loaf pans. 4. Turn dough onto counter and cut in half for 2 loaves, or in to 6 equal pieces for mini loaves. Gently pat or lightly roll dough into a (roughly) 6×9" rectangle. Roll up lengthwise and tuck ends under. Place in 2 loaf pans (prepared with non-stick spray). 5. Allow loaves to rise an additional 45 minutes. This will ensure that your bread is light and airy while baking and not dense.6. Preheat oven to 425° F and bake loaves 23-25 minutes. Be sure to remove loaves from their pans quickly after baking so they don't become soggy on bottom from condensation. This bread freezes very well. Simply allow it to come to room temperature and then add it to a gallon ziplock bag. You can pre-slice it if you want. Allow to come to room temperature the day of thawing and eating.
PIN IT FOR LATER
This post contains affiliate links for some of my favorite featured products.






I’ve been making a rye bread lately (winter months) and just love the smell and warmth of homemade bread — especially in the winter 🙂
Oh my goodness, looks absolutely delicious and oh so pretty. Homespun Hugs ♥ Teri
Perfect every time! Thank you for sharing your recipes!