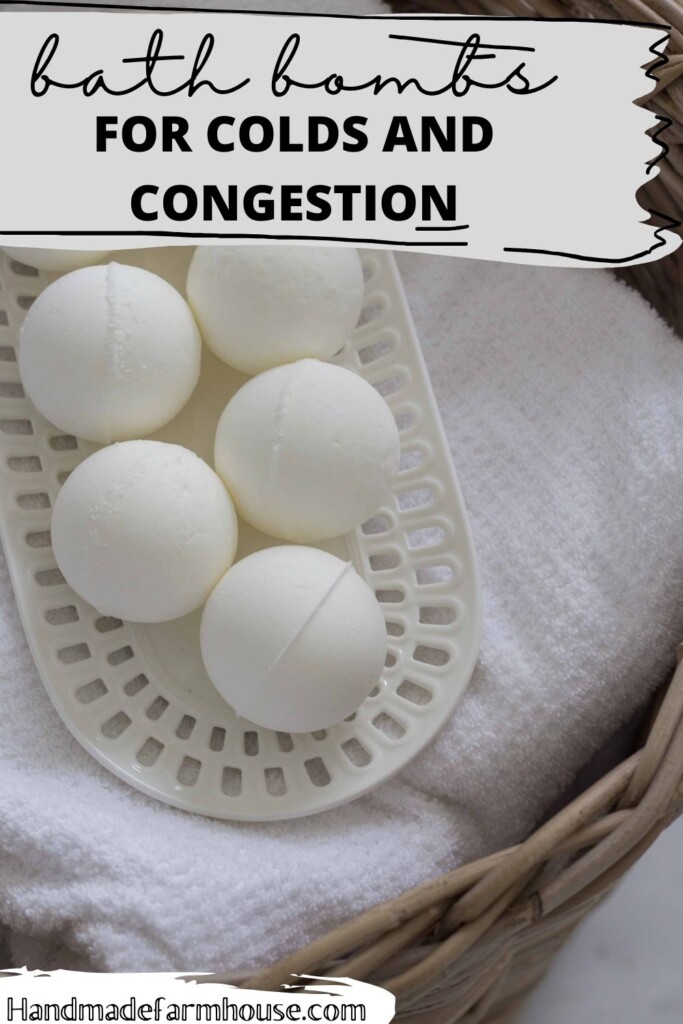
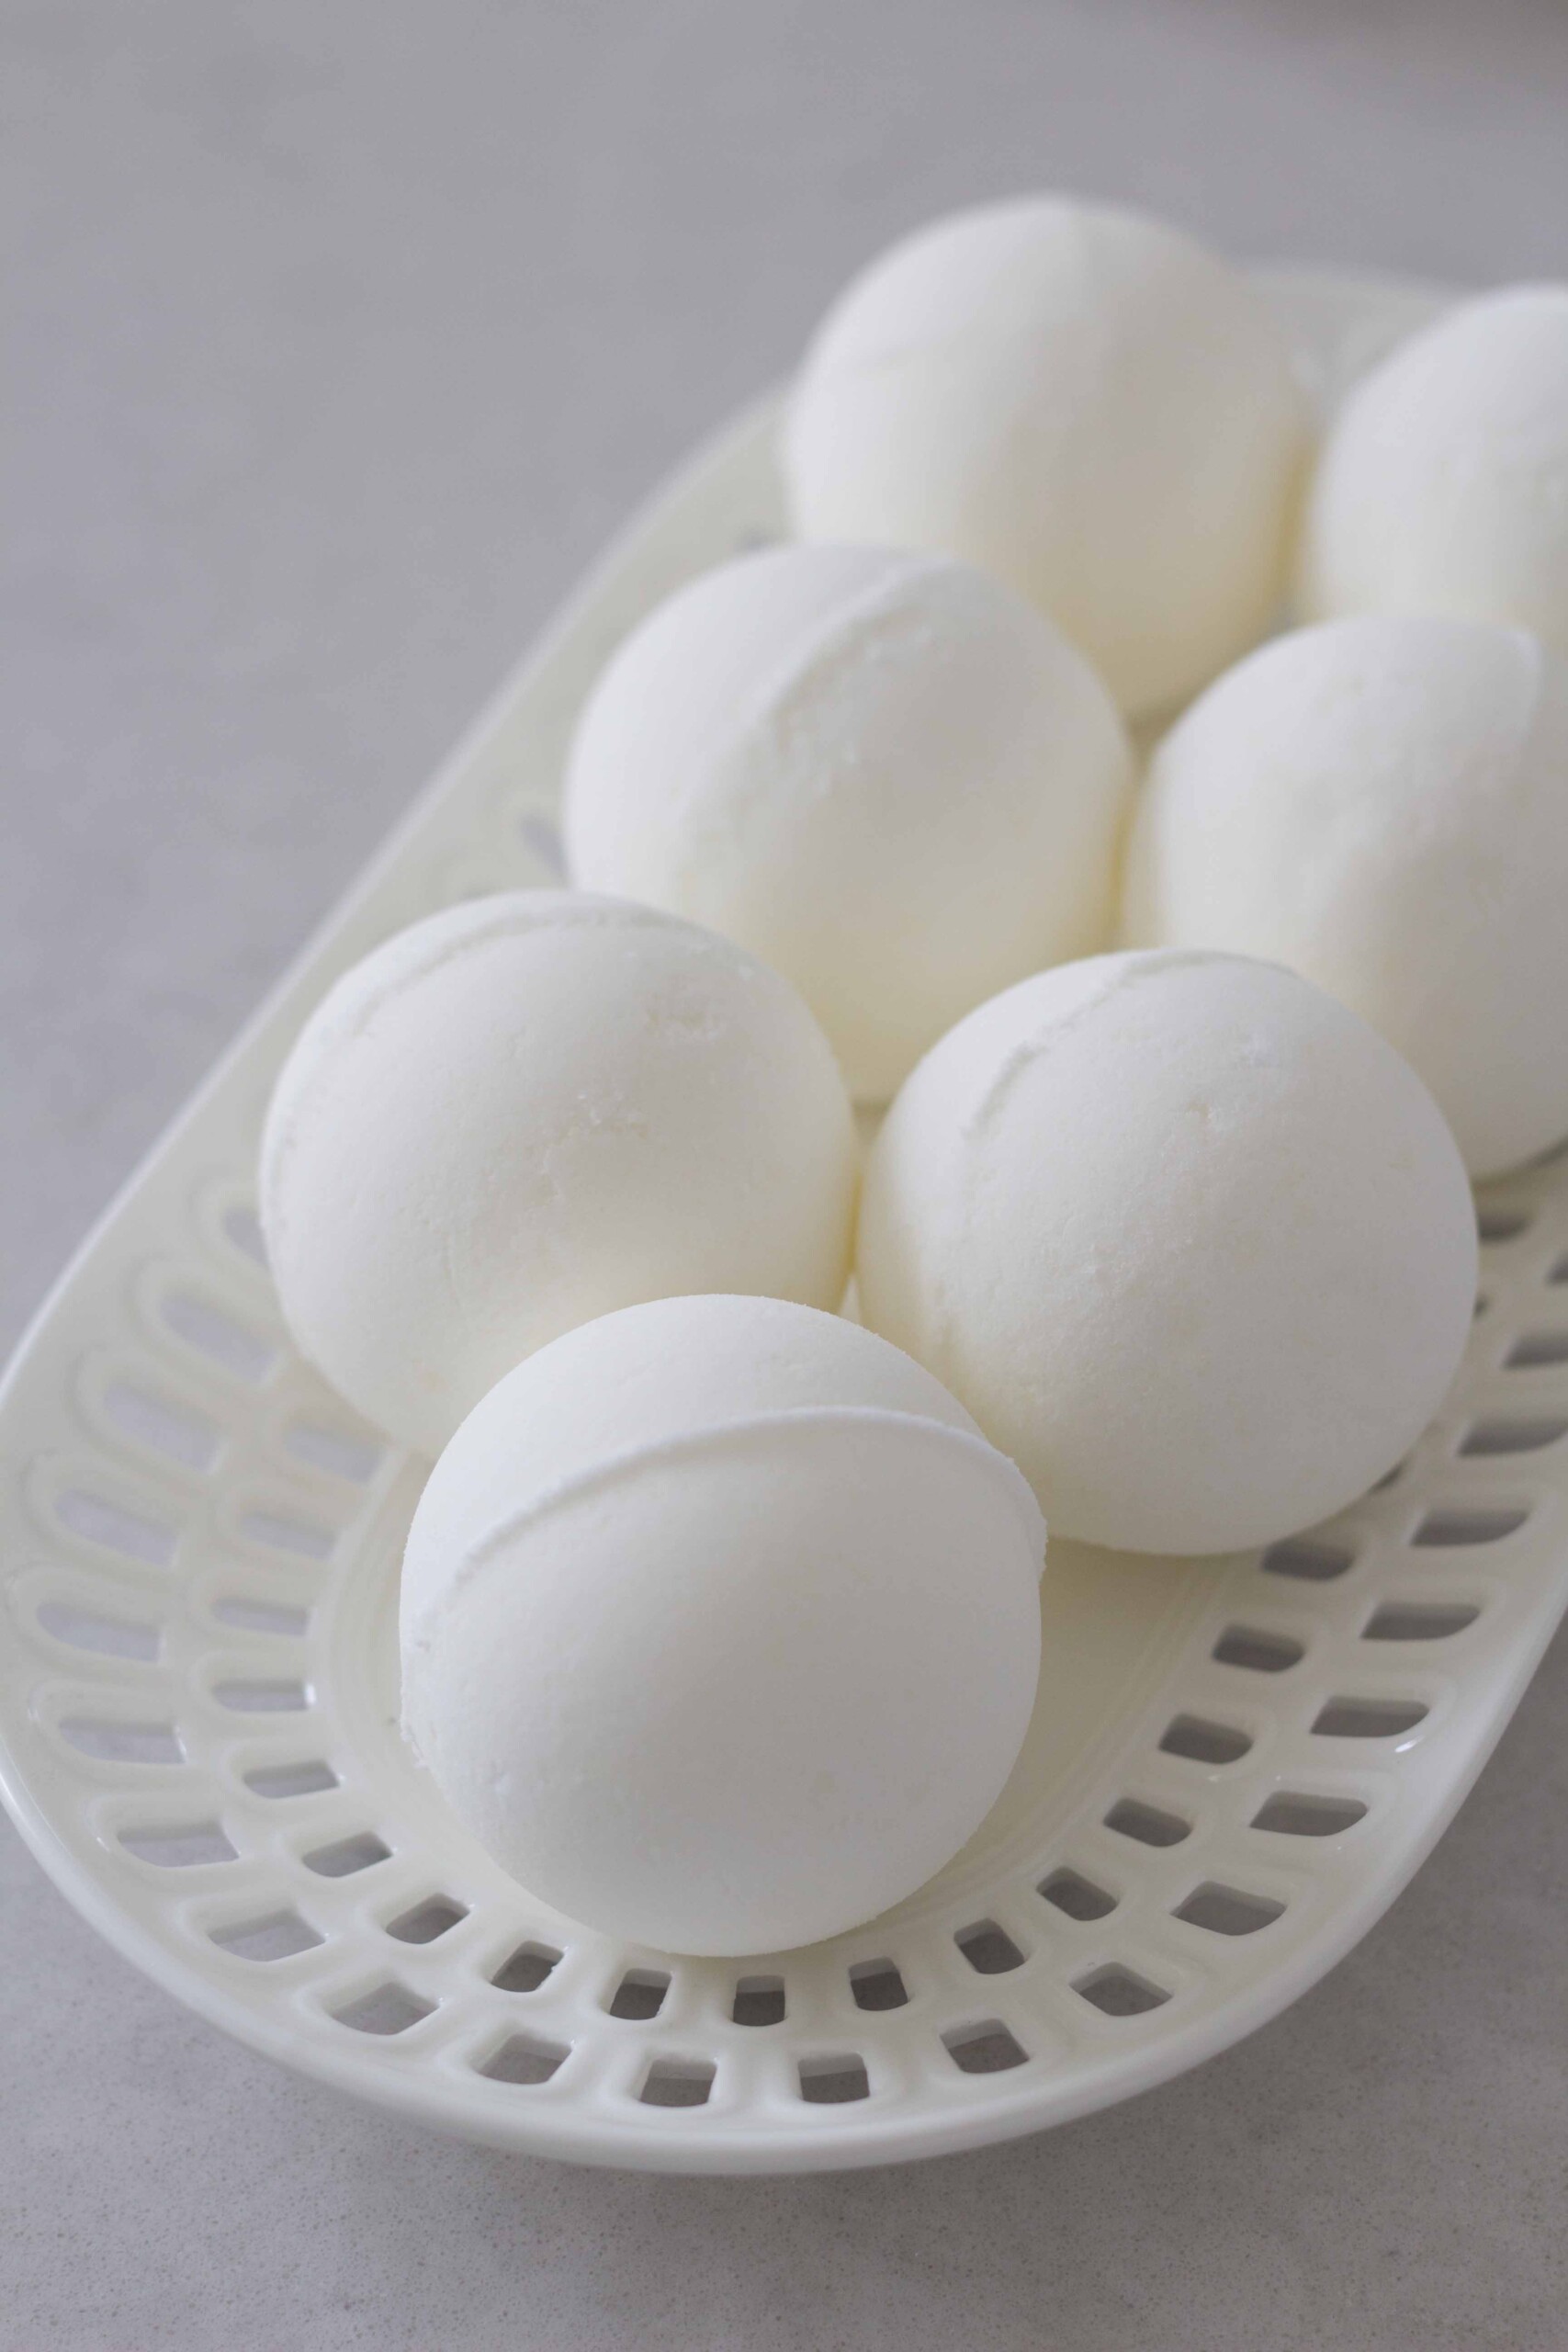
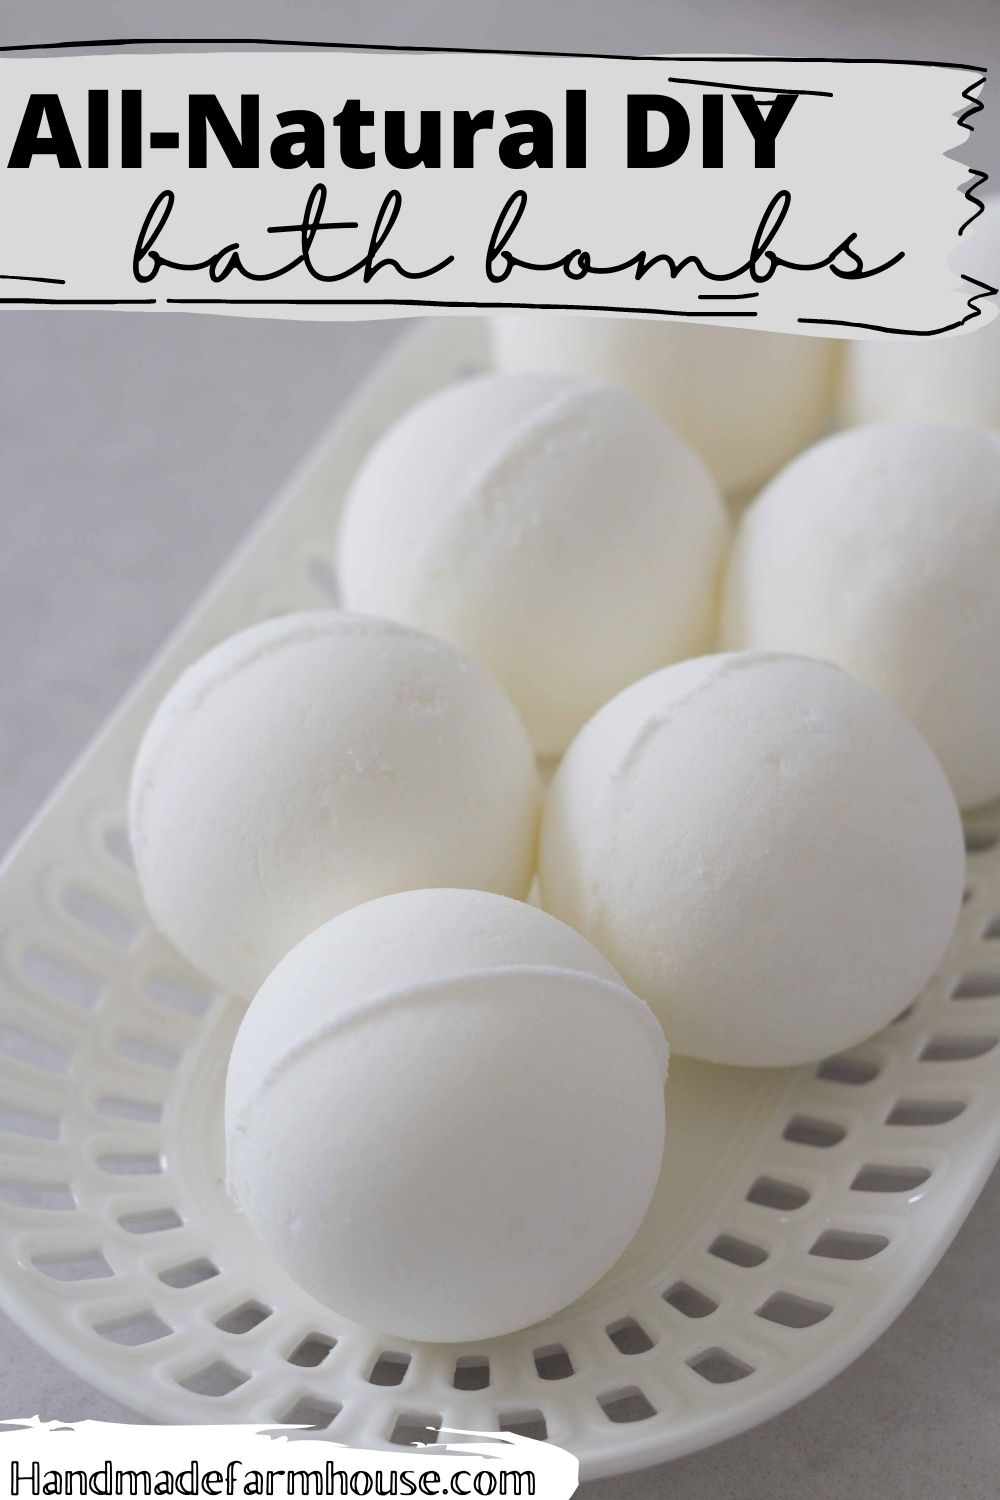
Did you know it is SO easy and fun to make your own all natural DIY bath bombs? A few years ago I created this recipe with clean ingredients that I knew would be safe for my family. I can’t wait to share it with you today as these bath bombs are extra helpful to use if you are suffering with a cold, virus or sinus and chest congestion!
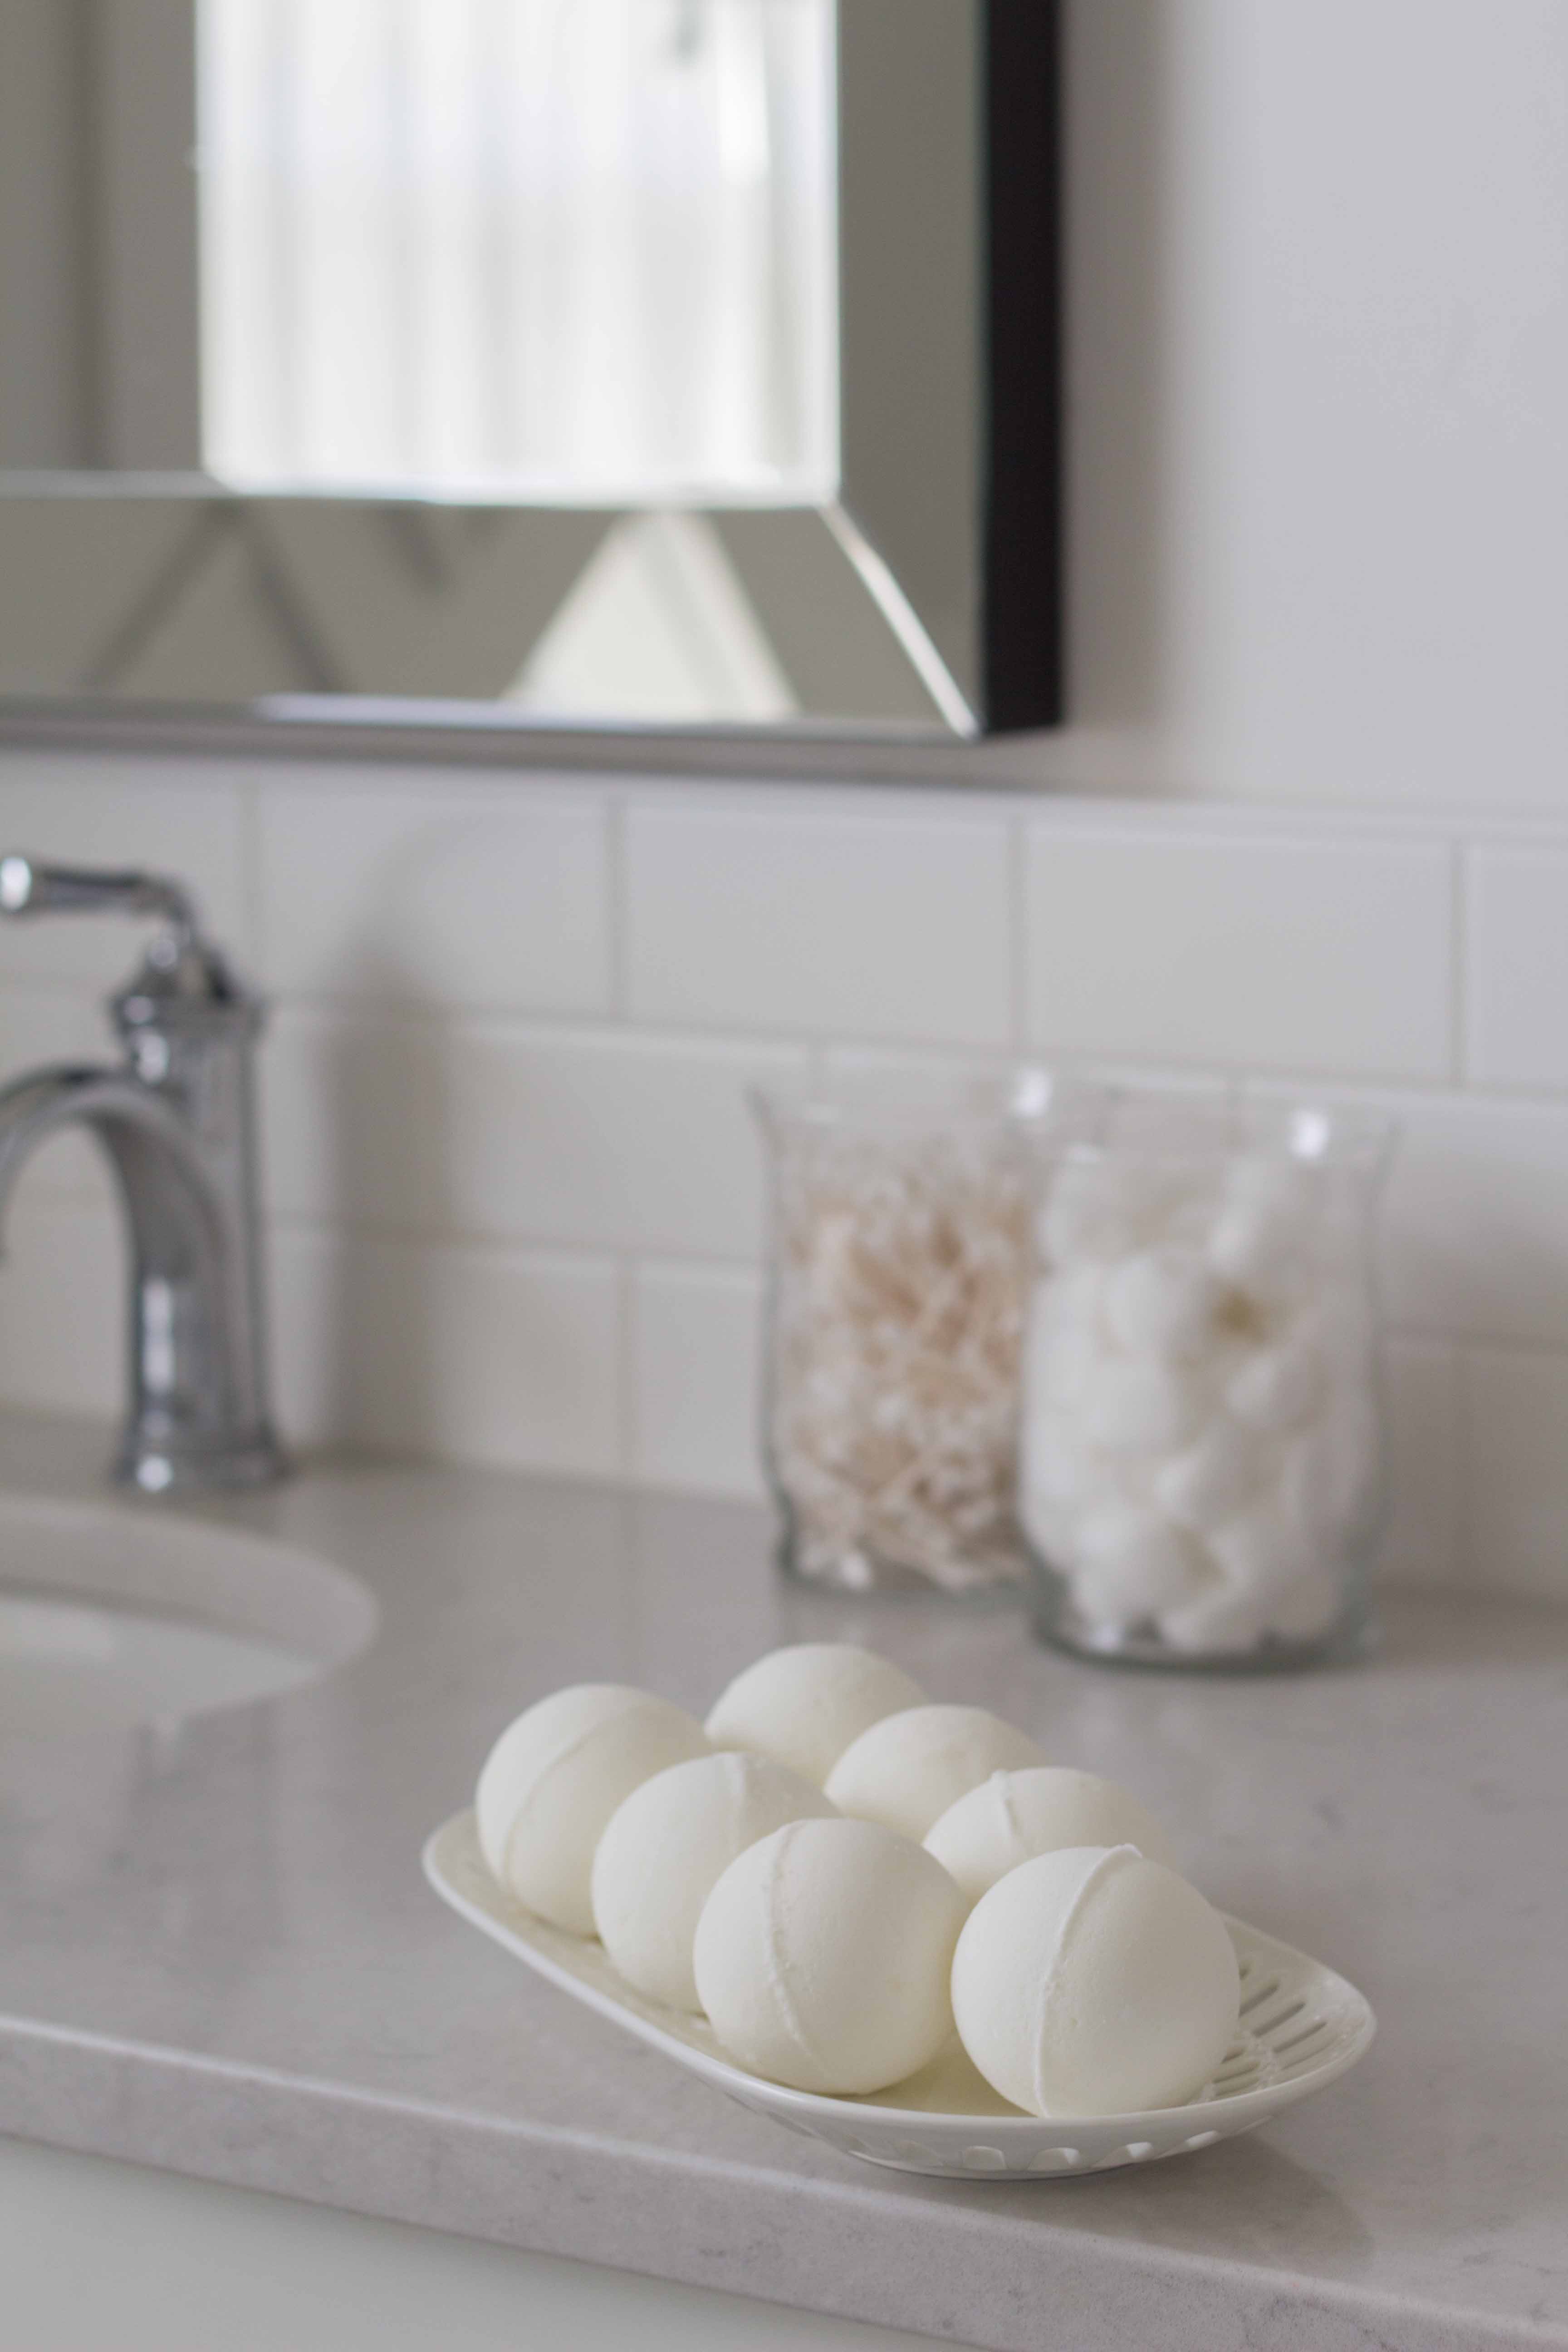
Benefits of All Natural DIY Bath Bombs
- Softens and hydrates dry skin
- Essential oil scents that aid with congestion and sinus pressure
- Spa at home
- Give as unique and special gifts that are much more affordable to make at home!
Homemade bath bombs are so fun to make, the possibilities for scents and colors are endless! For these all-natural DIY bath bombs, I decided to use a mix of essential oils that specifically help with congestion when you’re sick or suffering with sinus pressure. These bath bombs also make your skin so silky smooth and hydrated! If you or someone in your family aren’t bath takers, these can also be used on the shower floor! They also make really fun and unique gifts.
This post contains affiliate links which means I make a small commission on qualifying purchases at no extra cost to you. Full disclosure here. Thank you for supporting my page!
Shopping list for DIY bath bombs:
- Sunflower Oil
- Vitamin E oil
- Essential oil of your choice
- Glycerin
- Witch Hazel
- Spray bottle
- Bath Bomb Molds
What is the shelf life for the bath bombs?
Ours don’t ever last terribly long, but I would suggest using your bath bombs within 6 months of making them. Store in an airtight ziplock bag after dried.
Shop This Post:
Ingredients
- 1 Cup Baking Soda
- 1/2 Cup Corn Starch
- 1/2 Cup Citric Acid
Wet Ingredients
- 2 1/2 Teaspoons Sunflower Oil Or any light oil
- 3/4 Tablespoon Water
- 1/4 Teaspoon Vitamin E oil
- 1/2-1 Teaspoon Essential oil of your choice
- 1/4 Teaspoon Glycerin
- Witch Hazel in a spray bottle
Instructions
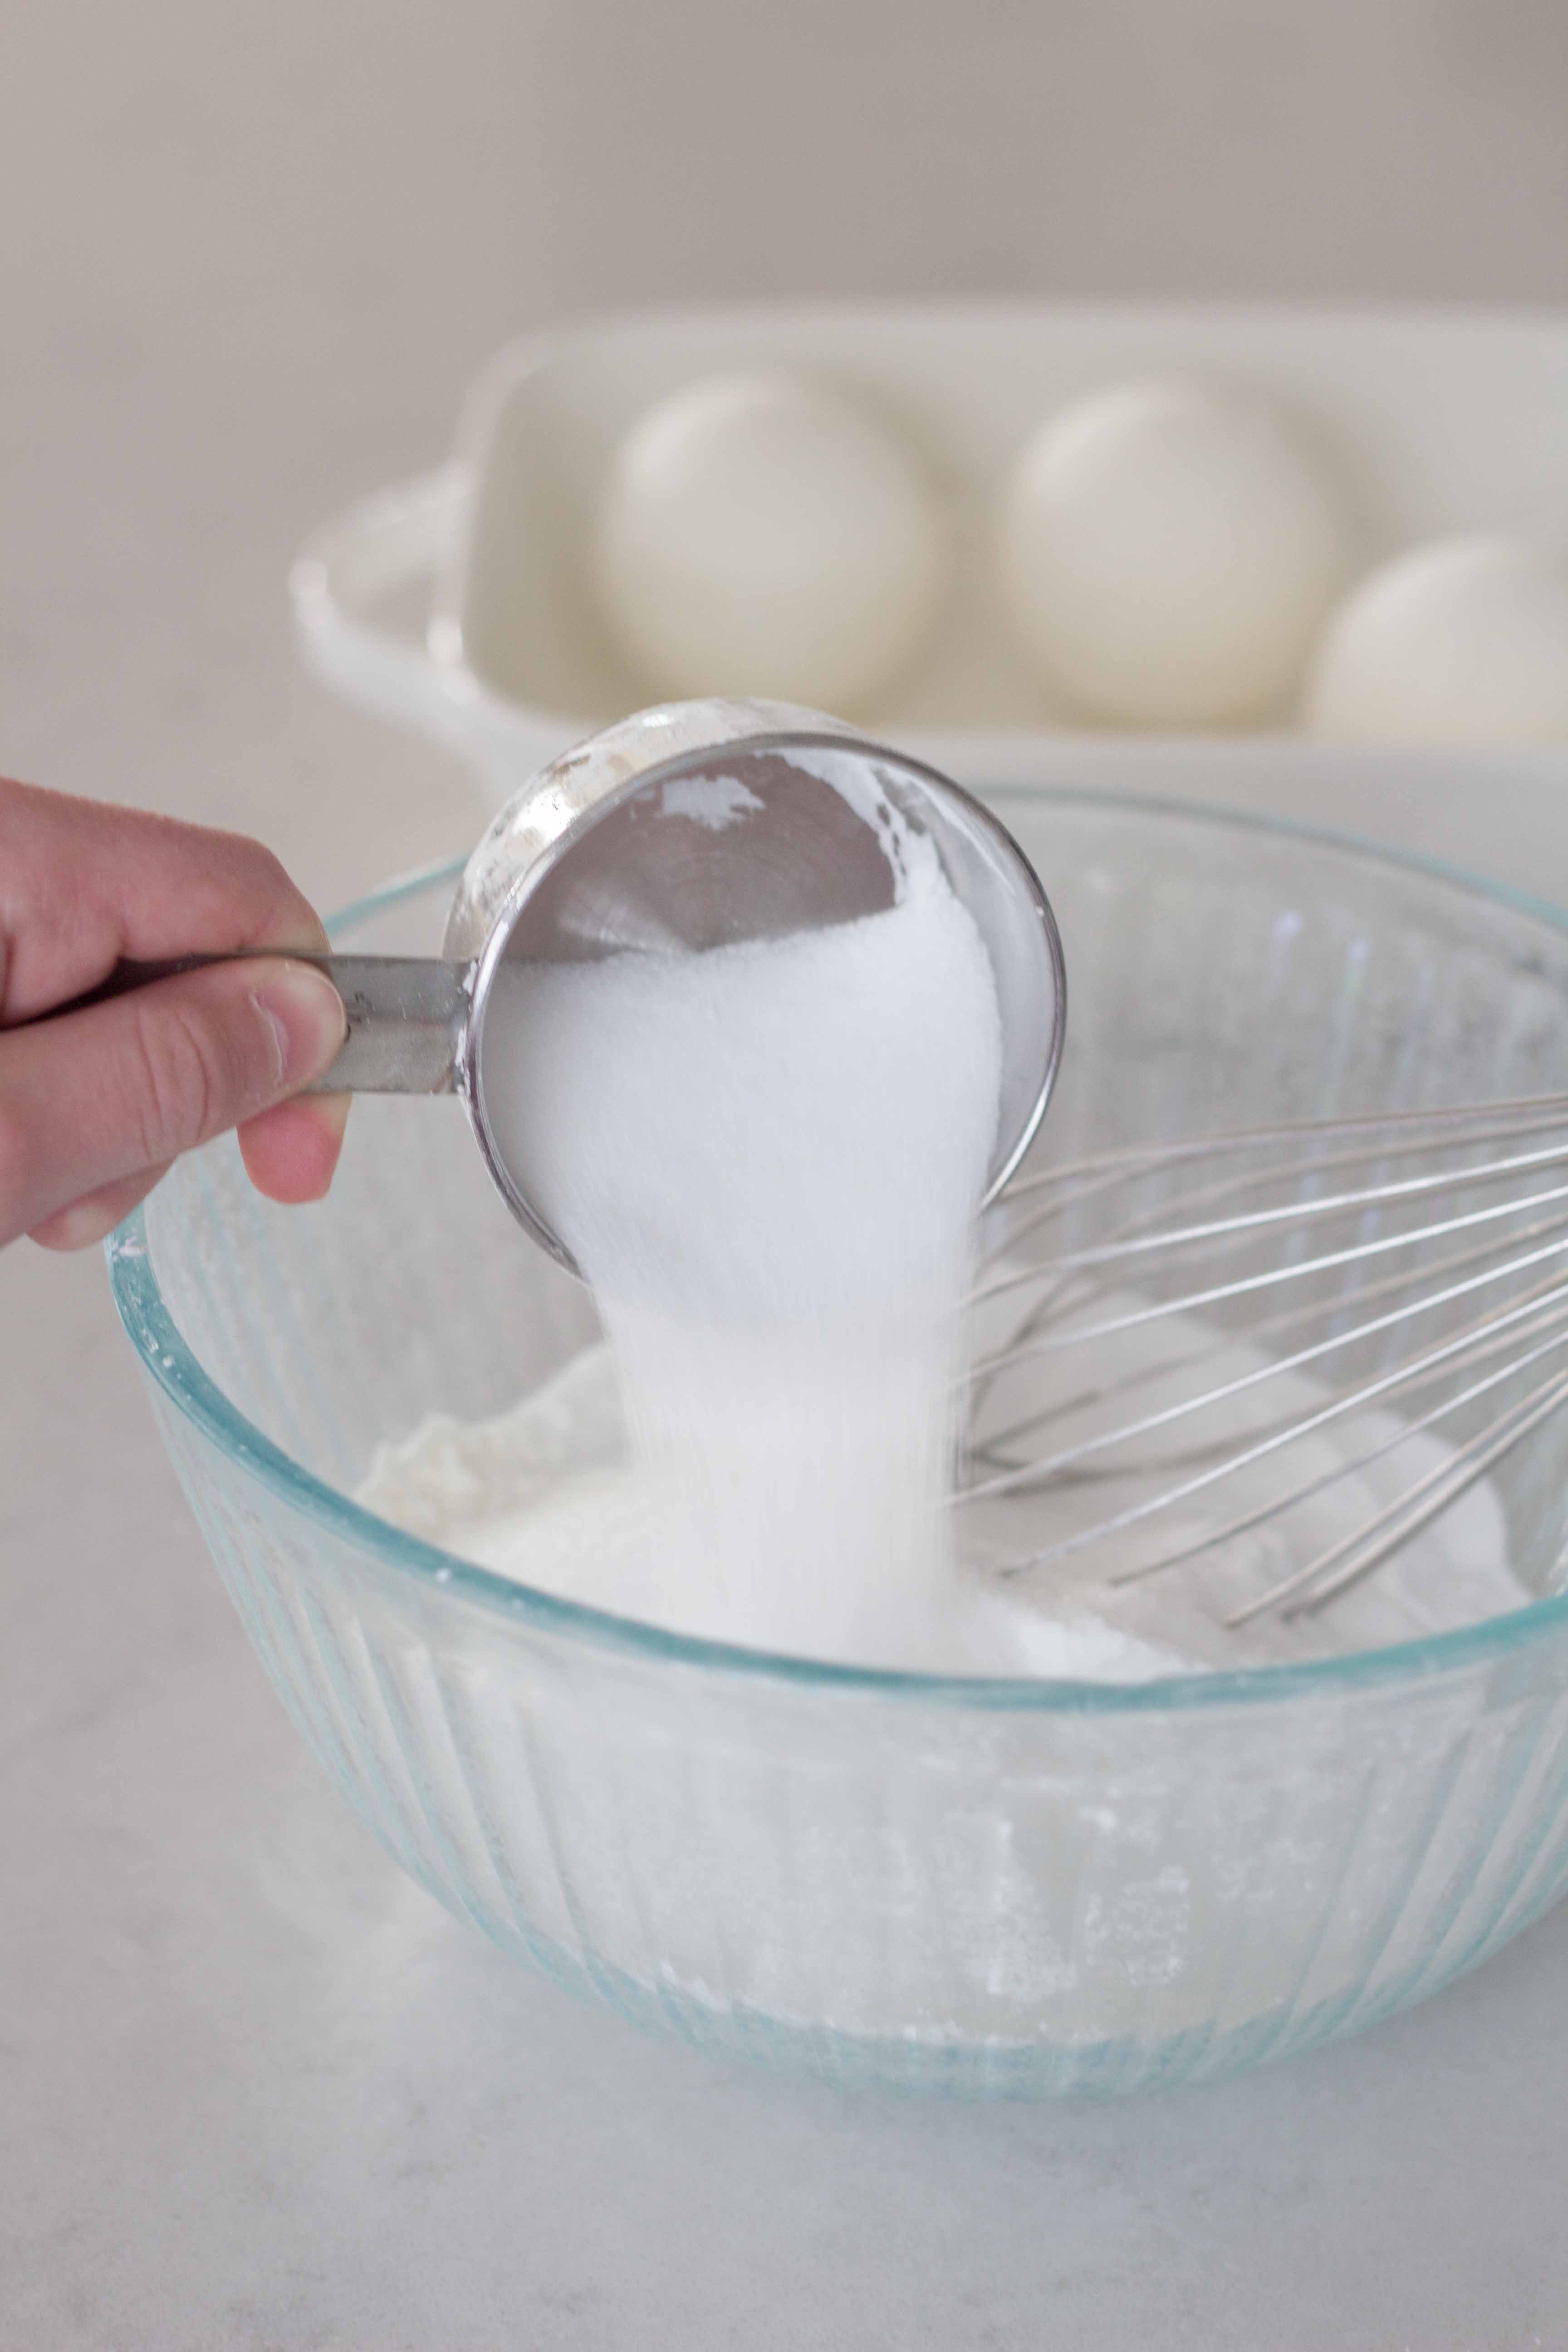
- In a bowl, whisk together baking soda, starch and citric acid. In a second small bowl mix together sunflower oil, water, E oil, essential oils and then glycerin. Whisk this mixture together and slowly and carefully poor into dry ingredients. Mixture may start to foam from the citric acid but we want to minimize this so the bath bombs can fizz when ready for use.Mix together with a fork until a crumbly consistency appears.Spray 3 times with witch hazel, and finish mixing with hands. It will hold together slightly, almost like wet sand. This is just what you want. Do not spray more than 3 times with the witch hazel or the bombs will not dry properly.Fill 2 molds with your hands and press them together to pack tightly. The bath bomb should stay together. Allow to dry for 24 hours before using or packaging.
Notes
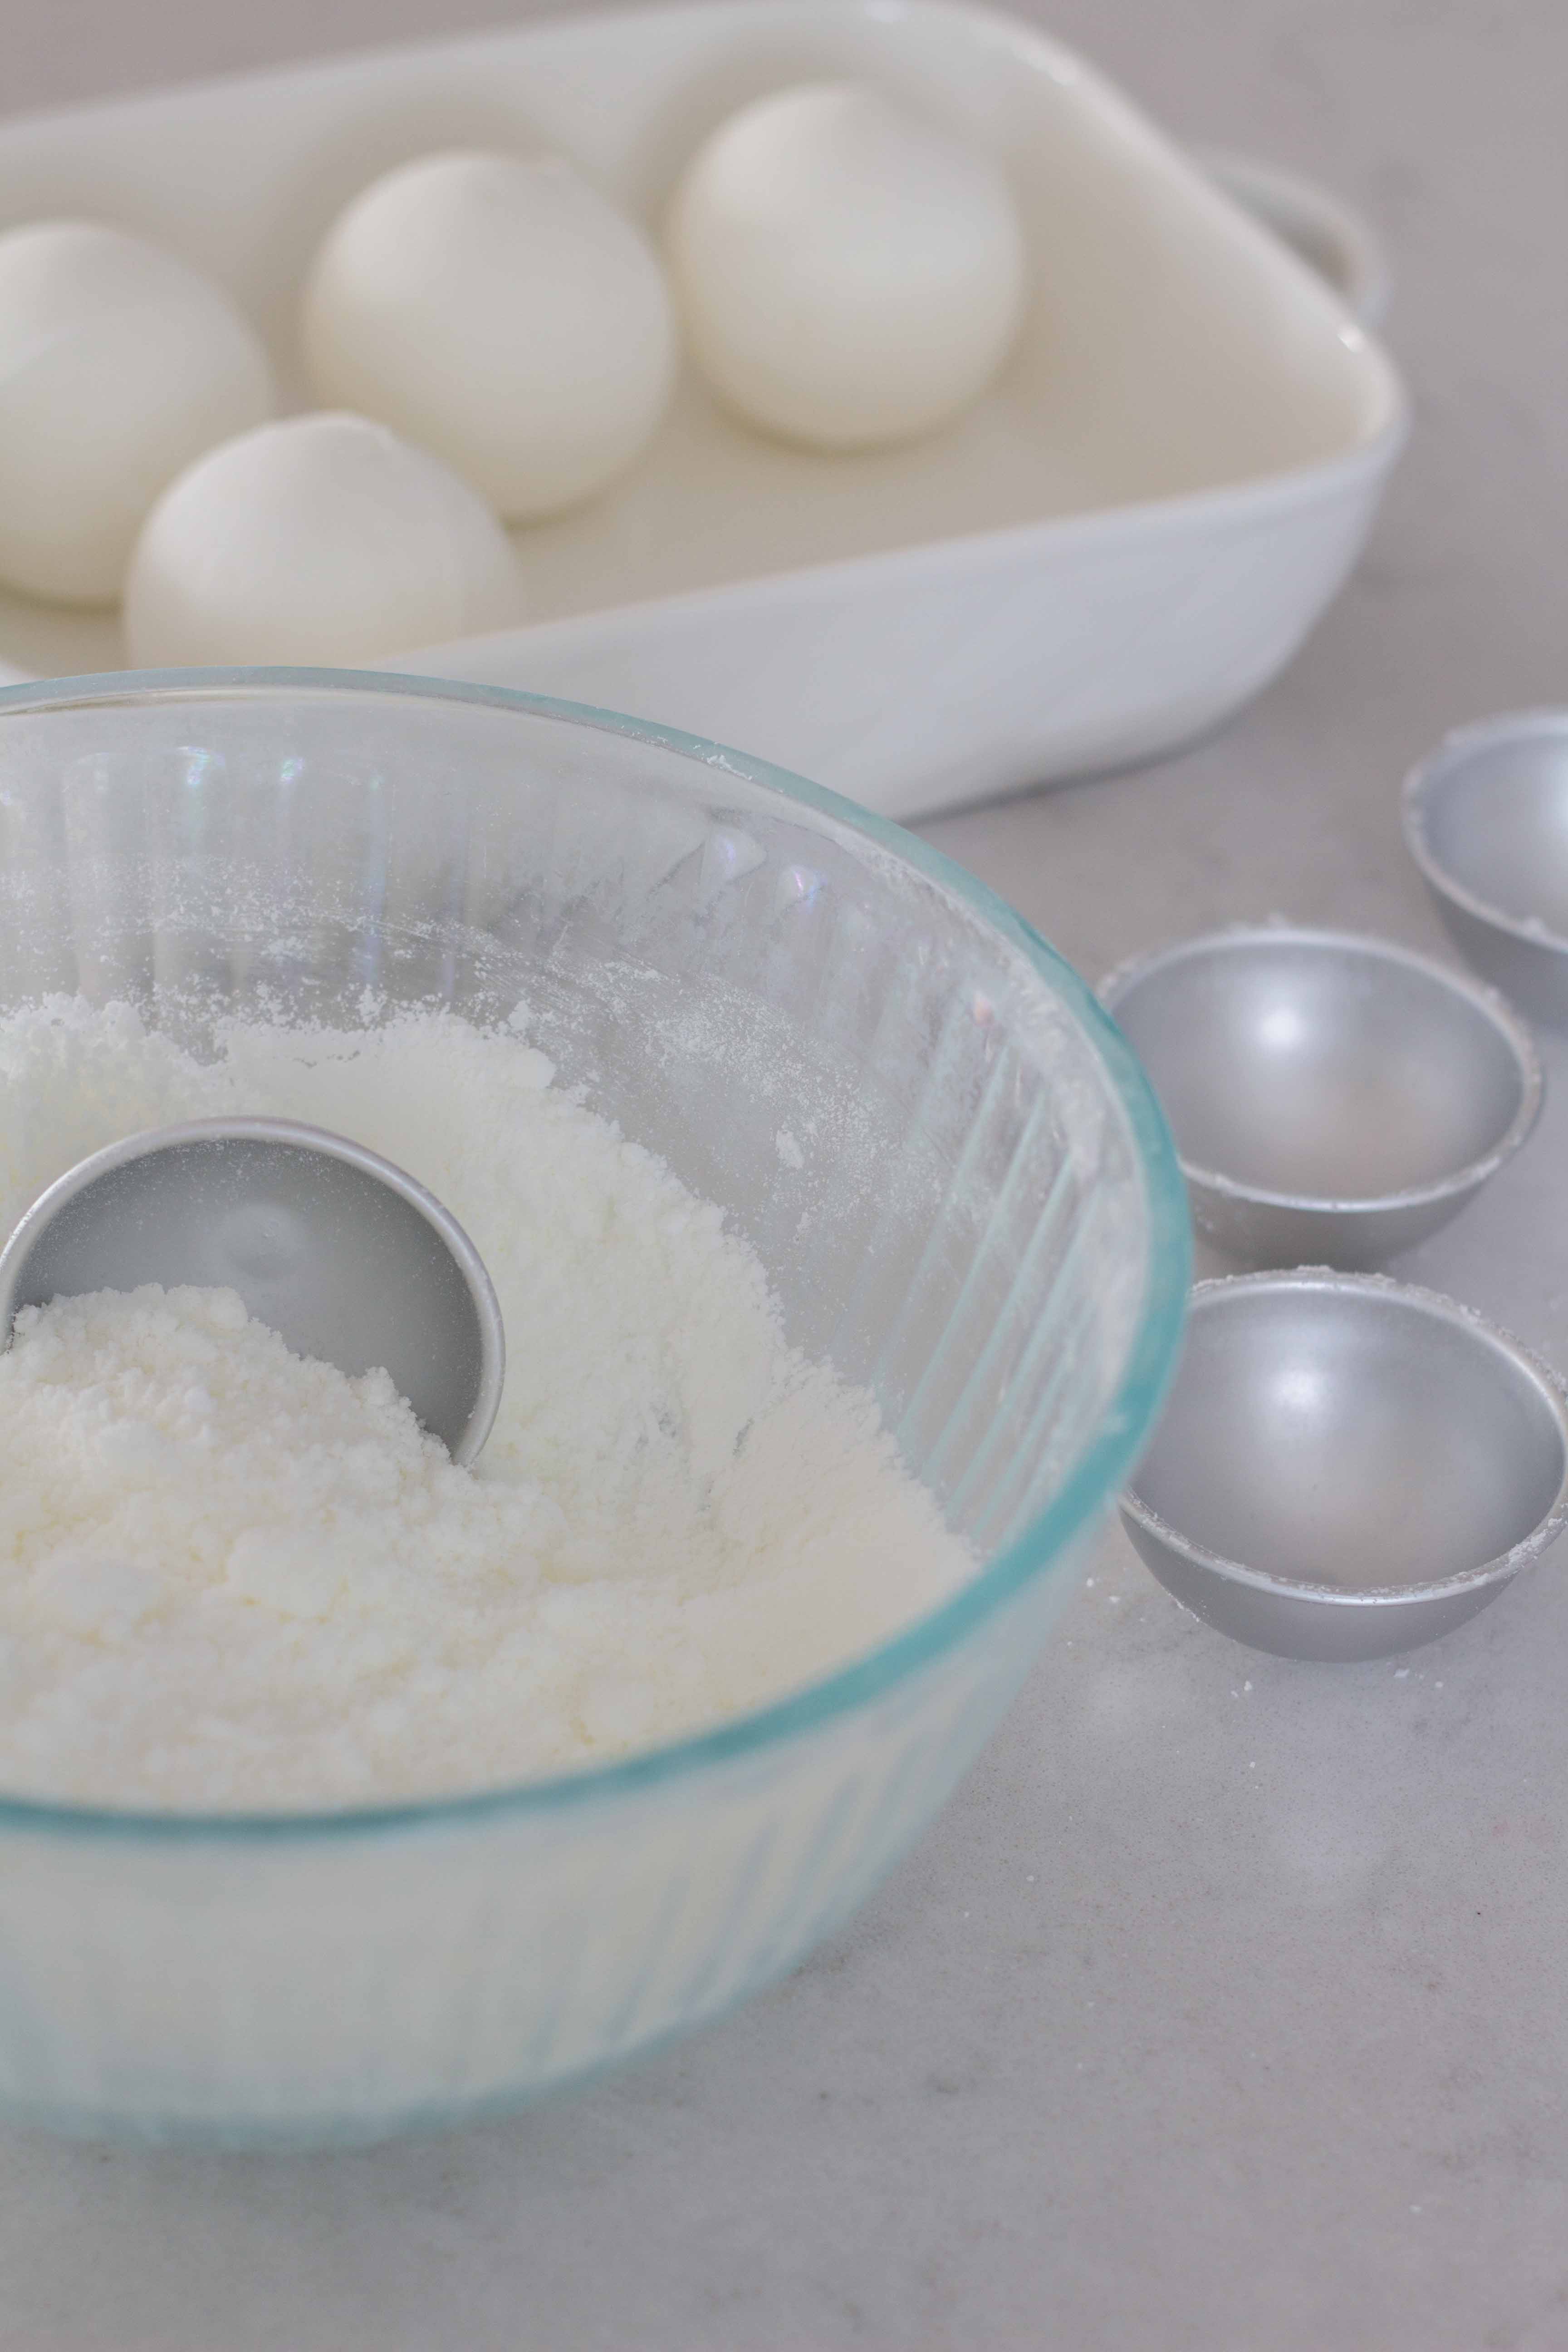
How long do my bath bombs need to dry and set?
Technically they can be used right after making (I tested one in the bath myself!), but I would suggest letting your bath bombs dry for 24 hours. You won’t be able to package the bath bombs when they are soft and freshly made.
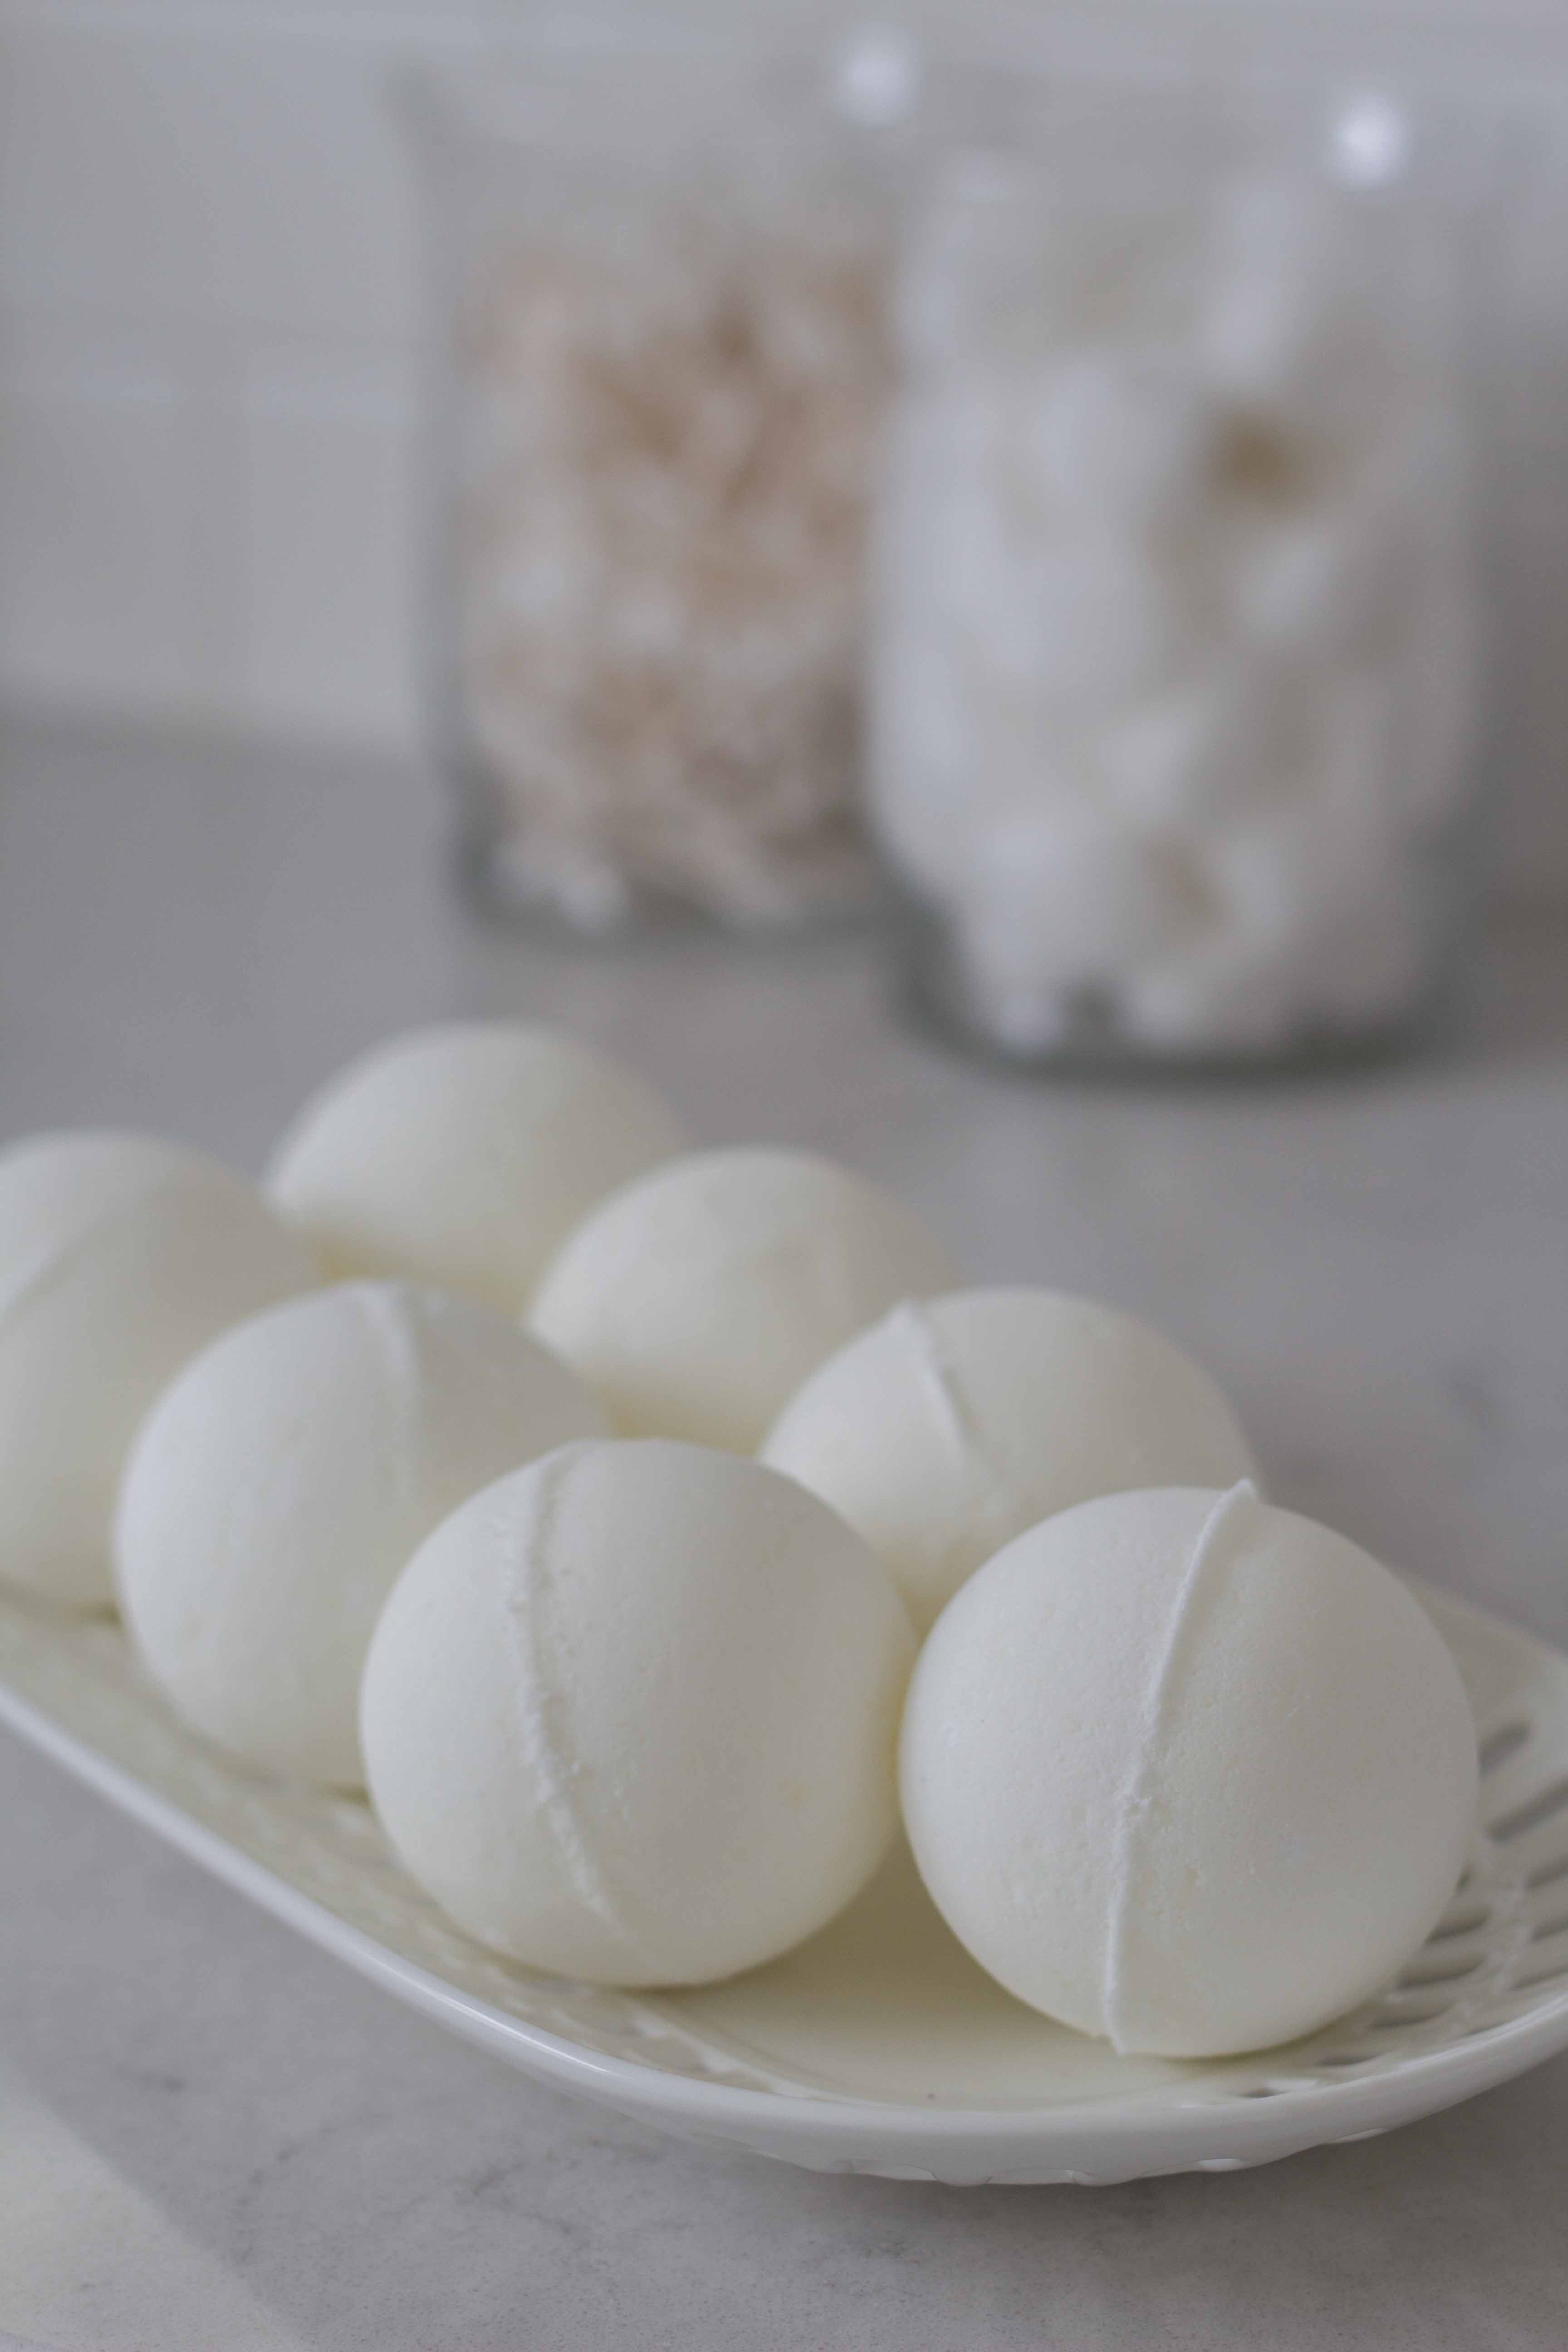
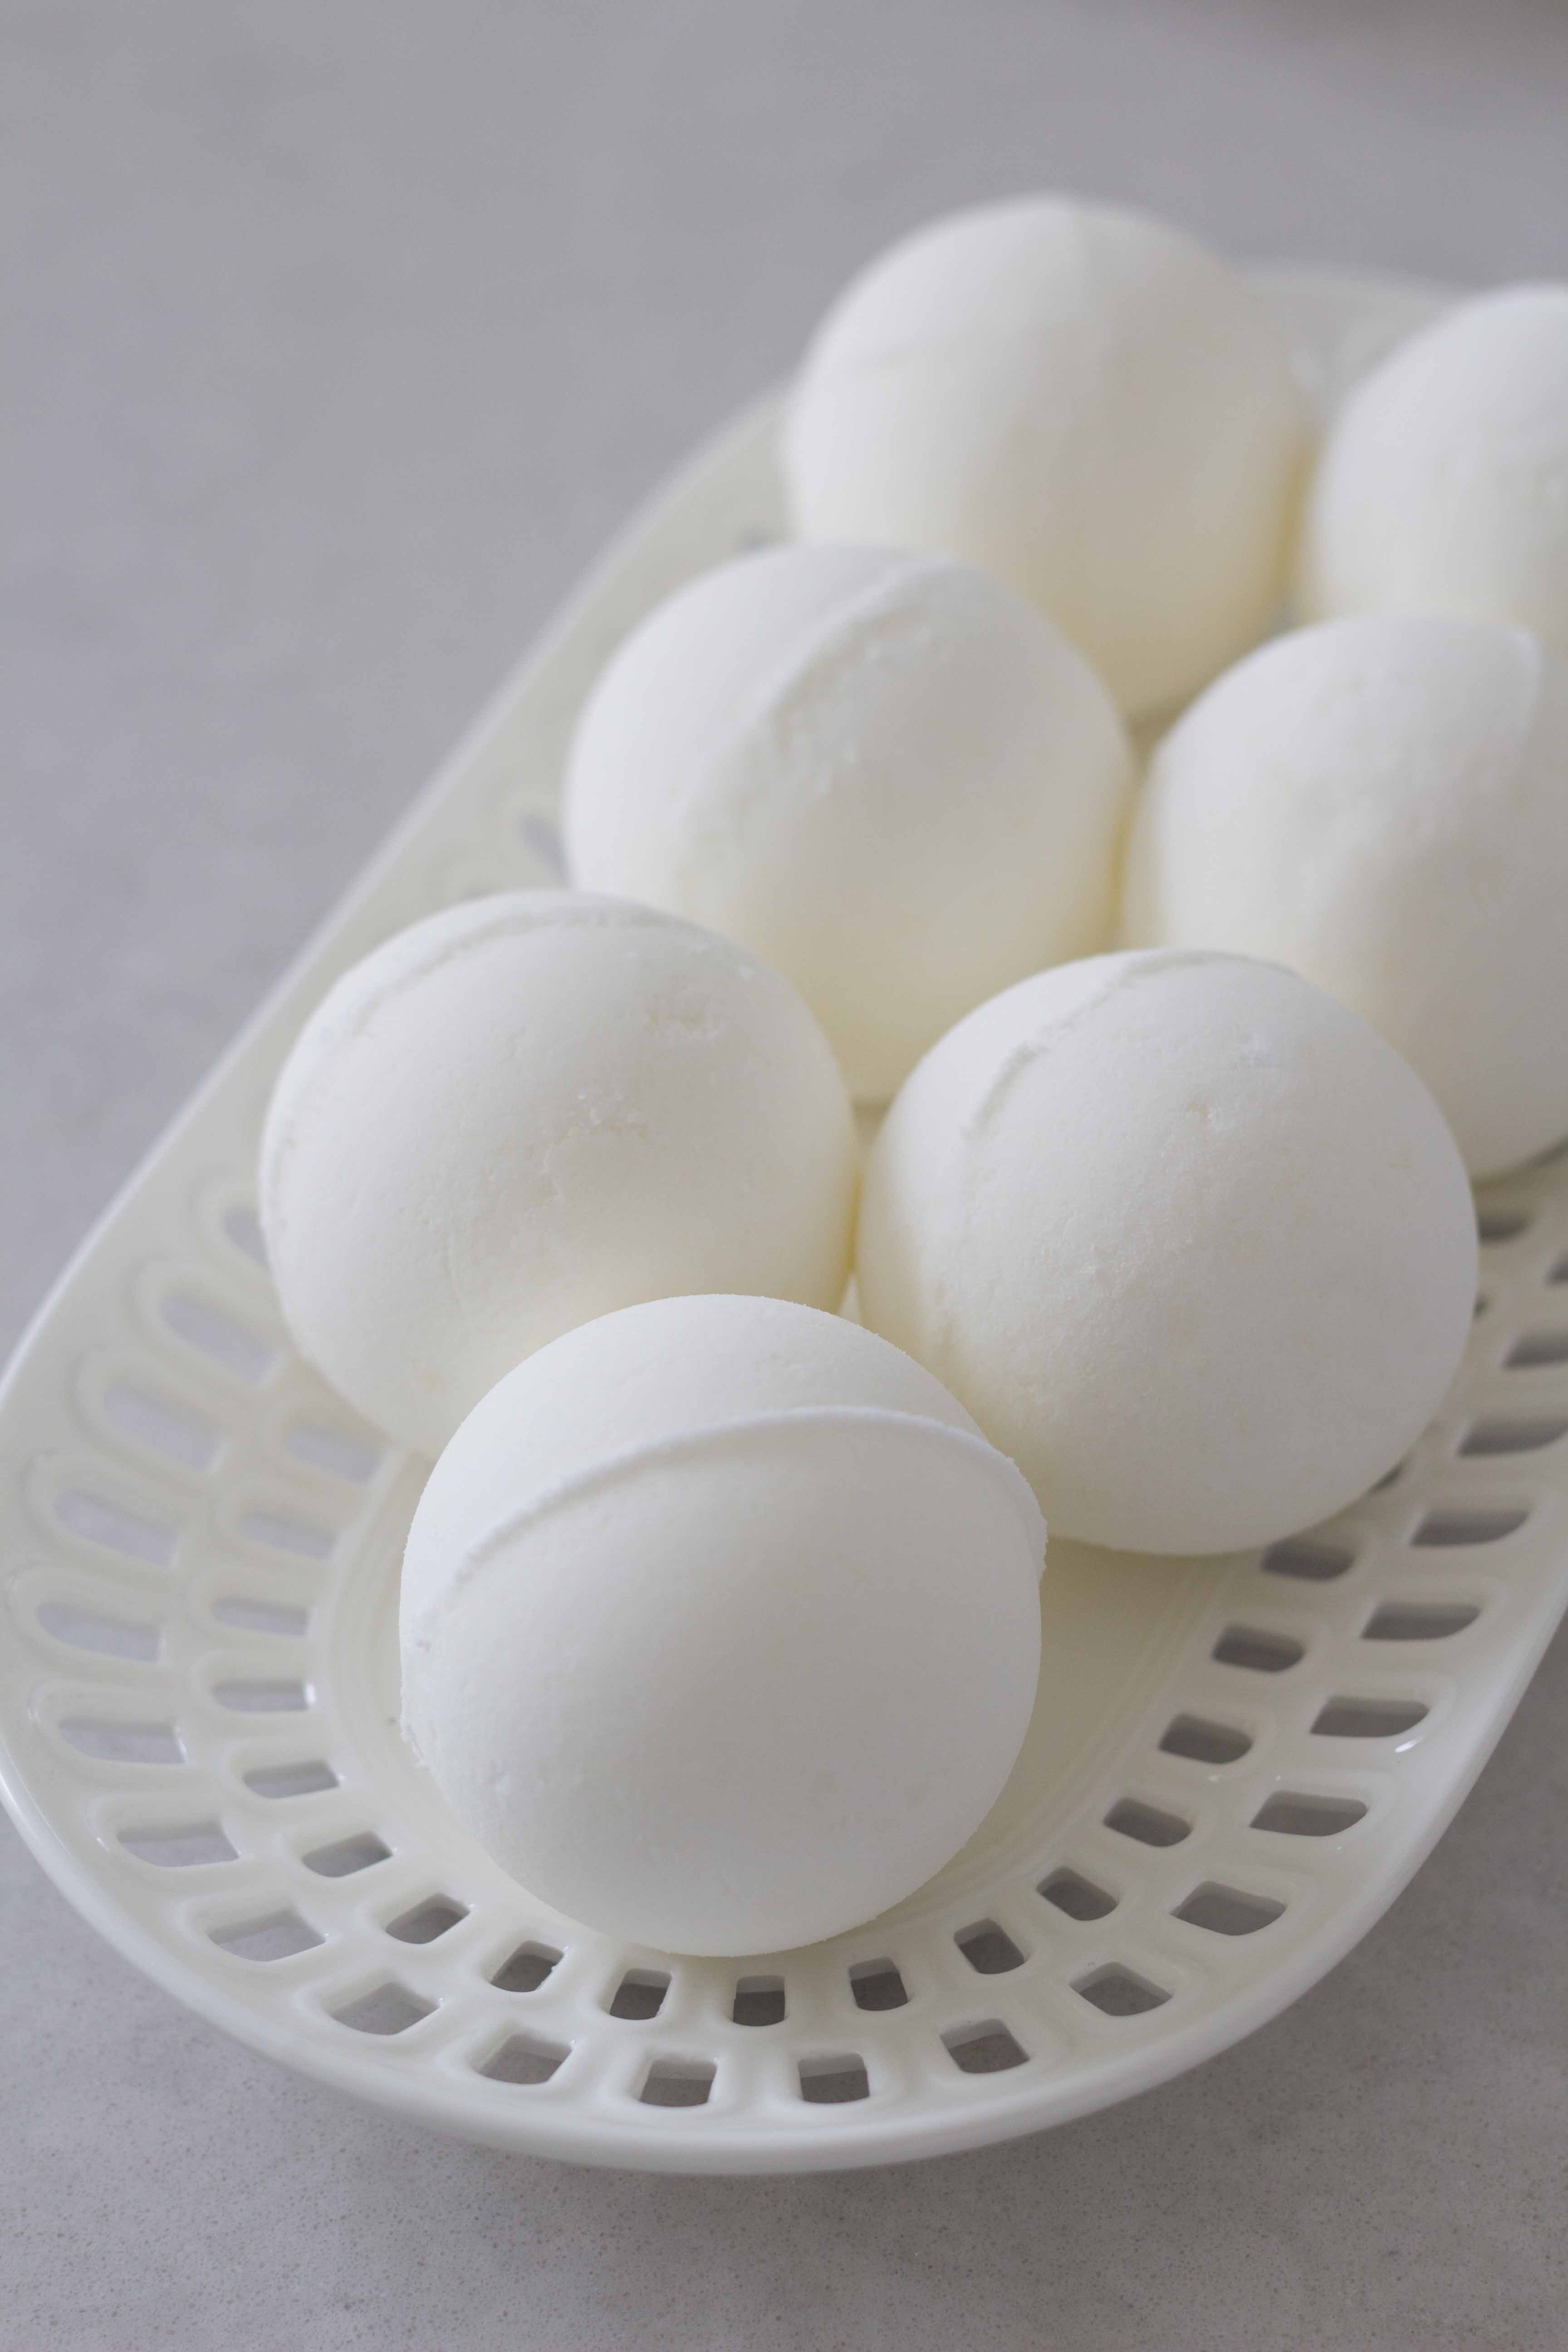
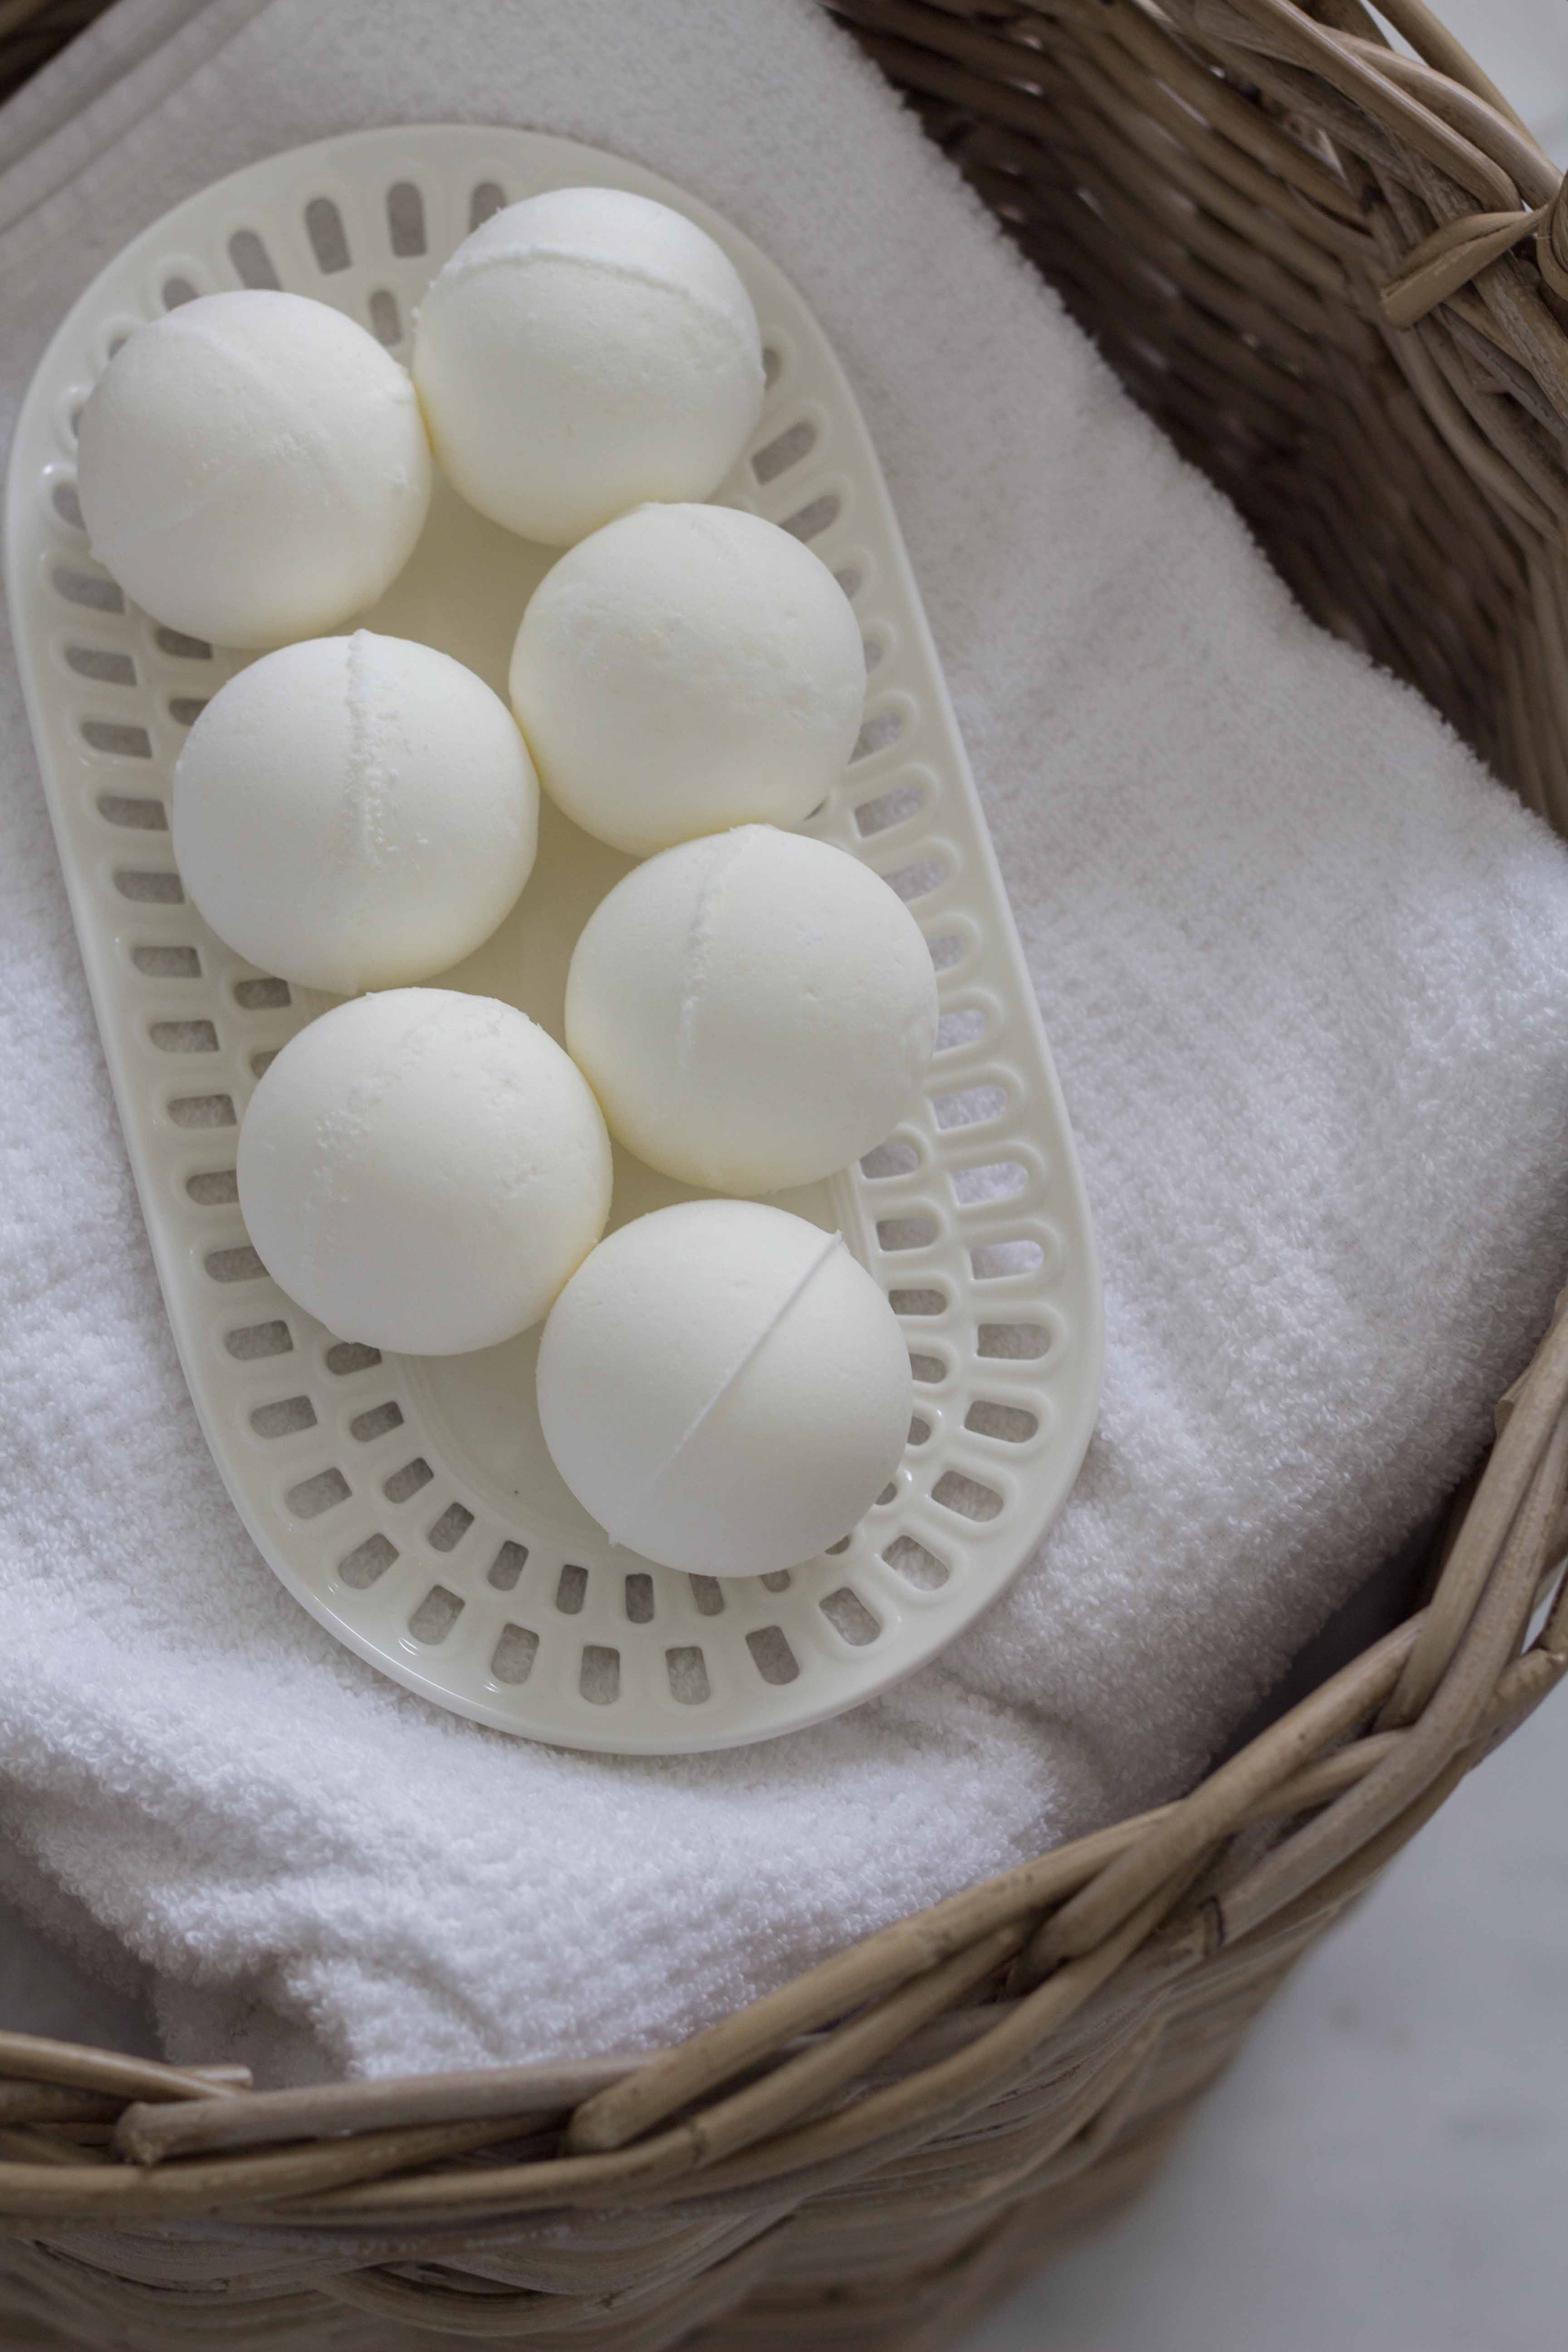
What makes the bath bombs fizzy?
The citric acid in the bath bombs is what makes them so much fun! Drop your bath bomb in warm bath water and watch it dissolve in about 30 seconds.
What can I add to my bath bombs for fun?
- Small toys for kids
- Crushed Lavender
- Lemon or orange zest
- Crushed Oats for skin and texture
- Color Pigment powder
More DIY Body products you might enjoy:
All-Natural Handmade Body Scrub
Love this post for All Natural DIY Bath Bombs? PIN IT!
