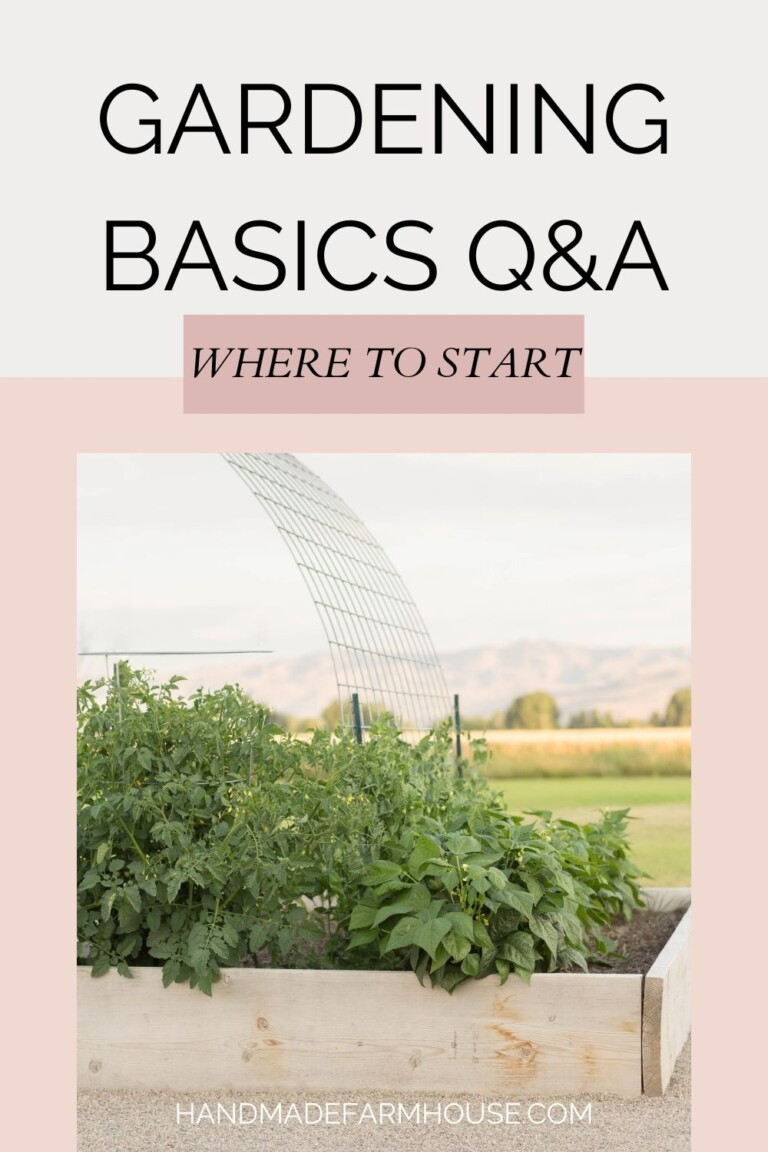
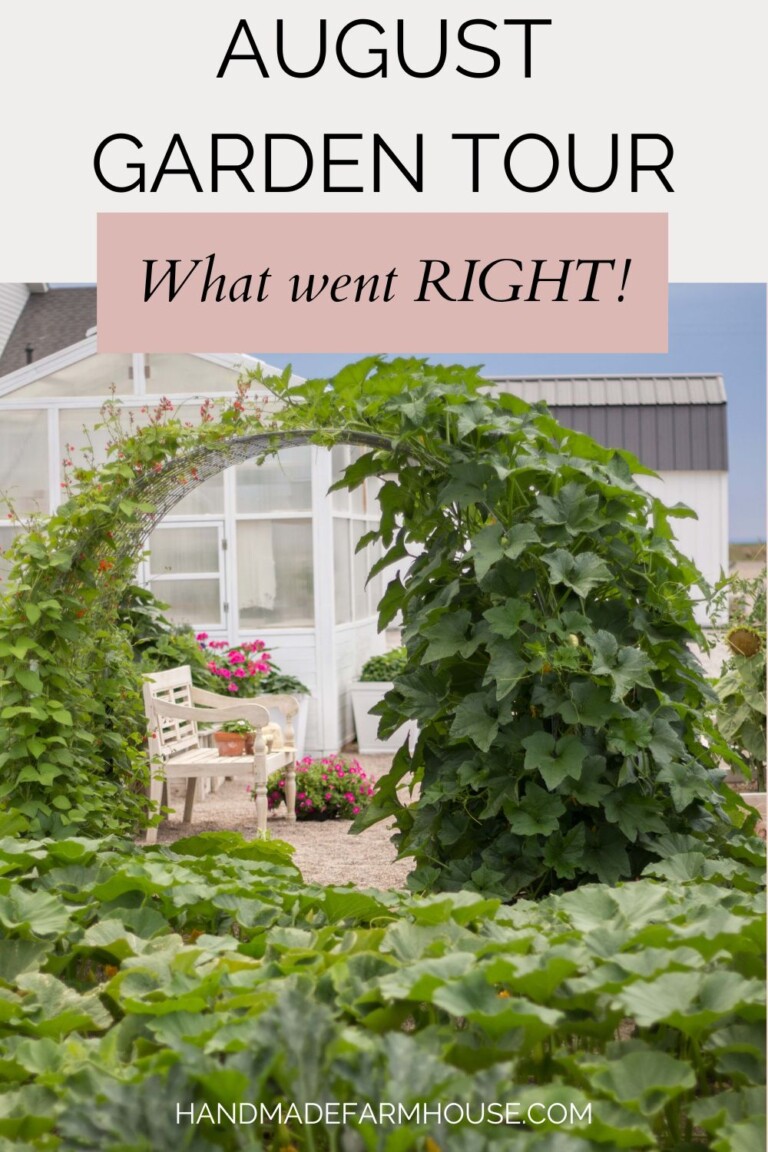
Join me on this journey as we create our from-scratch vegetable garden as a family using our affordable DIY garden beds.
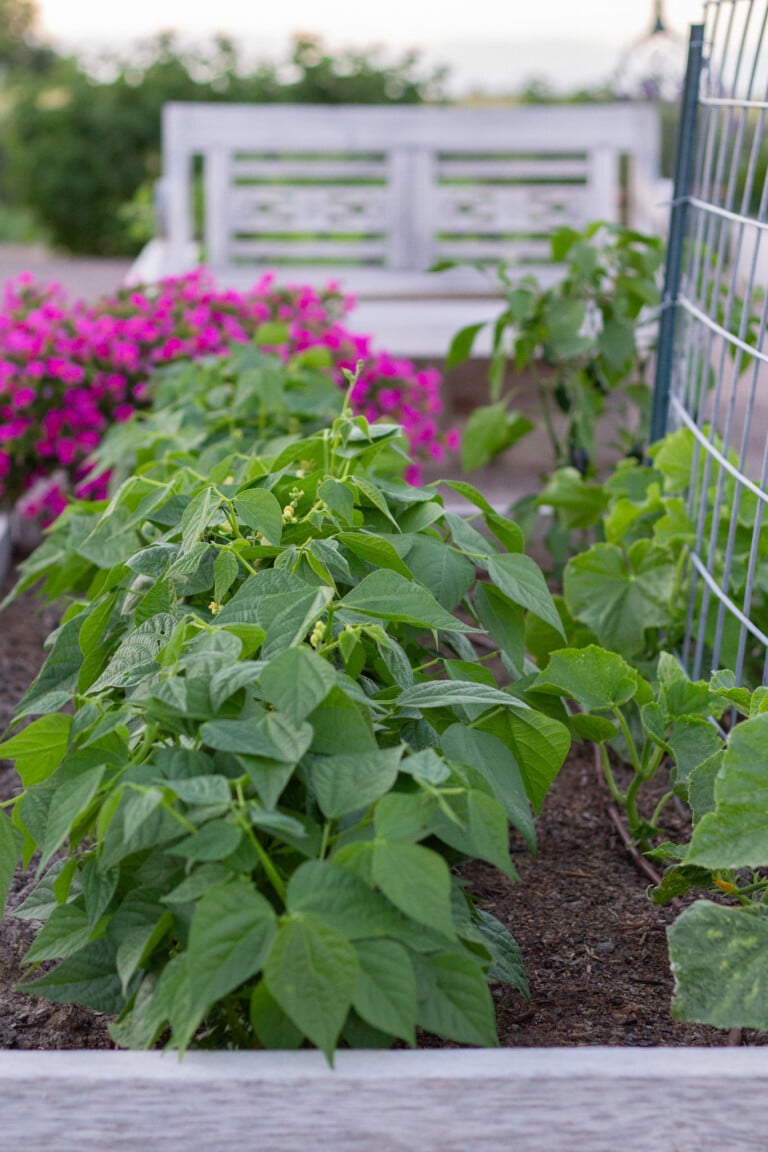
Raised bed gardening is a lower maintenance and athletically pleasing option for gardening! I have found through gardening both in-ground and in raised beds that I spend much less time weeding and maintaining when I plant in raised beds!
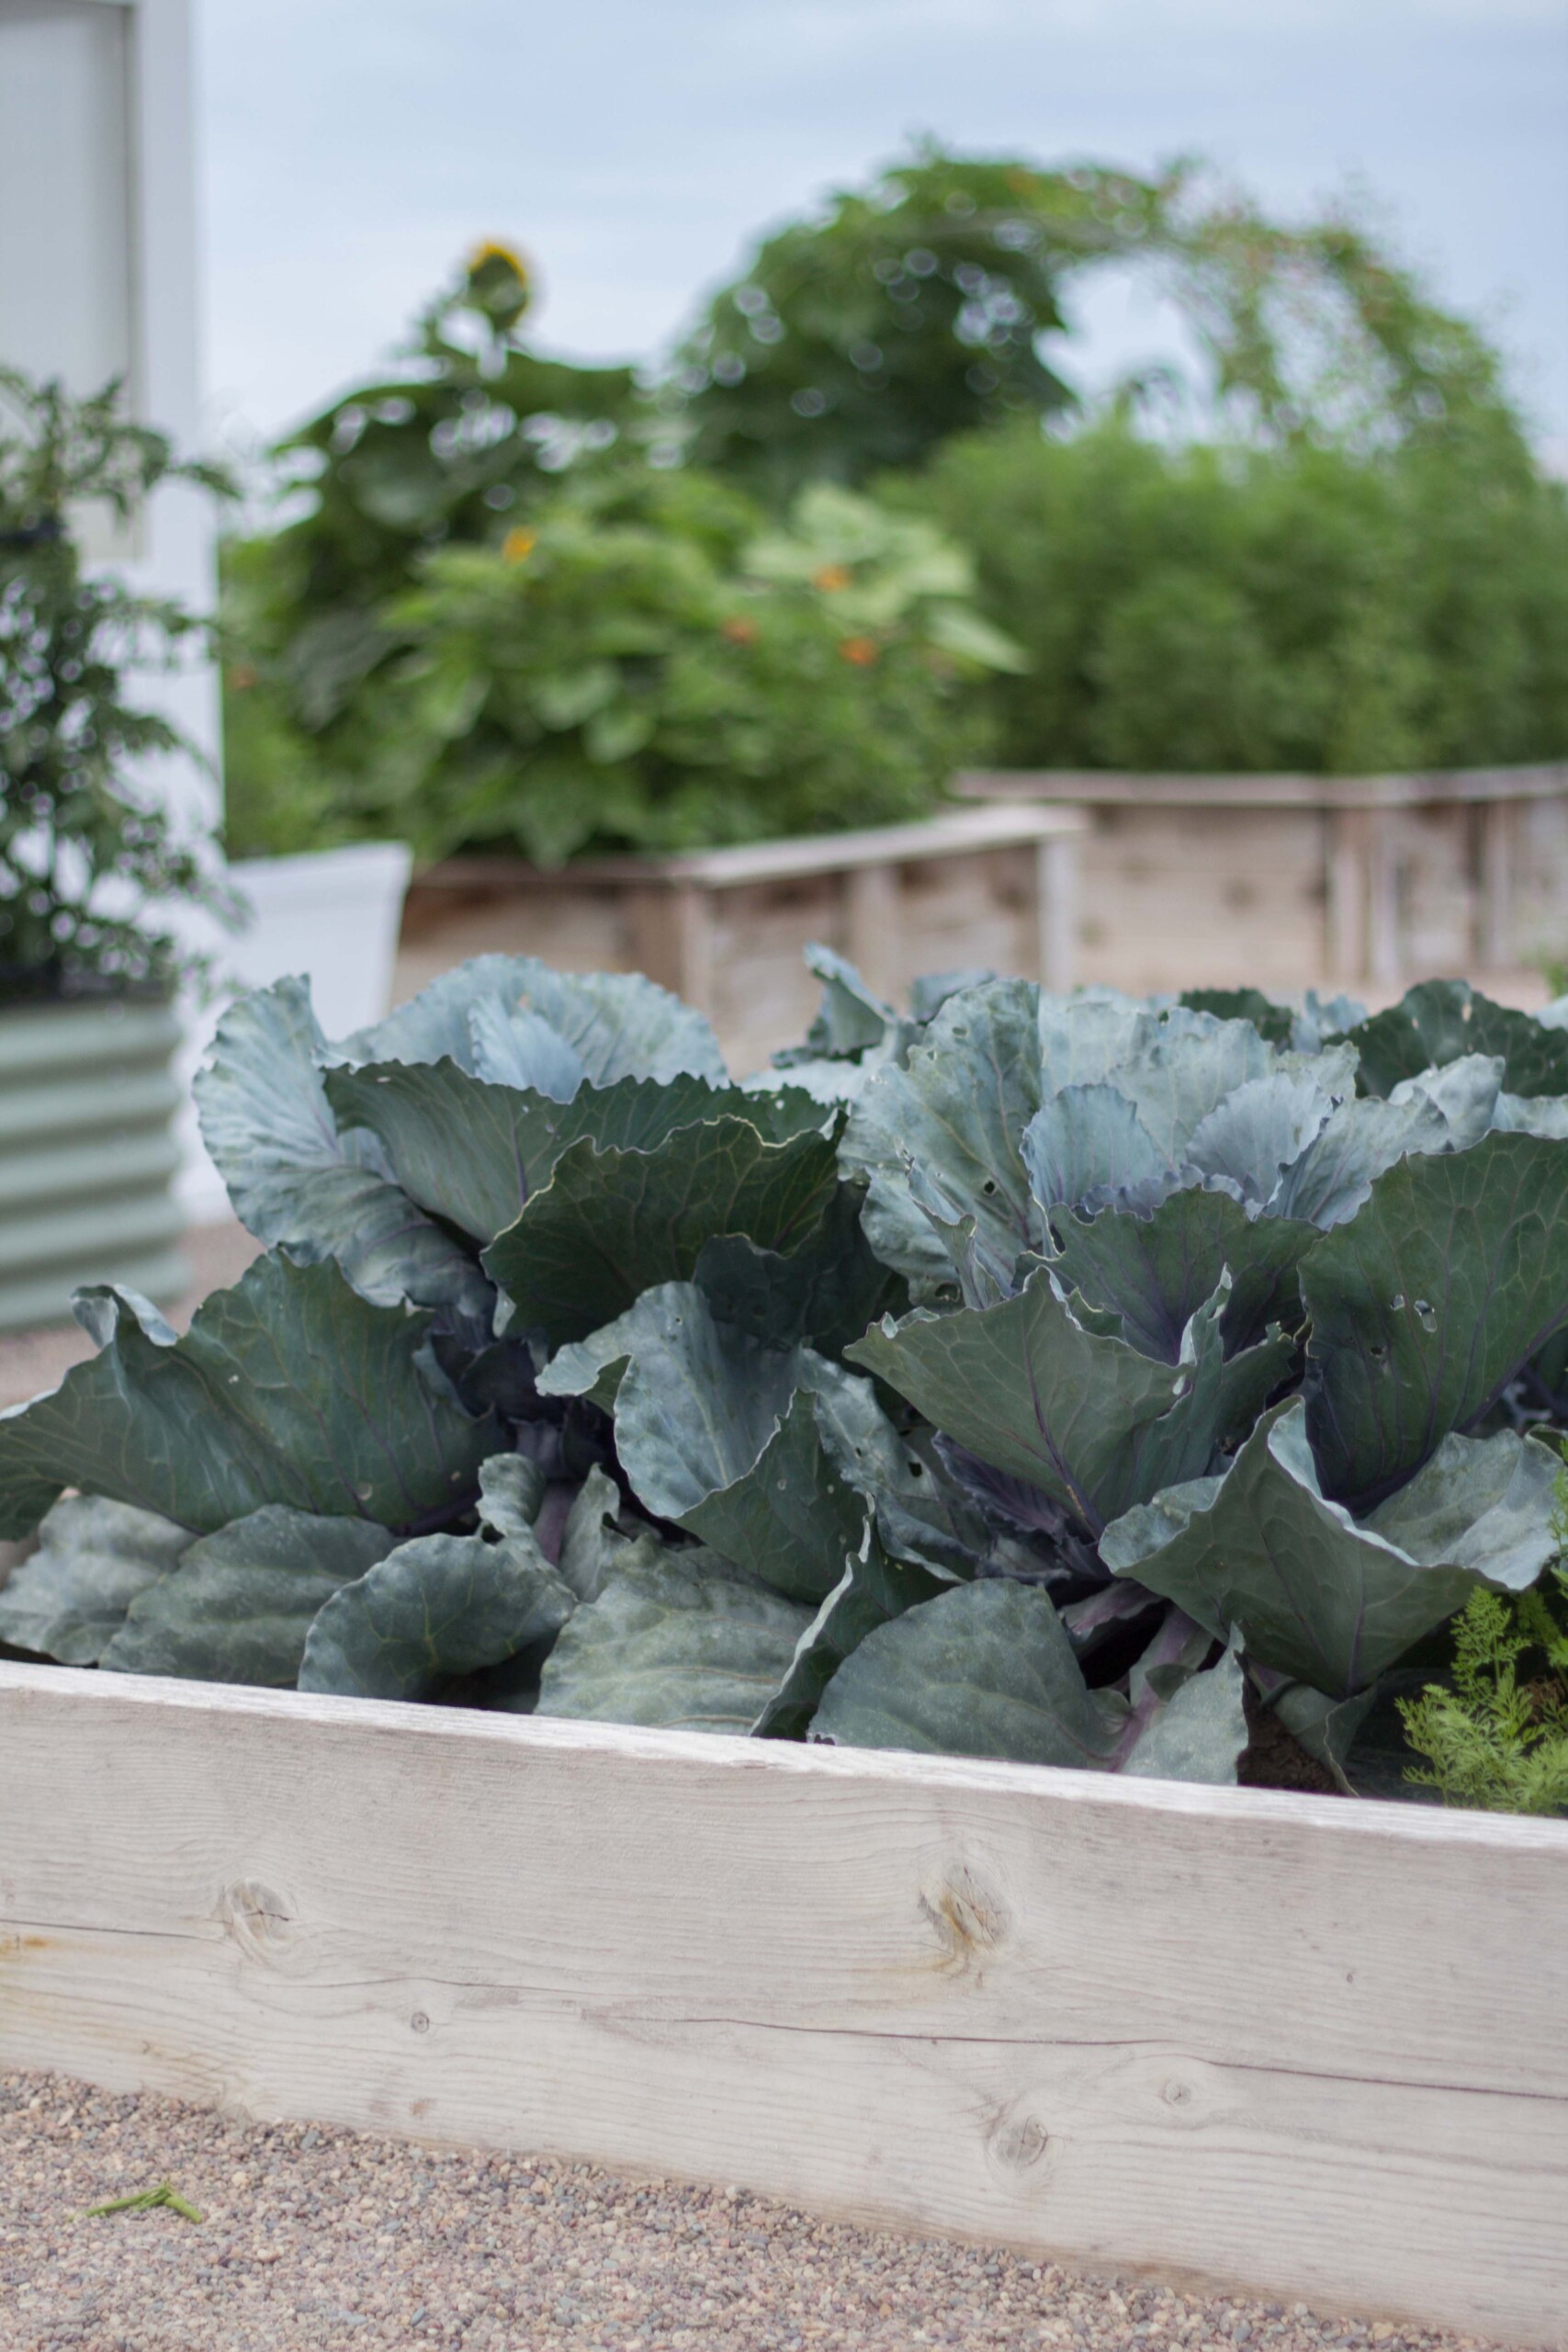
So many of you have shown interest in watching as we build our DIY garden space. I love that you are on this journey with us! We are not experts, but have discovered a real passion for learning and nurturing our own little patch of earth. Since the kids were really tiny we have always planted a garden in some shape or form. Sometimes its been in small pots, sometimes in the ground, sometimes in a single raised bed made from barnwood scraps.
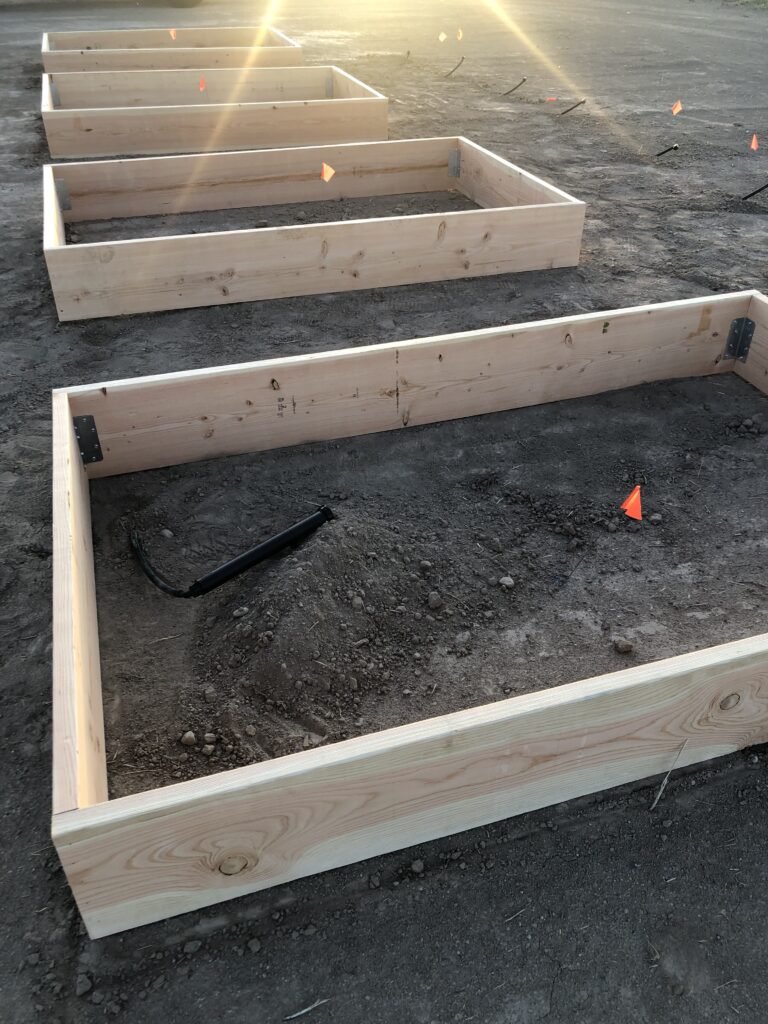
Starting from scratch
After building our home, we knew we wanted to create a garden that our family could enjoy working in together.
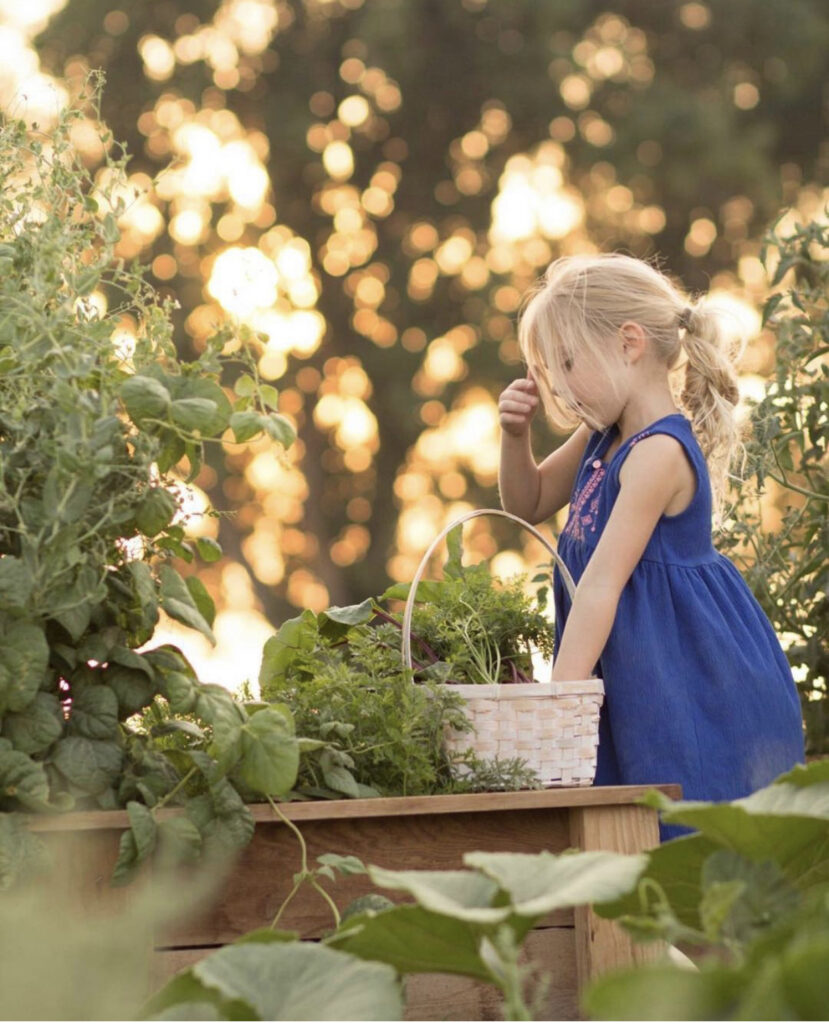
My husband has put up with my every hope and dream for this patch of earth! He has agreed to build raised beds and a little space that I can retreat to for peace. The garden is a true sanctuary for me. More than ever I have found that the garden is a place I can really think through things. There is such contentment and security. I love the quiet, the sounds of the birds, frogs and crickets. I love the sound of the water and the warm golden light! Most of all, though, I love watching my kids learn and grow in the garden! They run out each and every morning, eager to check the progress of our growing plants.
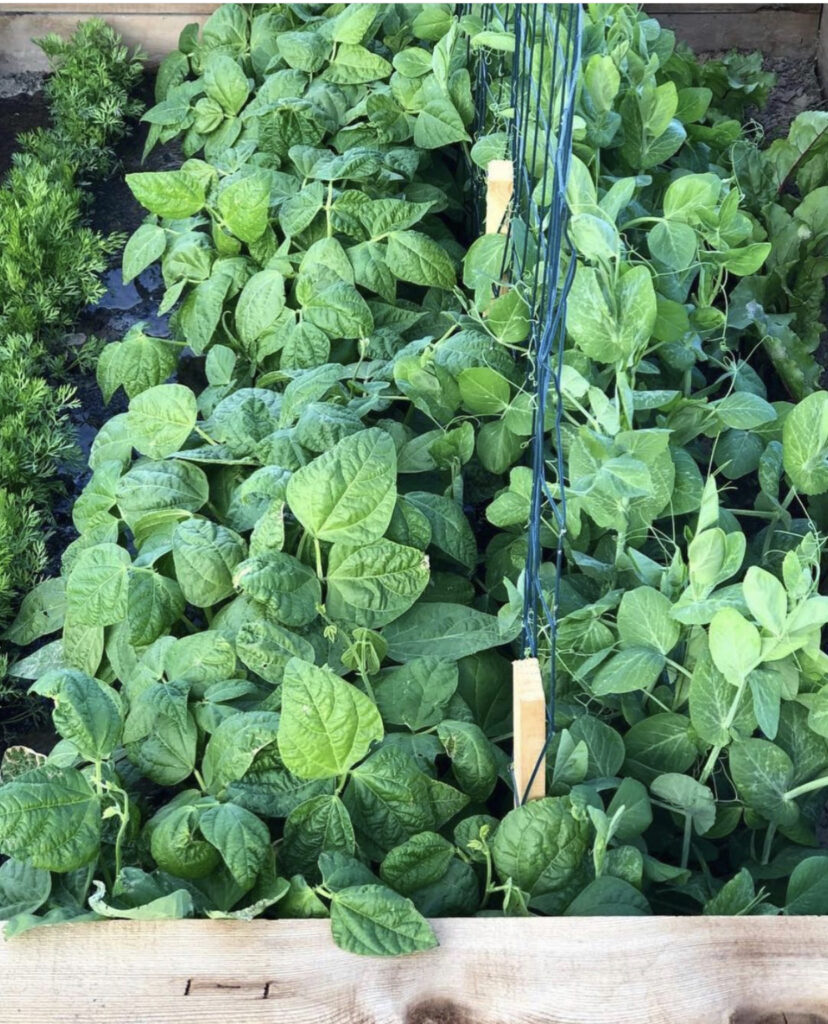
I am learning that as I age I have discovered a true curiosity for learning about plants. Self reliance, sustainability, nurturing seeds and harvesting produce from our own yard is fascinating to me. There is such a sense of pride when you harvest what you’ve grown. Being the daughter of a farmer, this fact should come as no surprise 🙂
I really find a lot of joy in canning and preserving but have reached a busy season in life where I am just growing things for fresh, seasonal eating for our family. It brings a joyful feeling of providing for my people! I like not having to depend on a store in the summer for fresh, vitamin-filled produce.
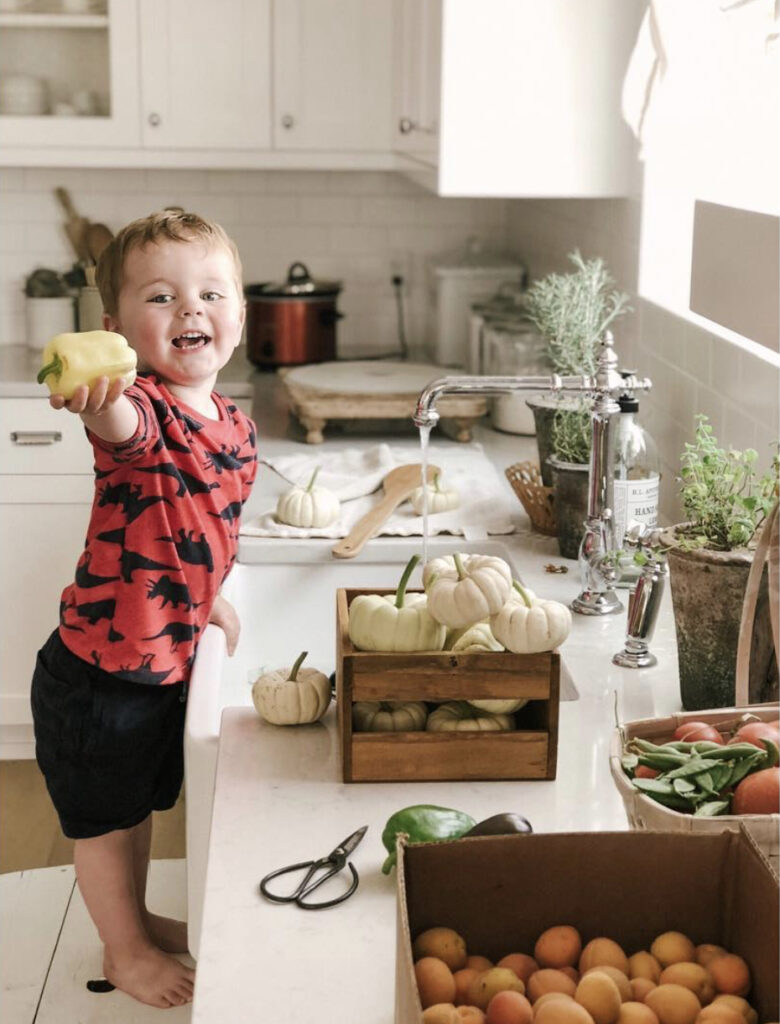
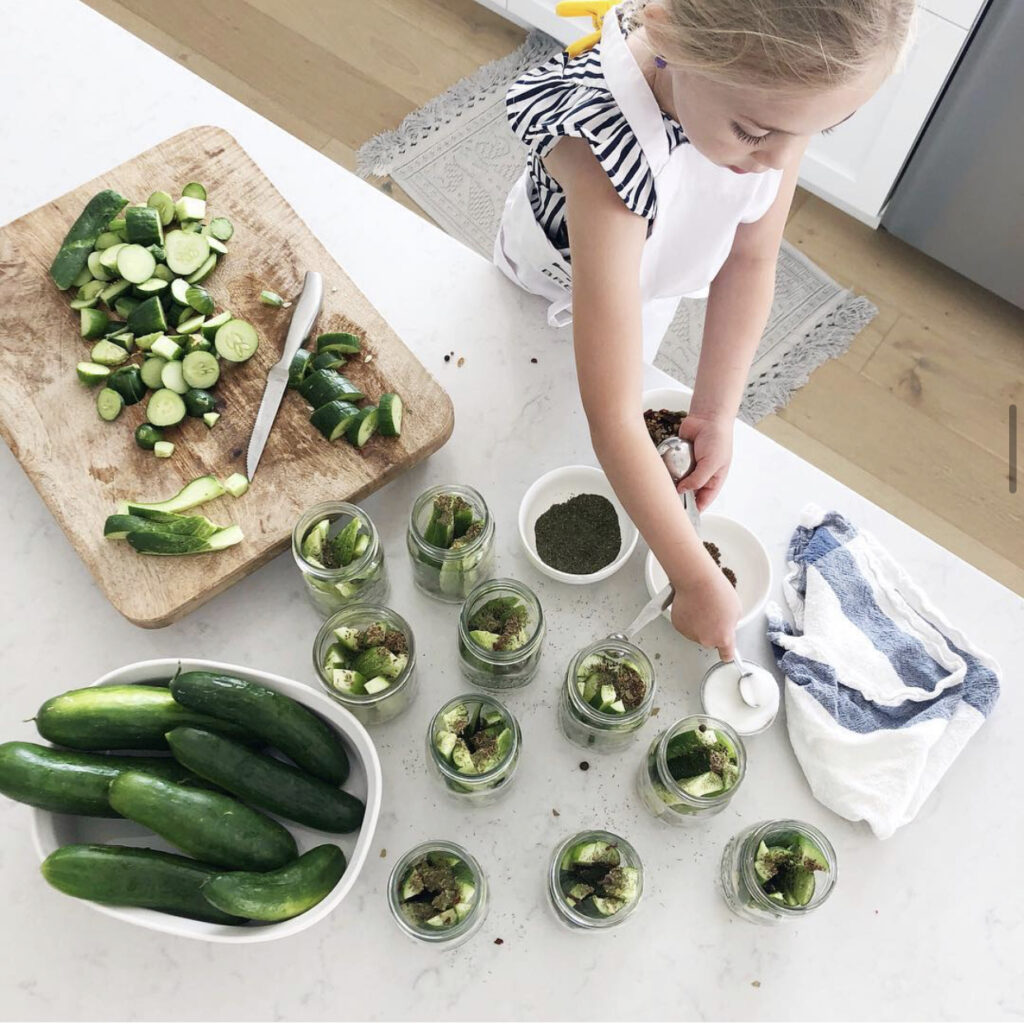
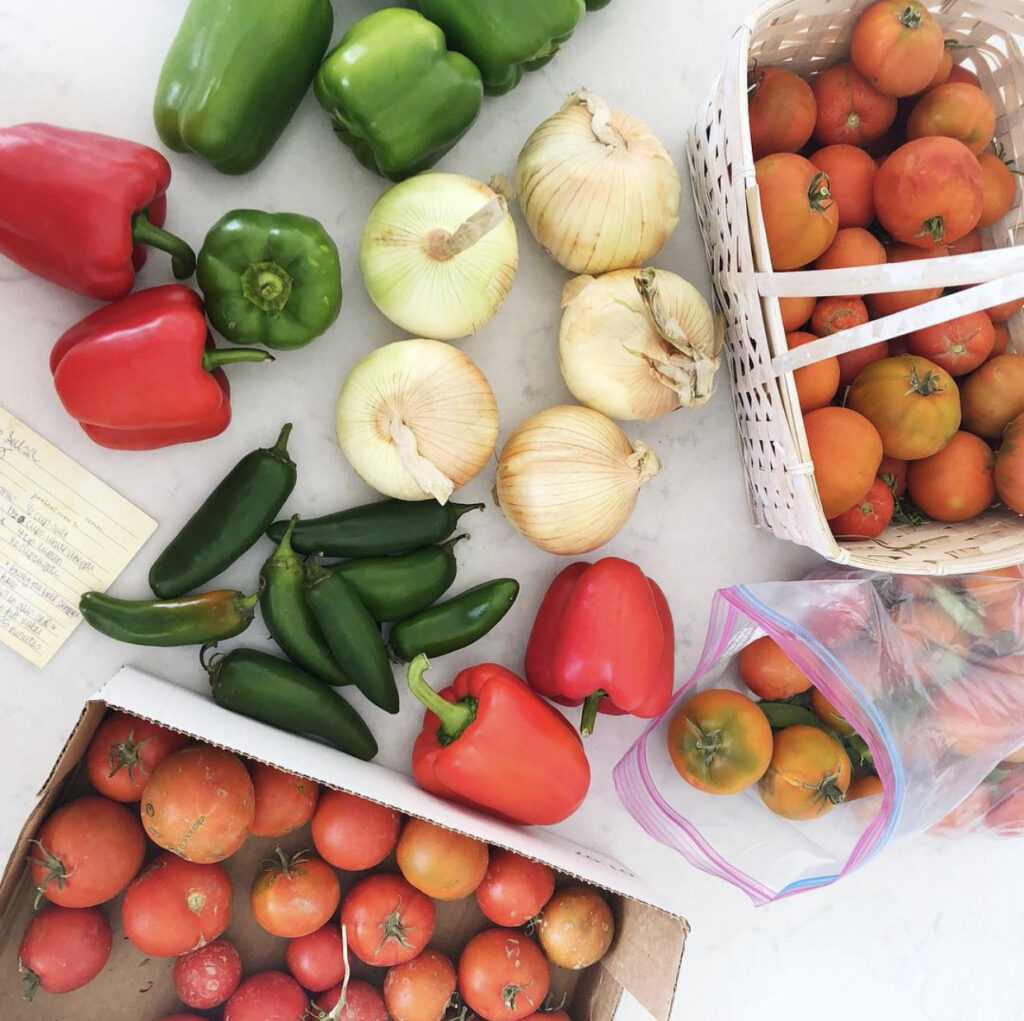
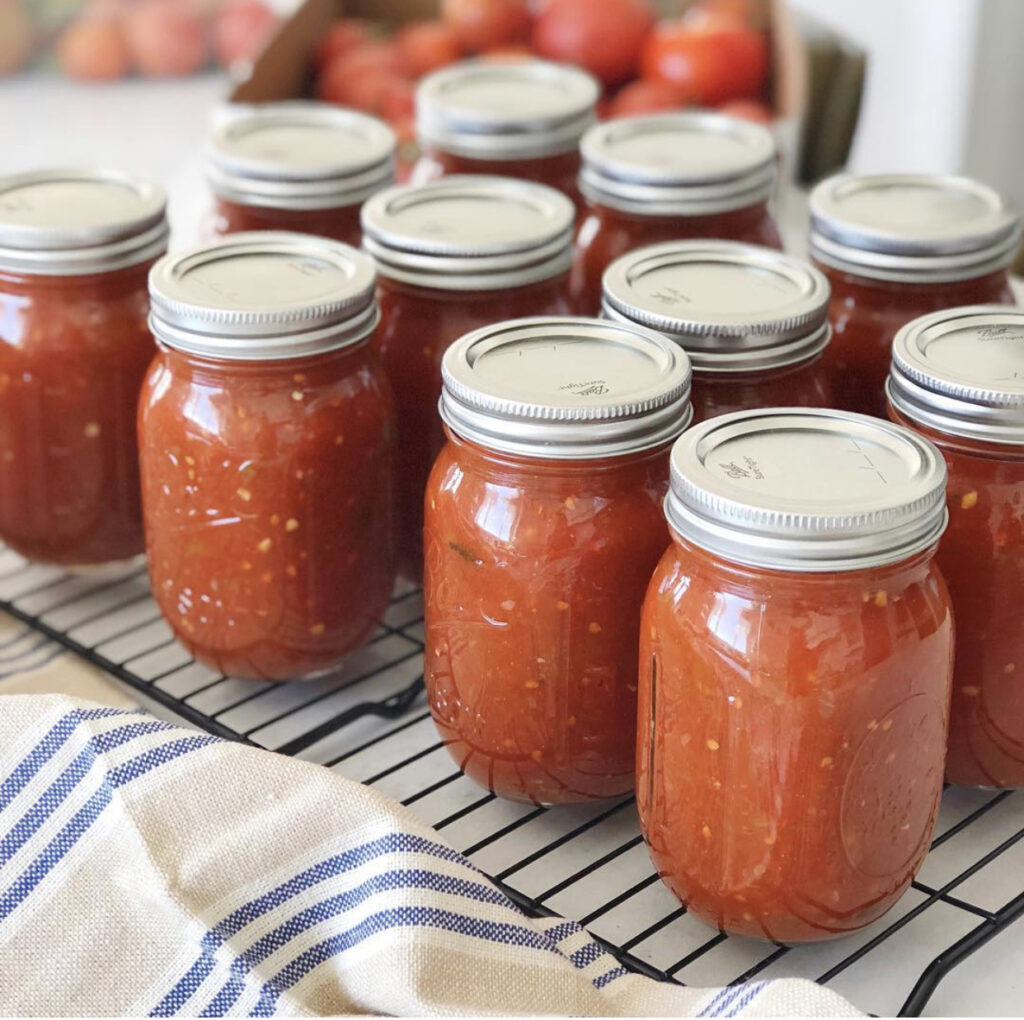
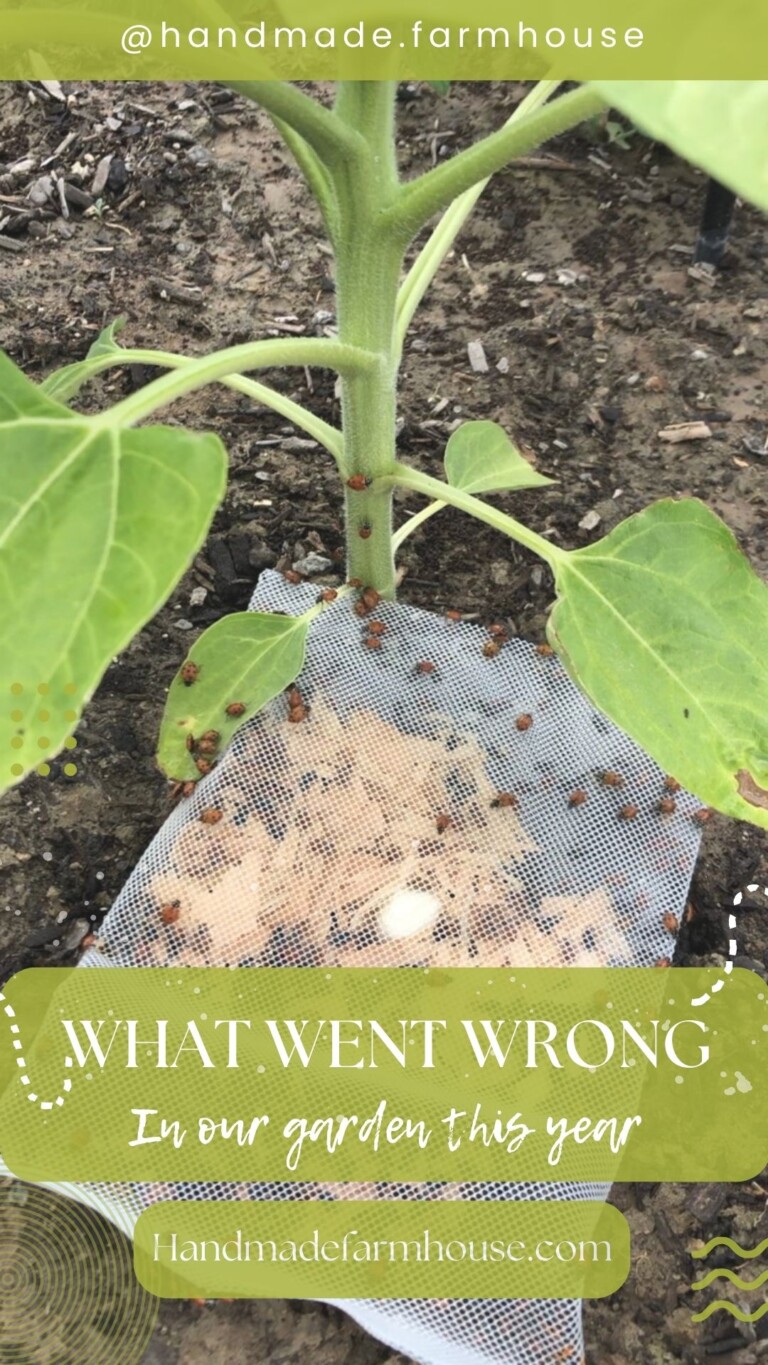
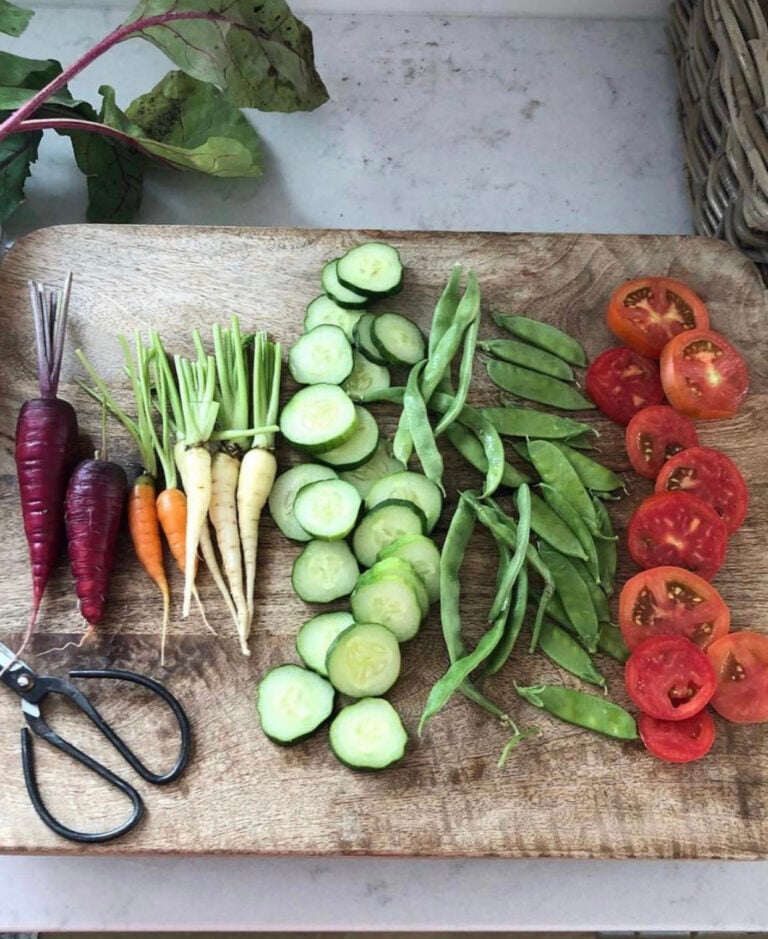
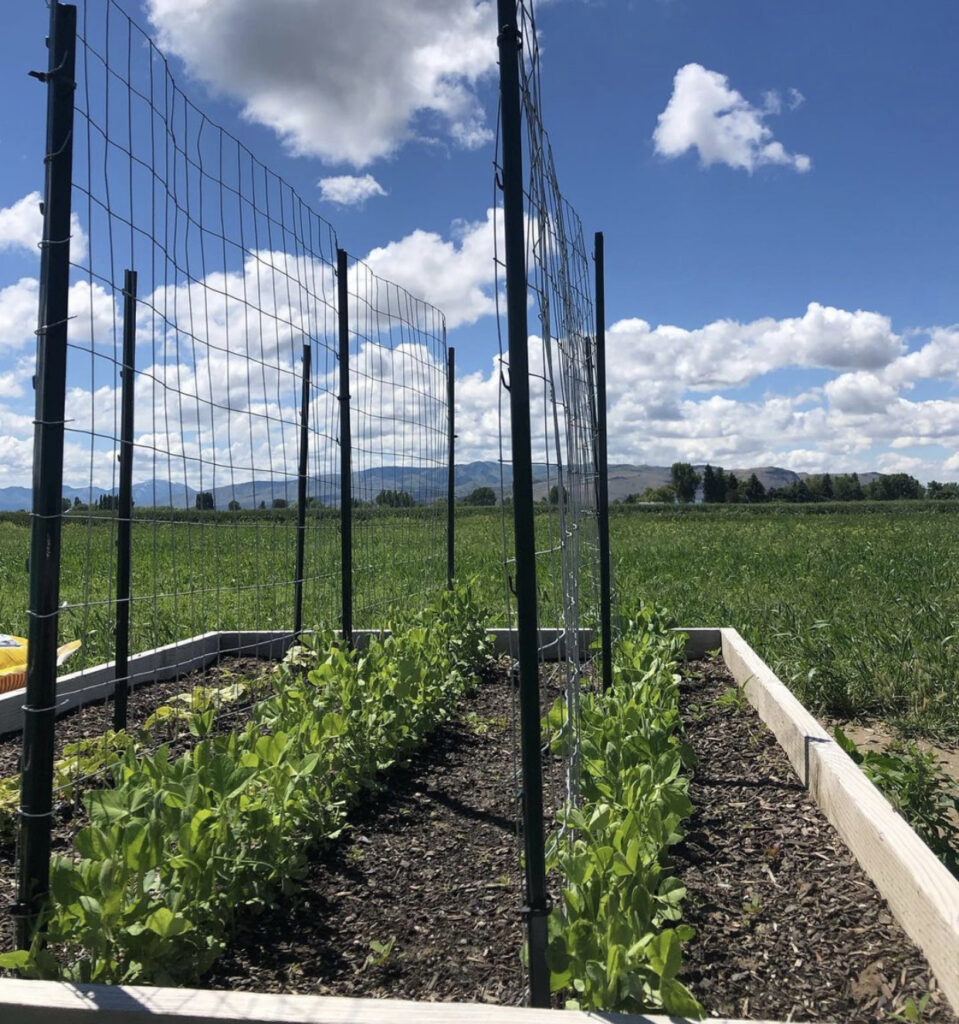
Check out this bountiful harvest from our 2022 garden. What a joy and blessing! You can read about our 2022 garden and what went right, in this post. You can also see what went wrong and what we learned from, in this post! I have also just recently written about adding our arch trellis‘ and how much we love vertical growing in this post.
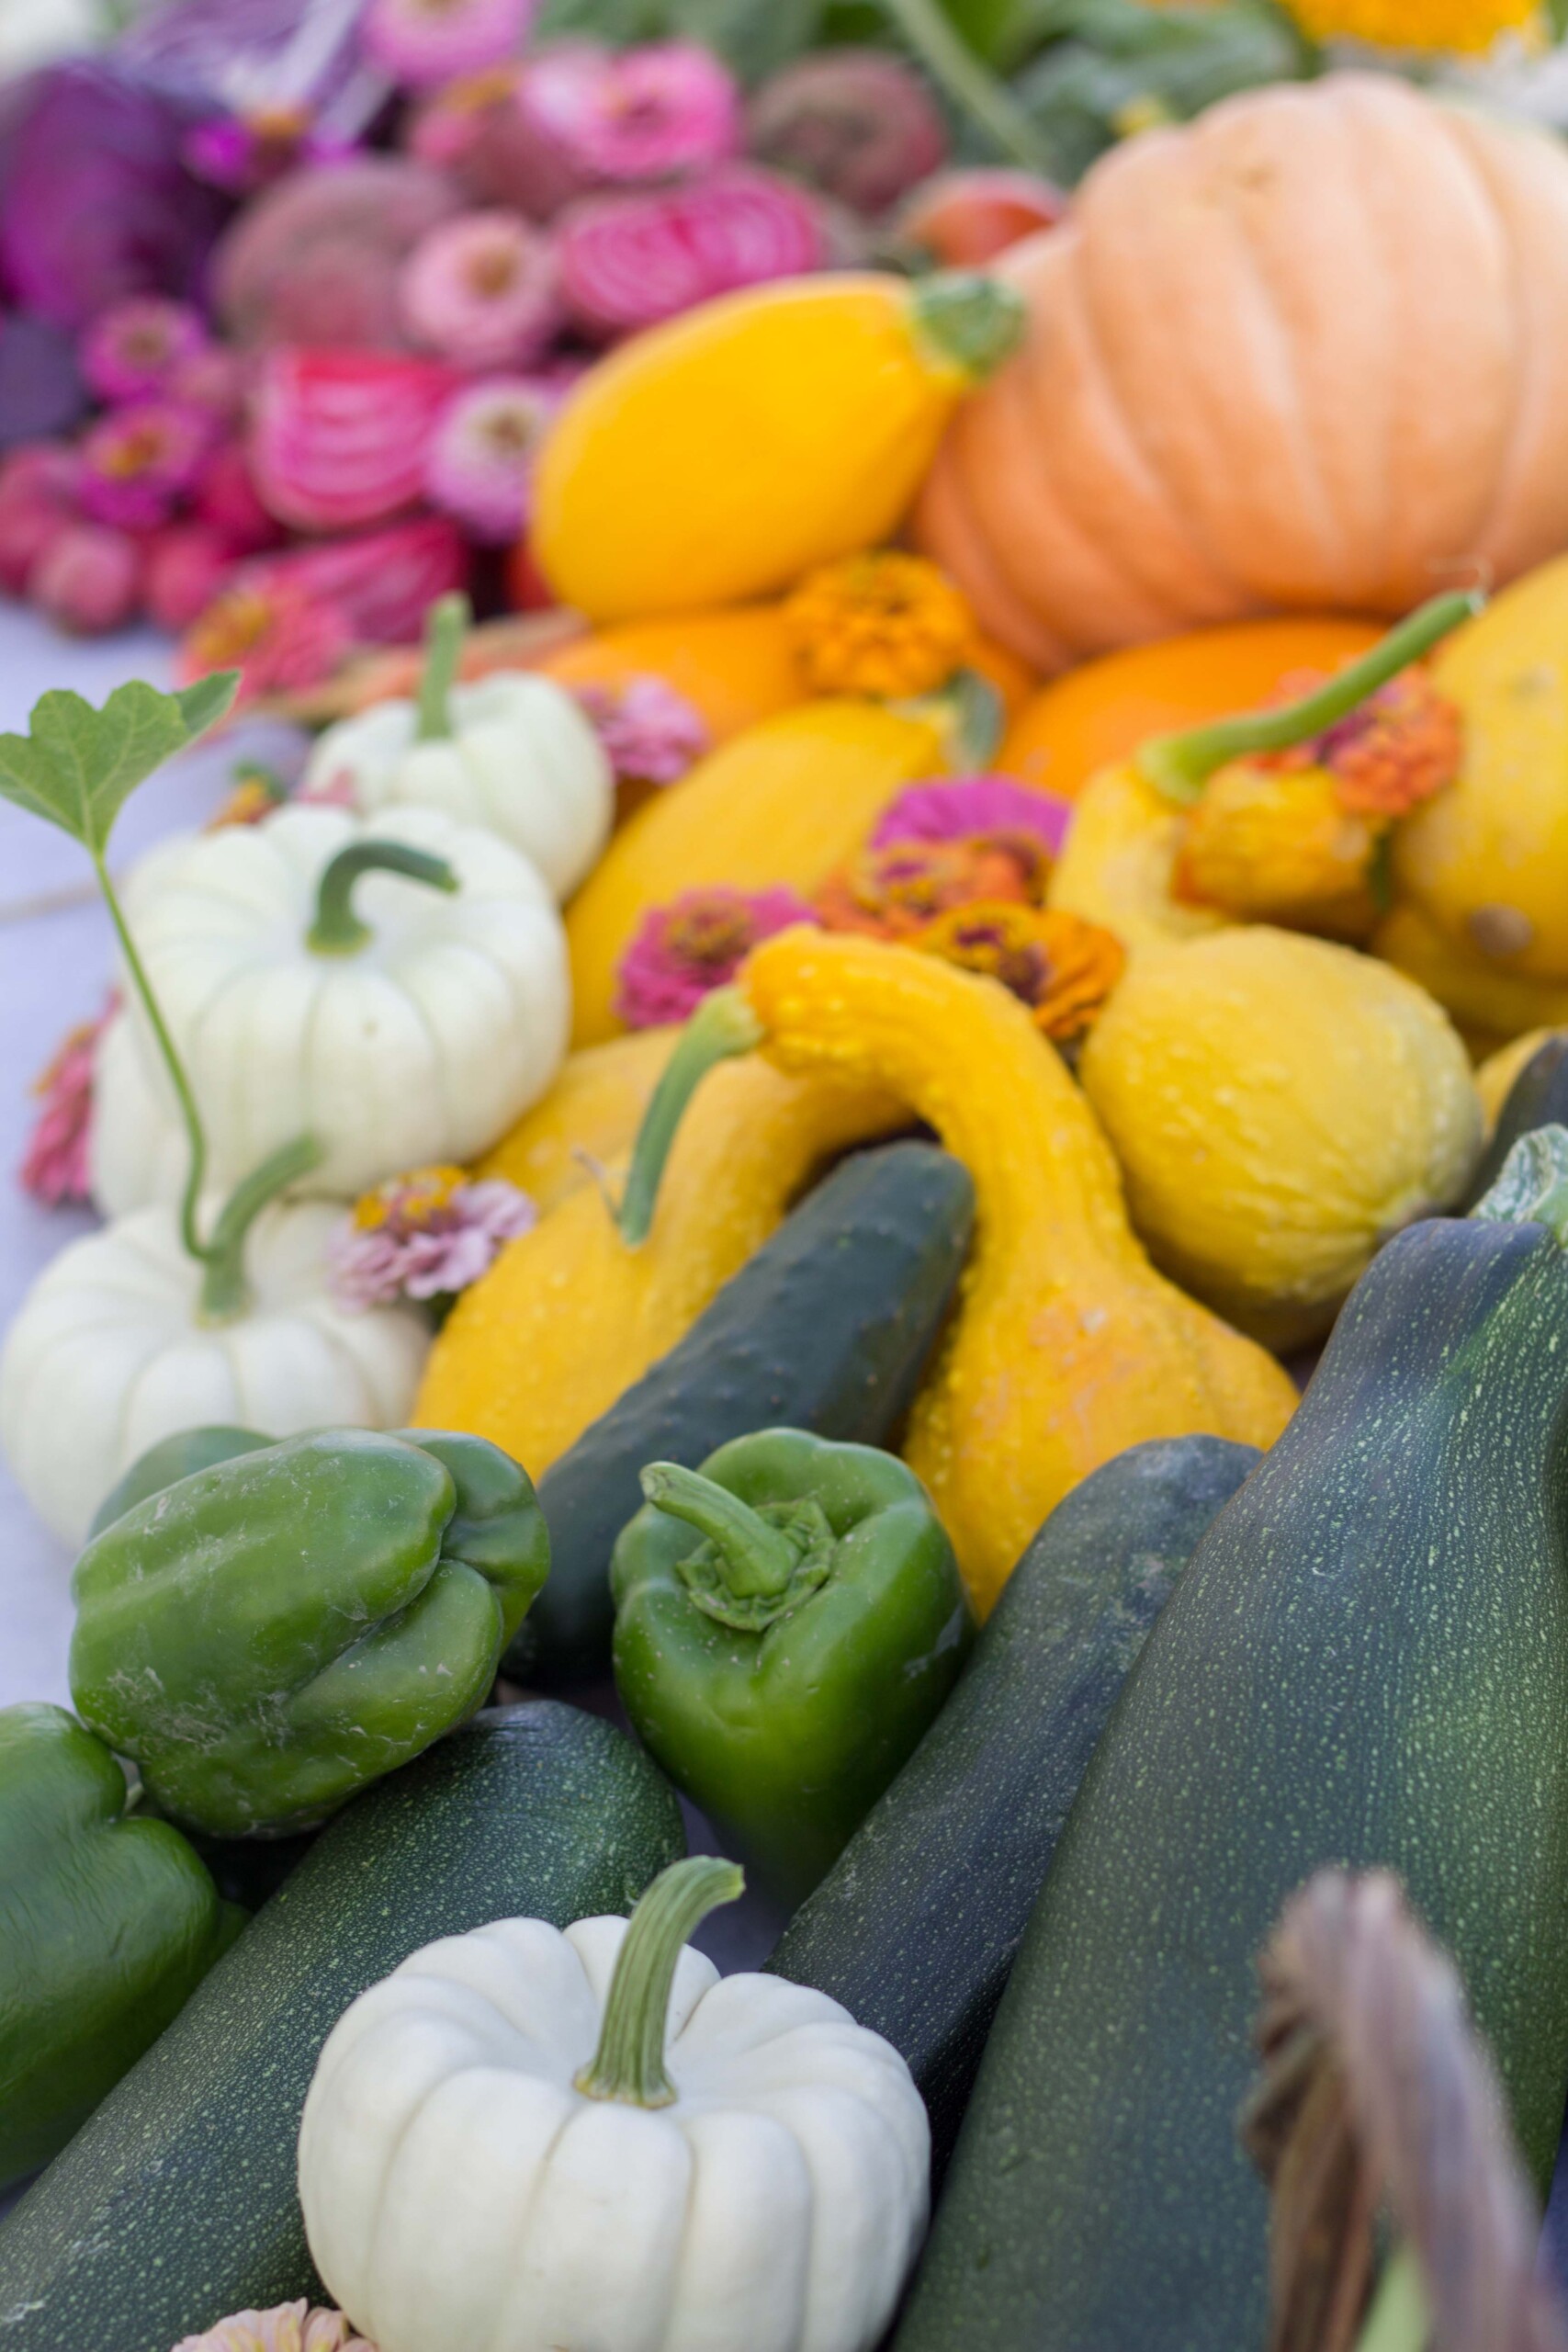
Raised bed vs in ground gardening
I get asked a lot about why I love raised bed gardening vs traditional in-ground gardening. I have tested out both ways over the years. Where we live has A LOT of weeds, and a lot of rocks! I found that when my gardens were planted in the ground I spent so much time weeding and removing rocks from the soil so my plants had space to grow. Often times if I didn’t make it out, weeds would take over and block my plants from sunlight, as well as taking away nutrients in the soil from their roots. Rocky soil also leads to issues with root plants like carrots splitting and having to grow around the rock instead of having loose, soft soil.
When I made the switch to raised beds I noticed I only have to weed the beds one time (about 6 weeks after planting). After this I rarely see any weeds growing. I can also control the softness of my soil by prepping the beds each spring and making sure my soil is healthy in both texture and soil nutrients! Read this new post about how I prep my spring beds.
Affordable DIY garden beds
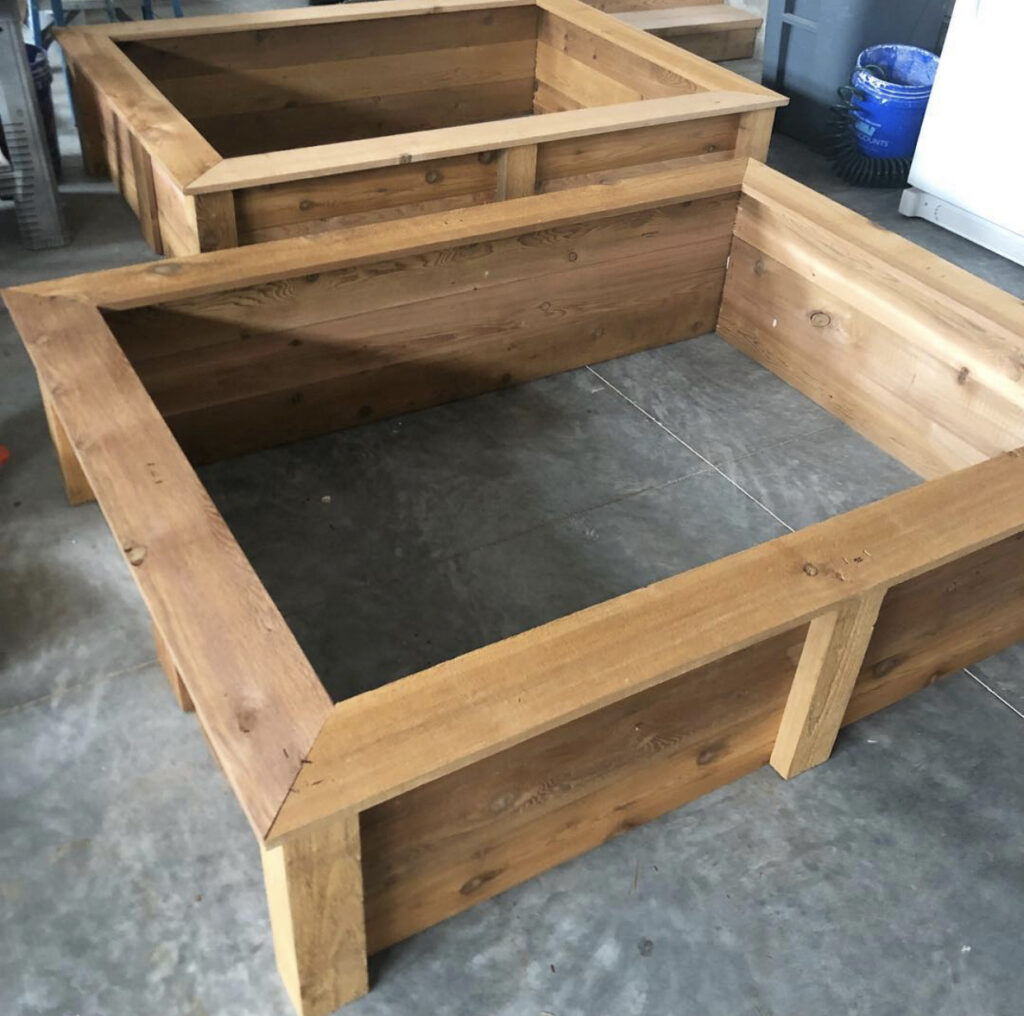
3 years ago for Mother’s Day/my birthday my husband surprised me with my very first 2 beautiful cedar garden beds. He hid them from me and brought them into the garage on Sunday morning. I could hardly contain my excitement for starting our very own garden. Little did I know how much joy I would discover as my dreams for a bigger garden grew and grew.
I want to show you some progress pictures of our garden over the last 3 years. Our garden has been a labor of love and hours, weeks, months and years of DIY work. We did not have a budget laying around for this space so it has taken time, saving and slowly adding new sections over time.
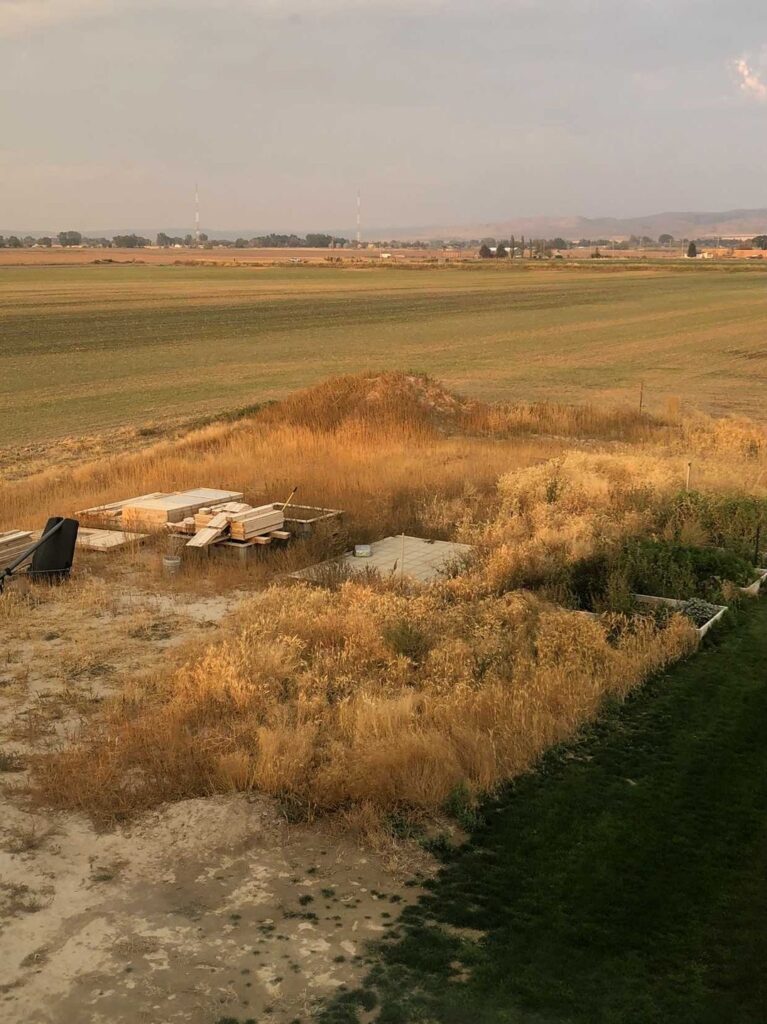
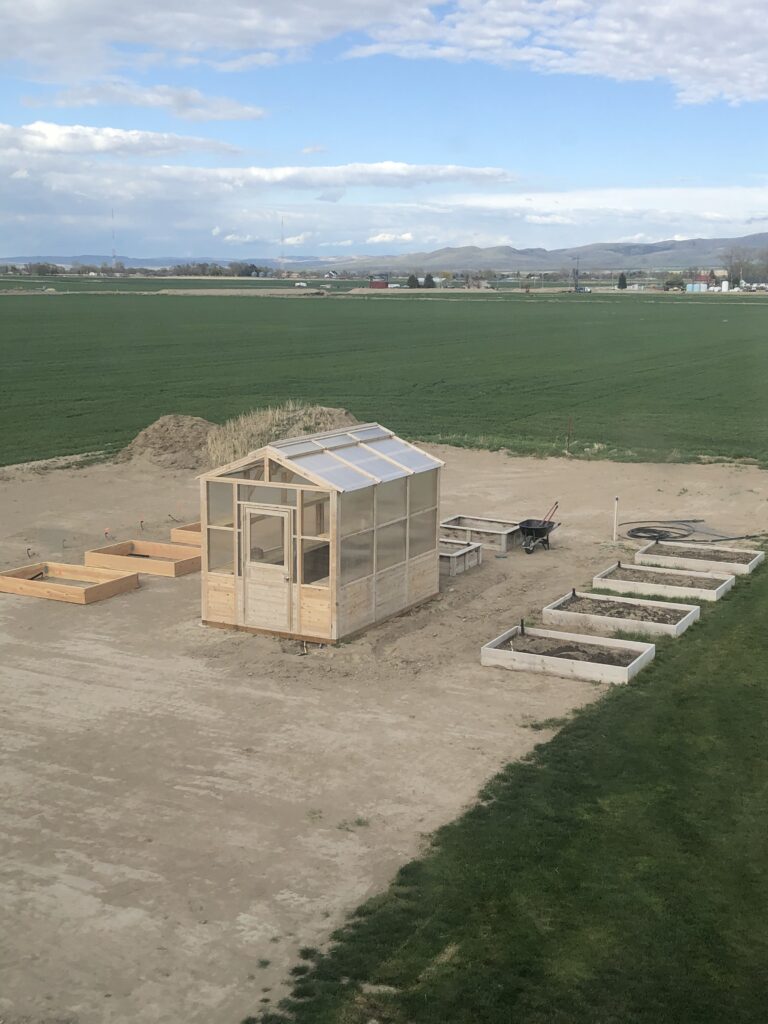
One of the hard things about our garden space is that we have crazy growing weeds where we live. They are thick and tall and hard to get rid of. We rented a skid steer to level out the ground, scrape away weeds and prepare a space for our greenhouse and additional beds to go up.
I knew I wanted to add several garden beds but it would be expensive to build them all in cedar wood. If you are investing in a little nicer quality wood beds, I would recommend cedar. IT MUST BE UNTREATED CEDAR or it can leach chemicals into your soil.
If you are looking for a really amazing long-term option, I would recommend VEGO beds. These last 20+ years, they will not leach any chemicals into your soil and they are easy to build yourself! They also come in lots of size options. I added two of them to the sides of my greenhouse.
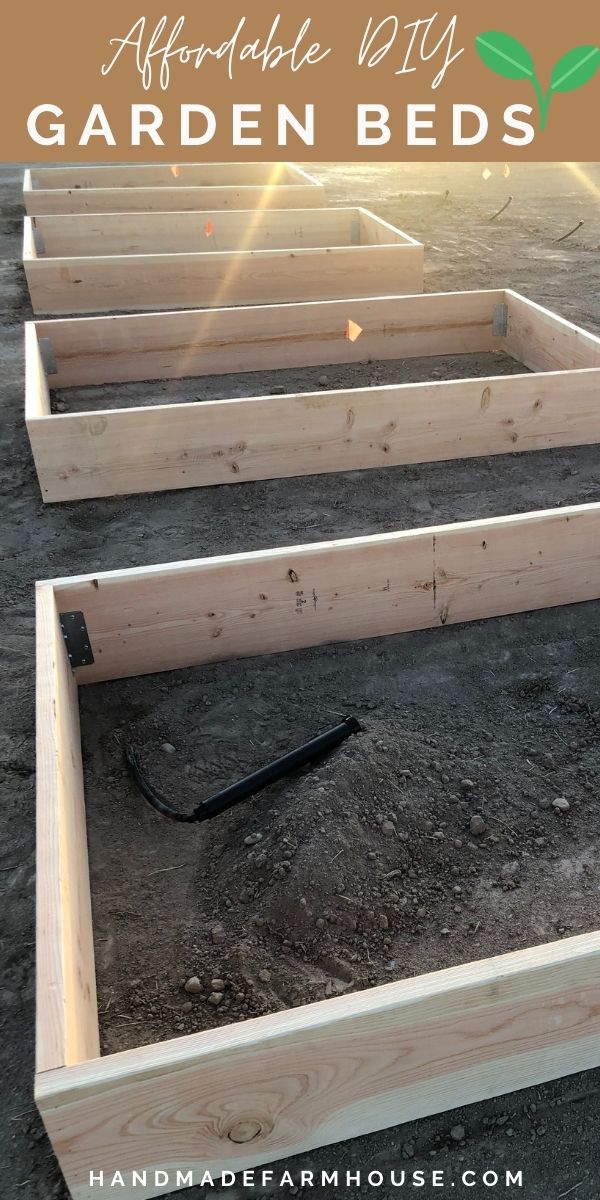
Here is a tutorial for how we build our 8 additional garden beds affordably from fir.
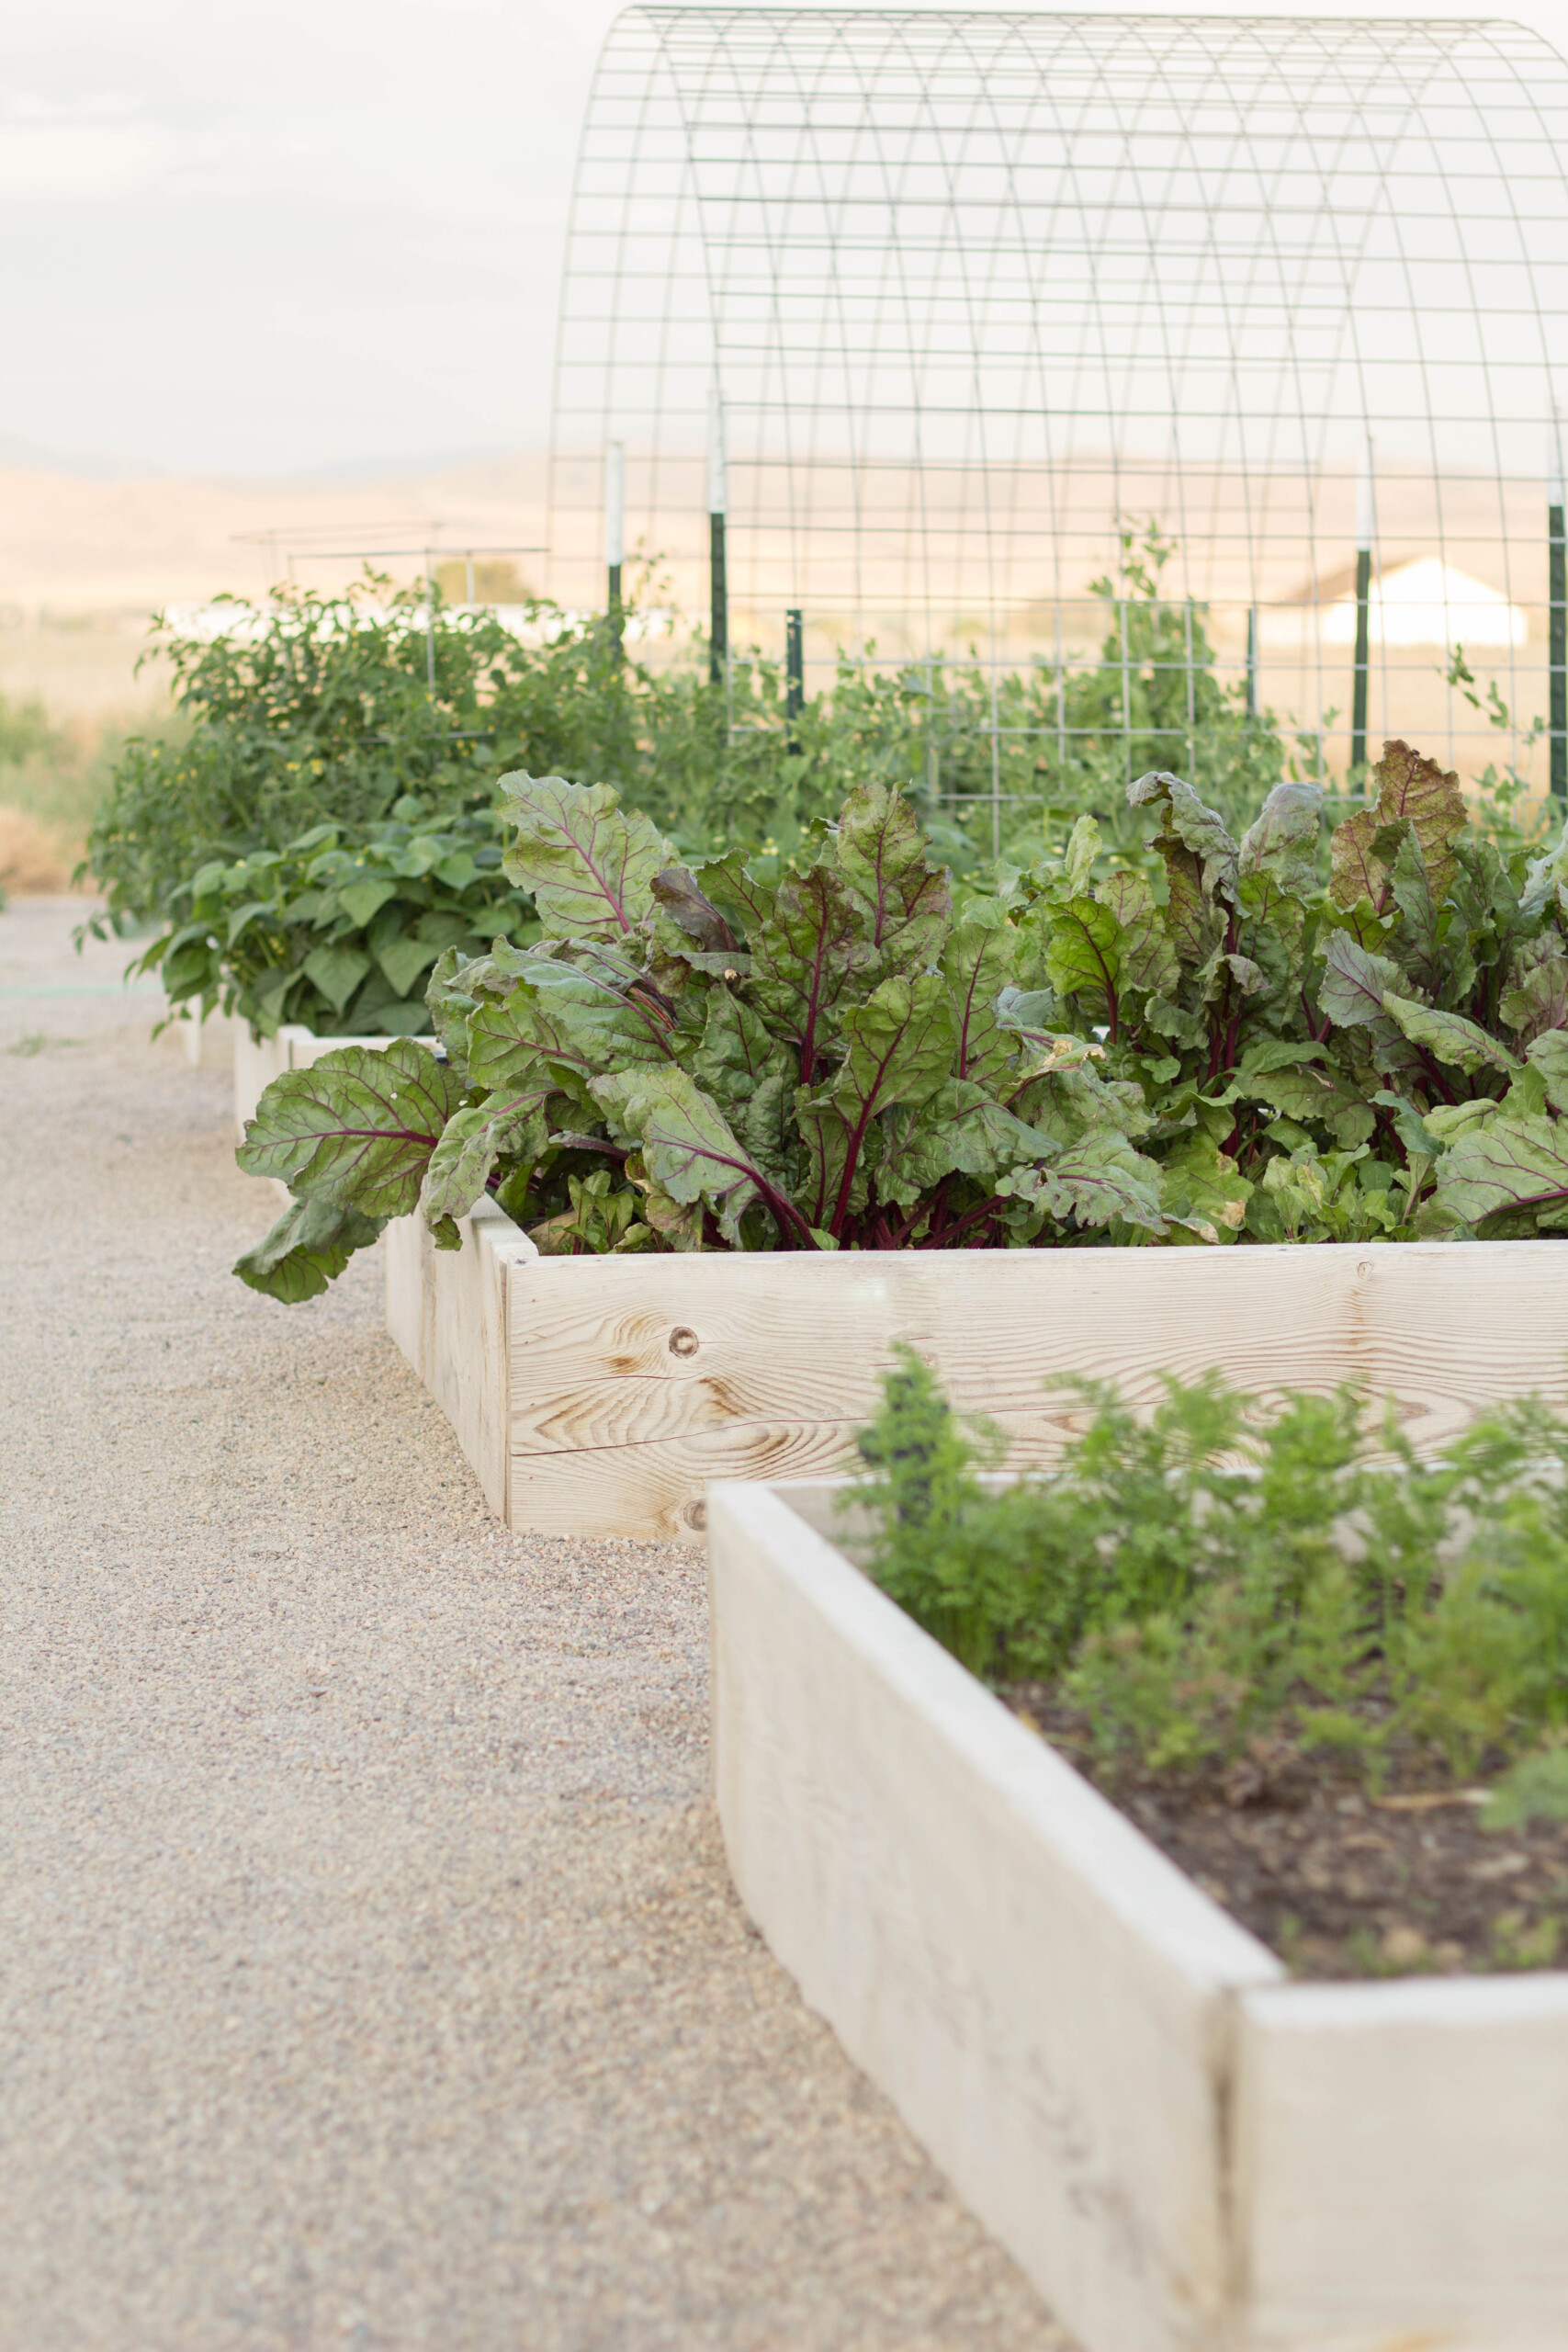
We did not add any paint or stain to our first set of beds, as you can see in the garden image above they have naturally sun bleached and I like them that way. I didn’t want to worry about anything getting into the soil and veggies so I left them raw.
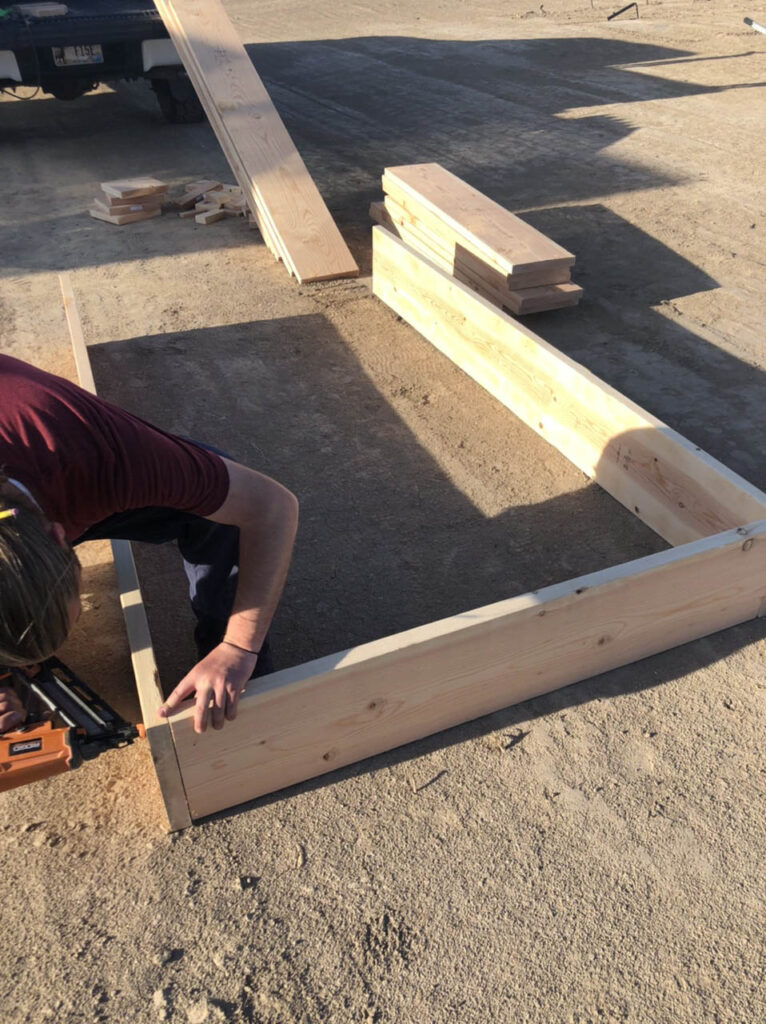
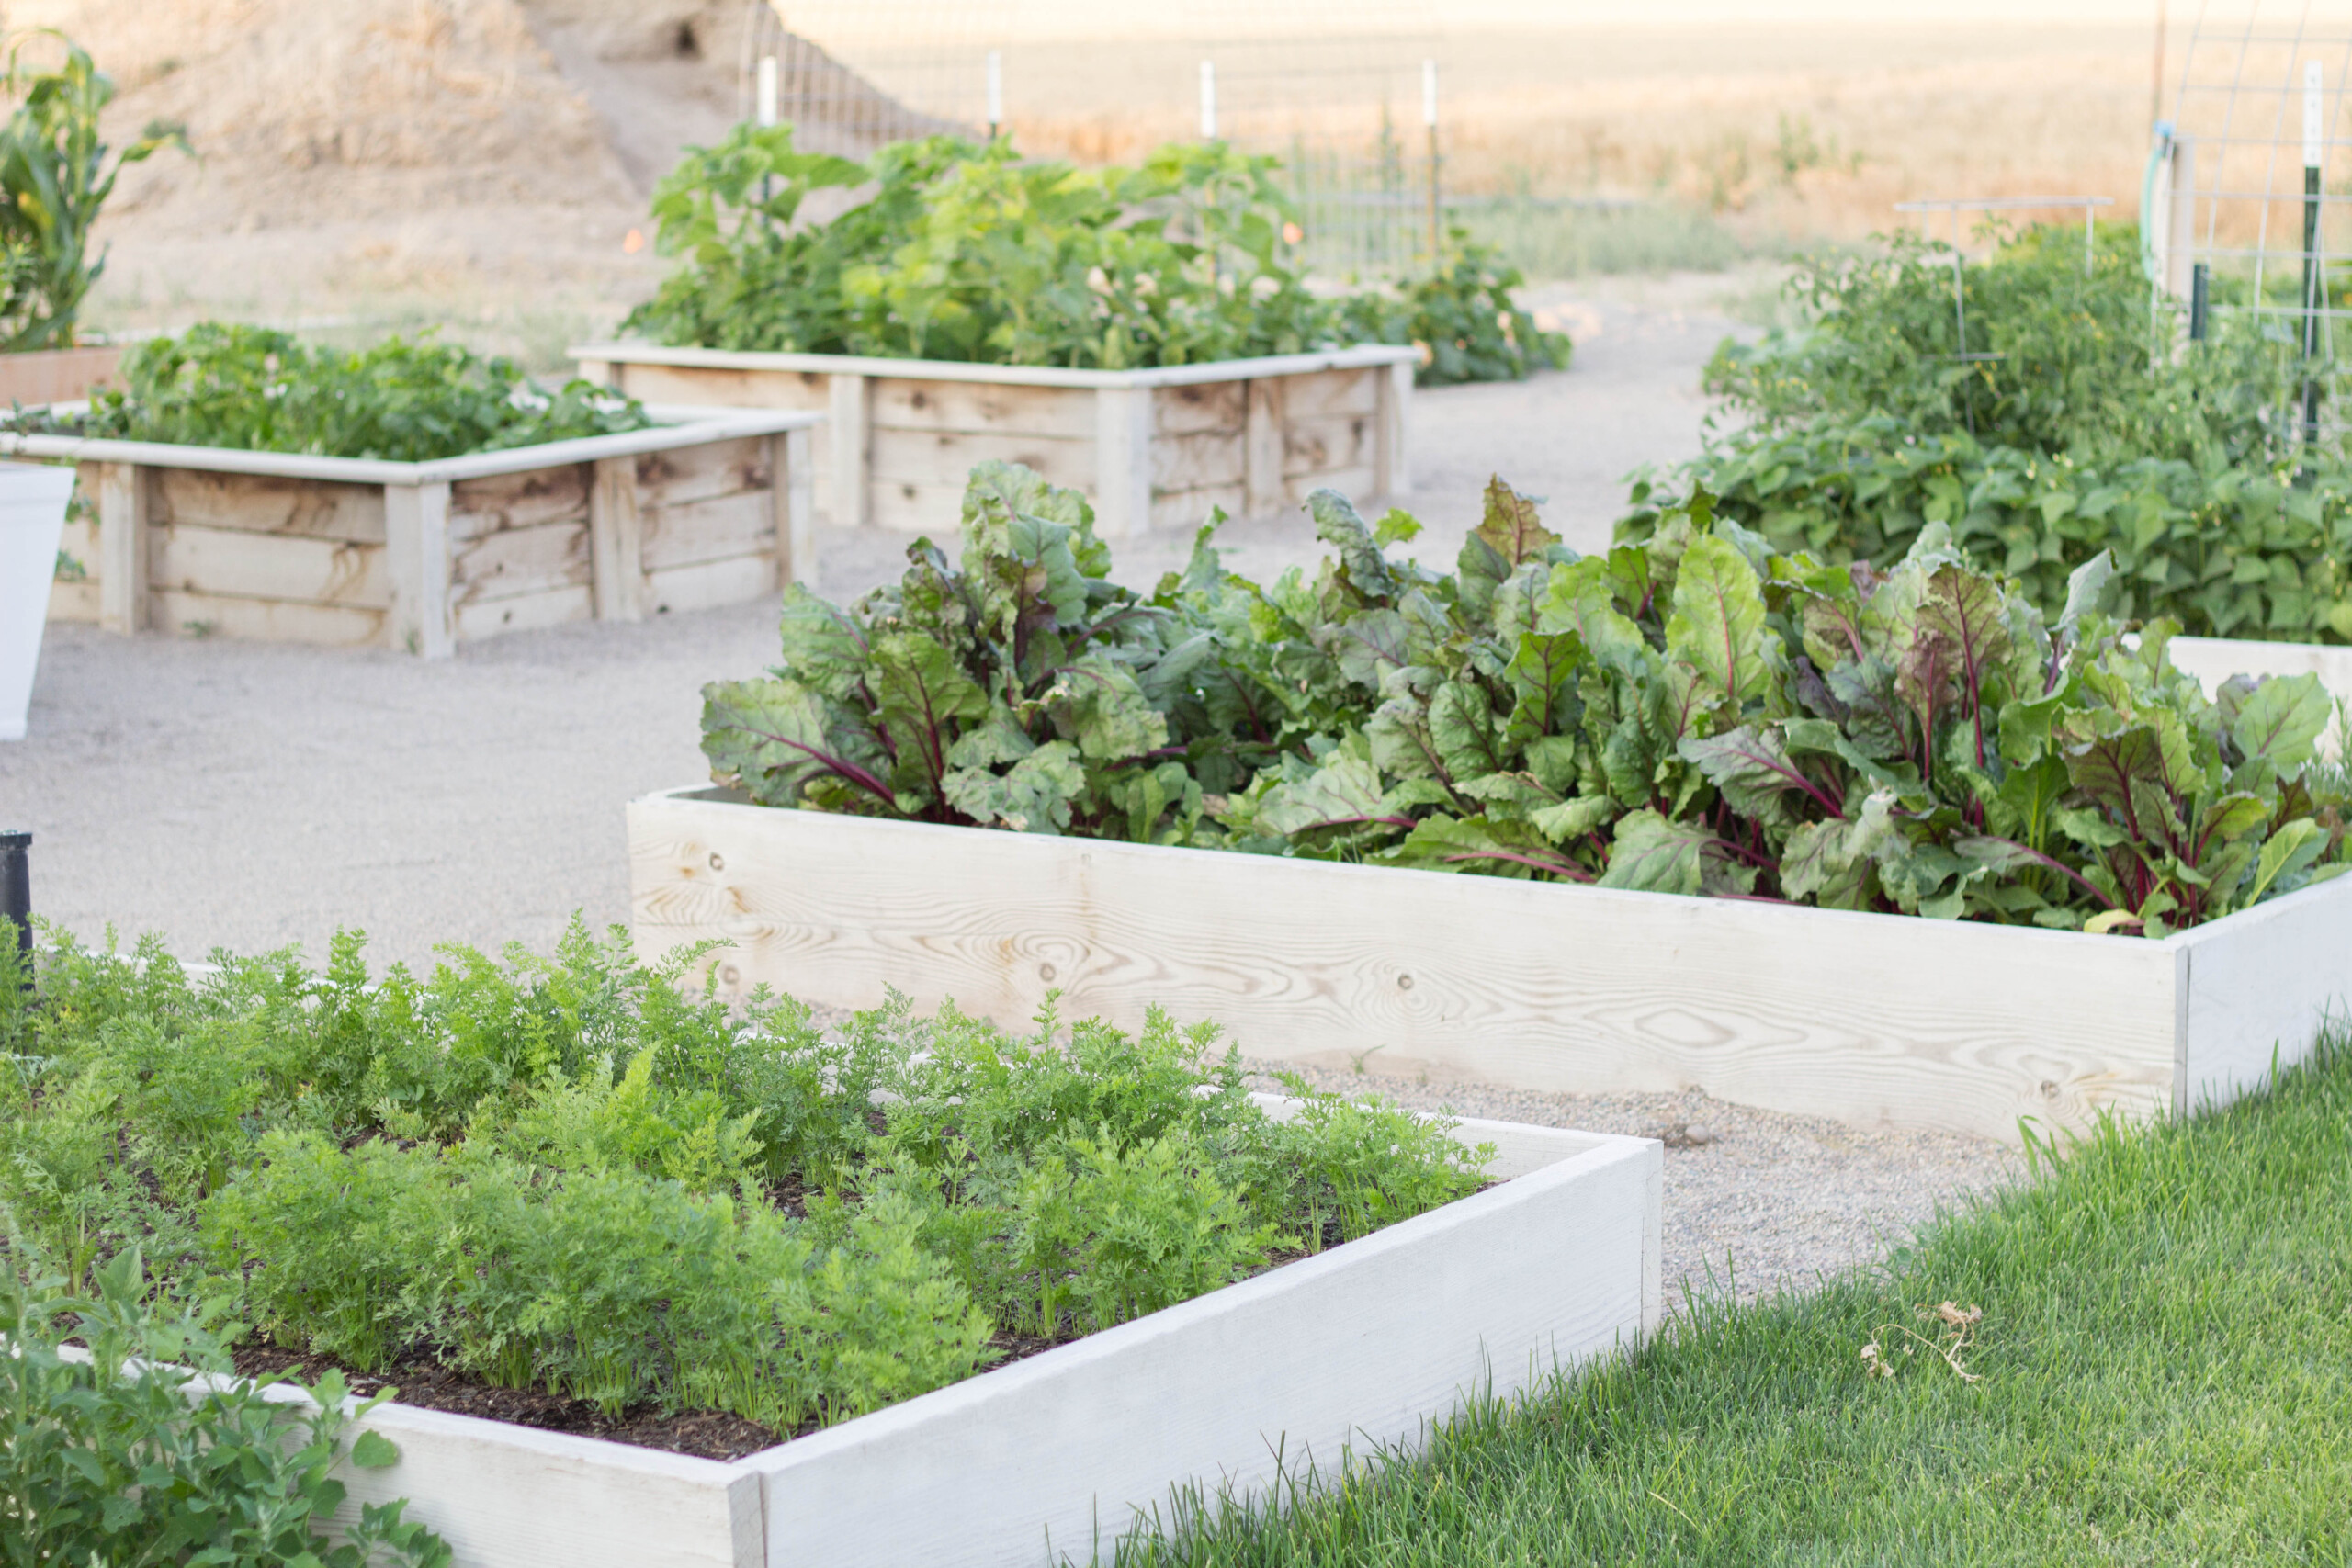
Since I knew I was going to need 4 beds on each side of the greenhouse, we checked into a more affordable option than cedar or vinyl. As much as I would’ve loved to use one of those materials, it just wasn’t in the budget to do so and the beds we made will last 10+ years which will give me plenty of time to save for another set down the road.
Here’s what we did for the 8 beds on either side of the greenhouse (the two in the center behind the greenhouse are the original two he built me years ago for Mother’s Day. I would never get rid of them so in those I will plant something special like sunflowers and zinnias).
Our Affordable diy raised garden beds:
When we orginally built our first 4 beds 2 years ago, it cost me about $225 for 4 beds (including hardware). This ends up being about $56 per bed and for a 10+ year investment I felt really great about that! I got a bid for ONE Vinyl bed that size and it was going to be around $1200.00 yikes!
This year when we purchased lumber for the last 4 boxes, it was unfortunately more than last time because lumber costs have absolutely sky-rocketed with Covid-19. Hopefully before too long that won’t be the case anymore! Even so, I still feel really good about these beds for a more affordable option than vinyl. I am so happy with how they turned out, and it really didn’t take my husband long at all to build them!
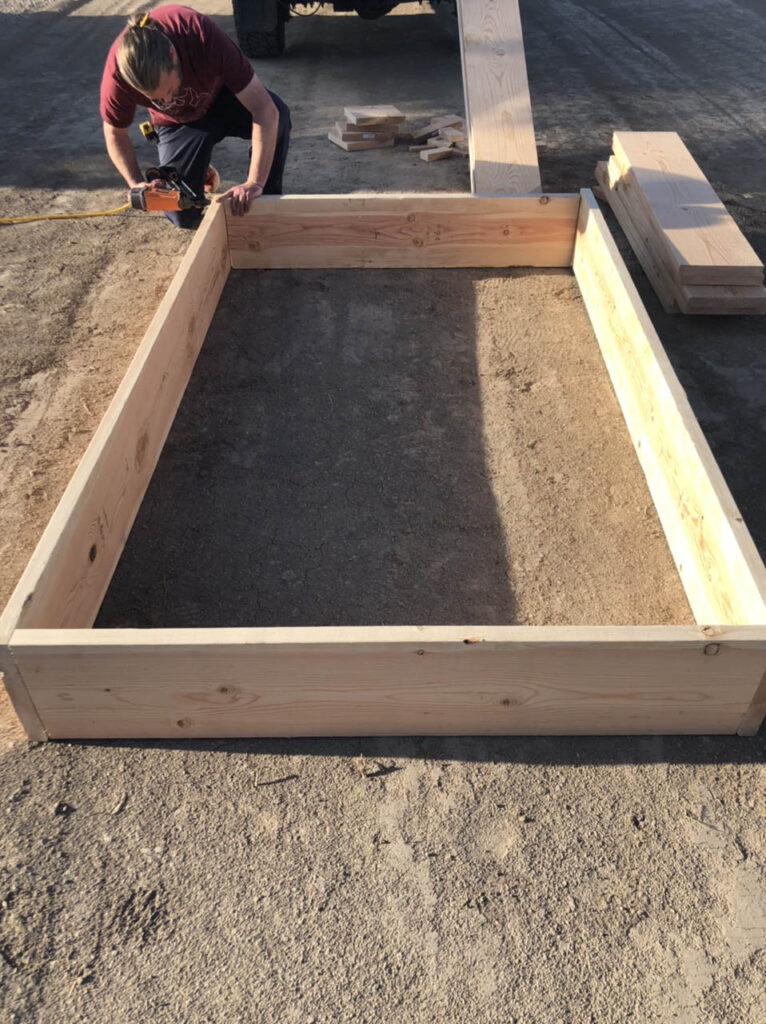
Here is what you’ll need for one fir bed like mine:
Materials for an affordable DIY raised garden bed:
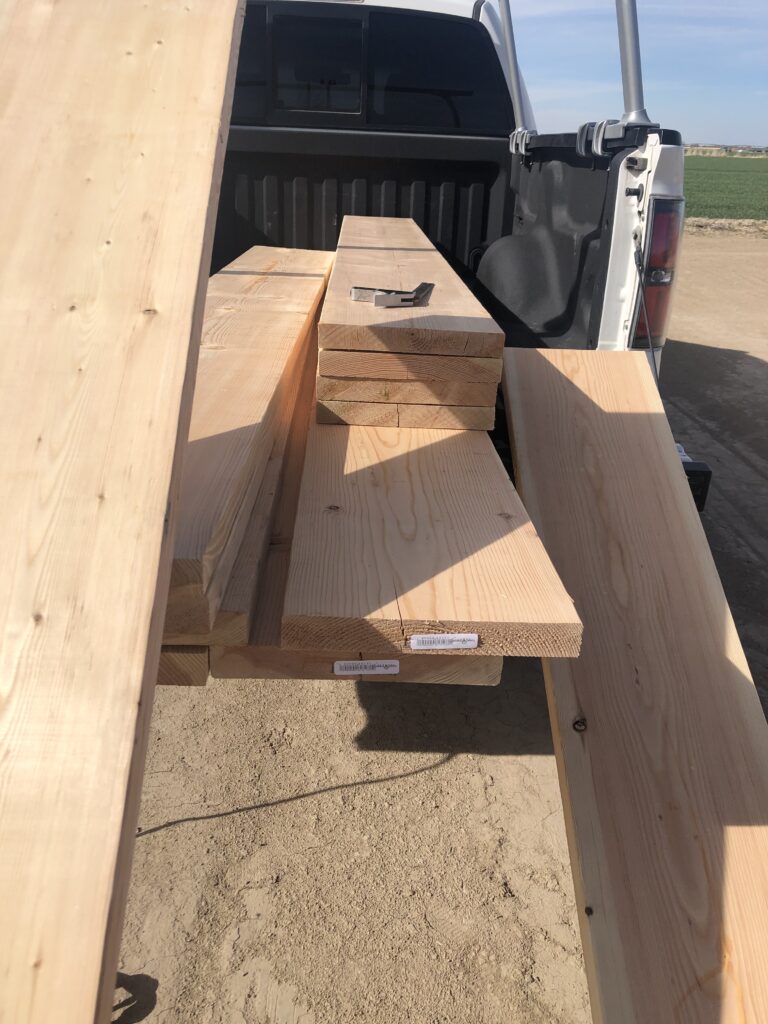
- Two 2×12 fir boards 8 foot in length (cut to 90 inches for long sides of box)
- One 2×12 fir board 10 foot in length (cut down to 54 inches for two short ends)
Here is the hardware we purchased from Home Depot for the inside of the beds (click for details):
Tips for building your garden box:
- Typically in 2×12’s you will see a crack in the ends. My husband specifically trimmed a few inches off of the ends off of these to rid them of any imperfections or cracks and get to solid wood again for building the actual box.
- Pay attention to where your knots are in the boards because you wont want to try and screw a steel fastener into a knot or weak spot.
- Always pay attention when selecting your boards to watch for bows, crowns, curve or knots. Just take a moment to get the straightest board you can!
- 2×12 can be a bit large and challenging to cut with a circular saw, so be extra careful and have someone who is experienced with these tools make the cuts if possible!
- Tack the corners together with a finish nail gun to temporarily hold the box together for you as you’re working on the steel fasteners and getting the screws in. It just helps keep everything in place.
- You can weather treat the wood if you’d like to help prevent rot or help with the water warping them. I did not do this to mine and they have done awesome for 2 years. The wood will loosen slightly with water, but in a few years you can go back and add in a screw if needed to tighten them up again.
- Why can’t I just add 3 screws to the ends of the boxes instead of the fasteners? Good question! We did this to prevent the boards from splitting, using screws on the ends will increase your chance of this happening. these steel fasteners work awesome, they are galvanized and you can hide them where they won’t be seen!
Filling your raised beds:
I would suggest leaving your raised beds open to soil on the bottom. It’s great for roots to be able to grow deep down into the ground if needed. It is also really beneficial for bugs like earthworms to be able to come into your beds and do their work in your soil! If needed, you can add a layer of cardboard to the bottoms of your beds before filling (just be sure it doesn’t have ink on it that could leach into your soil).
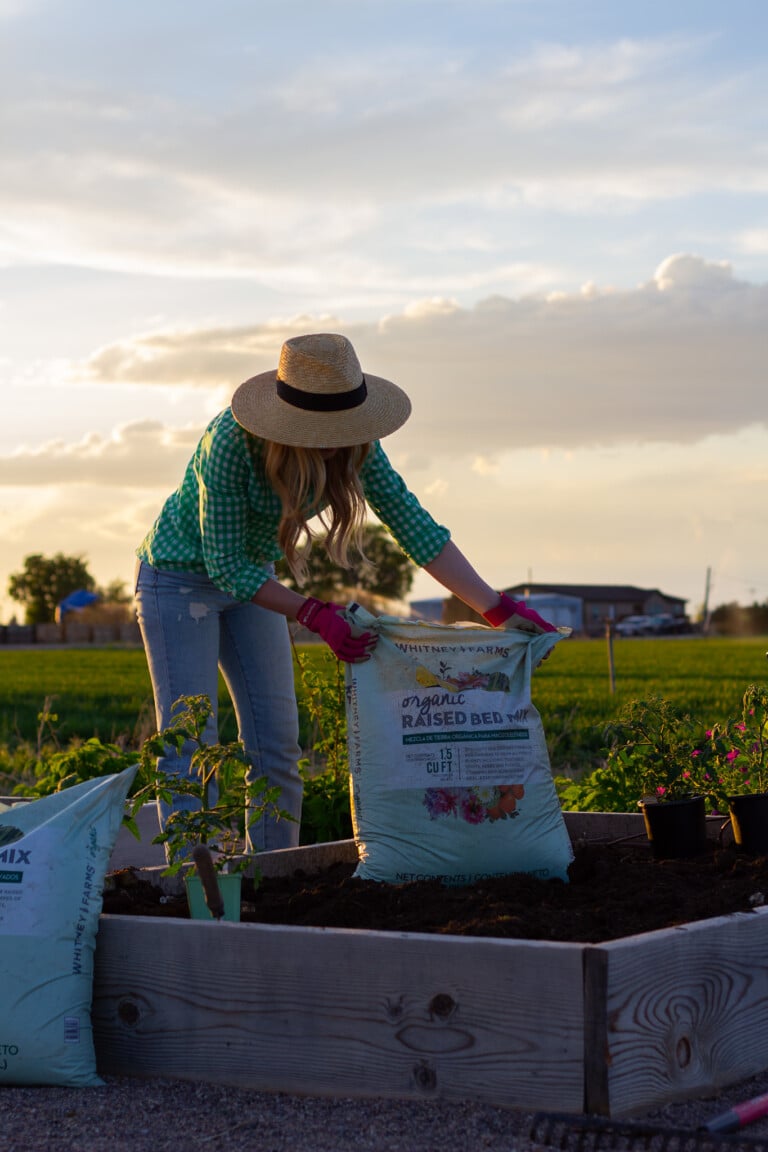
You can add nutrient rich soil, compost and organic raised bed mix to make sure your beds are healthy and ready to grow delicious vegetables in!
Ideas for creating a DIY raised bed on a budget
Here are a few items you could use, round up or find in your yard to create a raised bed on a small budget.
- Bricks
- Stones
- Wood or barn wood (make sure it’s chemical free)
- Fence pickets
- Cinder blocks
- Galvanized tubs
Love this post for affordable DIY garden beds? Pin It for later!
If you love gardening, you might also enjoy these other recent posts!

