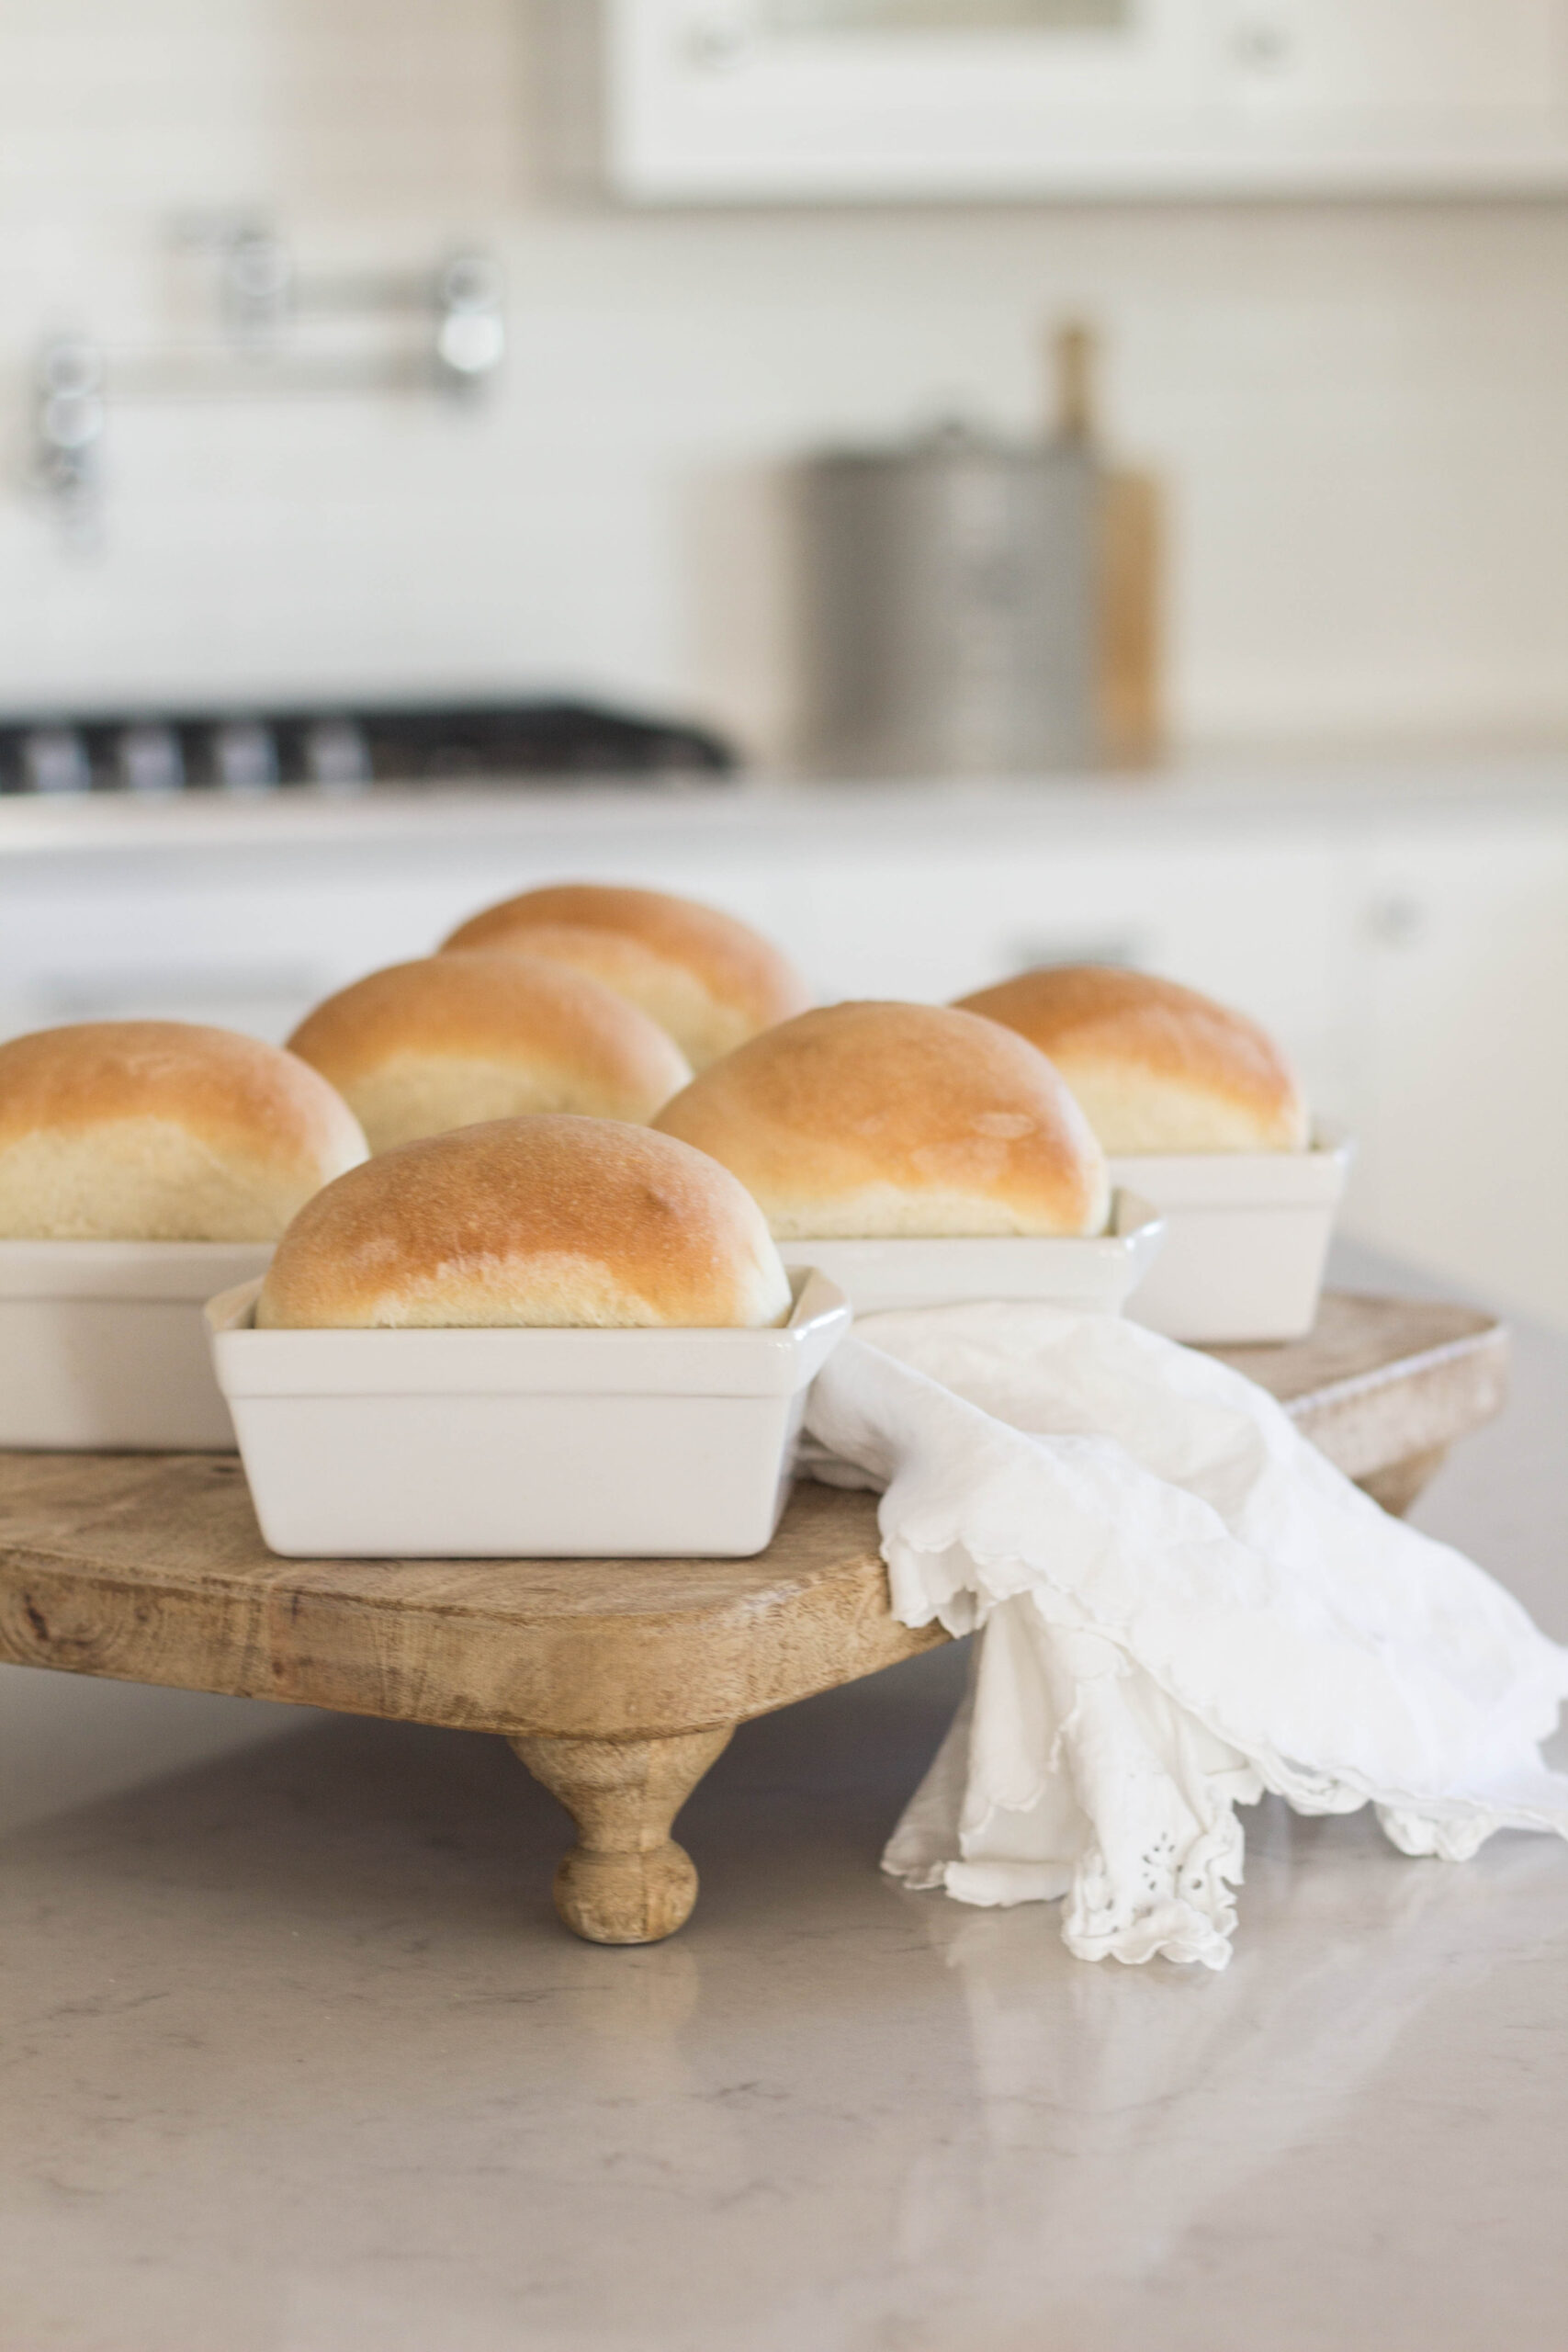
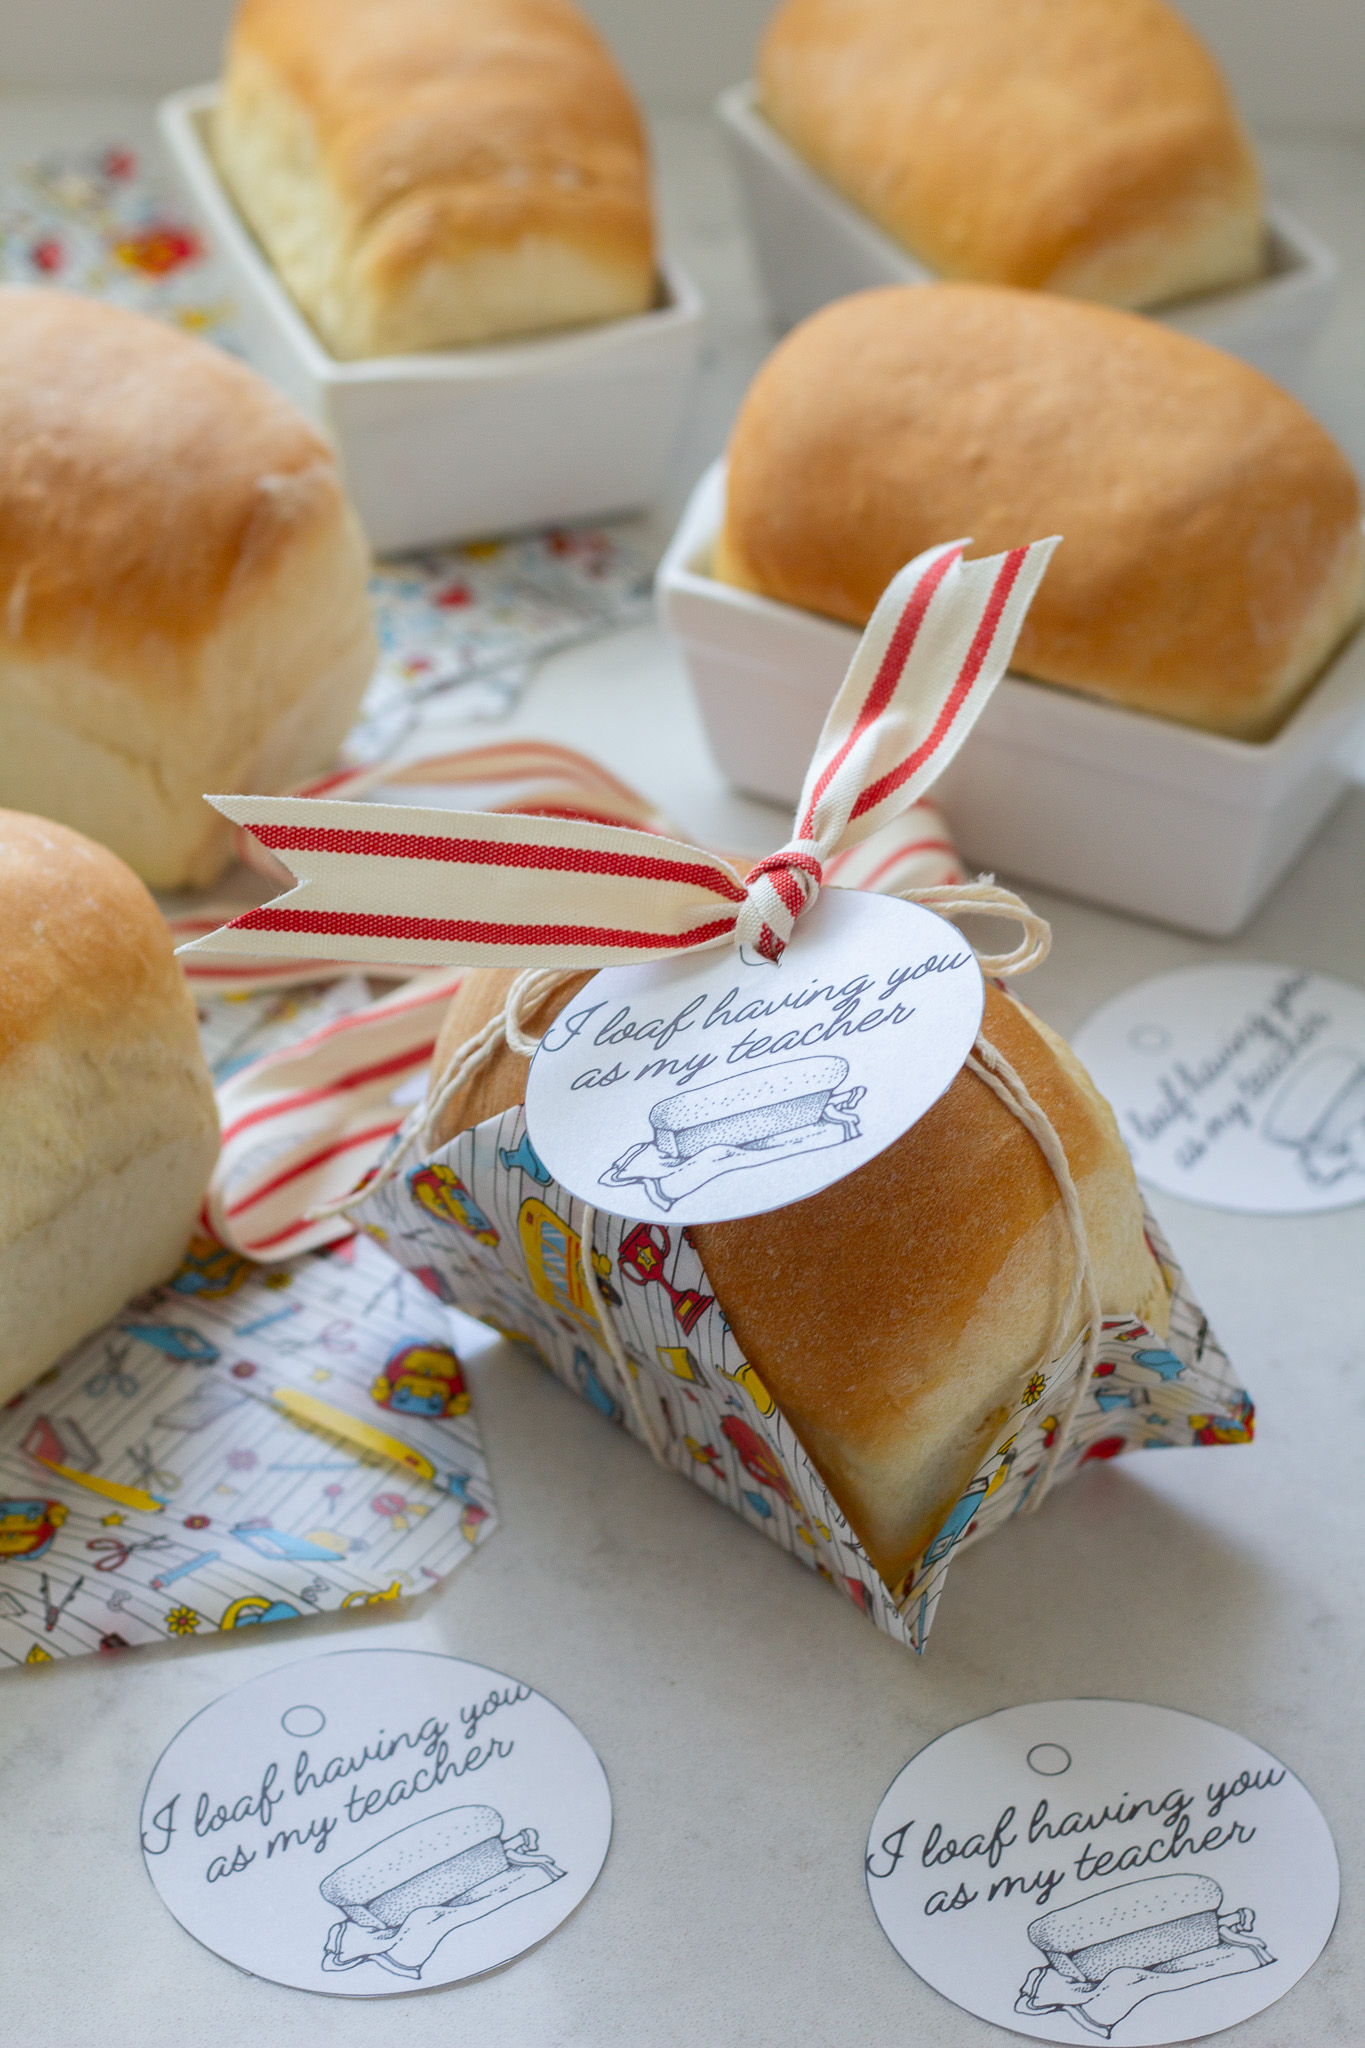
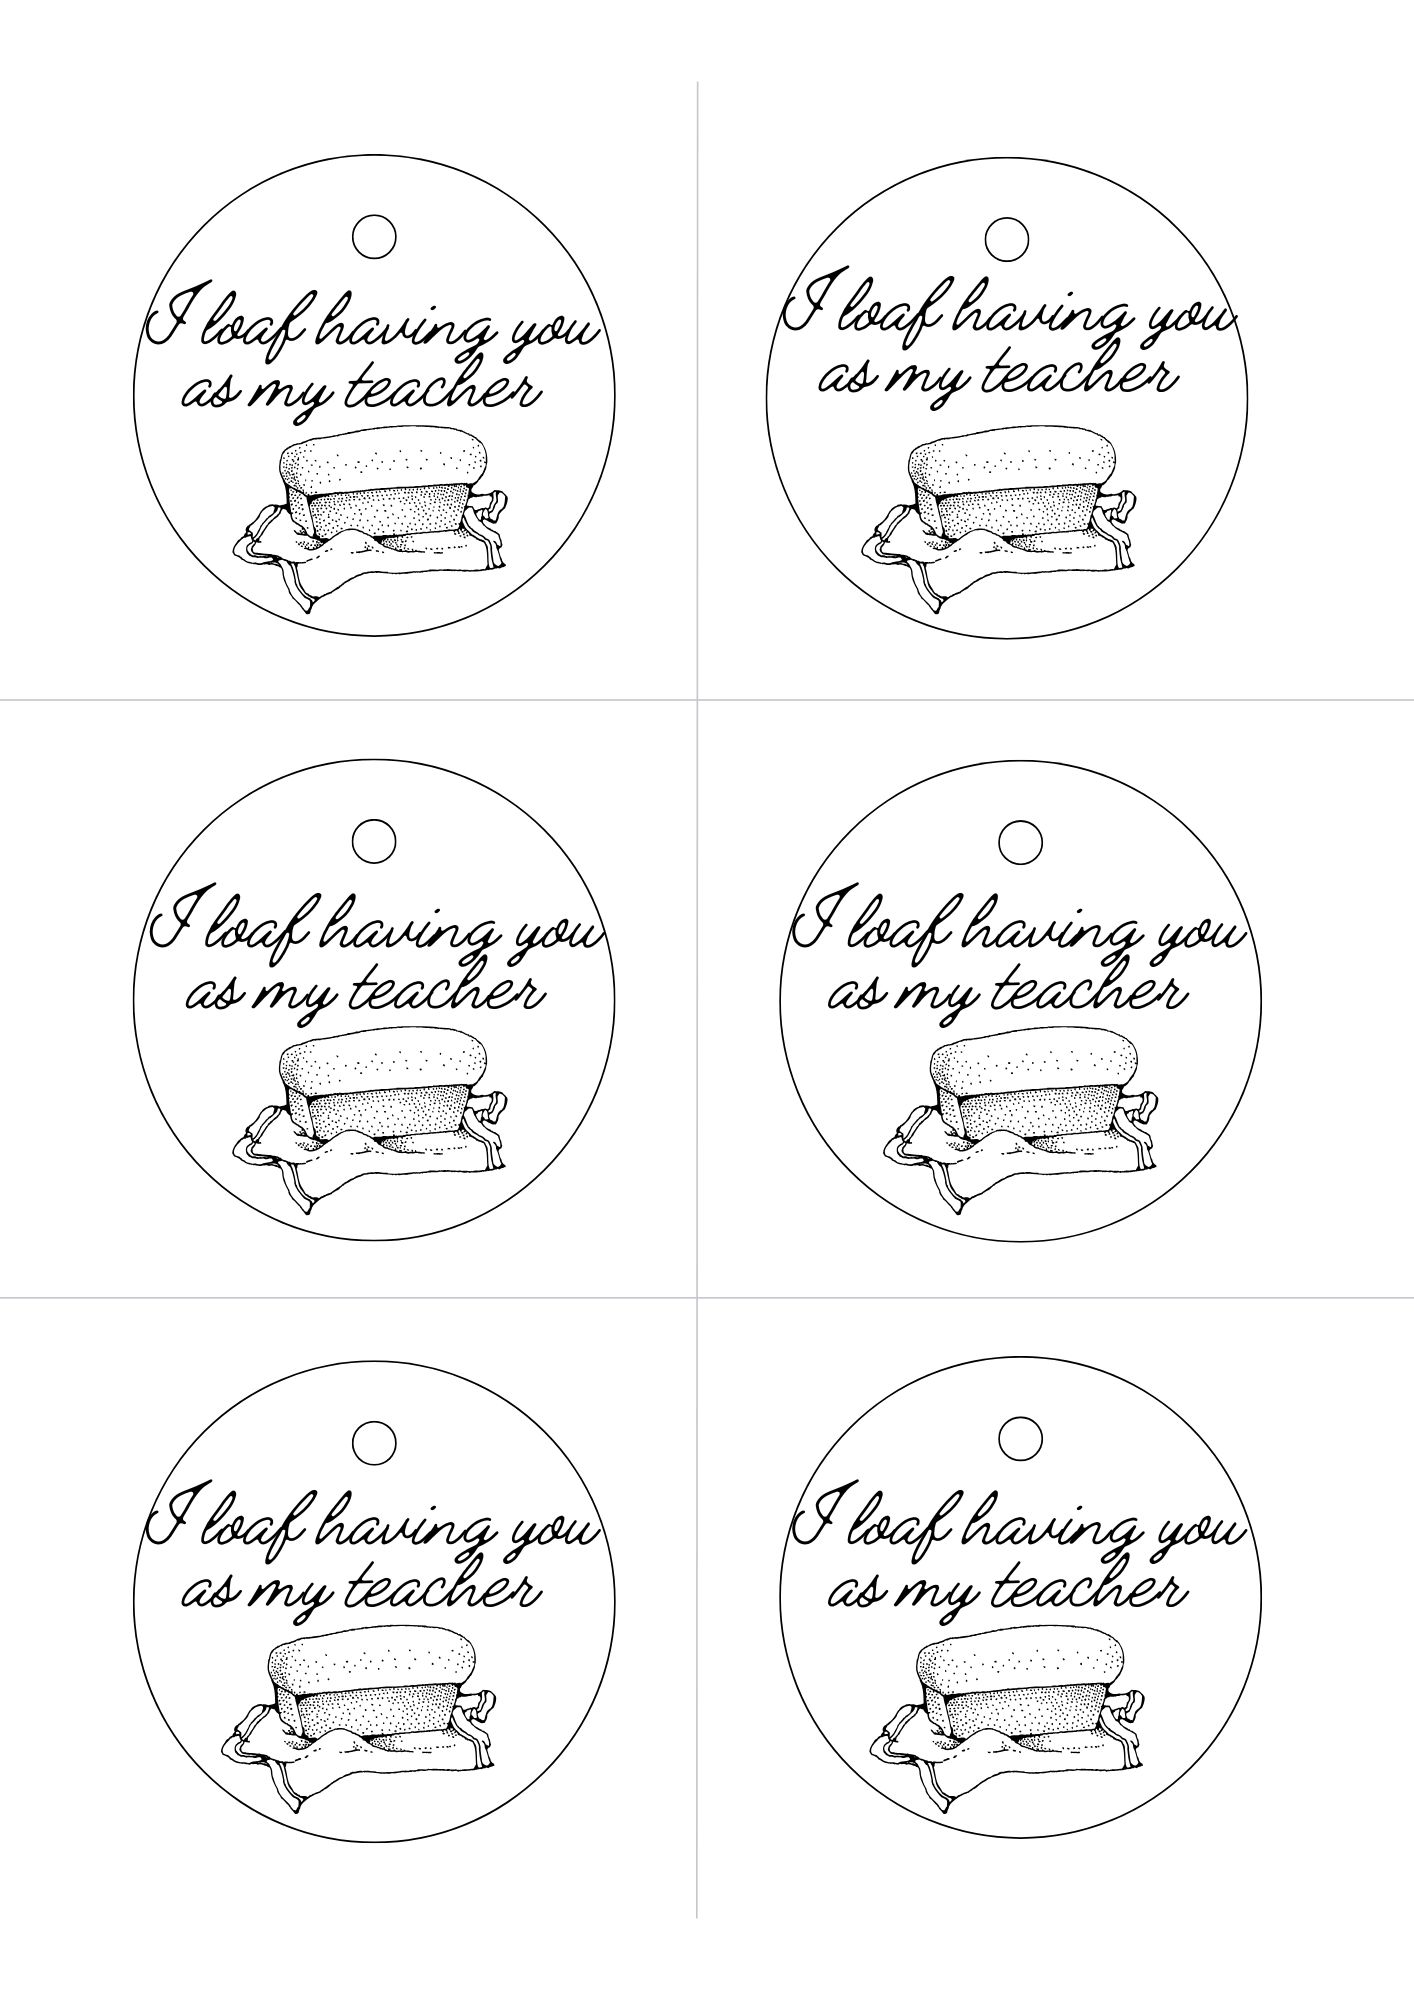
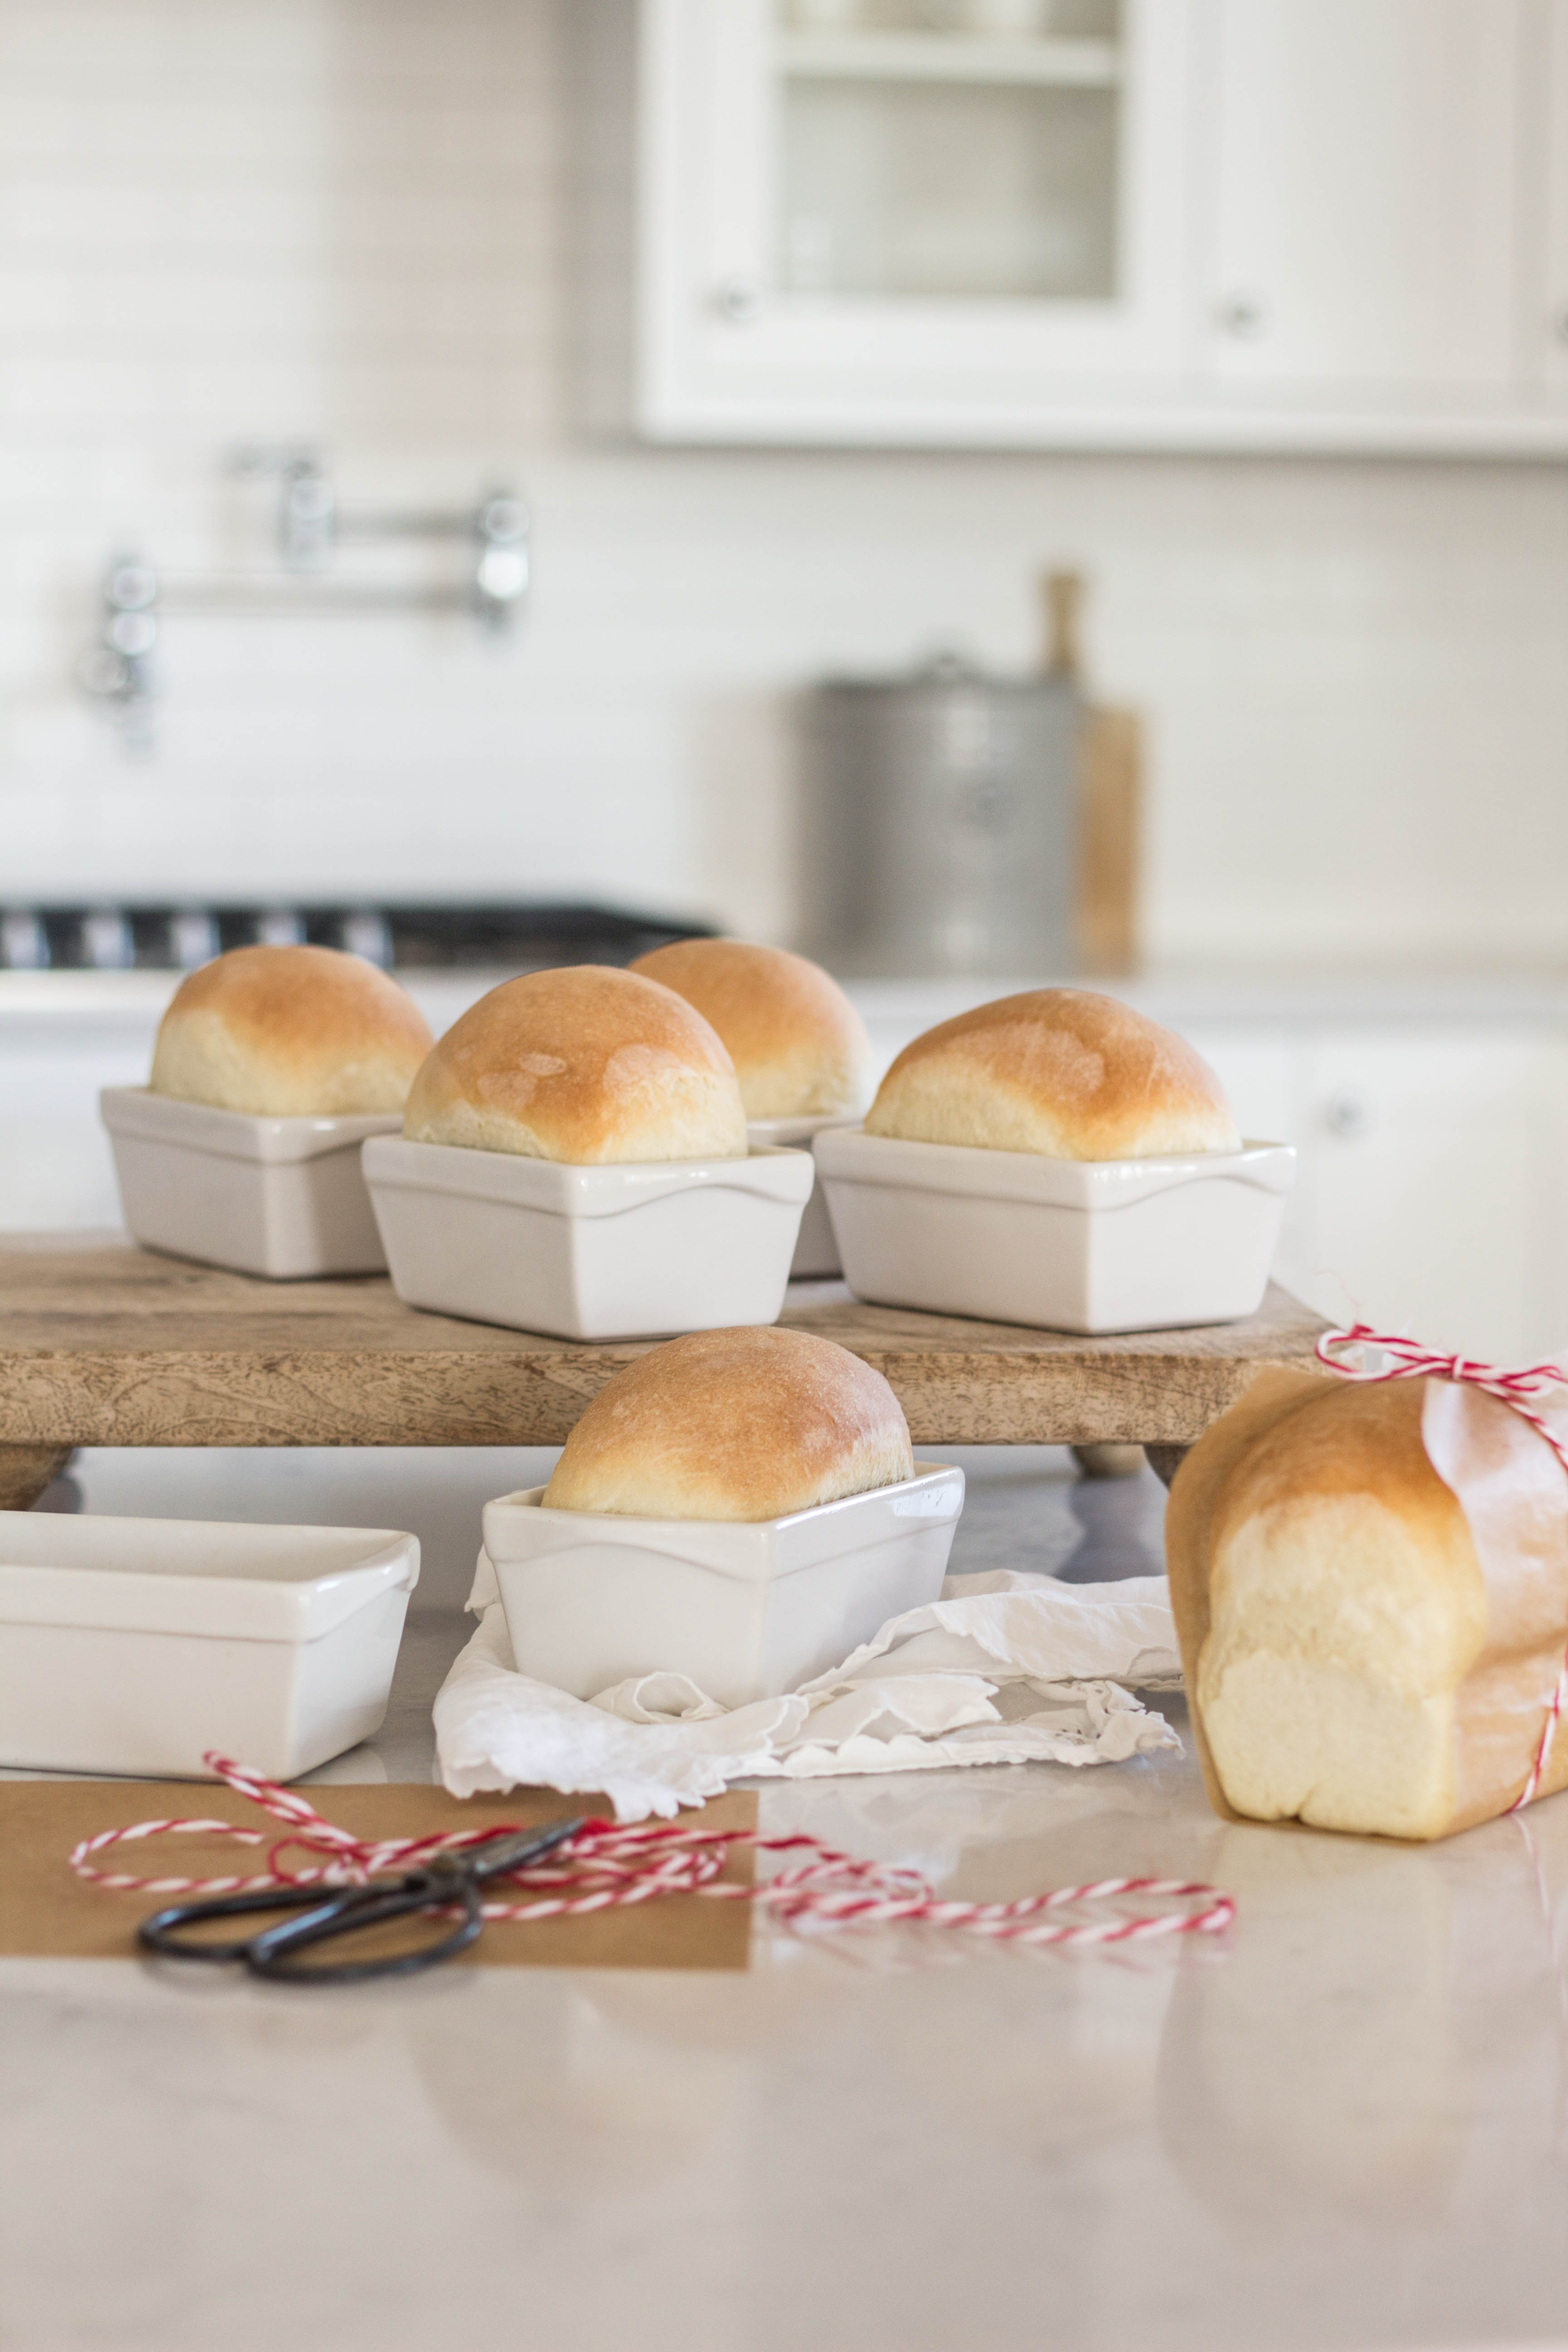
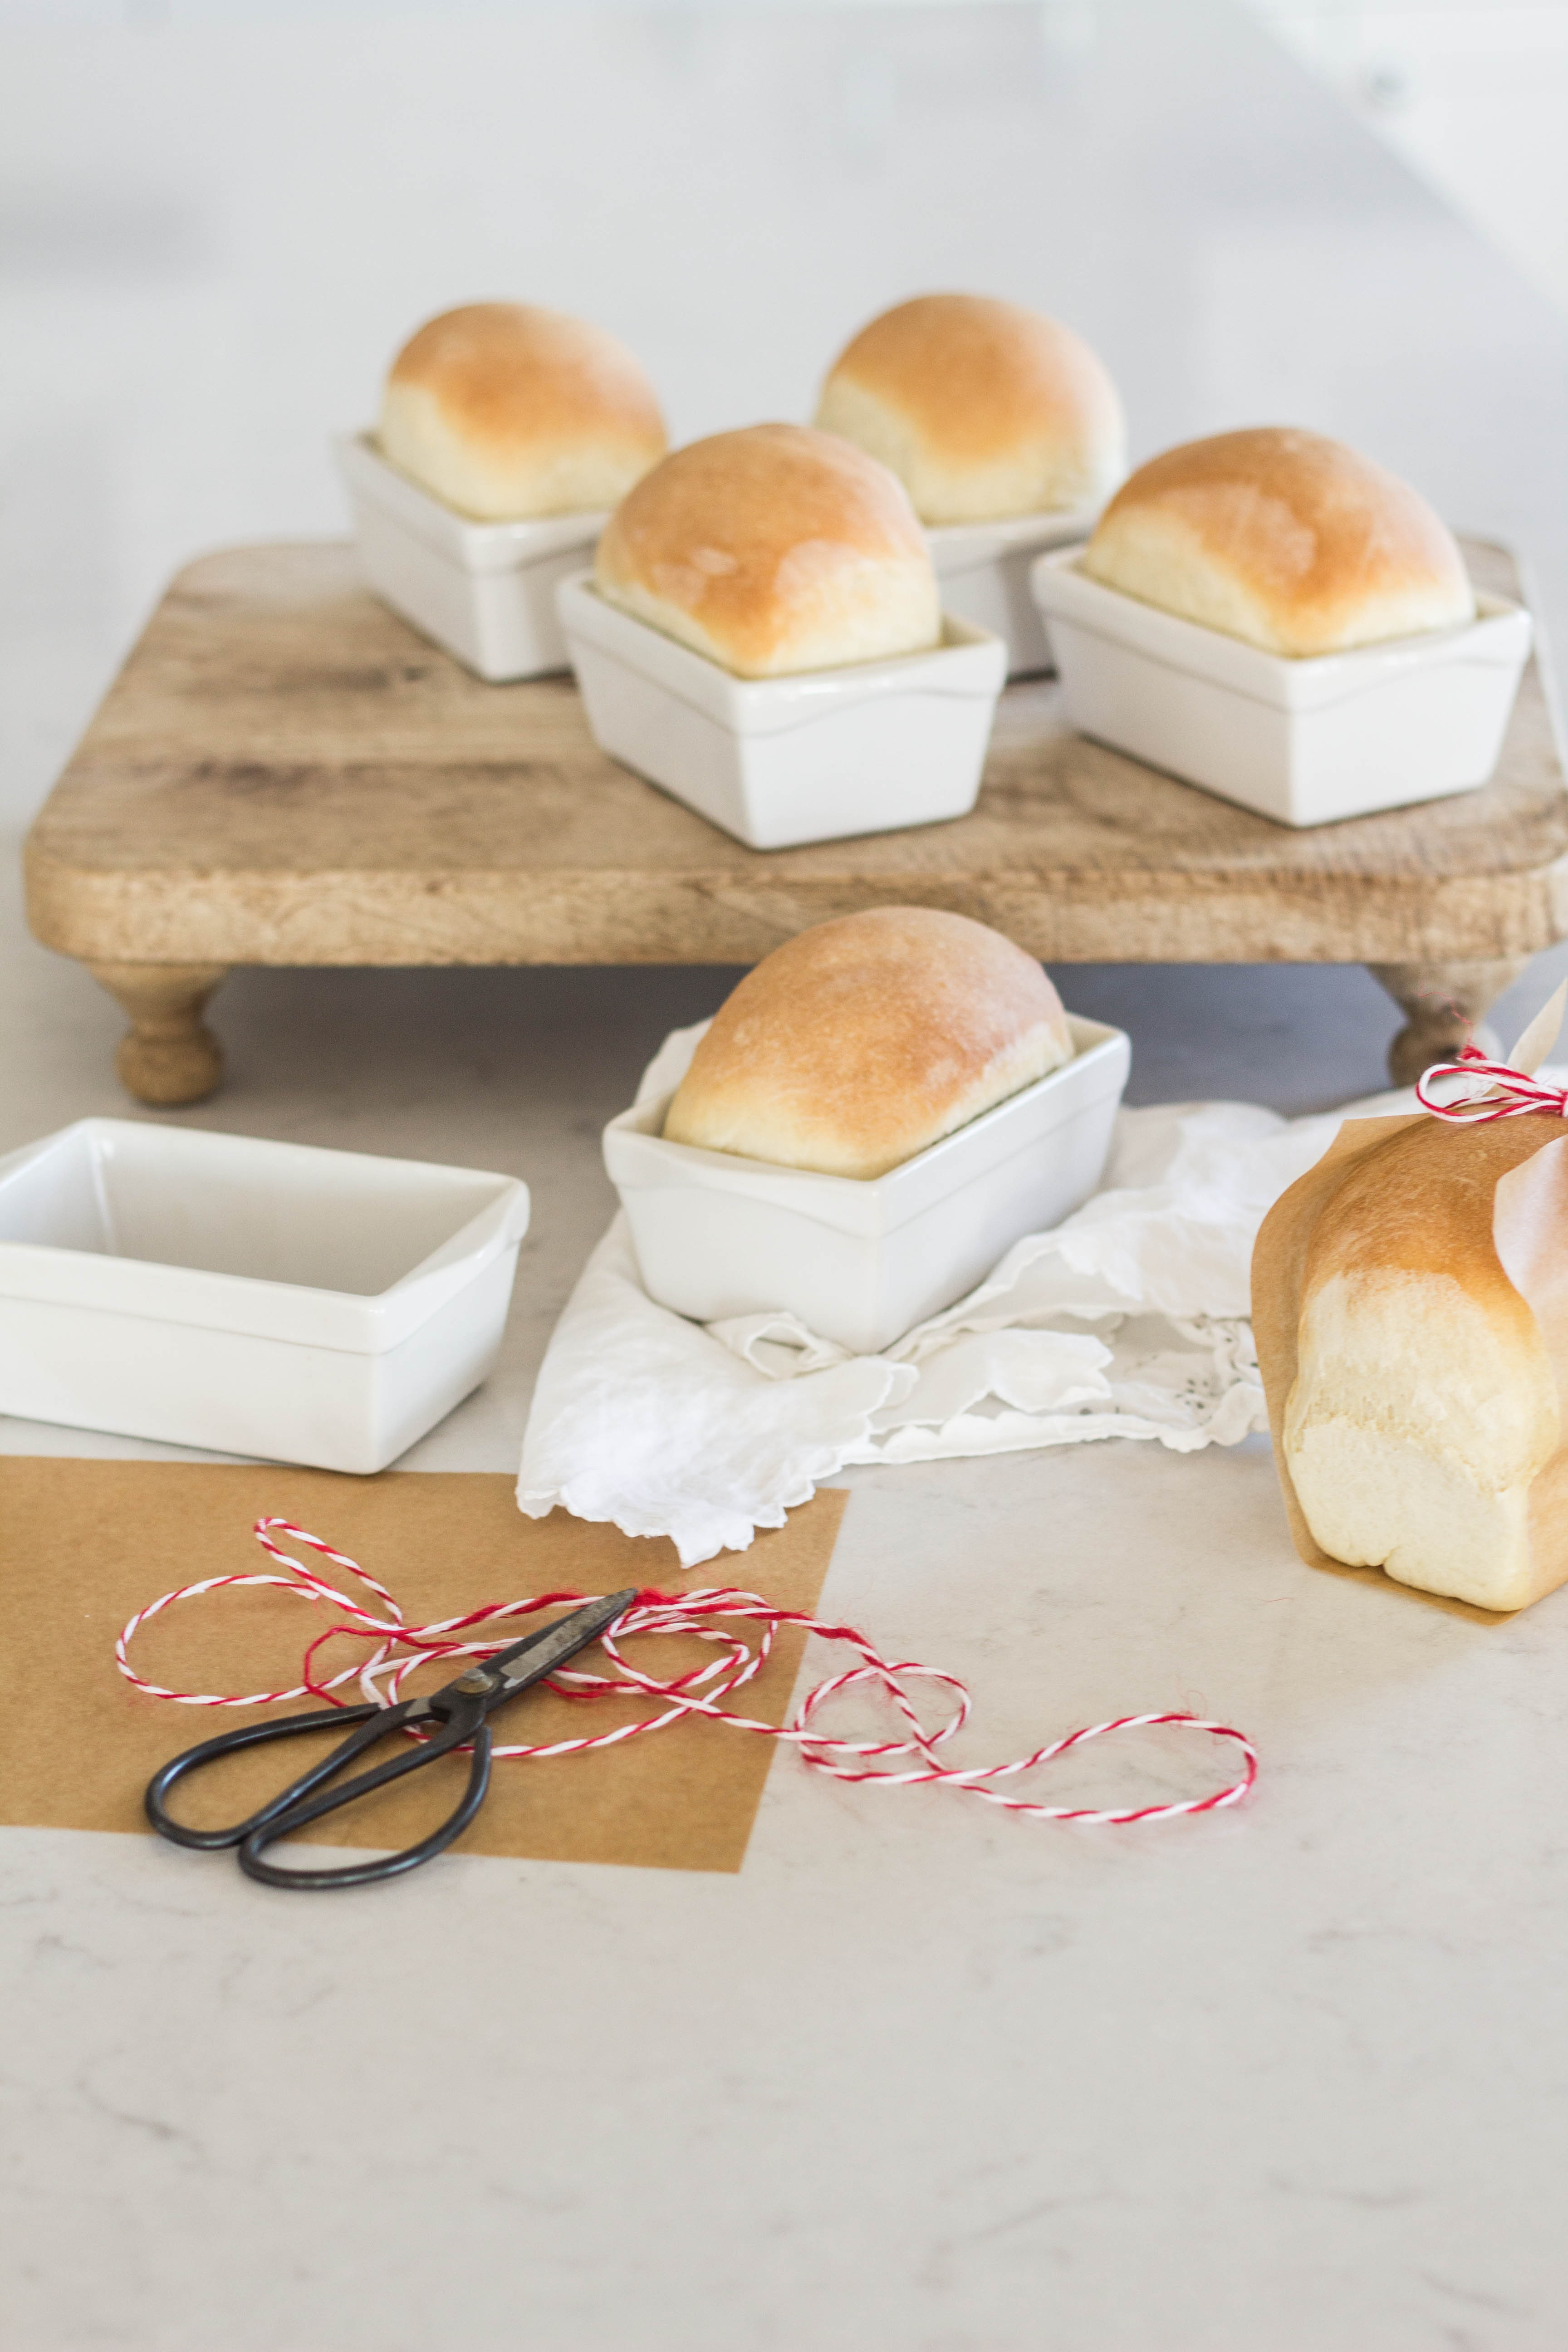
It’s teacher appreciation and Mother’s Day week so I thought it would be a fun time to make a batch of our delicious white bread mini loaves. They are perfect for gifting! My son really wants to take a teacher appreciation treat to his math teacher, and we thought this would be so fun! We came up with the idea to make white bread mini loaves and a tag that reads “I loaf having you for my teacher”. We will include a mini jam to go with it, as well as a handwritten card of gratitude.
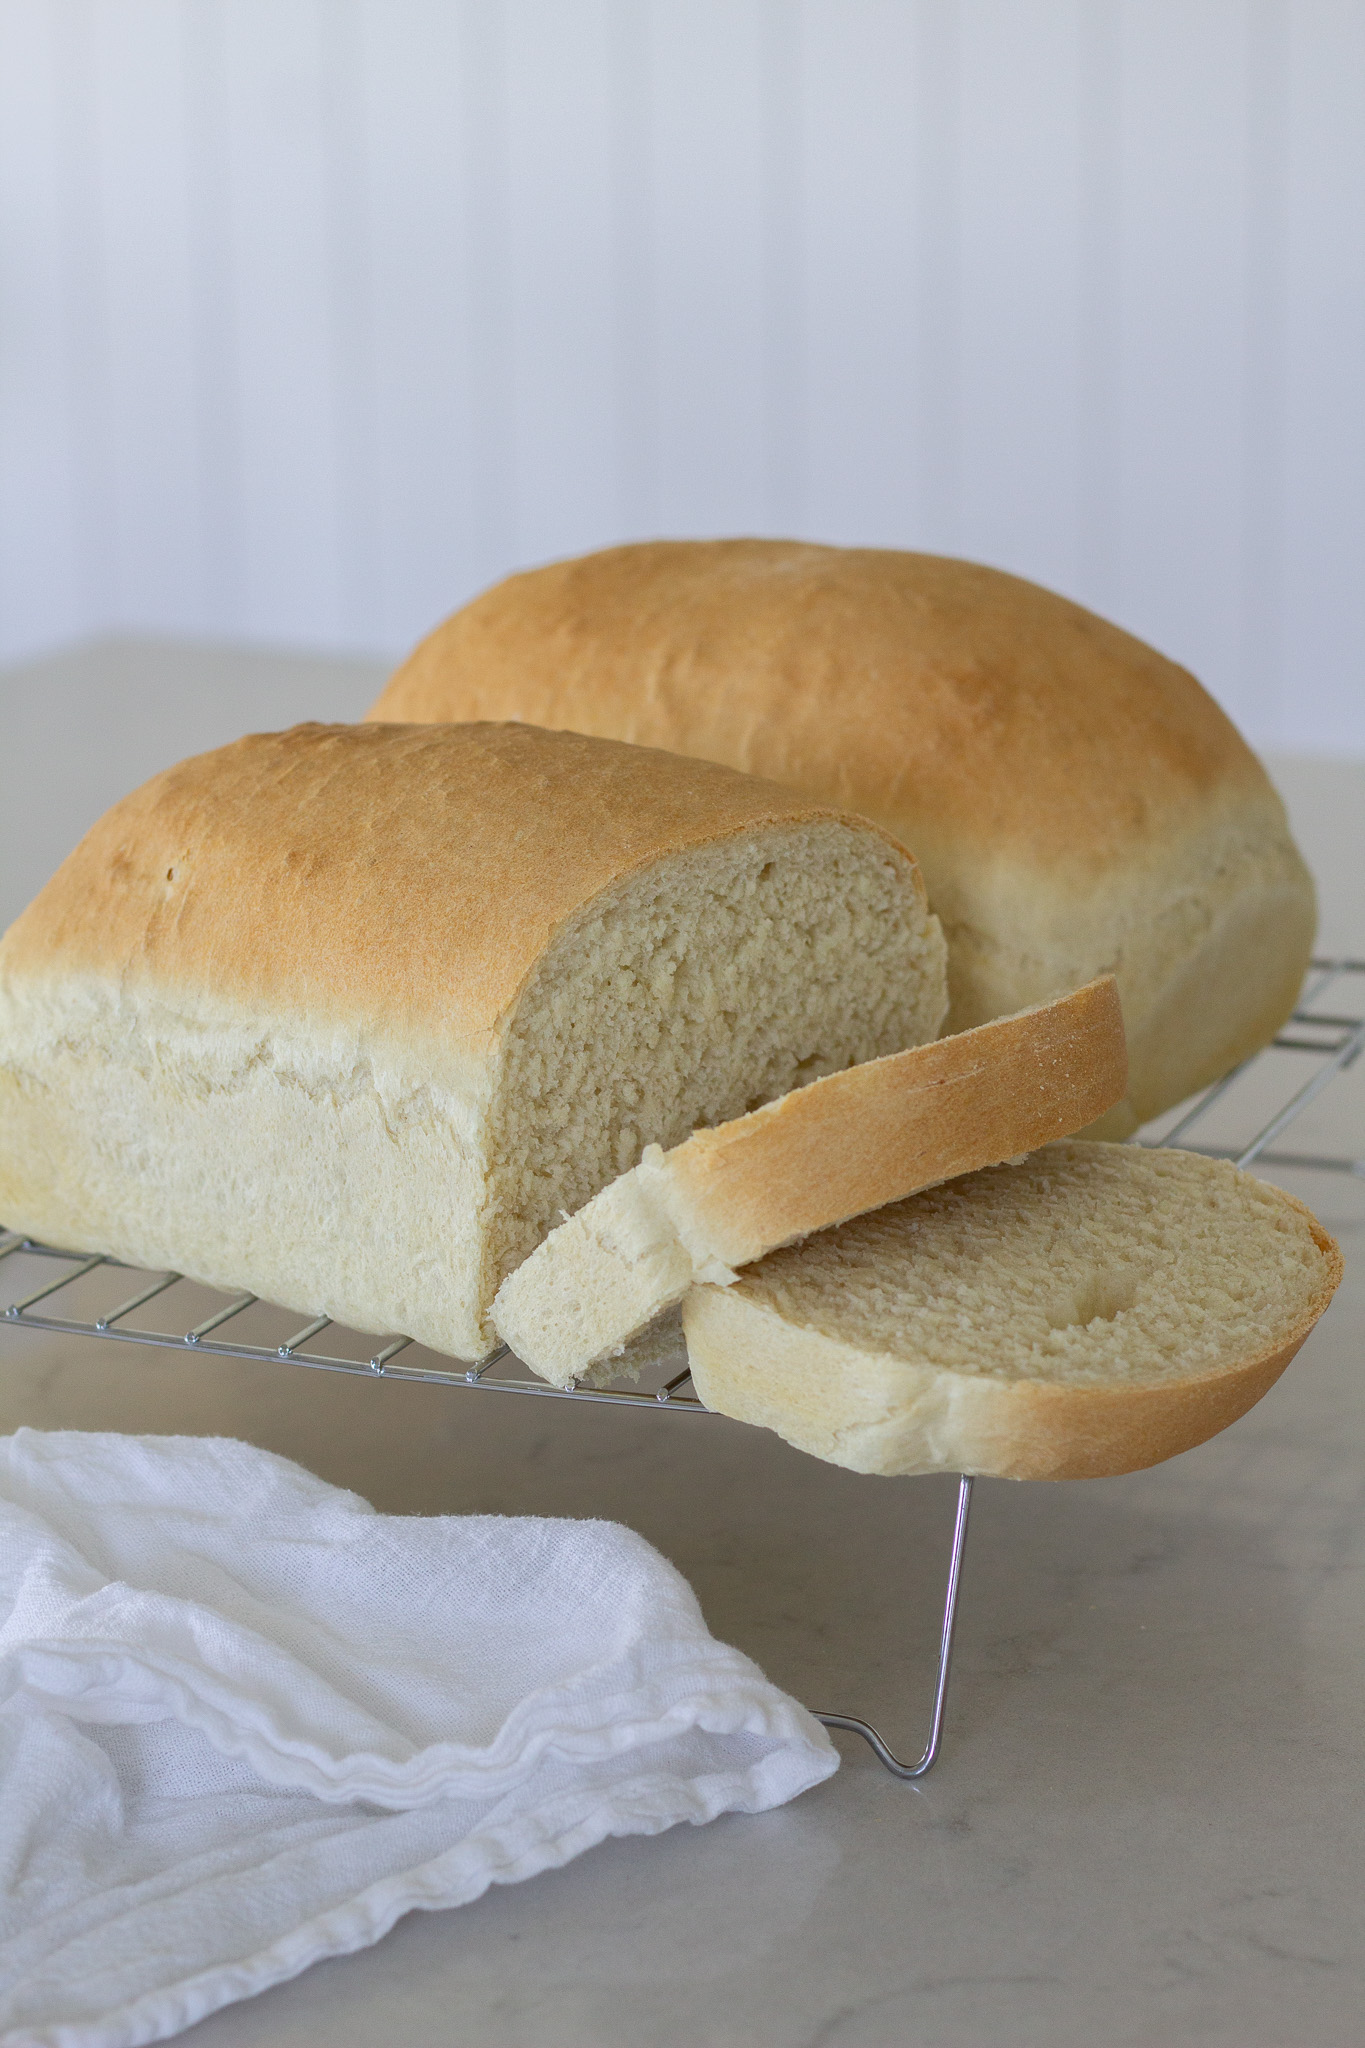
I hope you love this recipe and can use it to bless someone you love. These loaves are extra cute and fun and you can even slice them and make mini sandwiches or French Toast. What kiddo wouldn’t go crazy over that? If you want to make a regular loaf of bread with the dough, you’re in luck! This recipe makes 2 regular sized loaves.

Shop favorites from this post:

I absolutely LOVE this pan, I bought 4 and use them for all my bread making, including sweet loaves like our favorite banana bread, sour cream swirl loaf, and even our raspberry lemon and poppyseed loaves.
How to gift delicious white bread mini loaves
We are using these tags to gift the mini loaves to our wonderful teachers. I also created blank tags so you can create your own. Some ideas are “I loaf having you as my…”
- Neighbor
- MOM
- DAD
- Grandparent
- Friend
- Sister/Brother
- Leader
- Coach
FREE PRINTABLE TAG DOWNLOAD
FREE BLANK TAG DOWNLOAD

Easy Homemade White Bread
Ingredients
- 3 Cups all purpose flour
- 3 Cups Bread flour
- 3 Tablespoons sugar
- 1 Tablespoon salt
- 2 Tablespoons Lard Shortening can be substituted
- 4 1/2 teaspoons regular or quick active dry yeast I use SAF-INSTANT
- 2 1/4 cups very warm water If water is too hot, it will kill yeast. See tips
Instructions
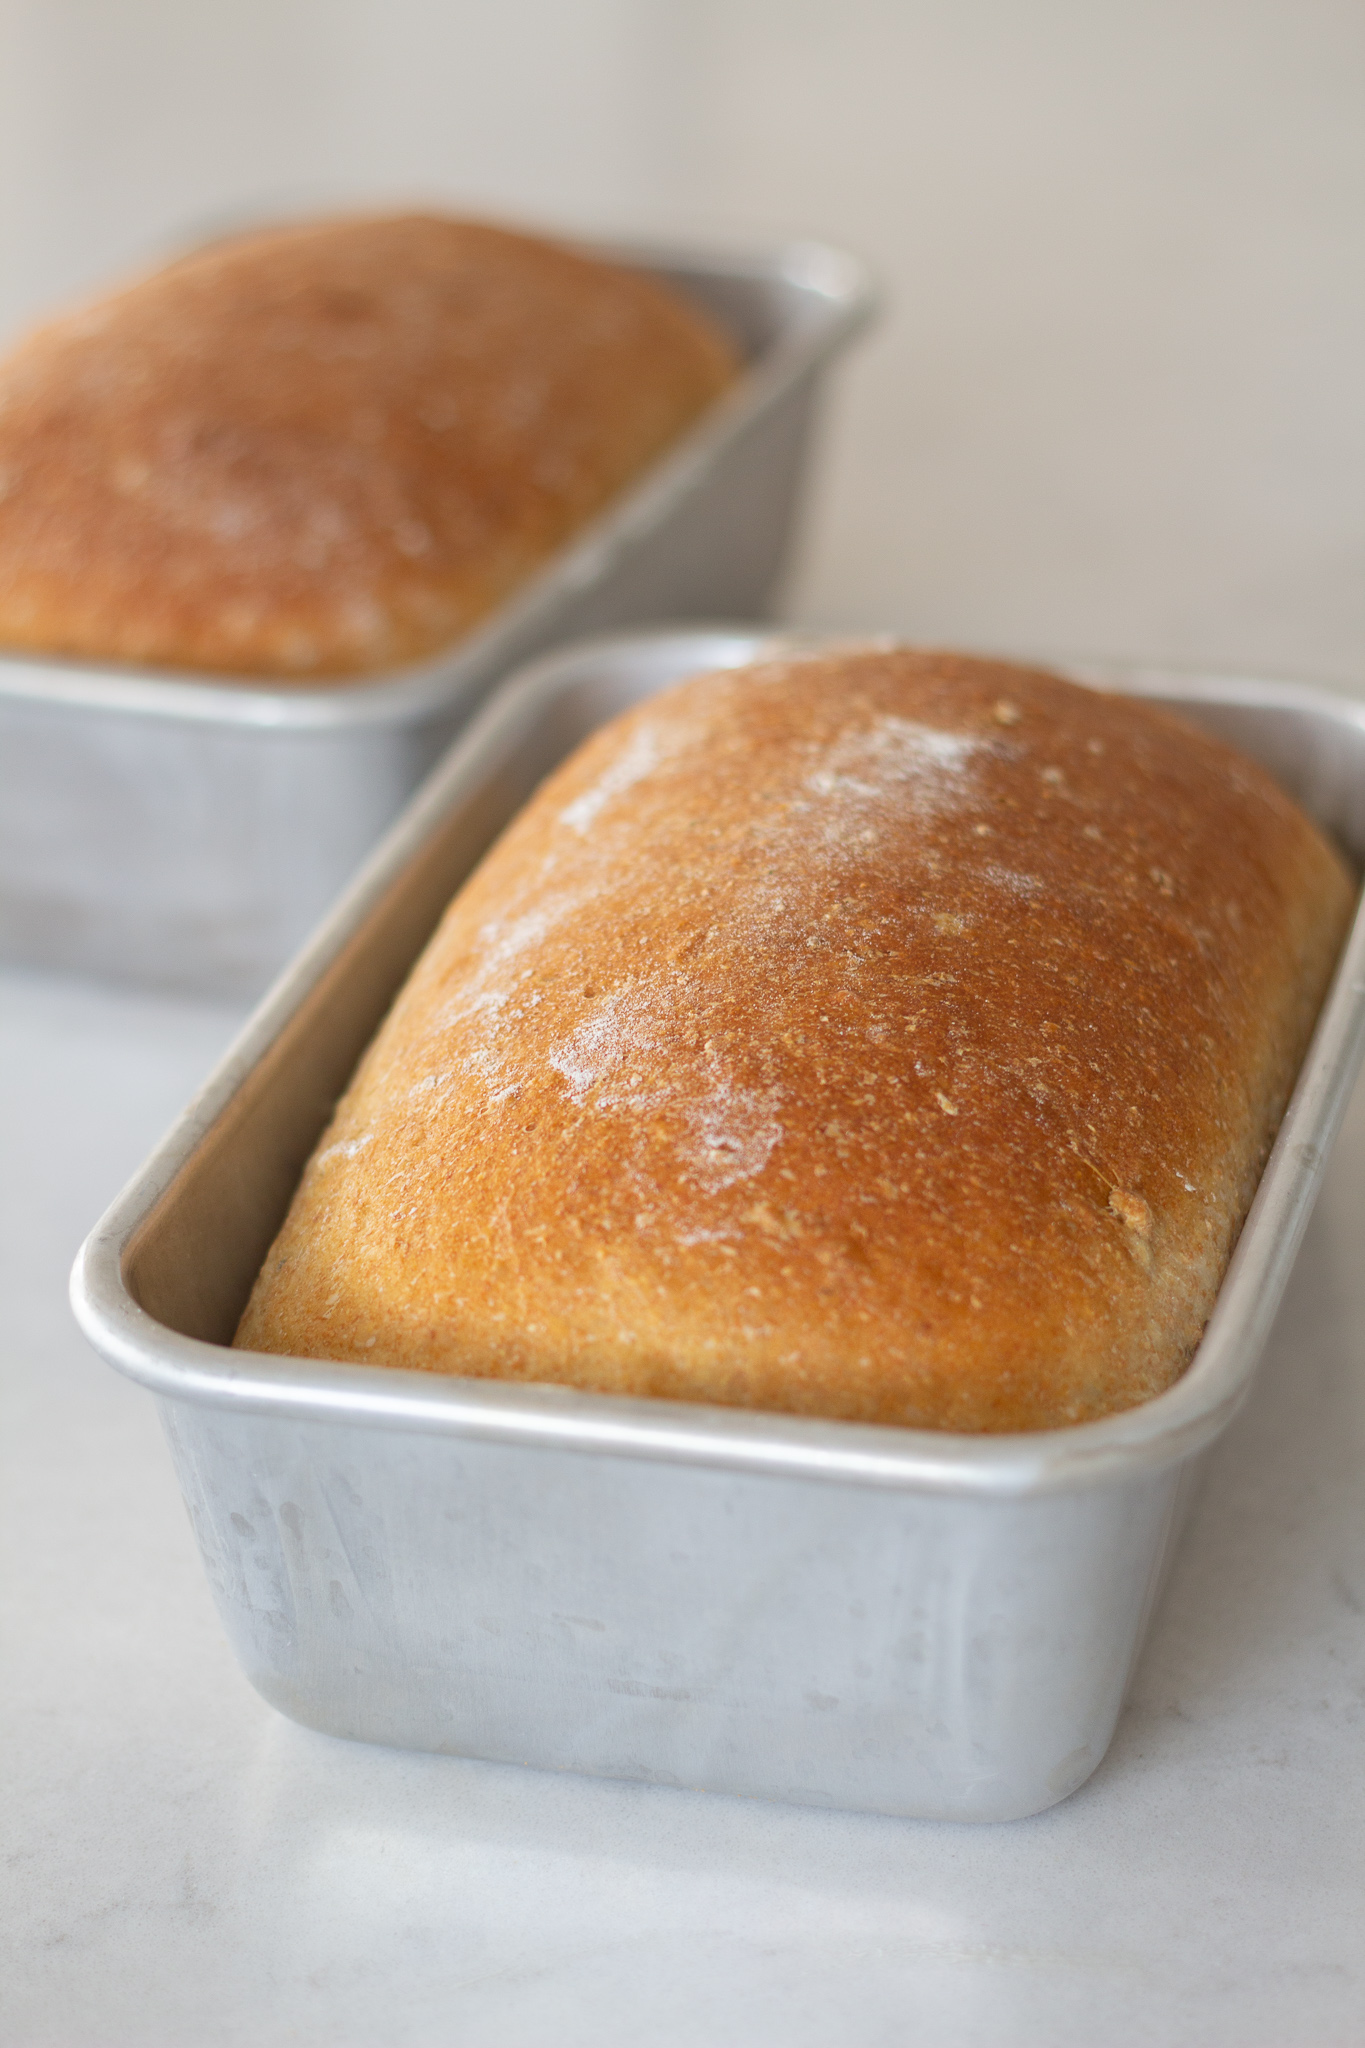
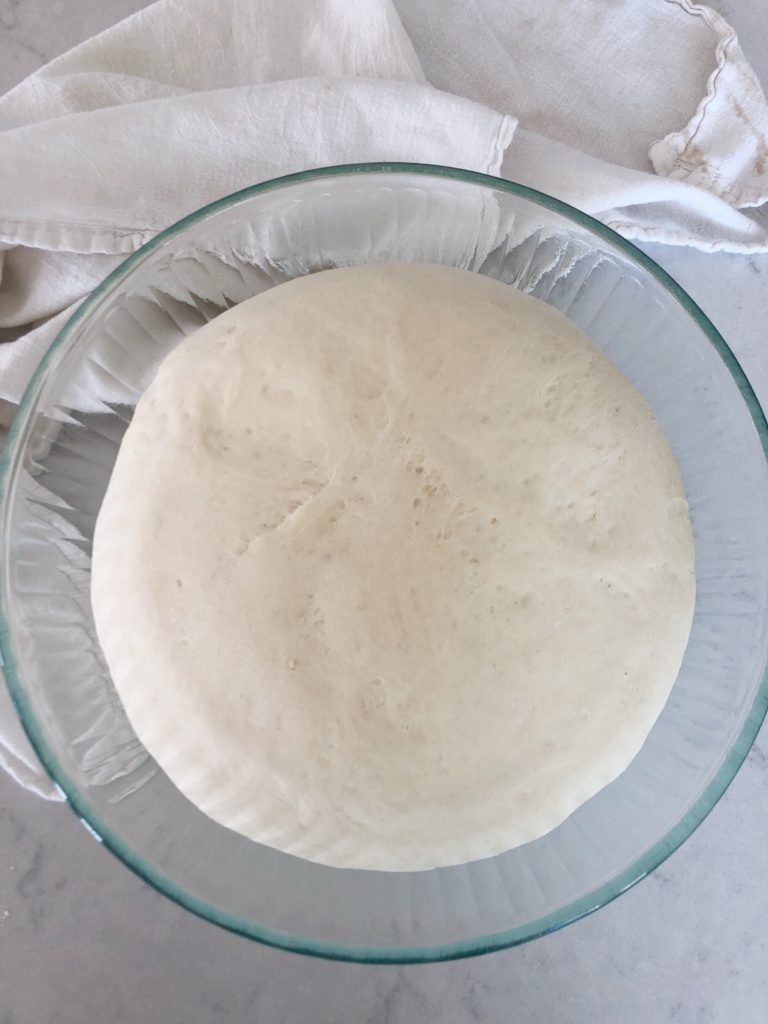
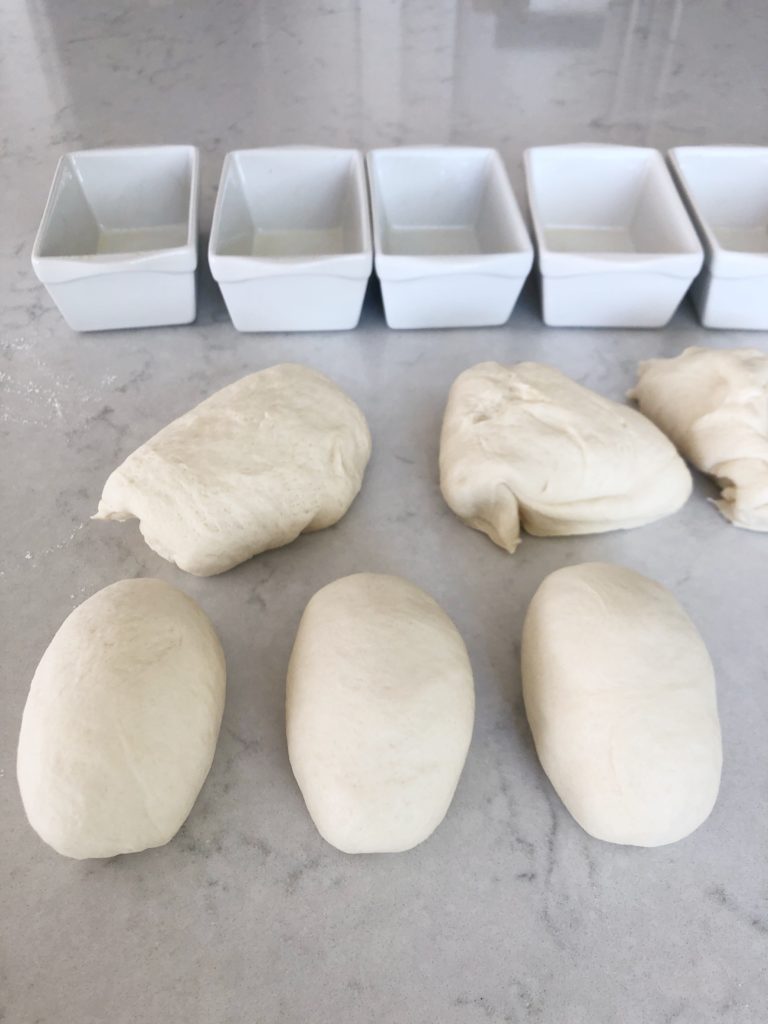
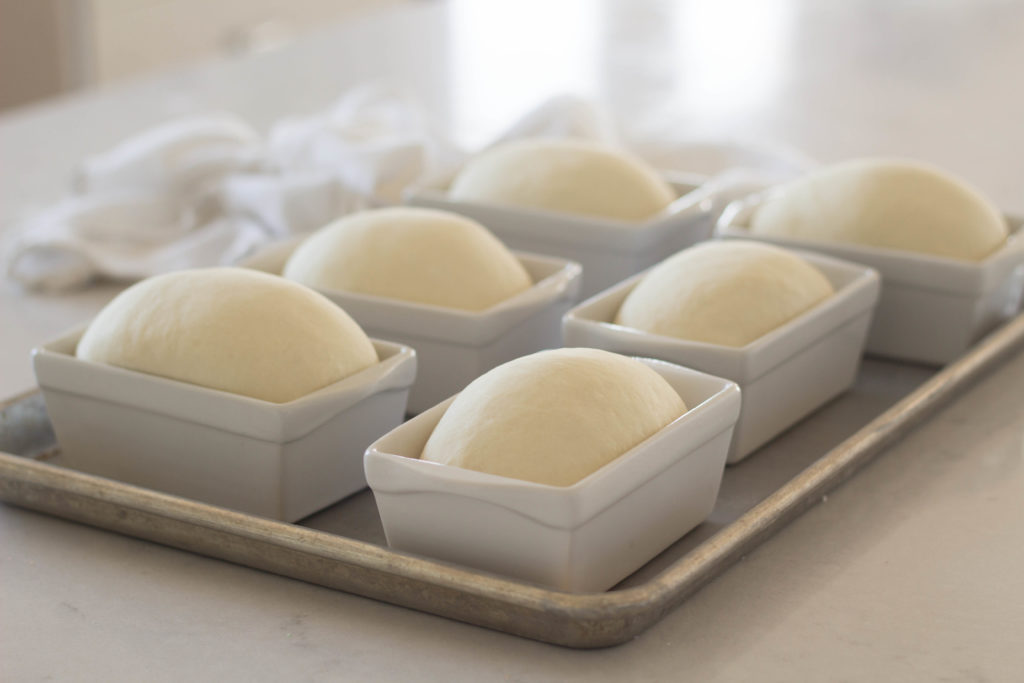
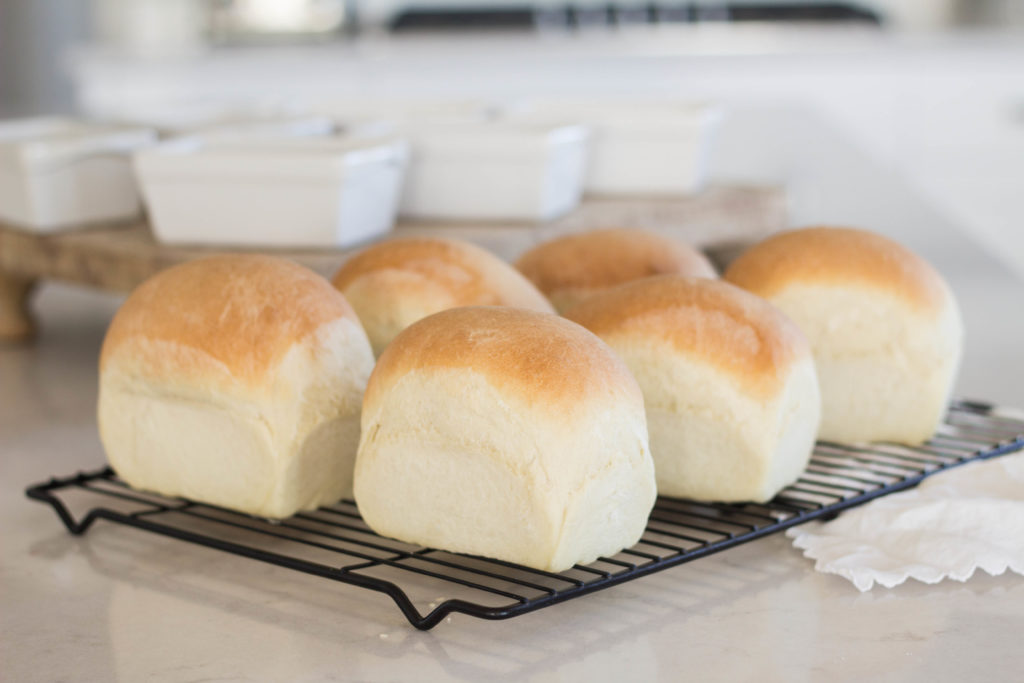
- 1. Mix together sugar, lard, warm water and yeast. Add 3 cups of flour and salt. Beat with a mixer on low speed for 2 minutes, scraping bowl for chunks. Switch to dough hook attachment and add remaining flour. Mix with a dough hook for 5 minutes or until dough is smooth and elastic. If mixing by hand, knead for 5-7 minutes until smooth. 2. Place dough in a large bowl. Allow to rise for 1 hour (covered with a tea towel or lightly with plastic wrap) so that dough is doubled in size. 3. Grease bottoms and sides of 2 loaf pans or 6 mini loaf pans. 4. Turn dough onto counter and cut in half for 2 loaves, or in to 6 equal pieces for mini loaves. Gently pat or lightly roll dough into a (roughly) 6×9" rectangle. Roll up lengthwise and tuck ends under. Place in 2 loaf pans (prepared with non-stick spray). 5. Allow loaves to rise an additional 45 minutes. This will ensure that your bread is light and airy while baking and not dense.6. Preheat oven to 425° F and bake loaves 23-25 minutes. Be sure to remove loaves from their pans quickly after baking so they don't become soggy on bottom from condensation. This bread freezes very well. Simply allow it to come to room temperature and then add it to a gallon ziplock bag. You can pre-slice it if you want. Allow to come to room temperature the day of thawing and eating.
Leave a Reply