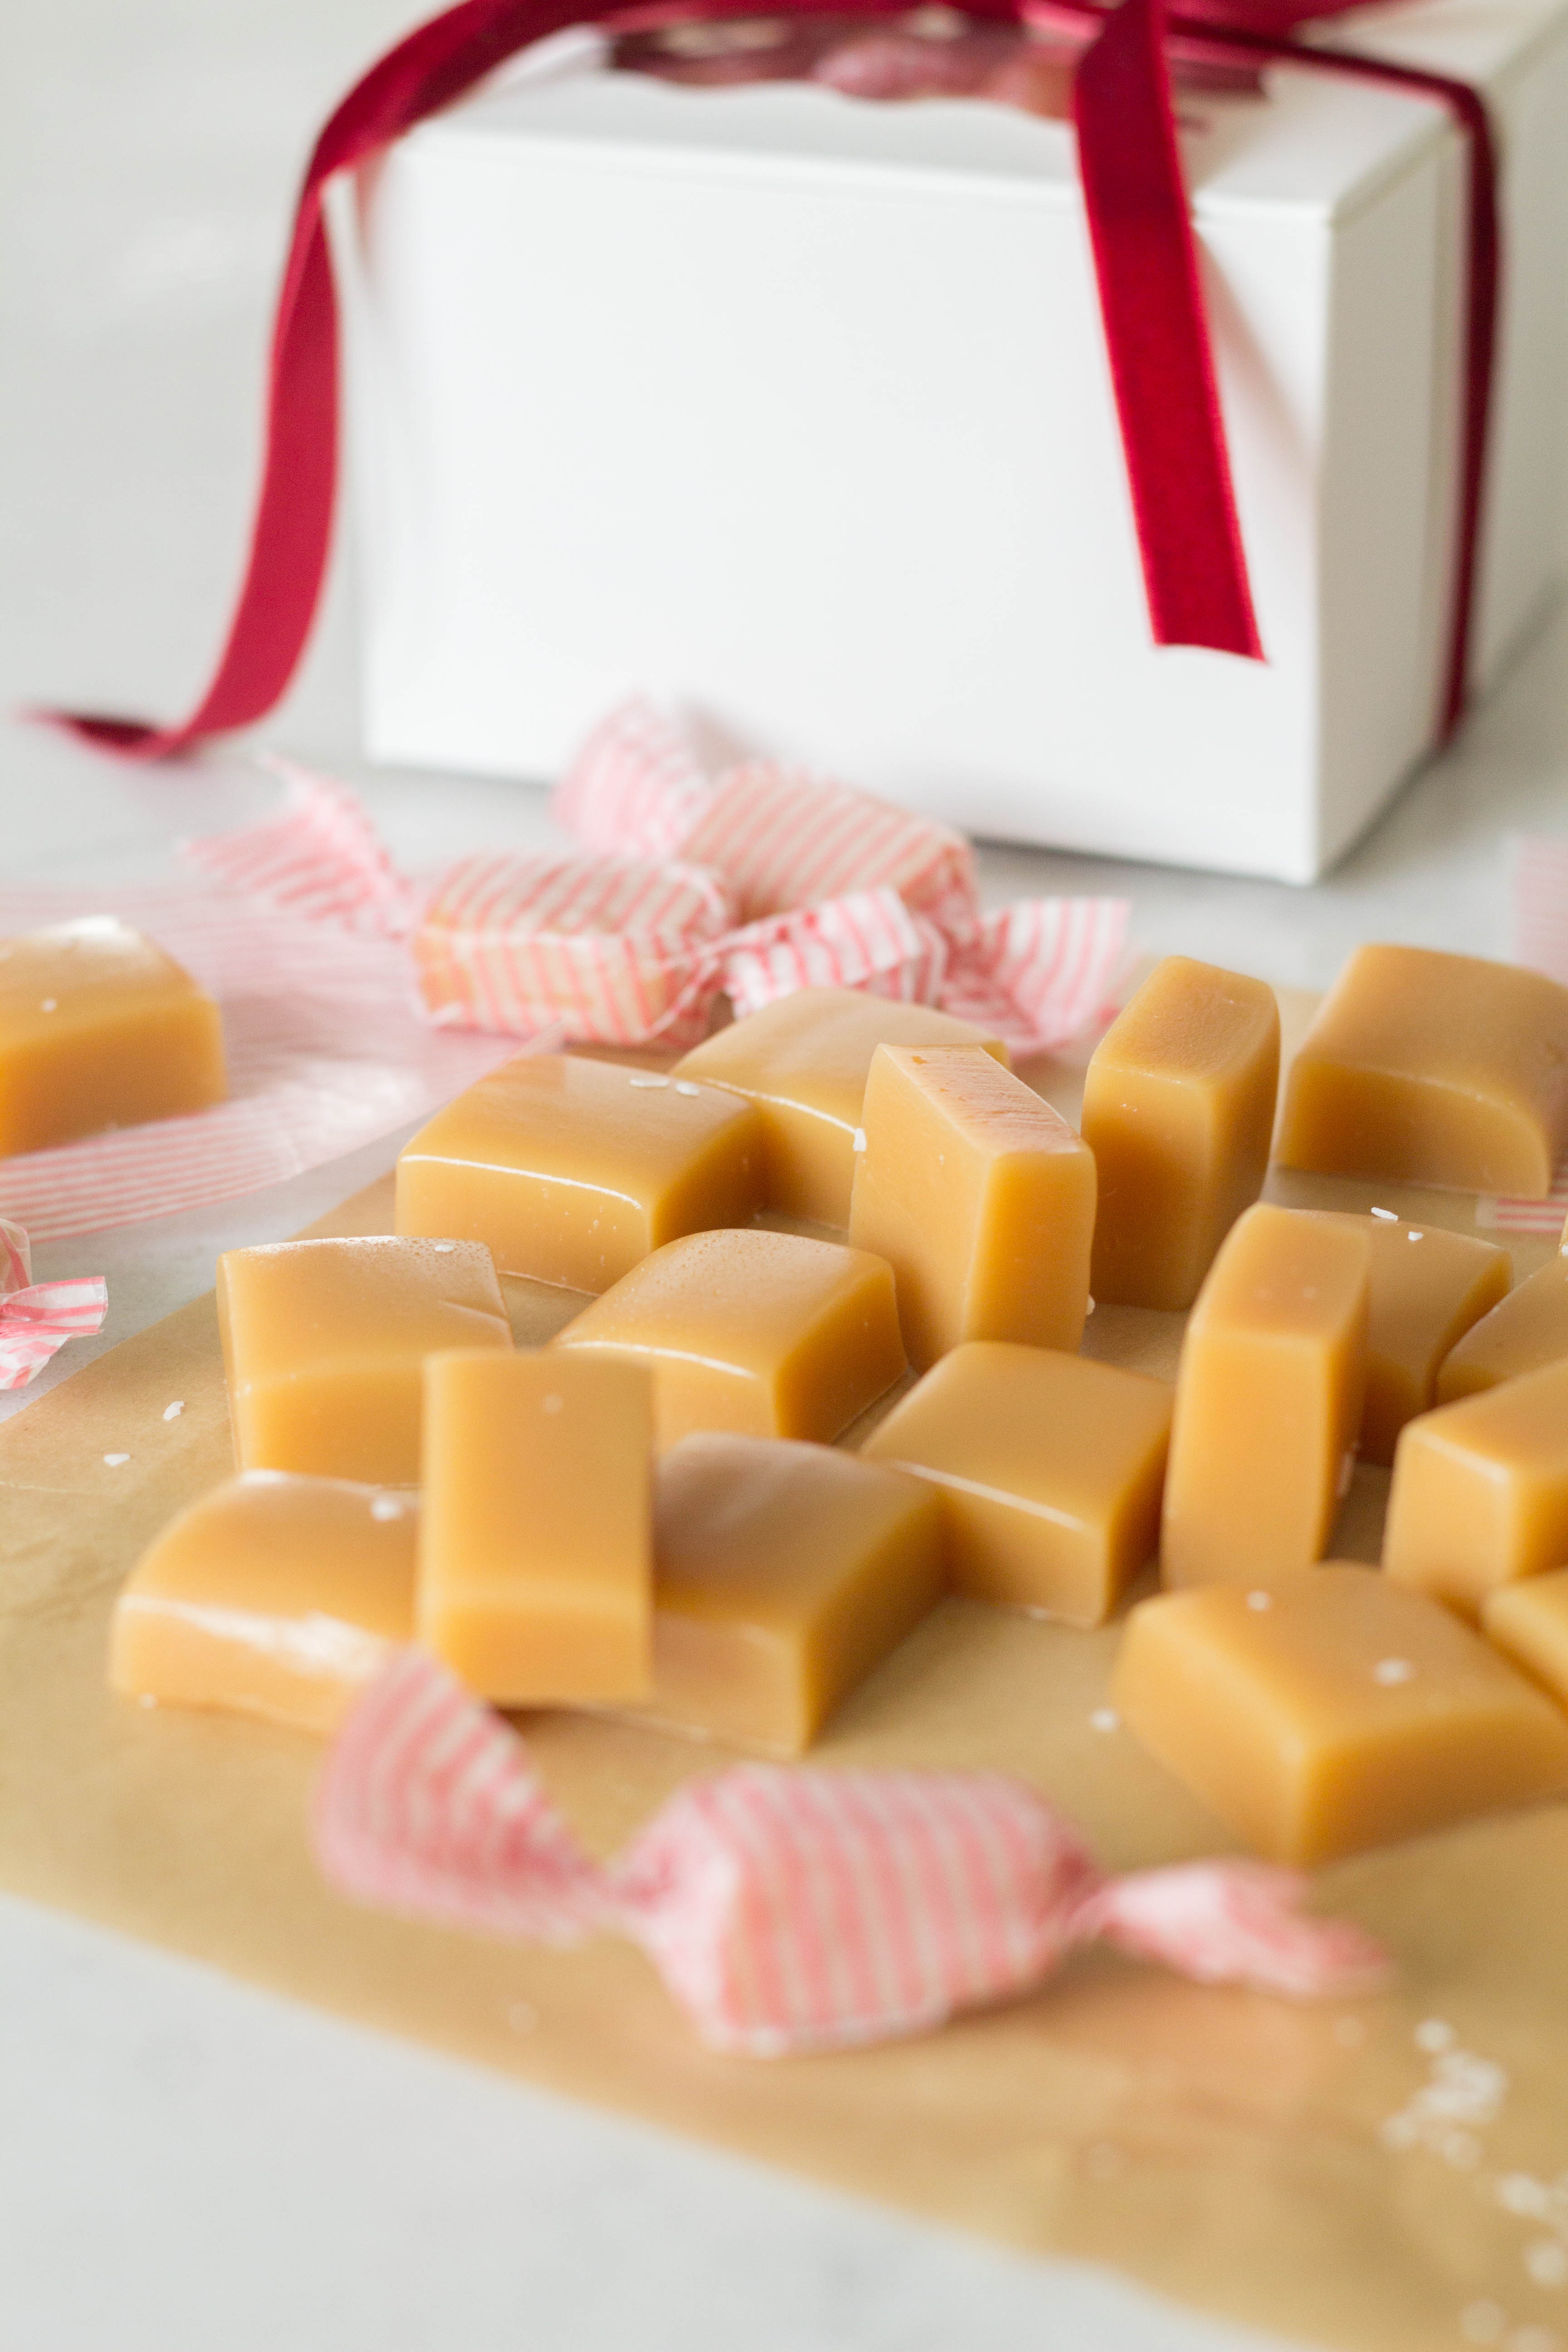
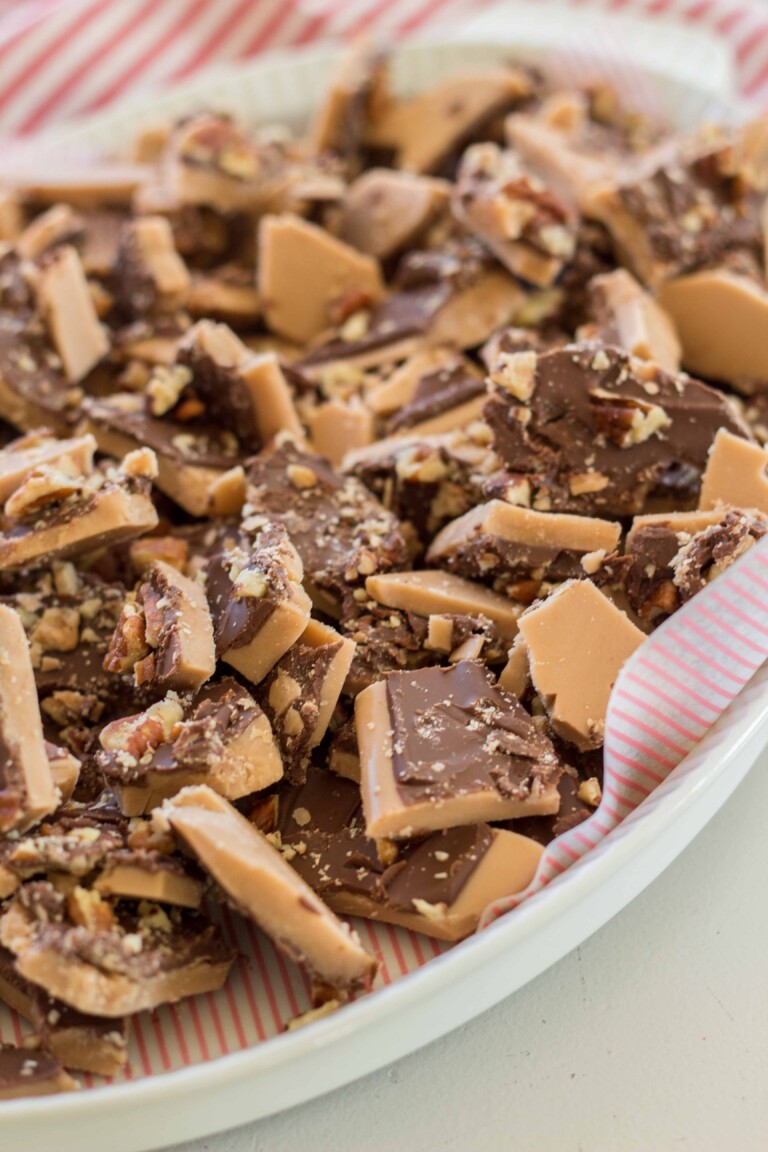
In this post, you’ll learn to make one of my favorite recipes, delicious 6-minute microwave caramels! With this fast and easy technique, you can cut out all of the fears and worries that come with stovetop candy making. These are one of our very favorite holiday treats to share and enjoy!
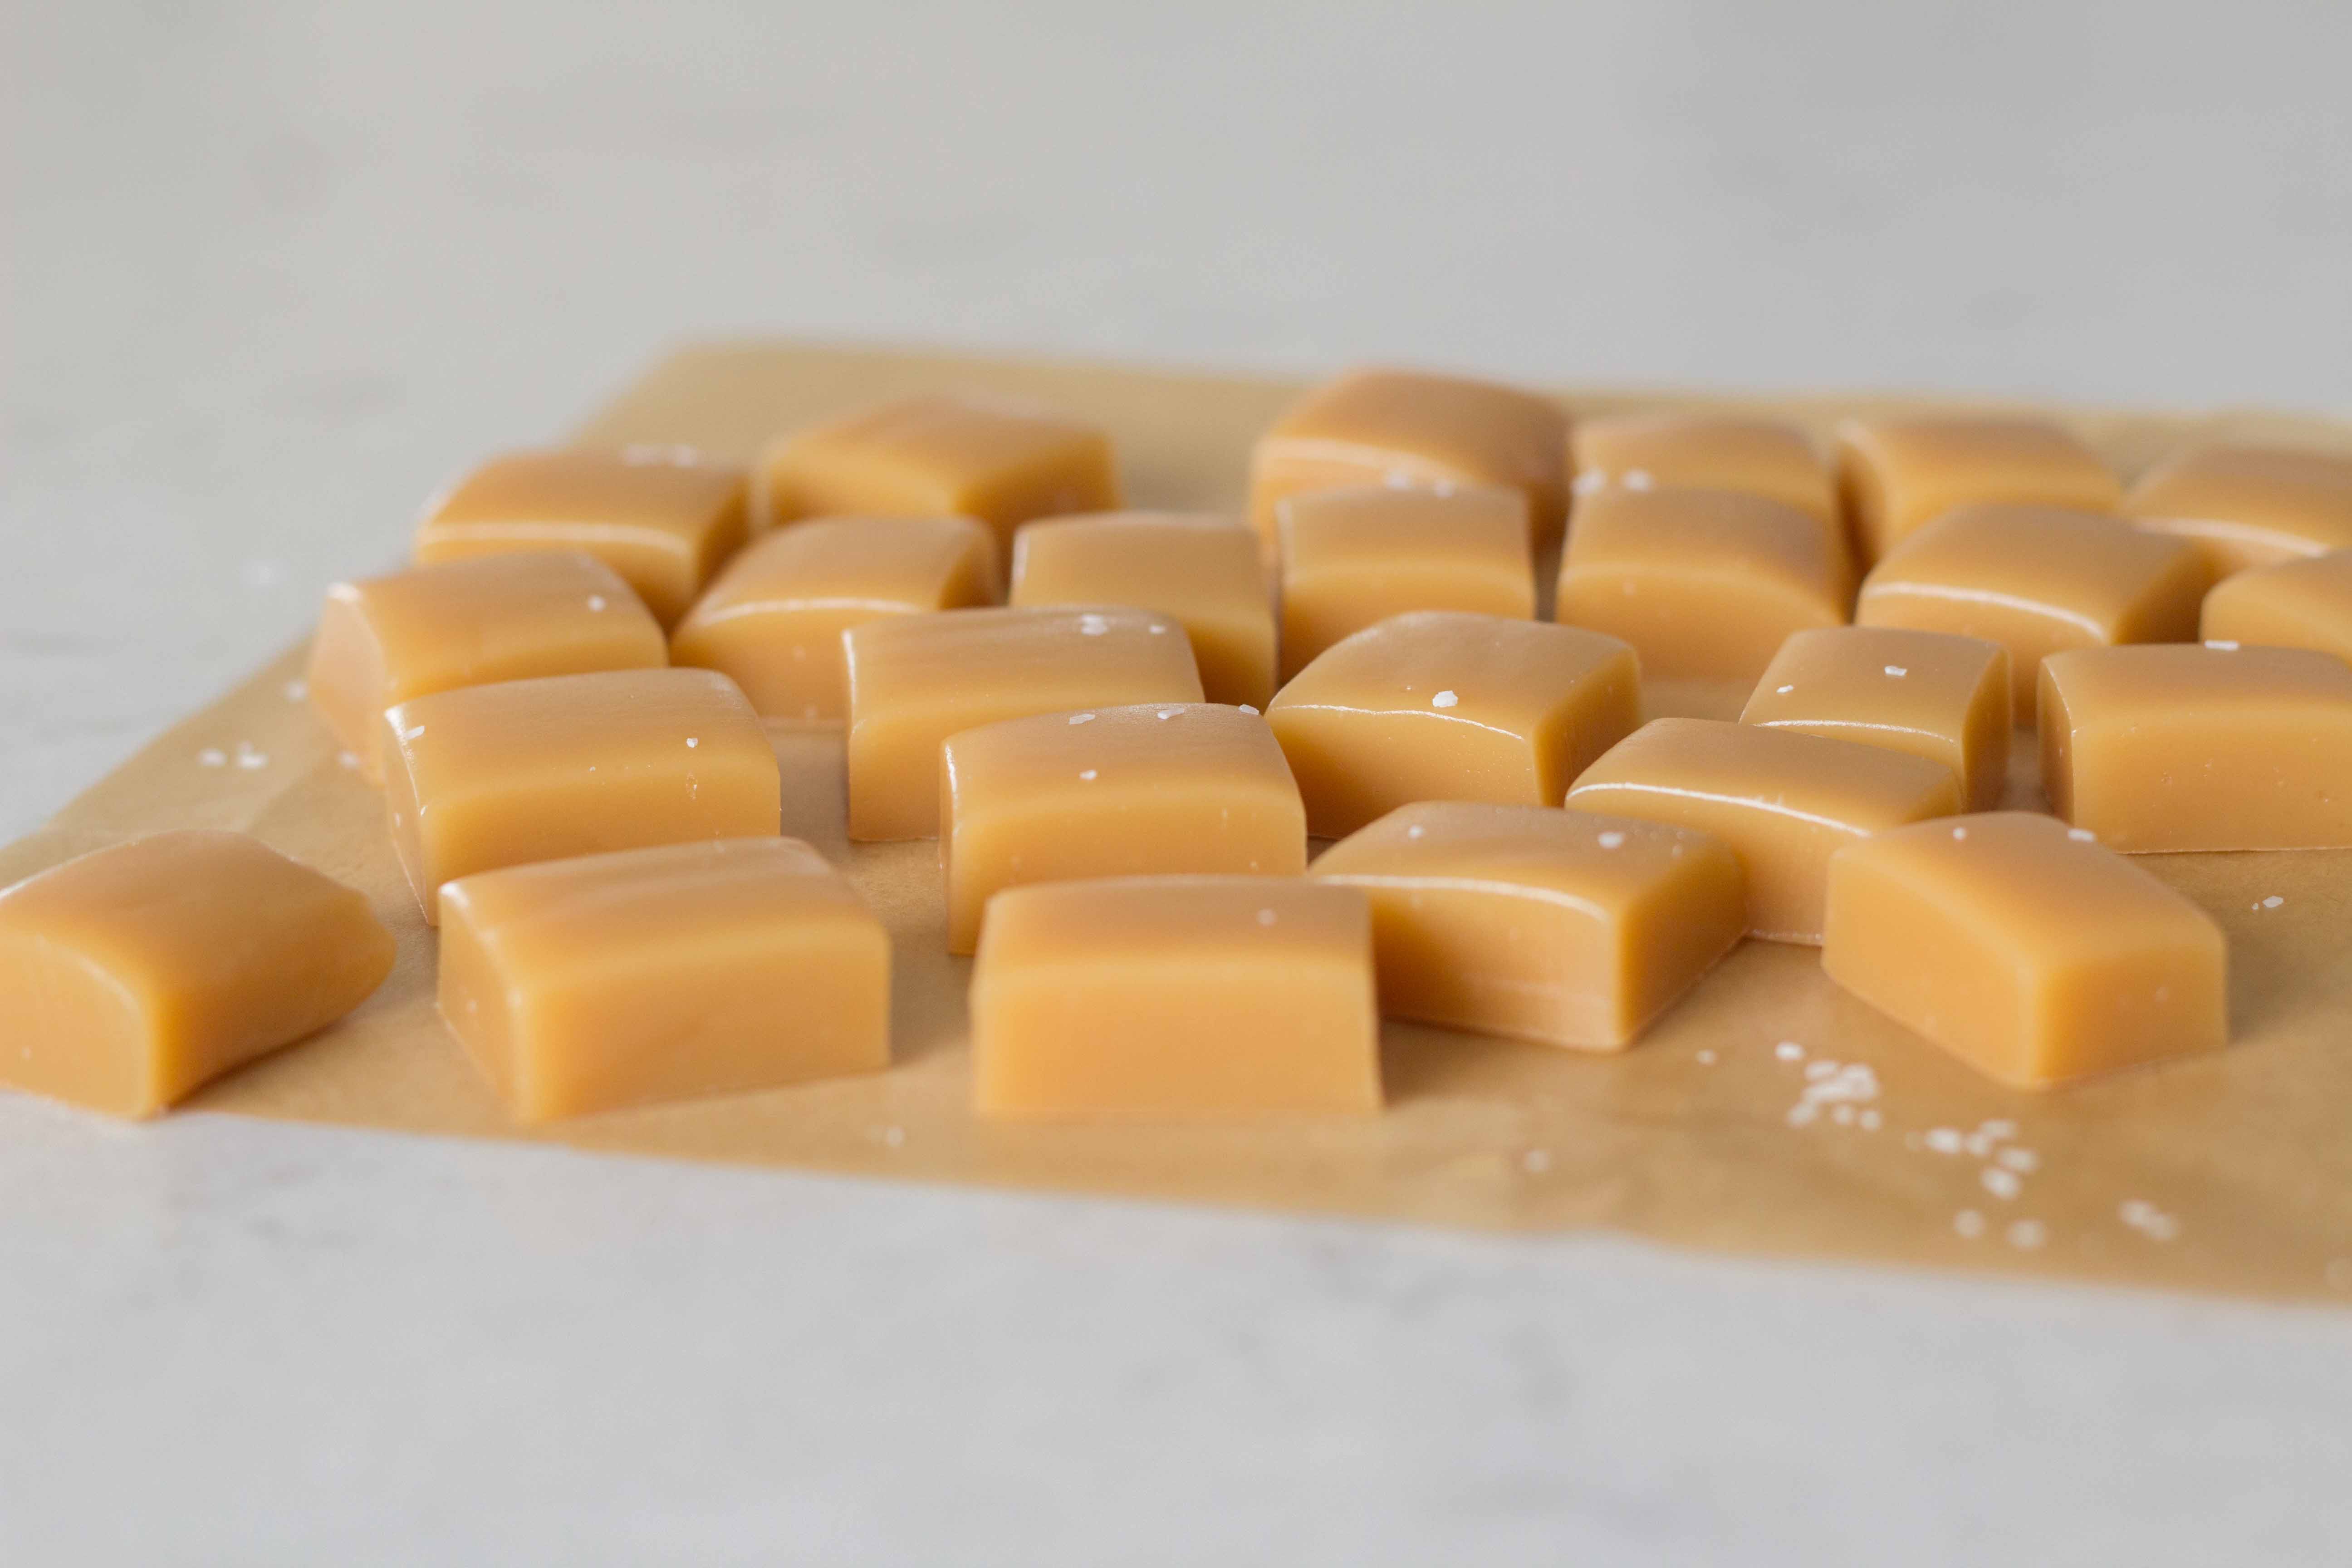
If you’ve ever attempted candy making, you know it can take a lot of work, time, and often end in failure if things aren’t exact. I’ve had to toss many batches of caramels due to them being too soft, too hard, or scorching on the bottom! Using a candy thermometer can be tricky and time consuming.
Today I am thrilled to share with you a little tried-and-true, hidden treasure of a recipe! These 6-minute microwave caramels are so fast, and fuss free! DID YOU HEAR ME!? 6 minutes people! It may seem too good to be true, so you better just try them for yourself!
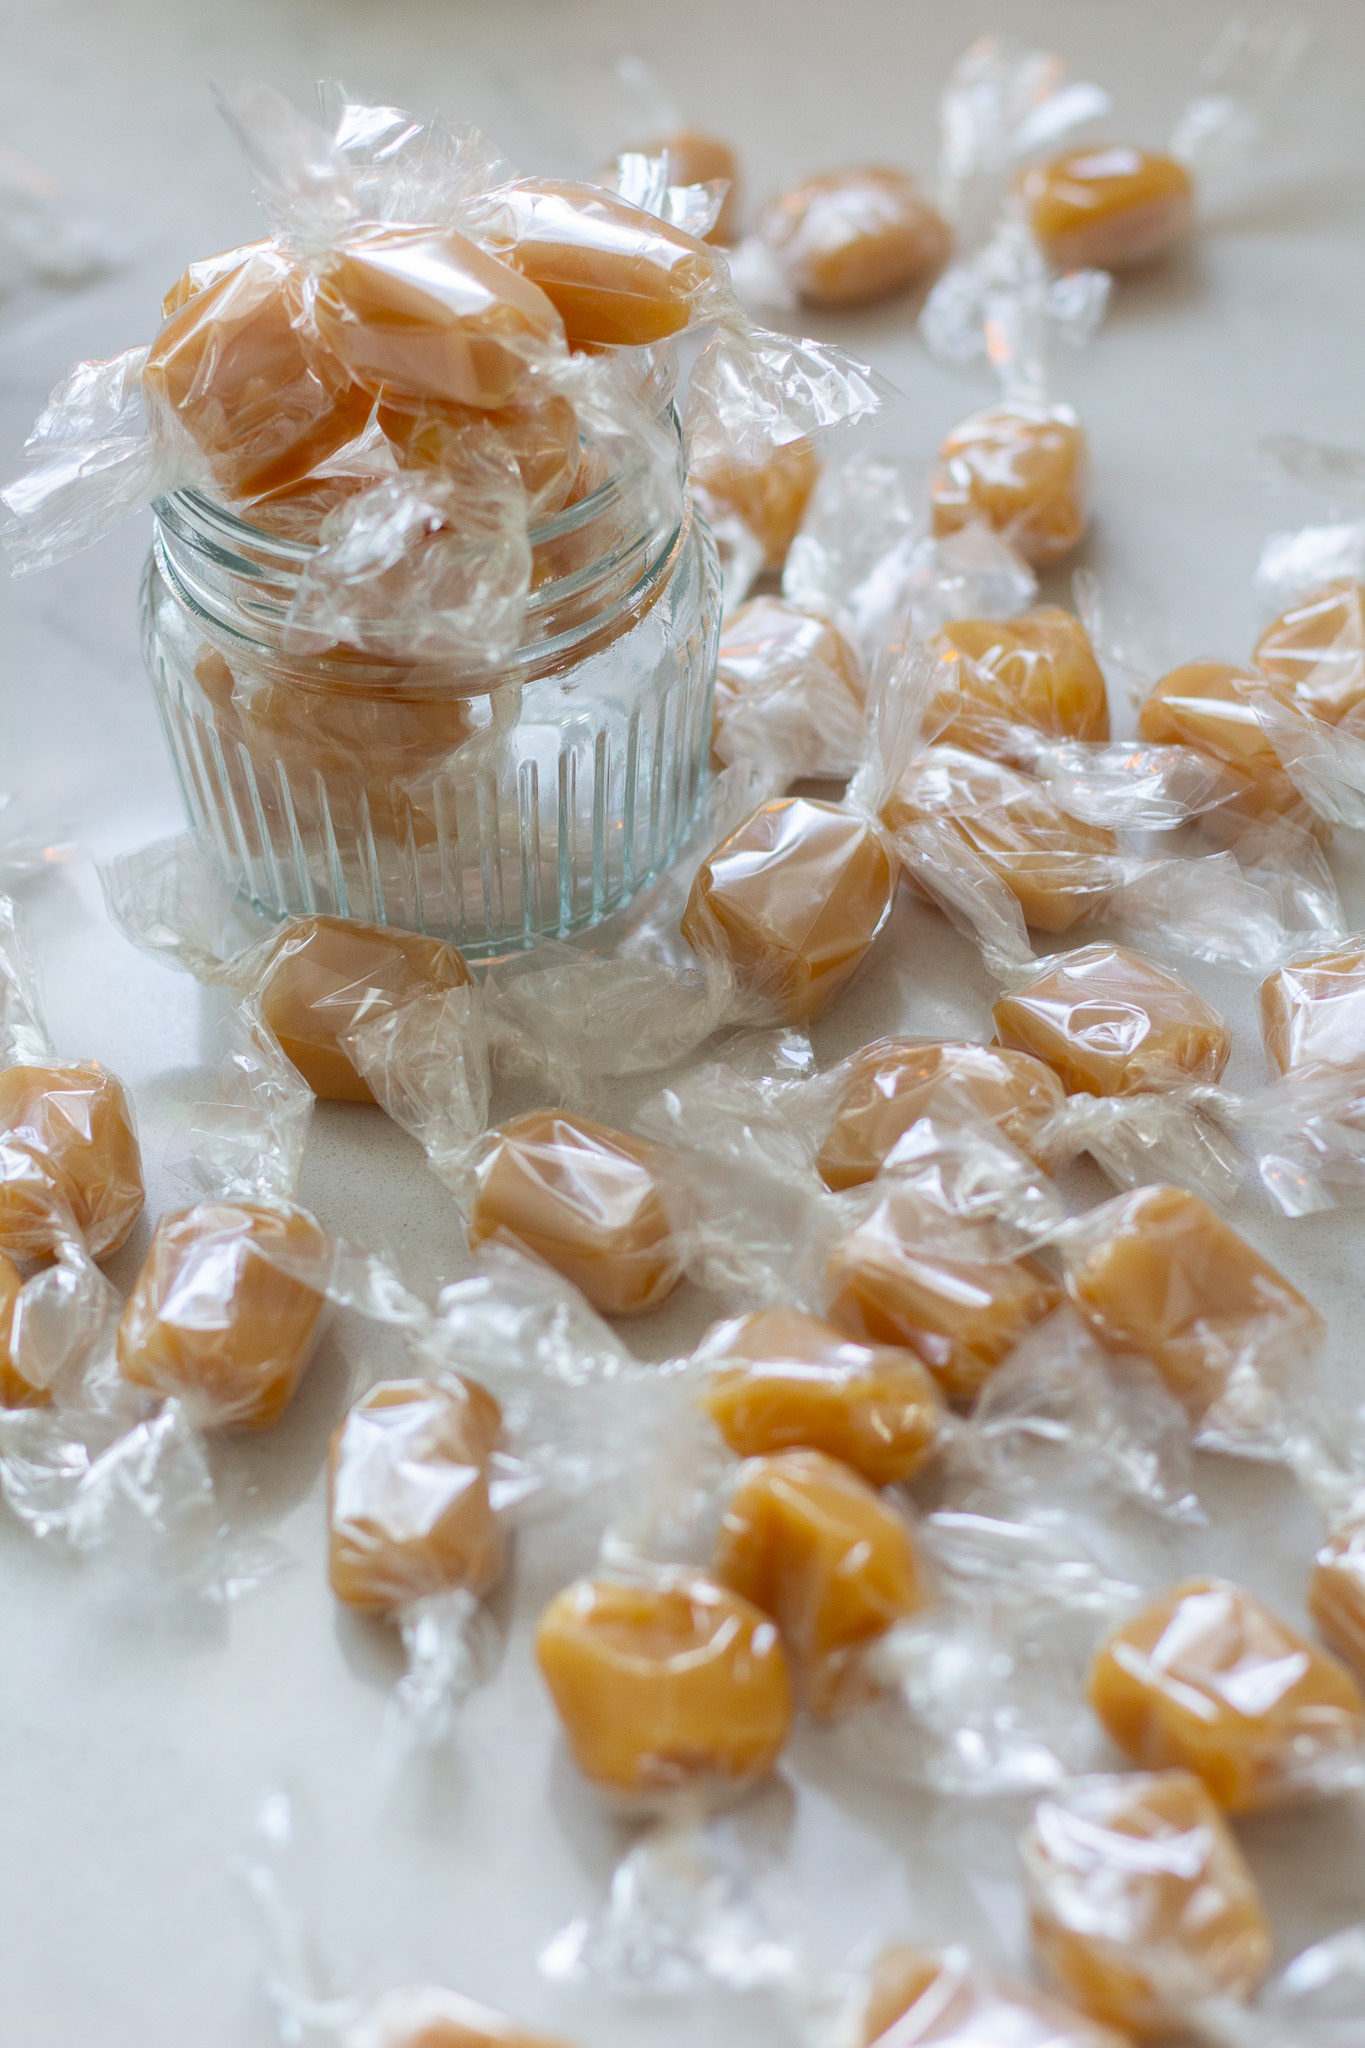
UPDATE:
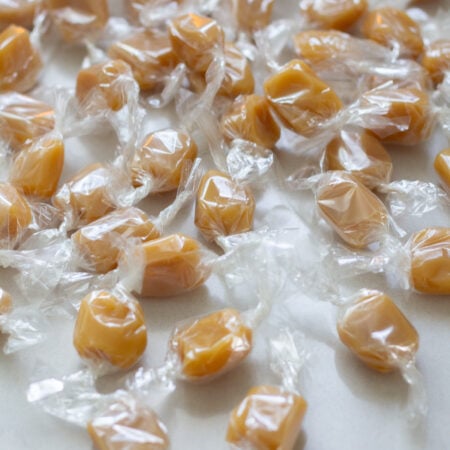
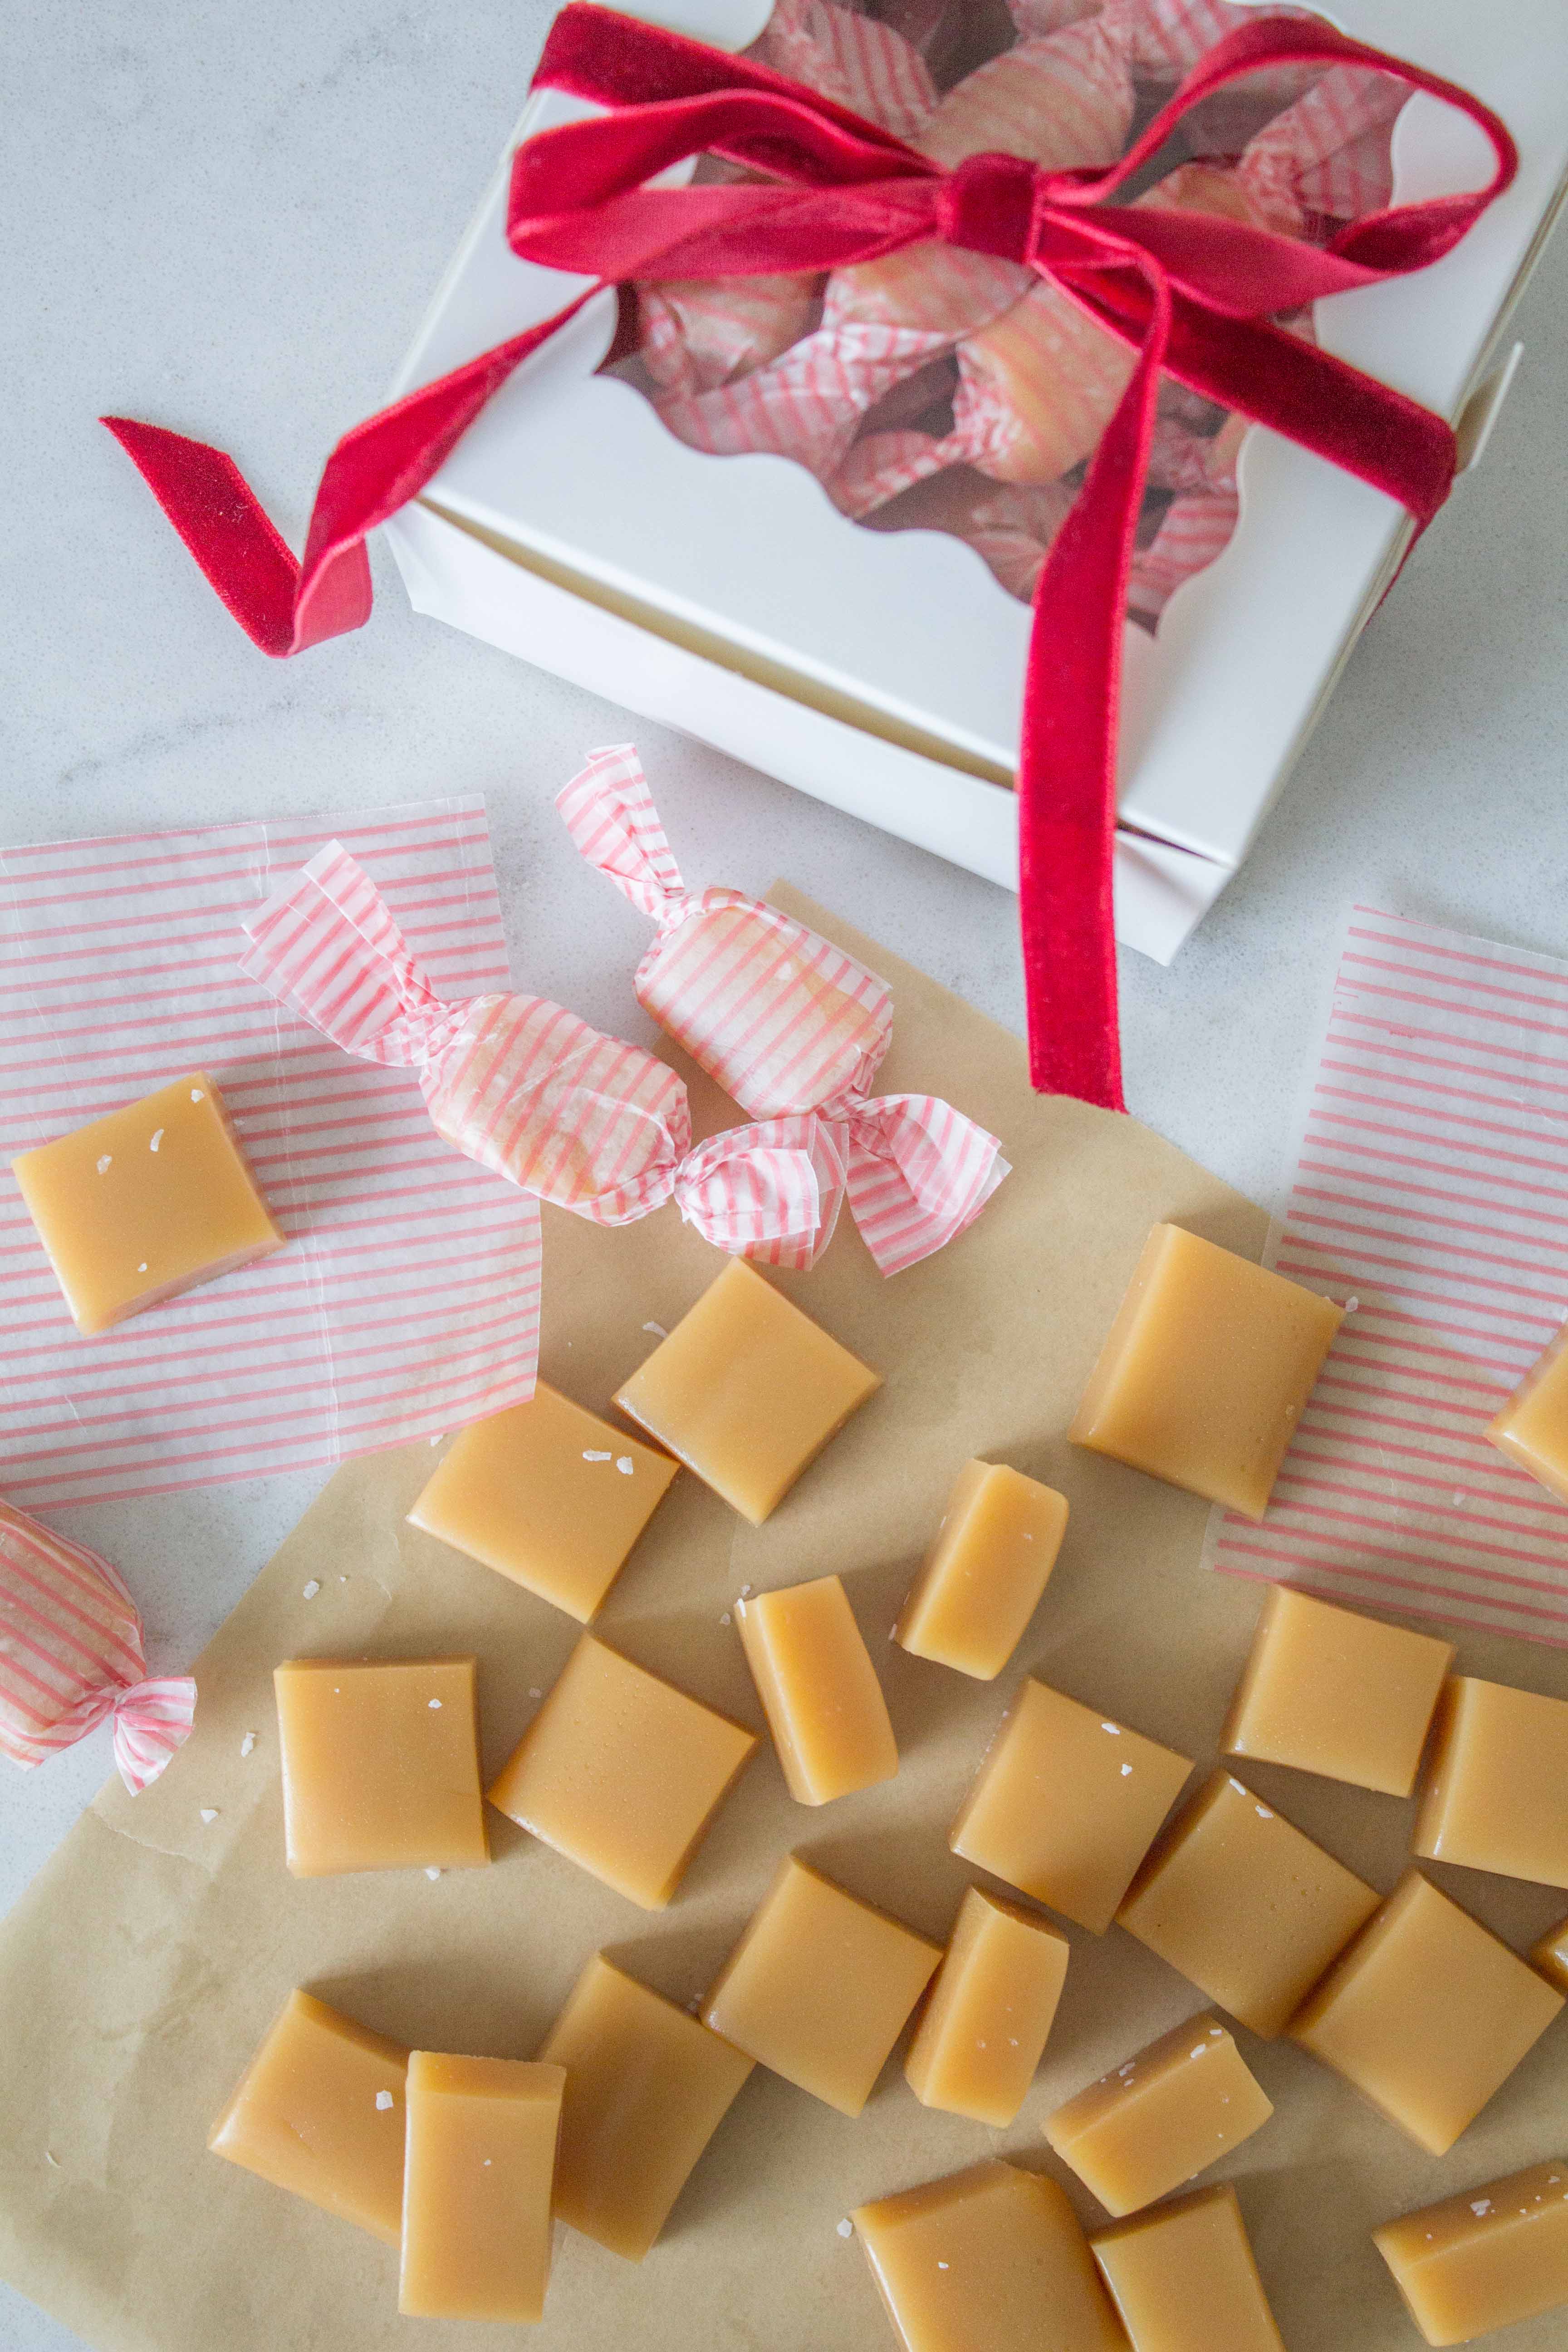
I just tested these clear wrappers on the caramels and LOVE them so much! They worked great, they’re pre-cut to size and they make the caramels look beautiful. I will be using these when I make them for the holidays. I also used them for Teacher gifts with an apple, in this post.
After you sink your teeth into this batch of buttery sweet, with a touch of sea salty goodness, let me know what you think, and who you’re going to share them with next! I think these have earned a front row seat on my holiday neighbor goodie plates.
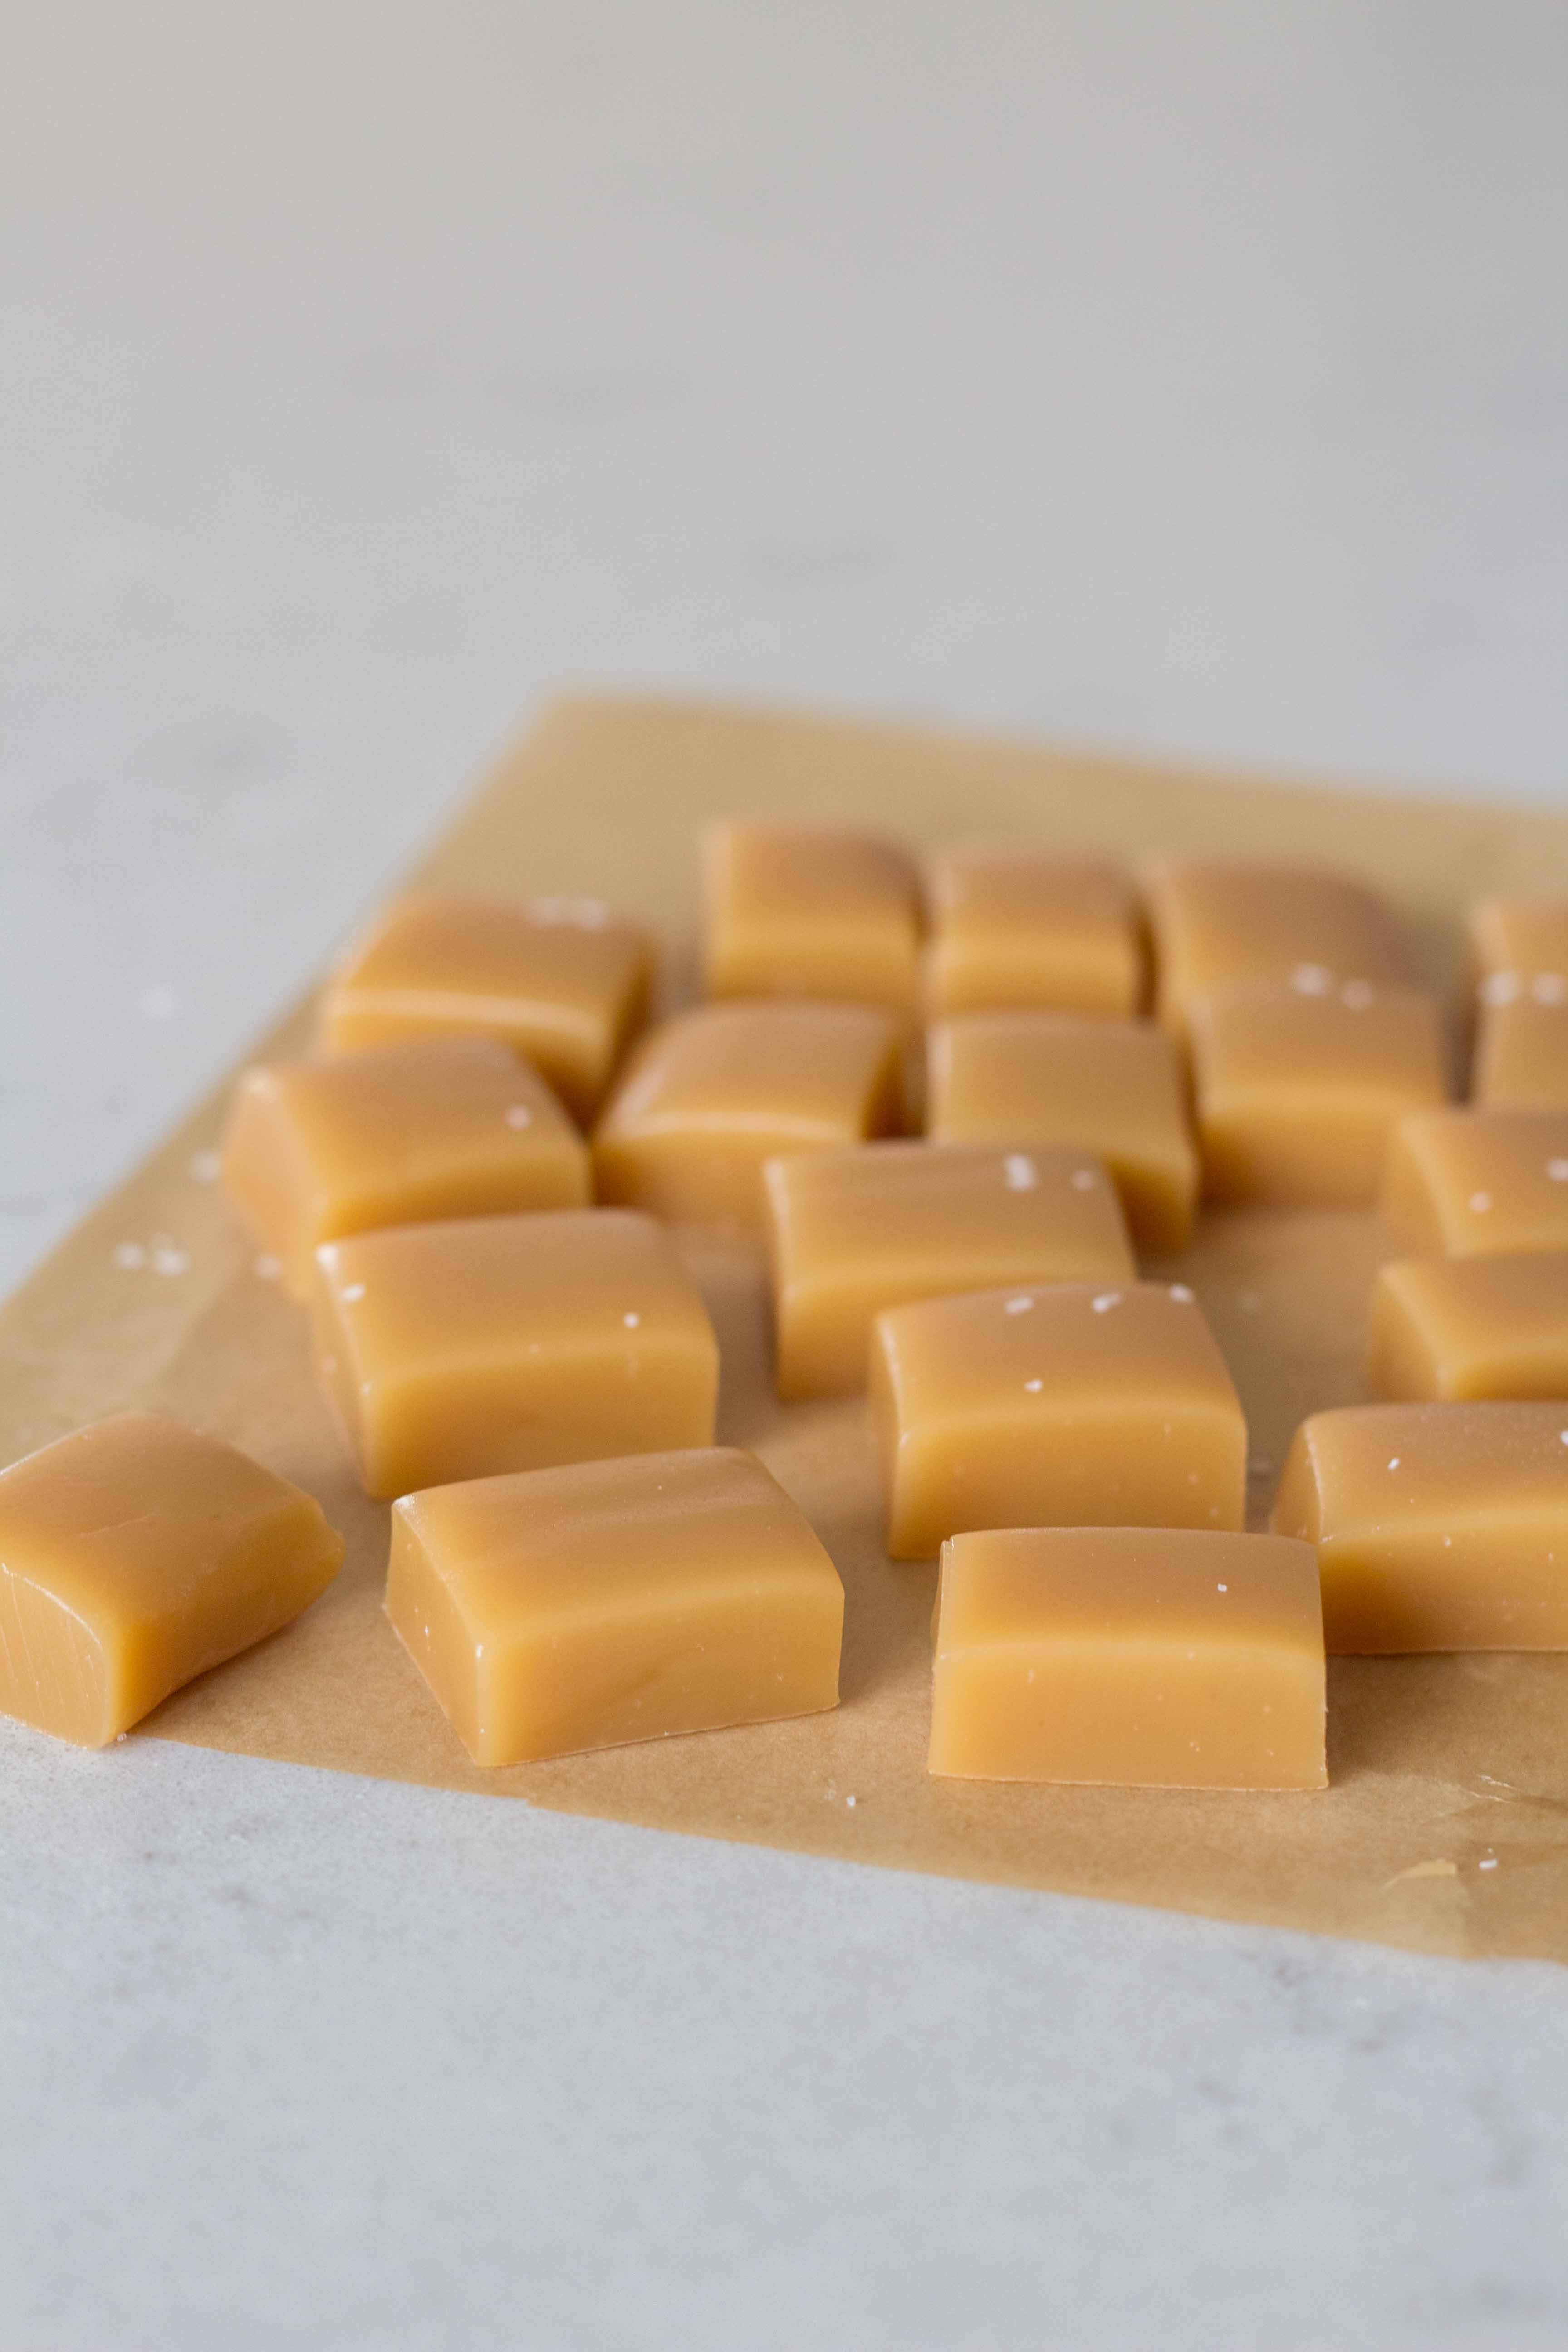
To salt or not to salt
If you are not a fan of sea salt on top of caramels and prefer a traditional plain caramel, simply omit the sea salt and add 1/4 teaspoon table salt into the caramel mix before boiling in the microwave. This will balance the sweetness of the caramel and give them the most candy shop delicious flavor!
6-minute Microwave Caramels
Ingredients
- 1/2 cup salted butter (one stick, 8 Tablespoons) melted in a large glass or microwave-safe bowl
- 1/2 cup light corn syrup (Karo works great)
- 1/2 cup granulated sugar
- 1/2 cup light brown sugar
- 1/2 cup sweetened condensed milk
- 1 teaspoon vanilla bean paste (Costco's Nielsen Massey or Amoretti are both great!) vanilla extract is fine, too
- 1/4 teaspoon table salt Use this in the mix if you do not want to add sea salt as a garnish on your caramels
- SEA SALT GARNISH If you would like to add sea salts to your caramels, omit the 1/4 teaspoon salt in the regular mix.
Instructions
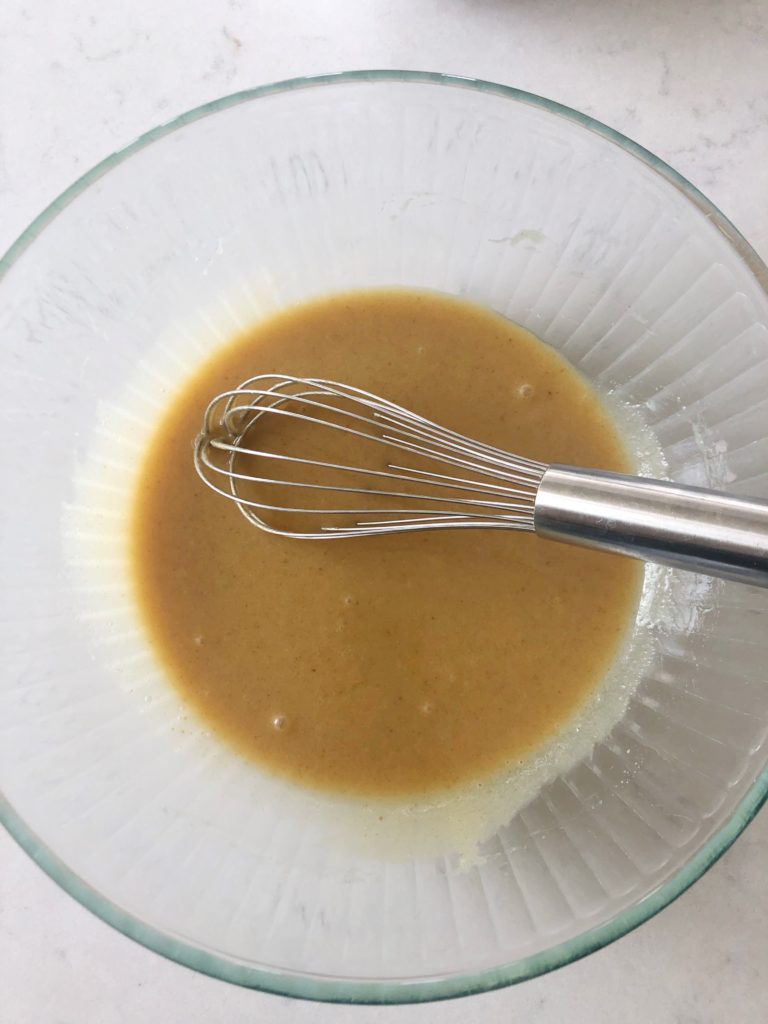
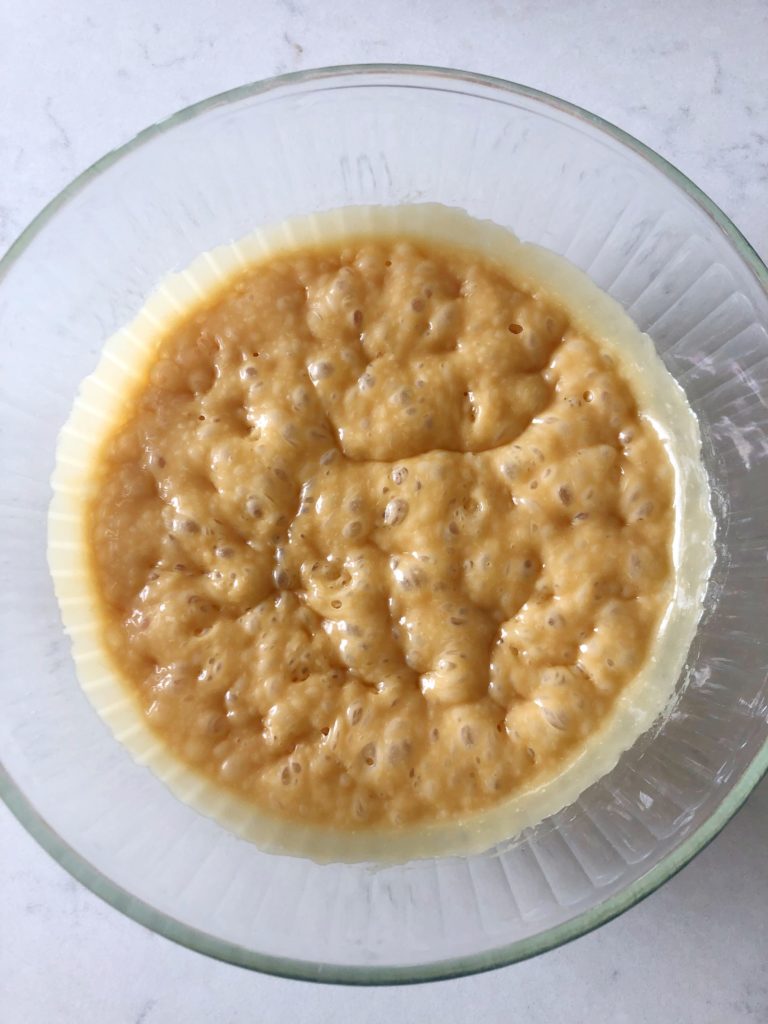
- Butter an 8×8 baking dish, or line with parchment paper (this is my preferred method!) Melt butter in a large glass bowl in microwave. Add all other ingredients (EXCEPT VANILLA) and stir until combined. (Decide if you want to add sea salt as a garnish, if not, then add 1/4 teaspoon table salt to the mix).Return to microwave for 6 minutes 30 seconds. All microwaves are different, but this time works perfect for me. For some, 6 minutes is perfect. You can know by doing an ice water test.Add some ice cubes to a glass of cold water. Drop a small spoonful of caramel into the ice water and test the consistency. If it is too soft, allow it to cook 30 seconds longer. If it seems just right, 6 minutes is enough!Carefully (using hot pads) remove bowl stir. Add vanilla. Carefully pour caramel into prepared baking dish. Allow to set on top slightly, then sprinkle with sea salt if you didn't add salt to the mix. Allow to fully cool before you slice them. I always place my pan in the fridge and slice the caramels when they are cold. It helps so much! If the caramels are set but room temp, you can spray a pizza cutter with pam spray and easily slice them that way, too!Caramels do not require refrigeration. I like to slice and wrap in wax paper (see post for my favorite holiday wax).
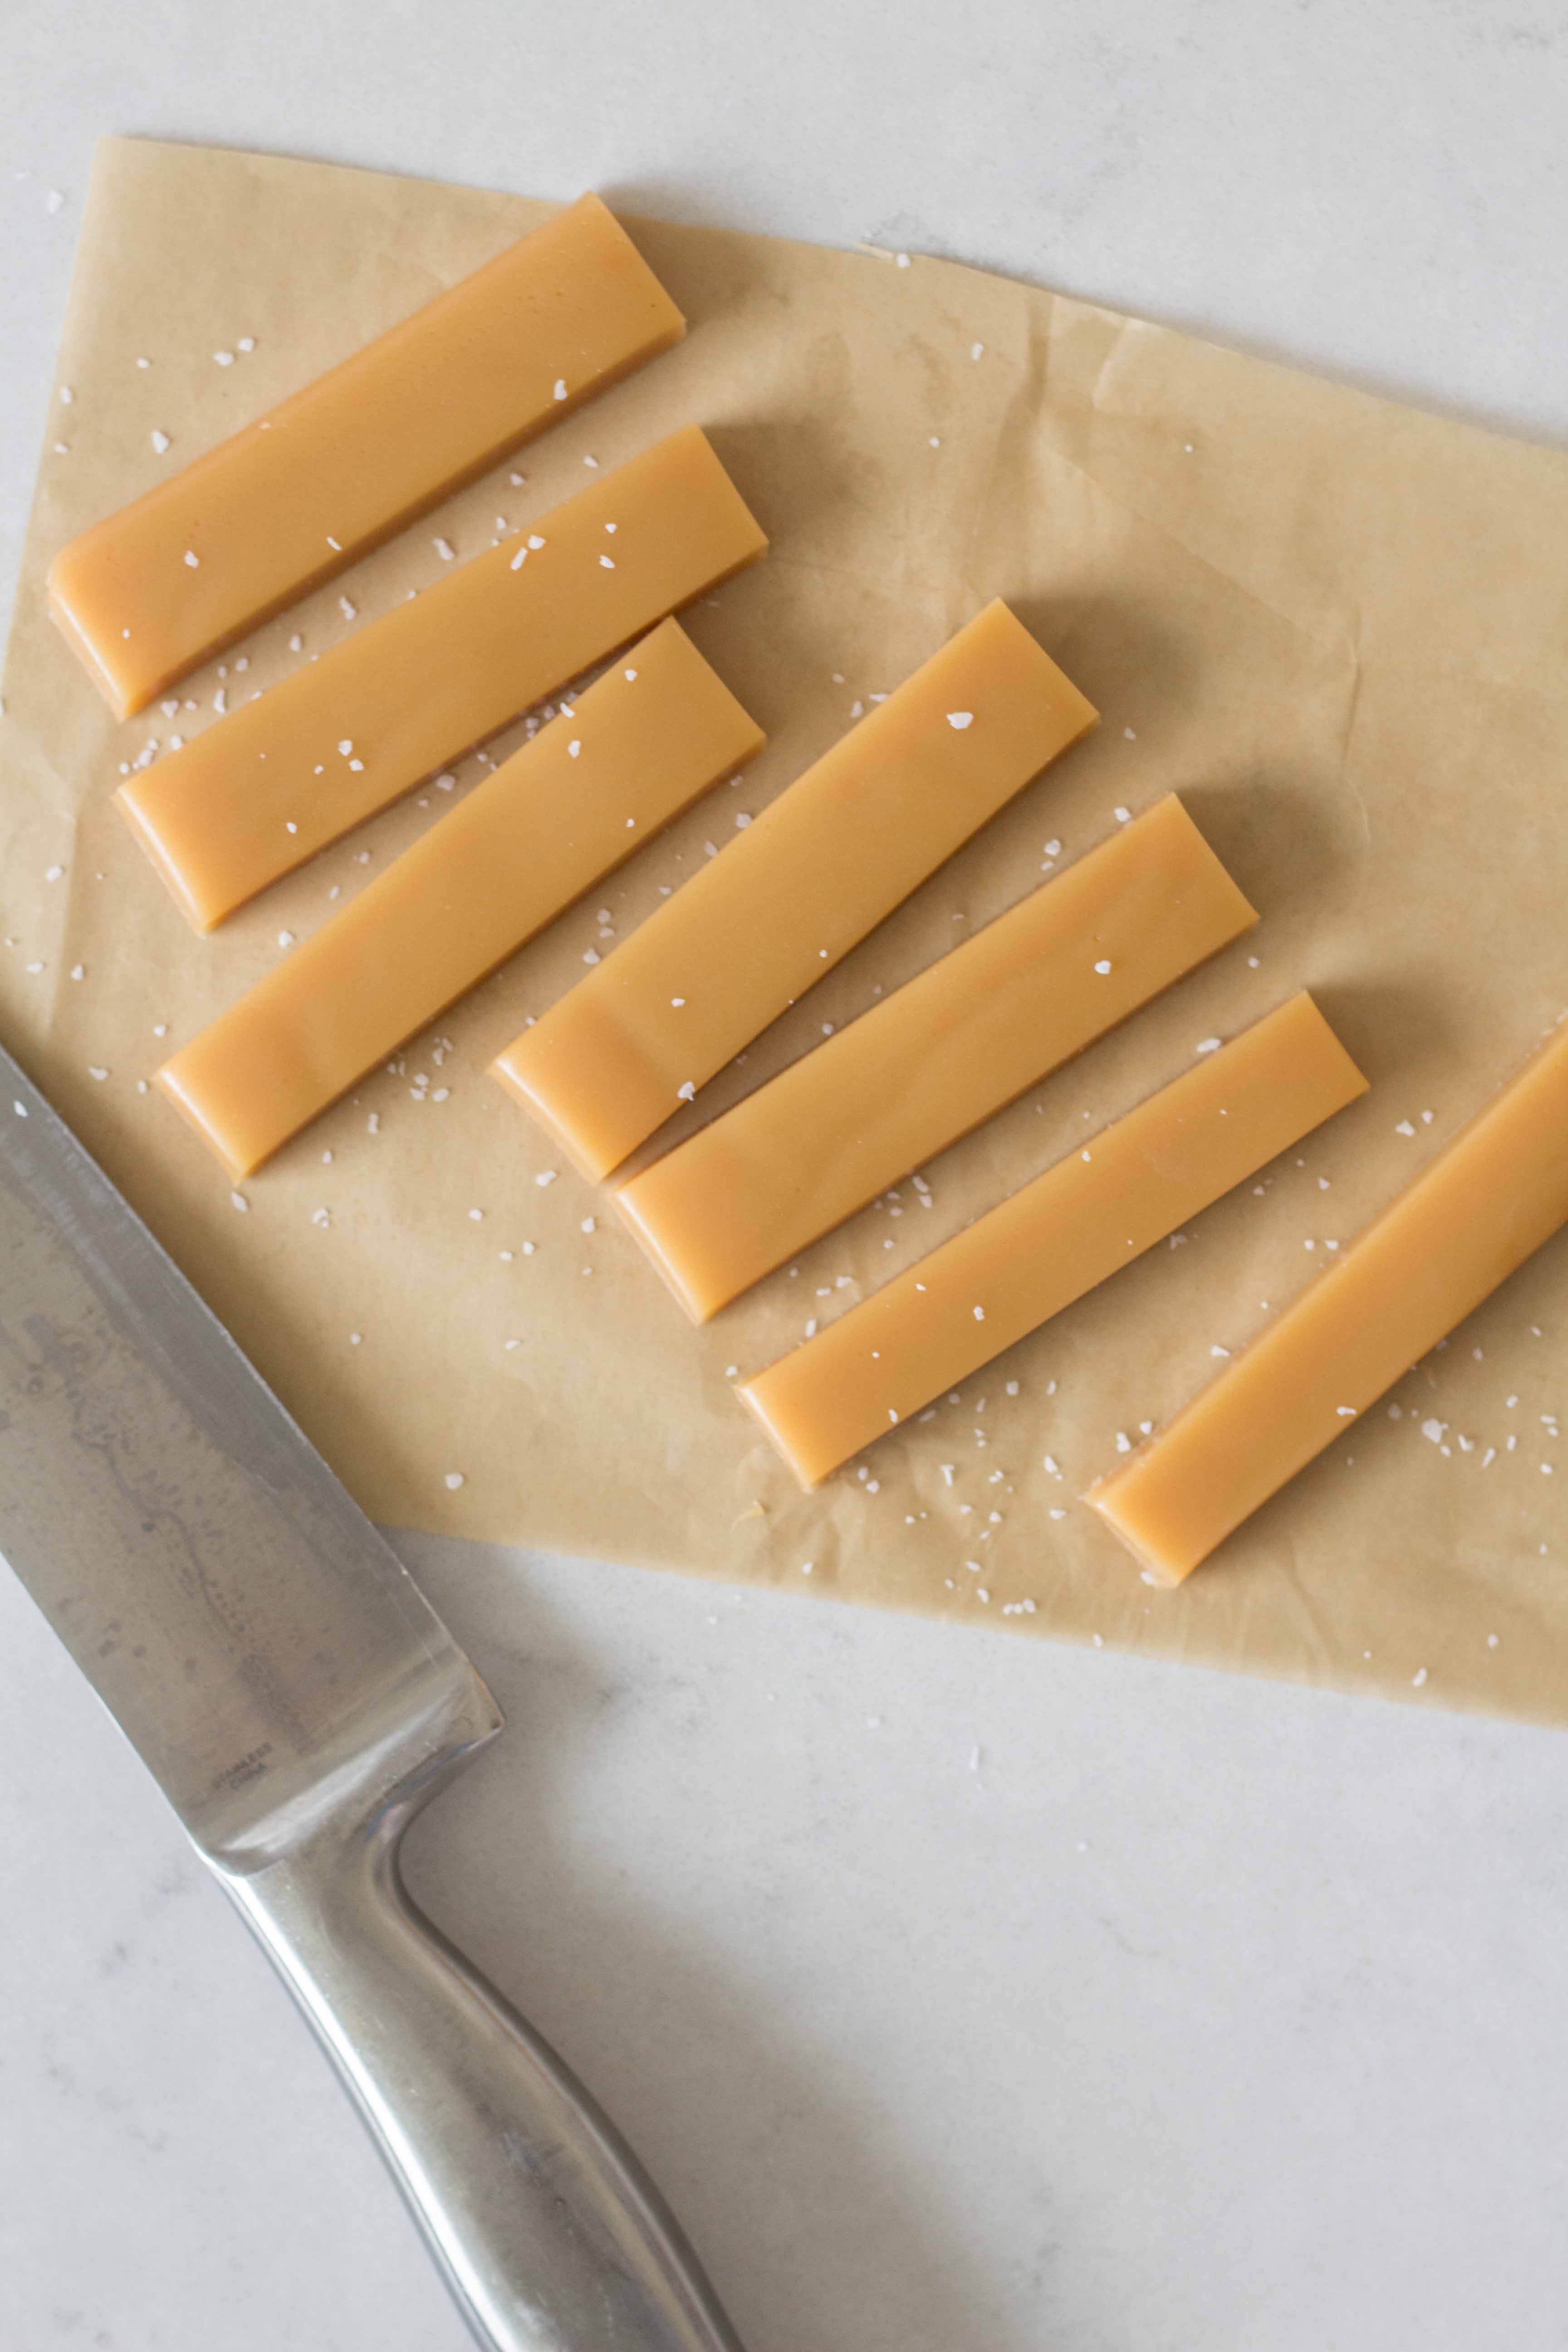
What is the easiest way to cut and wrap the caramels?
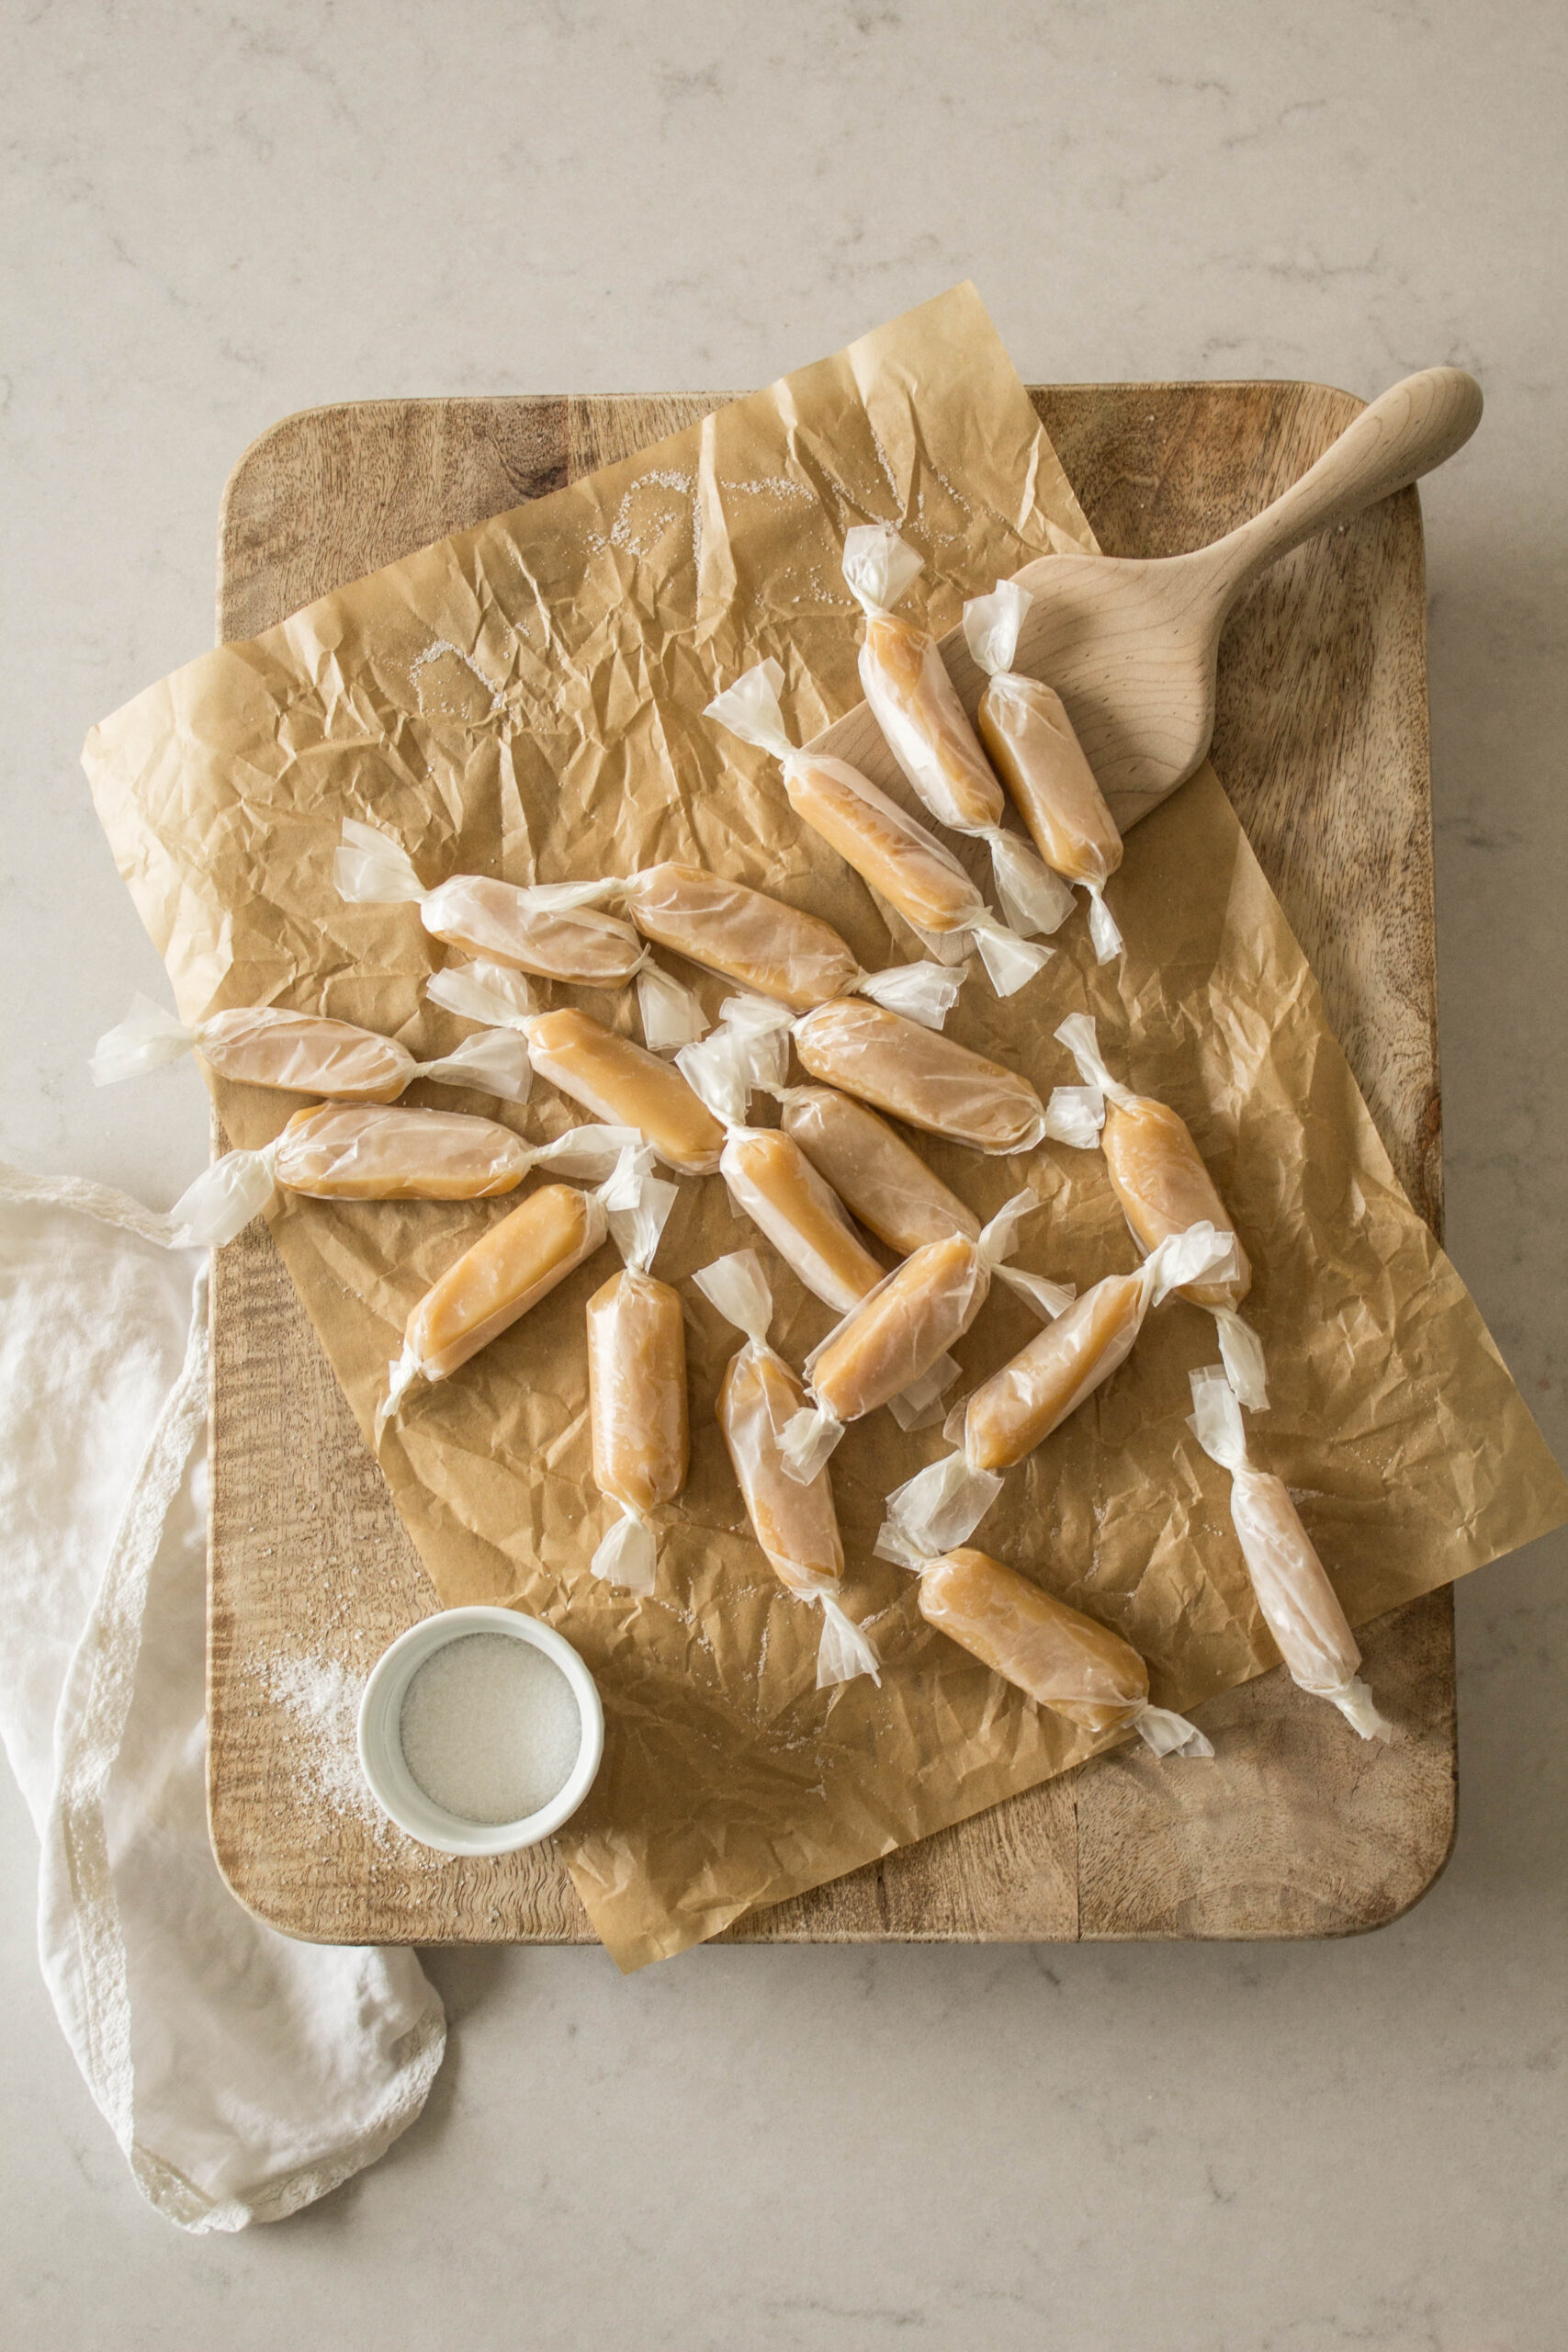
I love to line my dish with a these parchment sheets so that once the caramel is chilled, I can lift the caramel out of the pan. Cooling the pan in the refrigerator helps a lot! Then I use a large, sharp knife to make long slices in the caramel. You can use a pizza cutter (sprayed with pam spray) or that same knife to then cut the caramels into small squares. Roll the caramel into wax paper and twist the ends. The caramels do not require refrigeration.
Save this post for 6-minute Microwave caramels- PIN IT!
SHOP THIS POST
Love caramel? Try these other recipes!
Gourmet caramel apples, the easy way!
Easy Chocolate Dipped Caramels





I need to try these.
I make them from scratch every Christmas and it takes forever to reach the right temp.
Thank you!!
I love the ideas and content that you post! So much fun, and they’re easy for me to do with my girls. Thank you!
This is so easy and I’m going to gift them at the holiday
Delicious, wonderful!
This recipe was super easy and no fail! So delicious!